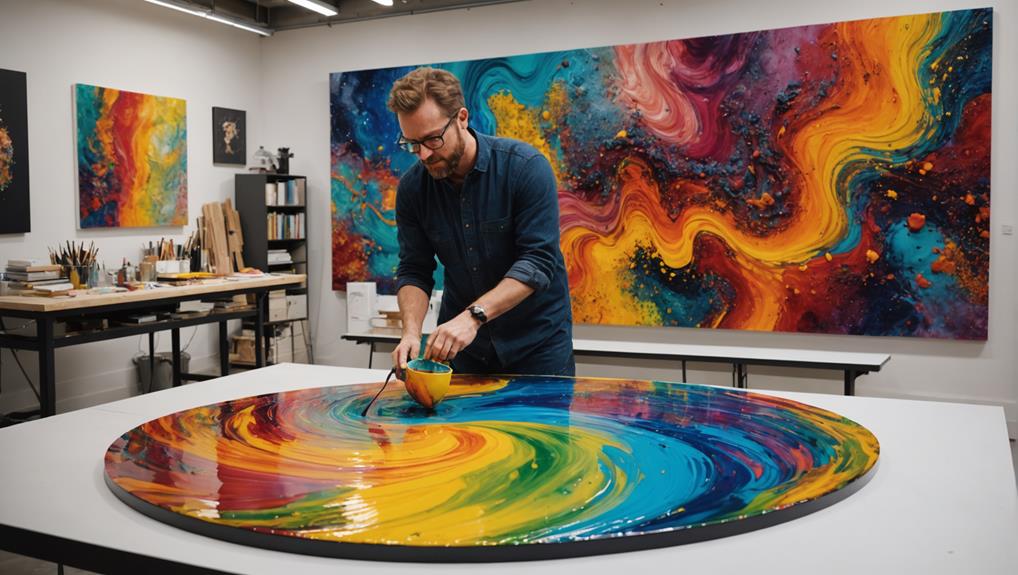
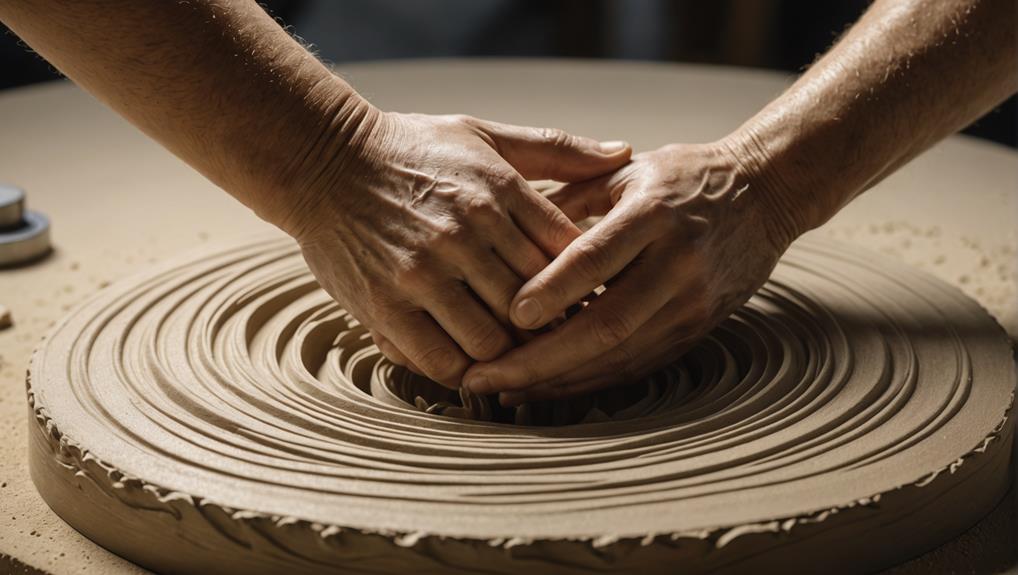
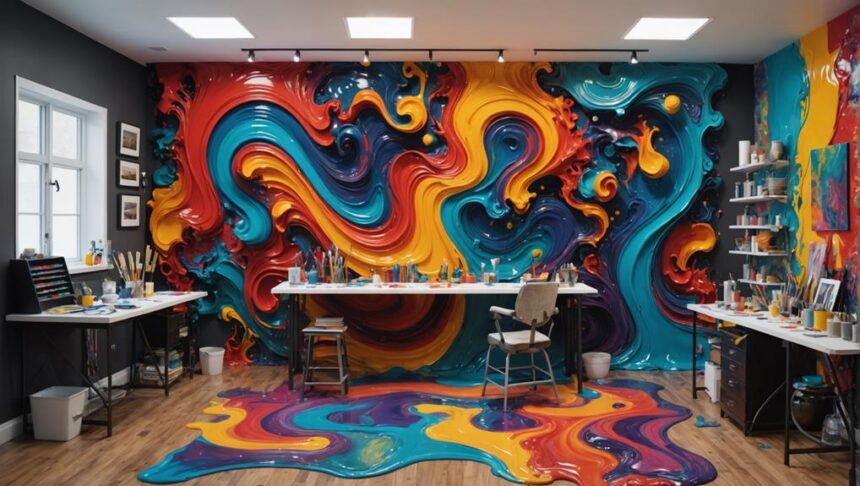
Creating 3D fluid art wall sculptures is like a fun adventure in your own art studio! Start by gathering essentials like a primed canvas, painting spatula, and acrylic paint. Once your workspace is set with proper lighting and protective coverings, sketch out a cool design on your canvas. Mixing plaster to a creamy texture and applying it in even layers builds a solid 3D effect. Don't forget to smooth edges with a damp brush for that perfect finish! After sanding, get creative with colorful layers using fluid mixes of paint and wood glue. Finally, seal it all with a glossy varnish to wow everyone. Ready to get more tips for creating a masterpiece?
Key Takeaways
- Gather essential materials: primed canvas/wood board, ultralight filler, painting spatula, damp brush, and acrylic paint.
- Prepare your workspace with adequate lighting, ventilation, protective coverings, organized tools, and a dedicated drying area.
- Sketch a simple design incorporating 3D elements on the primed surface using a pencil.
- Mix plaster to a smooth consistency and apply evenly using a spatula, adding layers for depth.
Gather Your Materials
To commence your 3D fluid art wall sculpture, begin by assembling all necessary materials. The key to a successful project lies in careful material selection and recognizing the significance of each tool. Start with a primed canvas or wooden board, ideally sized at 50×70 cm. This base will provide the sturdy foundation needed for your artistic creation.
Next, make sure you have ultralight filler or joint compound. This will be used to create a smooth, even surface on which your artwork will come to life. A painting spatula is essential for applying the plaster, allowing for precise and controlled spreading. Don't forget a damp brush, which is important for smoothing the plaster as it dries, preventing cracks and imperfections.
For the final touches, gather materials like Raysin, wood glue, and acrylic paint. These items will help you achieve the layered finishes and textures that make 3D fluid art so engaging. Each tool and material plays a critical role in the creative process, so having everything on hand before you start is essential.
This preparation will set the stage for a seamless and enjoyable artistic journey.
Prepare Your Workspace
Creating an efficient and safe workspace is essential for the successful execution of your 3D fluid art wall sculpture project. Start by ensuring your area has ample lighting and ventilation. Good lighting lets you see your work clearly, and proper ventilation keeps you safe while mixing and applying materials.
Next, gather all necessary materials, like primed canvas or wooden board, ultralight filler, painting spatula, and brushes. Having everything on hand minimizes interruptions and keeps your workflow smooth. Cover your workspace with drop cloths or newspapers to protect surfaces from spills and dust from sanding.
Organize your tools and supplies within easy reach to maintain workspace ergonomics, ensuring you can work efficiently without unnecessary strain. Also, consider setting up a dedicated drying area for your artwork. This prevents damage while the plaster and layers cure properly.
Here's a quick table to help you set up your workspace:
| Item | Purpose | Placement |
|---|---|---|
| Lighting | Clear visibility | Overhead or side lamps |
| Ventilation | Safe air quality | Open windows or fans |
| Drop cloths/newspapers | Protect surfaces | Cover entire working area |
| Tools and supplies | Easy access and organization | Within arm's reach |
| Drying area | Safe curing space | Separate, undisturbed location |
Following these tips and safety protocols will help create an ideal environment for your creative process.
Sketch Your Design
Selecting a theme that resonates with your artistic vision is the initial step in sketching your design for a 3D fluid art wall sculpture. Whether you are drawn to natural elements like flowers or waves, or prefer abstract shapes, let your design inspiration guide you.
Begin by lightly sketching your chosen design on a primed canvas or wooden board using a pencil. This foundational sketch is essential, so make certain the shapes are clear and well-defined to facilitate the plaster application later.
When sketching, consider the size and proportions of your design in relation to your canvas, especially if you're working with dimensions like 50×70 cm. A balanced composition is key to a successful piece.
To enhance the 3D effect, incorporate elements that allow for depth and dimension, such as overlapping shapes or varying sizes. This not only adds visual interest but also makes your artwork more dynamic.
Keep your sketch simple yet expressive. Remember, intricate details can be added later during the plaster application and finishing stages.
Utilizing these sketch techniques, you can create a solid foundation for your 3D fluid art wall sculpture that captures the essence of your creative vision.
Mix the Plaster
Mixing the plaster requires careful attention to achieve the right consistency and eliminate any potential imperfections.
Start by adding the plaster powder to water in a clean container, using a ratio of 2 parts plaster to 1 part water. This is essential for getting that smooth, creamy texture we're aiming for.
Now, grab a mixing tool and stir thoroughly. We need to eliminate those pesky lumps—think of it like mixing pancake batter, but for art!
Plaster safety is super important here. Always wear a mask to avoid inhaling any dust particles. Trust me, you don't want to be coughing for days just because you skipped this step.
Once mixed, let the plaster sit for a few minutes. This allows any air bubbles to escape, which is key for a strong final product.
Apply the Plaster
Begin by using a painting spatula to meticulously apply plaster to the outlined shape on the canvas, ensuring even coverage and precision in each small section. This step is essential for creating a solid base for your 3D fluid art wall sculpture. The plaster application techniques you'll use here will set the stage for the texture and depth of your artwork.
To enhance the texture, consider these steps:
- Apply Evenly: Spread the plaster evenly across the canvas to avoid lumps and uneven surfaces.
- Work in Layers: For a more pronounced texture, apply multiple layers of plaster, letting each layer dry completely before adding the next.
- Dry Time: Allow the plaster to dry for approximately 60 minutes before proceeding to the next step.
- Texture Enhancement: Use different tools like combs or brushes to create unique patterns and textures in the plaster before it dries.
These texture enhancement methods will help bring your vision to life, giving your sculpture a more dynamic and engaging appearance.
Smooth the Edges
After allowing the plaster to dry for about an hour, it's essential to smooth the edges to achieve a polished look.
Using a damp brush, gently smooth the edges, rinsing the brush frequently to prevent plaster from sticking and ensuring a seamless finish.
Consistency is key, so take your time to check for evenness and apply pressure to sculpt the edges and create depth, resulting in a refined shift between layers.
Damp Brush Technique
To achieve a refined finish on your 3D fluid art wall sculpture, utilize a damp brush to gently smooth the edges of the plaster while it is still slightly wet. This technique, known for its damp brush benefits, guarantees a seamless shift between the raised areas and the base surface. The dampness of the brush prevents the plaster from sticking to it, making your work cleaner and more polished.
Here are some essential steps:
- Timing: Smooth the edges within 60 minutes of plaster application to achieve the best results.
- Pressure: Apply light pressure with the brush while making sweeping motions to blend the edges seamlessly.
- Consistency: Repeat the smoothing process for each layer of plaster before it completely dries to maintain a uniform appearance.
- Clean Brush: Regularly rinse the brush to keep it damp and free of excess plaster.
Edge blending techniques play a significant role in enhancing the 3D effect of your artwork. By using a damp brush, you guarantee the edges are soft and well-integrated, giving your sculpture a professional and cohesive look.
This simple yet effective method can transform your fluid art, making it stand out as a masterpiece.
Consistent Edge Smoothing
Achieving consistent edge smoothing is essential for enhancing the visual appeal and professional finish of your 3D fluid art wall sculpture. Think of it like giving your work a clean haircut—sharp, neat edges make all the difference!
One of the best edge definition techniques involves using a damp brush to smooth the plaster. This little trick helps create a seamless shift between layers, making your sculpture look polished.
When it comes to brush selection tips, opt for a brush that feels comfortable in your hand and can hold a bit of water without dripping. Moisten the bristles with water to prevent the plaster from sticking, which makes smoothing much easier. As you work, gently glide the damp brush along the edges, repeating the process multiple times while the plaster is still damp. This repetition guarantees a uniform appearance across all edges and shapes.
Don't forget—patience is key! Allow each layer to dry completely before adding more plaster. Once everything is dry, lightly sand any rough spots for that final touch of perfection.
And remember, always wear a mask to protect yourself from dust particles while sanding. Happy sculpting!
Dry and Repeat

Ensuring that each layer of plaster dries thoroughly is essential to building a sturdy sculpture, so patience is key here.
After the initial layer dries for about 60 minutes, you'll need to repeat the process for additional layers, making sure to wait for each to dry fully before moving on.
This method not only prevents cracking but also helps create a seamless and polished 3D effect, giving your artwork a professional finish.
Ensure Thorough Drying
Proper drying of each plaster layer is essential to maintain the structural integrity and aesthetic quality of your 3D fluid art wall sculpture. Without thorough drying, your artwork could suffer from poor adhesion and unsightly cracks.
Here are some key drying techniques and considerations for drying environments to guarantee your sculpture turns out perfectly:
- Allow adequate drying time: Each layer of plaster needs about 60 minutes to dry completely. Rushing this process can lead to disastrous results.
- Use a damp brush: Before the plaster dries, gently smooth each layer with a damp brush. This technique helps create a consistent texture and blends the layers seamlessly.
- Monitor workspace conditions: Humidity and temperature play a significant role in drying time. Guarantee your workspace is well-ventilated and maintains a stable temperature to facilitate even drying.
- Sanding and dust removal: Once the plaster layers are dry, sand the surface to achieve smoothness. Be meticulous in removing all sanding dust before applying any colors or sealants to preserve the sculpture's integrity.
Repeat for Layering
To build the desired depth and texture in your 3D fluid art wall sculpture, meticulously apply and dry each plaster layer sequentially. Each layer needs about 60 minutes to dry completely. This guarantees proper adhesion and prevents peeling. Right after you apply a new layer, smooth it with a damp brush to achieve a consistent 3D effect and blend the edges seamlessly.
When using layering techniques, aim for an even thickness across the surface. This way, every layer contributes to the sculpture's overall depth and texture variations. Don't forget to apply plaster to both the front and backside of the canvas or board to maintain structural integrity and prevent warping.
Here's a quick guide to keep you on track:
| Step | Action | Purpose |
|---|---|---|
| 1 | Apply plaster evenly | Guarantee consistent depth |
| 2 | Smooth with damp brush | Blend edges seamlessly |
| 3 | Dry for 60 minutes | Proper adhesion and prevent peeling |
Regularly check each layer after it dries for lumps and imperfections. These can be addressed with sanding or additional smoothing using a damp brush. This attention to detail will make your 3D fluid art wall sculpture truly enchanting and structurally sound.
Add Additional Layers
Adding additional layers of plaster to your 3D fluid art wall sculpture will enhance its depth and texture, creating a more dynamic visual effect. To master this, follow these layering techniques:
- Depth Enhancement: Apply 2-3 additional layers of plaster, shaping and refining each during the drying process to add more dimension.
- Texture Variation: Utilize a damp brush to smooth each plaster layer before it dries, guaranteeing seamless shifts and varied textures.
- Adhesion Strategies: Allow each layer to dry completely for approximately 60 minutes before adding the next to guarantee proper adhesion and prevent cracking.
- Structural Integrity: Treat the backside of the canvas with plaster to maintain the sculpture's structural integrity and prevent warping.
These steps are essential for achieving a professional finish. Remember, patience is key. Adhering to proper drying intervals is vital to avoid mishaps like cracking.
Additionally, smoothing each layer with a damp brush not only enhances texture variation but also contributes to a cohesive look. By treating the backside of your canvas, you guarantee that your artwork remains stable and durable.
For the best results, always check each layer's dryness and solidity before moving to the next.
Sand for Smoothness

Now that your additional layers are in place, it's time to talk about sanding for smoothness.
Using fine-grit sandpaper, you'll want to gently smooth the surface of the dried plaster, ensuring you eliminate any bumps or imperfections.
Remember to wear a mask during this process to keep those pesky dust particles from causing any harm.
Effective Sanding Techniques
Achieving a smooth finish on your 3D fluid art wall sculpture requires meticulous sanding with fine-grit sandpaper, typically ranging from 220 to 320 grit. Proper sanding techniques are essential for surface preparation, ensuring your sculpture's contours and details are preserved.
To get the best results, follow these steps:
- Ensure Dryness: Before you start sanding, make sure the plaster is completely dry. Wet plaster can become mushy, making it impossible to achieve a smooth surface.
- Circular Motion: Always sand in a circular motion. This helps maintain the natural curves of your sculpture and prevents flat spots.
- Safety First: Wear a dust mask and goggles. Sanding generates fine dust particles that can harm your lungs and eyes.
- Clean Up: After sanding, wipe down the surface with a damp cloth to remove any dust. This step is necessary before you apply additional layers or finishes.
These steps are essential for preparing the surface of your sculpture and ensuring a flawless finish.
Best Sandpaper Grit
Selecting the appropriate sandpaper grit is essential for achieving the desired smoothness in your 3D fluid art wall sculpture. The journey to a perfect surface starts with understanding sandpaper types and mastering sanding techniques.
To begin, use a medium grit sandpaper, typically around 120-150 grit. This grit is ideal for eliminating larger imperfections in the plaster, making the initial surface smoother.
But don't stop there! To achieve that silky, refined finish, you need to follow up with a finer grit sandpaper, such as 220 grit or higher. This step is vital for creating a velvety texture that feels amazing to the touch. Remember to sand in a circular motion. This technique helps avoid flat spots and guarantees an even surface all around.
For an even more polished result, consider wet sanding with fine grit sandpaper. Wet sanding minimizes dust and prevents any scratches on the delicate plaster.
After sanding, don't forget to wipe away all the dust with a damp cloth. This guarantees your surface is perfectly clean and ready for any subsequent layers or finishes.
Apply Color Layers
To begin applying color layers, mix a paste using Raysin, wood glue, water, and acrylic paint until it reaches a fluid consistency. This mixture is vital for achieving the vibrant, textured effect that makes 3D fluid art so enchanting. Understanding color theory will help you select the right shades to create depth and harmony in your sculpture.
With the paste ready, follow these steps:
- Apply the First Layer: Use a brush or pour the mixture over the dried plaster surface. This initial layer sets the foundation for your color scheme.
- Dry Completely: Let the first layer dry thoroughly before applying subsequent layers. This step is essential for achieving distinct, rich colors.
- Add Subsequent Layers: Repeat the process, applying 2-3 more layers of the paste. Experiment with different layering techniques to create unique patterns and textures.
- Choose Vibrant Colors: Select acrylic paints that complement your overall design, enhancing the visual interest of your sculpture.
Seal and Protect

Properly sealing and protecting your 3D fluid art wall sculpture is vital for guaranteeing its longevity and preserving the vibrancy of its colors. Applying a clear sealant, such as a matte or glossy varnish, is imperative. This step not only enhances the artwork's appearance but also prevents colors from fading over time. Before applying any sealant, make certain your sculpture is completely dry to avoid moisture getting trapped, which can cause damage or mold growth.
When choosing sealant types, consider using a UV-resistant varnish. This type of protective coating shields your artwork from sunlight exposure and prevents yellowing, adding to its durability. Applying the sealant can be done using a clean brush or spray method to guarantee an even coat without any drips or bubbles.
To maintain the integrity of your sculpture, regularly inspect the sealed surface for any signs of wear or damage. Reapply the sealant as necessary to keep your 3D fluid art in pristine condition.
| Sealant Type | Application Method | Benefit |
|---|---|---|
| Matte Varnish | Brush or Spray | Subtle finish, preserves color |
| Glossy Varnish | Brush or Spray | Enhanced shine, vibrant look |
| UV-Resistant | Brush or Spray | Sunlight protection, no yellowing |
| Regular Varnish | Brush or Spray | Basic protection, easy to apply |
Frequently Asked Questions
How to Make 3D Wall Design?
To create a 3D wall design, begin by sketching your concept and applying techniques such as plaster layering and smoothing. These dimensional art styles enhance depth and texture, culminating in a visually engaging and durable masterpiece.
How to Create Your Own 3D Art?
To create your own 3D art, utilize mixed media and various artistic techniques. Begin by sketching your design, apply layered plaster for texture, and finish with sanding and color application to achieve a striking three-dimensional effect.
How to Make a Textured 3D Canvas?
To create a textured 3D canvas, start with a primed canvas. Employ textured techniques by layering ultralight filler or joint compound. Smooth each layer with a damp brush and finish with a paste mixture for added depth and color.
What Plaster Do You Use for Textured Art?
For textured art, using ultralight filler or joint compound is recommended due to their ease of application and lightweight properties. These plaster types allow for versatile texture techniques, ensuring smooth consistency and structural integrity.
Conclusion
Creating 3D fluid art wall sculptures involves a meticulous process, from gathering materials to sealing the final piece.
Each step, including sketching, mixing plaster, layering, sanding, coloring, and sealing, contributes to the artwork's depth and vibrancy.
The final product, a testament to precision and creativity, not only enhances aesthetic appeal but also demonstrates the intricate craftsmanship involved.
This artistic endeavor exemplifies the fusion of technical skill and imaginative expression, resulting in a unique and captivating visual experience.


Leave a Reply