Ready to take your acrylic pour game to the next level? Try these jaw-dropping techniques! The Colander Pour creates mesmerizing designs with a kitchen colander, while the Bottle Pour crafts dreamy spirals using a simple bottle or funnel. Pull a paint-soaked string for floral effects with the String Pull, or use the Swirl Pour to master stunning marbled looks. Swipe Technique adds slick colors in a single motion, and Dutch Pours use hairdryers for vibrant blasts. For unique ring effects, try the Wreck-a-Ring, and Bloom Technique for standout cells. And don’t miss the Straw Blow for organic shapes. Ready for artistic excitement?
Key Takeaways
- Experiment with the Colander Pour Technique to create intricate, symmetrical, or organic paint patterns on canvas by tilting post-pour for enhanced effects.
- Use the Bottle Pour Technique to achieve mesmerizing spiral patterns by layering colors inside a bottle and controlling the pour angle.
- Master the String Pull Technique for creating floral designs by pulling a paint-coated string through a wet background, varying string length and thickness.
- Explore the Dutch Pour Technique using a hairdryer or heat gun to dynamically move paint, creating vibrant blends and new shades.
The Colander Pour
The Colander Pour technique utilizes a colander to create intricate patterns as paint flows through its perforations onto the canvas. This method offers a unique way to explore the dynamic interplay of colors and shapes in acrylic pouring.
A critical first step is the thoughtful color selection; layering the colors in the colander in a strategic order is essential, as it impacts the final visual outcome. Bright and contrasting colors can create striking patterns, while harmonious tones can yield more subtle effects.
Colander placement is equally significant. Whether centrally positioned or off-center, the colander’s location will dictate how the paint spreads and interacts on the canvas surface. For instance, placing the colander in the middle can produce symmetrical designs, whereas an asymmetrical placement might result in more organic, freeform patterns.
After pouring, tilting the canvas helps to enhance the spread of paint, ensuring even coverage while preserving the intended design. Experimenting with different paint viscosities and pouring mediums can also influence the final texture and appearance.
This technique’s versatility allows artists to achieve diverse artistic expressions, making the Colander Pour an exciting addition to any acrylic pouring repertoire.
The Bottle Pour
The Bottle Pour technique is all about creating mesmerizing spiral patterns on your canvas by using a bottle or funnel to control the paint flow.
Layering different colors inside the bottle before pouring is key, as it influences the final design dramatically.
To get the best results, make sure your paint has the right consistency, and pay attention to how you hold and angle the bottle during the pour.
Spiral Pattern Creation
Utilizing the Bottle Pour technique allows artists to create dynamic spiral patterns by carefully controlling the flow of paint through a squeeze bottle or funnel. This approach, rooted in spiral techniques, leverages spiral dynamics to produce intricate and enchanting designs on the canvas.
To achieve this, layer different colors in the bottle, letting gravity guide the unique flow and blending effect as the paint emerges. Maintaining a steady hand and consistent speed is essential for ensuring the spiral shape remains distinct and compelling.
Here’s a quick guide to get you started:
- Layer Colors: Pour various colors into your squeeze bottle or funnel, one on top of the other, to create a vibrant mix.
- Steady Pouring: Pour the paint in a controlled, circular motion, keeping a steady hand to maintain the spiral pattern.
- Tilt the Canvas: After pouring, gently tilt the canvas to help the paint spread evenly while preserving the spiral’s integrity.
- Experiment: Try different color combinations and layering techniques to enhance the visual impact, leading to stunning artwork.
Experimentation and patience are key to mastering this technique, but the results are certainly worth the effort. Immerse yourself in the world of spiral dynamics and let your creativity flow!
Layering Impact
Layering impact in the Bottle Pour technique greatly influences the depth and vibrancy of the resulting artwork.
Imagine this: you’ve got your bottle or funnel ready, filled with layers of paint. Now, to make your colors pop, you need to think about color visibility and layering depth. Here’s the trick: lighter colors go on top, darker ones at the bottom. This way, when you pour, the lighter hues shine through, and the darker shades add that deep, rich background.
When you start pouring, keep your hand steady and move at a consistent speed. This prevents any messy splatters and guarantees your paint spreads evenly across your canvas.
And hey, don’t be afraid to experiment! Pouring from different heights can change how the paint flows and blends, giving you some really cool effects.
Let the paint do its thing—avoid messing with it too much. This keeps your design smooth and natural.
Pouring Precision Tips
Achieving precision in the Bottle Pour technique hinges on maintaining consistent height, speed, and paint consistency throughout the pouring process. This method allows artists to create controlled, spiral patterns on their canvas, resulting in mesmerizing and intricate designs. The key to success lies in several critical factors:
- Height Control: Hold the bottle at a steady height above the canvas. Too high, and the paint splatters; too low, and you lose the spiral effect.
- Pouring Speed: Pour slowly and steadily. A rushed pour can lead to overcrowded areas and muddled patterns.
- Paint Viscosity: Verify your paint mixture is just right. Mix acrylic paint with a pouring medium in a 2:1 ratio to achieve a flow that’s smooth yet vibrant.
- Color Mixing: Experiment with different colors and angles. Different pouring speeds and angles can lead to unique, eye-catching designs.
Once you’ve poured your paint, gently tilt the canvas to spread the paint evenly. This verifies that all areas are covered without losing the integrity of your spiral.
Remember to have fun with your color mixing, embrace the experimentation, and enjoy the process of creating your art!
The String Pull
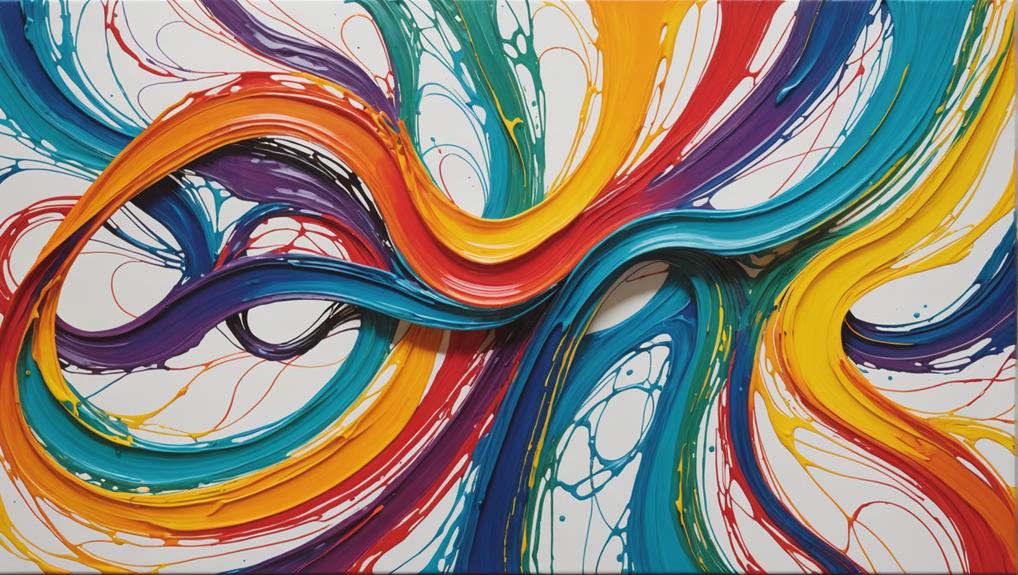
The String Pull technique, frequently employed by artists seeking to create intricate floral designs, involves pulling a paint-coated string through a wet, pre-painted background. String preparation is key to achieving a consistent and stunning outcome. Start by ensuring your string is of uniform thickness and thoroughly coated in paint. This consistency helps maintain a cohesive design as you pull the string across the canvas.
Design variations can be achieved by experimenting with different lengths and thicknesses of string. A thinner string might create delicate, wispy lines, while a thicker one can produce bolder, more dramatic strokes. This flexibility allows artists to tailor their designs to their creative vision, making each piece unique.
The actual string pull requires a steady hand and a controlled motion. Gently pull the string in a fluid, organic manner to form elegant shapes and patterns. Avoid excessive manipulation, which can distort the paint and muddle the design. Always let the base layer dry completely before starting the string pull to prevent unwanted color blending.
The Swirl Pour
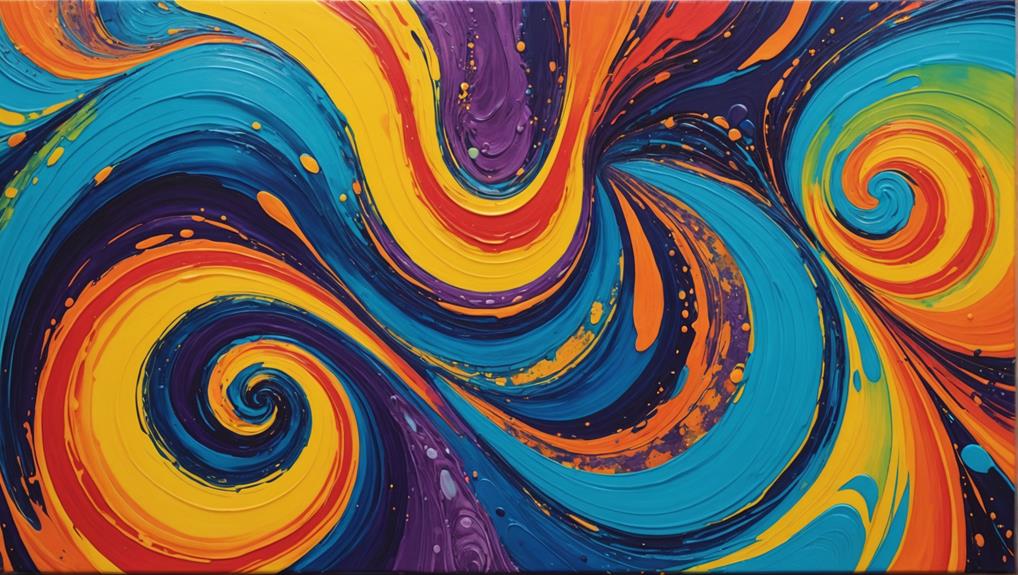
The Swirl Pour technique is all about mastering the art of layering colors, keeping a steady hand, and utilizing strategic canvas tilting.
Achieving those mesmerizing patterns starts with carefully layered paints to avoid muddiness, followed by a gentle swirl to maintain design integrity.
To top it all off, tilting the canvas just right guarantees the colors flow and blend in an eye-catching dance across the surface.
Color Layering Techniques
Combining multiple colors in a single cup and gently swirling them together, the Swirl Pour technique creates intricate and dynamic patterns on the canvas. This method is a fantastic way to explore the depths of color psychology and how different hues interact with one another. By carefully considering your mixing ratios, you can achieve a harmonious balance that will captivate and engage viewers.
The beauty of the Swirl Pour lies in its unpredictability and the unique results it yields each time. To execute this technique effectively, follow these steps:
- Choose Your Colors Wisely: Opt for shades that complement each other, keeping in mind the emotional impact they might have.
- Perfect the Mixing Ratio: Aim for a smooth, fluid consistency by combining the right amount of pouring medium with your acrylic paints.
- Swirl with Precision: A steady hand is essential to maintain the integrity of the color blends, ensuring that the marbled effect is achieved.
- Tilt the Canvas: After pouring, gently tilt the canvas to enhance the swirling effect and allow the colors to spread organically.
Experimenting with different color orders and swirling intensities can lead to mesmerizing patterns that are both spontaneous and visually stunning.
Swirl Pattern Integrity
Maintaining the integrity of the swirl patterns in the Swirl Pour technique requires meticulous attention to the pouring process and careful control of the paint flow. Swirl pattern considerations play a significant role in achieving those mesmerizing, intricate designs.
To start, it’s essential to have a steady hand; any abrupt movements can disrupt the delicate swirls, turning them into a muddled mess of colors. Trust me, slow and steady wins the race here!
The amount of paint you use and the speed at which you pour are game-changers. Pouring too quickly can cause the colors to blend together too much, losing those beautiful, distinct patterns. Slower swirls, on the other hand, usually result in more defined and eye-catching designs.
Experimenting with different color combinations and layering techniques in your cup can also lead to some truly unique and stunning effects. It’s like an art experiment every time!
Once your masterpiece is poured, it’s important to let it dry undisturbed. Moving your canvas while it dries can distort your carefully crafted swirls. So, hands off!
This patience in maintaining swirl integrity will pay off when you see your final, flawless creation.
Canvas Tilting Strategy
Mastering the art of canvas tilting is fundamental to achieving the desired flow and spread of swirled colors in a Swirl Pour technique. This process, although seemingly straightforward, requires careful consideration of canvas balance and tilt angles to maintain the integrity of your design.
When you start tilting the canvas, think of it as guiding the colors rather than forcing them. Here’s a simple checklist to help you perfect your technique:
- Set Your Canvas Level: Before you pour, make sure your canvas is perfectly balanced. An uneven canvas can lead to unwanted drips and distortions.
- Control Your Tilt Angles: After pouring, gently tilt the canvas in various directions. The key is to find the right angles that allow colors to flow without blending into a muddy mess.
- Move Slowly and Steadily: Rapid movements can disrupt the swirl patterns. Slow and steady is the way to go, ensuring each color maintains its vibrancy.
- Pause and Assess: Periodically stop to see how the paint is spreading. This helps you adjust your tilting strategy on the fly, ensuring a masterpiece every time.
The Ring Pour
The Ring Pour technique, renowned for its enchanting concentric circles, requires a meticulous approach to color layering and paint consistency to achieve visually compelling results. This technique relies heavily on understanding ring dynamics and achieving perfect color balance.
First, you need to layer your colors in a cup. The order and consistency are essential to maintain the integrity of the rings. Pour the paint in a circular motion, creating those beautiful, mesmerizing rings on your canvas. It’s vital to use a fluid mix that allows smooth pouring without breaking the rings.
After pouring, tilting the canvas slightly can help blend the colors, making the rings interact dynamically while keeping them distinct. This technique lets you experiment with different color combinations and layering methods, leading to unique, personalized ring patterns.
Here’s a quick look at the key elements:
| Element | Importance | Tip |
|---|---|---|
| Color Layering | High | Layer dark to light colors |
| Paint Consistency | Essential | Aim for a fluid, smooth mix |
| Pouring Motion | Essential | Keep a steady, circular pour |
| Canvas Tilting | Optional but impactful | Tilt gently to blend colors |
The Straw Blow
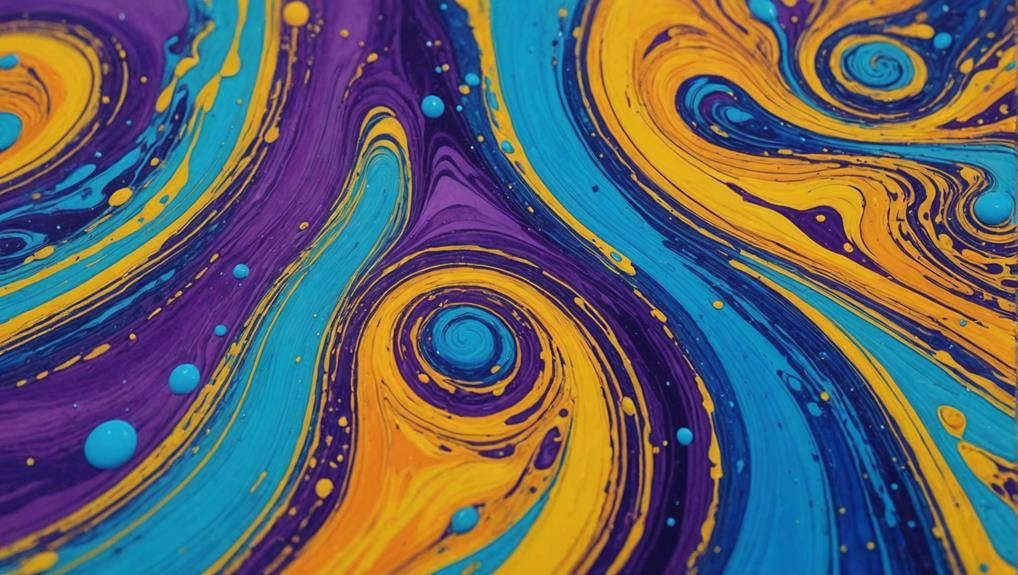
Utilizing a straw to blow acrylic paint across the canvas, the Straw Blow technique introduces dynamic, organic shapes and textures into your artwork. This method is perfect for artists wanting to add a touch of unpredictability and excitement to their pieces.
The key to mastering the straw technique lies in the fluidity of your paint; too thick, and it won’t move easily, too thin, and the colors will lose their vibrancy. By layering different colors on the canvas before blowing, the interaction between them creates unique, mesmerizing patterns.
Maintaining a steady hand and controlled breath while blowing through the straw guarantees you create cohesive shapes rather than chaotic splashes. This method can be surprisingly meditative, as you focus on the gentle, rhythmic motions of guiding the paint. Experimenting with varying intensities and angles of blowing can yield an astonishing range of effects.
To truly appreciate the Straw Blow technique, consider the following emotional benefits:
- Creativity: Release your artistic potential with this unpredictable method.
- Stress Relief: Feel the calming effects of controlled breathing and fluid motion.
- Surprise: Enjoy the magic of unexpected color interaction.
- Joy: Experience the simple pleasure of creating something uniquely yours.
The Swipe Technique
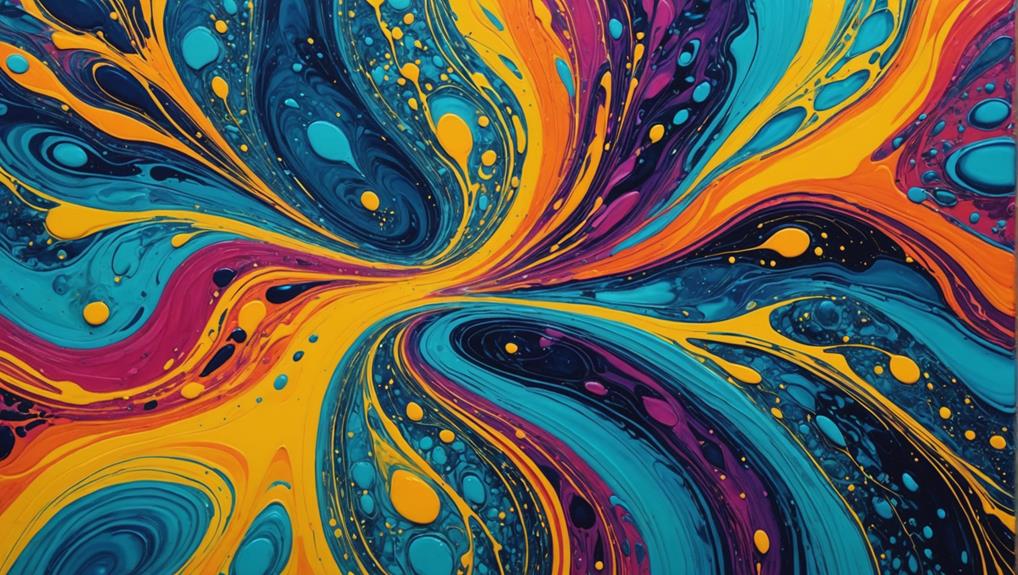
In the domain of acrylic pouring, the Swipe Technique stands out for its ability to create intricate patterns and stunning blends through the strategic movement of paint across the canvas. This fascinating method involves laying down a base layer of paint and then swiping additional colors using a tool like a palette knife or cardboard. The fluid consistency of the paints is essential, as thicker paints can stifle the swiping process and lead to less desirable outcomes.
Adding silicone oil to the colors being swiped can produce distinct cells and a marbled effect, enhancing the visual interest of the artwork. The oil creates negative space and intricate details that catch the eye.
Experimenting with different swipe tools, angles, and pressures can bring diverse textures and designs, giving each piece a unique, personal touch. Combining the Swipe Technique with other methods, such as the Dirty Pour or Flip Cup, can further amplify the complexity and depth of your creations.
| Swipe Tools | Effects | Tips |
|---|---|---|
| Palette Knife | Smooth, controlled swipes | Use light pressure |
| Cardboard | Broad, sweeping motions | Experiment with angles |
| Silicone Oil | Creation of cells | Add sparingly to some colors |
| Brushes | Detailed, fine lines | Vary brush sizes for texture |
The Dutch Pour
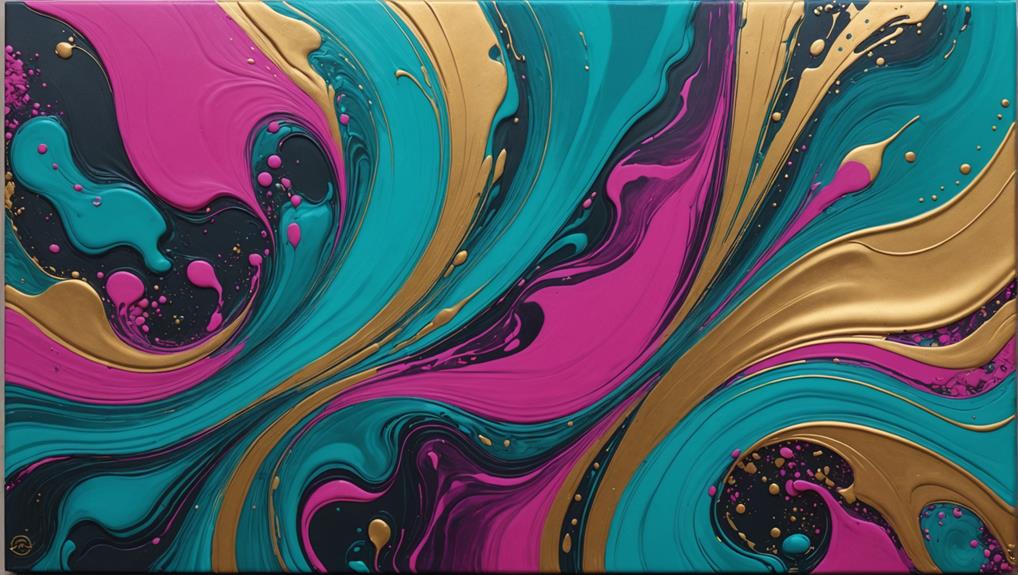
Employing a hairdryer or heat gun, the Dutch Pour technique orchestrates a mesmerizing dance of colors across the canvas. This enchanting method involves blowing the paint to generate dynamic movement and intricate blending. To achieve the ideal consistency, paint mixing becomes essential—fluid acrylics combined with a pouring medium and occasionally water guarantee smooth flow.
Here’s why the Dutch Pour is so alluring:
- Vibrant Color Blends: Watching colors merge and form new shades is like witnessing a rainbow come to life.
- Endless Creativity: The variety of effects you can achieve with different nozzle attachments and distances is boundless.
- Unique Patterns: The heat source not only moves the paint, but also creates fascinating cells and textures.
- Layered Depth: Starting with a base layer and adding colors on top brings a rich, textured dimension to your artwork.
When you spread that base layer evenly and pour the additional hues, the real magic begins. As you maneuver the hairdryer or heat gun, the colors swirl and stretch, creating an almost hypnotic effect.
Experimenting with this technique can reveal a treasure trove of artistic potential, making the Dutch Pour an exhilarating adventure in creativity.
The Bloom Technique
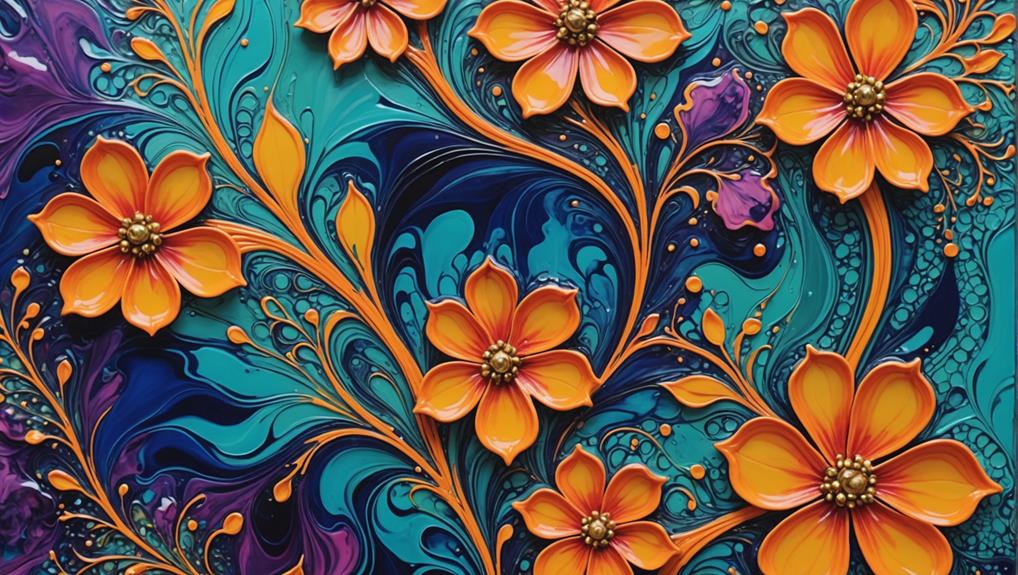
The Bloom Technique, distinguished by its enchanting organic shapes and dynamic cellular patterns, begins with the application of a white or light-colored base layer to enhance the vibrancy of the colors poured on top. This technique creates stunning, flower-like spreads of color, making it a favorite among acrylic pour artists.
The magic happens with color selection and paint consistency. First, mix your chosen acrylic paints with a pouring medium until they reach a thin, flowing consistency. This is essential—too thick, and the colors won’t spread; too thin, and they’ll run together. Adding a few drops of silicone oil helps produce those fascinating cells that give the bloom its signature look.
To start, pour your colors in a circular pattern over the base layer. Then the fun begins—use a straw or a blow dryer to gently blow the paint outward. This manipulation creates the organic shapes and intricate patterns that define the Bloom Technique.
Patience is key here; the thicker layers of paint take longer to dry. Allow your masterpiece to cure undisturbed for at least 48 to 72 hours for the best results.
The Bloom Technique offers a mesmerizing way to explore the interplay of color and motion in acrylic pouring.
The Wreck-a-Ring
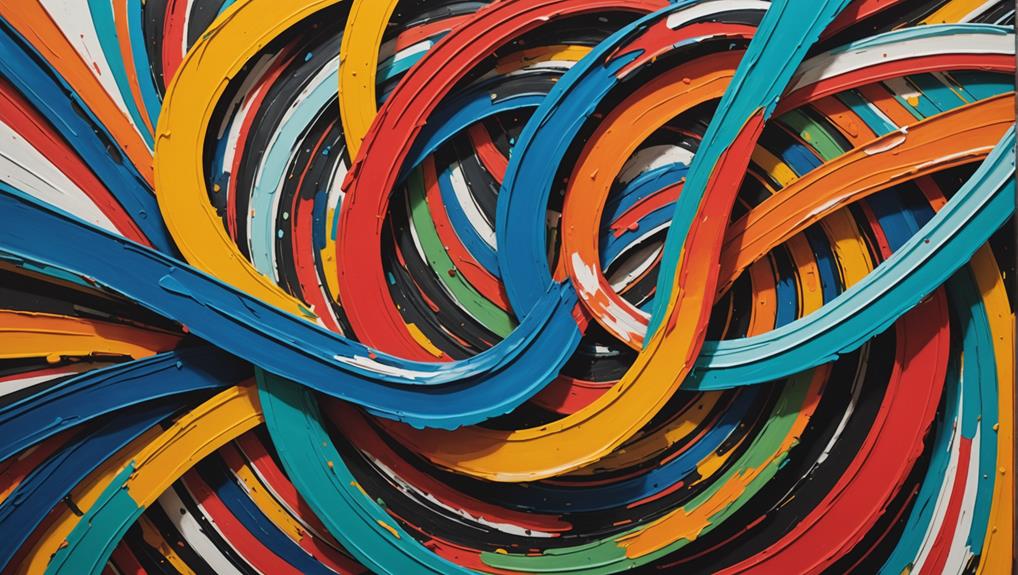
The Wreck-a-Ring technique is all about pouring paint in a circular motion to create mesmerizing rings on your canvas, and then manipulating it to form stunning designs.
Pouring slowly and steadily is key, as it helps keep those rings intact and prevents colors from getting too mixed up.
Once you’ve got your pour, tilting the canvas can spread the paint beautifully, leading to unique patterns that make each piece truly one-of-a-kind.
Pouring and Manipulation
By layering various colors in a cup and pouring them in a circular motion, artists can create the visually fascinating Wreck-a-Ring effect. This technique allows for dynamic color combinations and ring variations, making each artwork unique. To perform the Wreck-a-Ring, start by stacking different paint colors in a cup. Once your layers are ready, pour the paint onto the canvas while rotating the cup to form a spiral pattern.
After your initial pour, the real fun begins with manipulating the paint. Here are some techniques to enhance your Wreck-a-Ring:
- Tilting the Canvas: By tilting the canvas in different directions, you can stretch and warp the rings, creating enchanting new shapes.
- Using a Palette Knife: Gently dragging a palette knife through the paint can add intriguing textures and break up the rings for added complexity.
- Incorporating Silicone Oil: Adding a few drops of silicone oil to the paint can create mesmerizing cells within the rings, enhancing depth.
- Varying Pour Speed and Angle: Experimenting with how fast and at what angle you pour the paint can lead to surprising and delightful results.
These manipulation techniques offer endless possibilities, allowing artists to infuse personality and emotion into their work.
Unique Pattern Effects
Exploring the unique pattern effects of the Wreck-a-Ring technique reveals the potential for creating enchanting and intricate designs through careful manipulation of paint layers. This method starts by pouring paint in a circular motion to form concentric rings. You need to layer your colors in the cup just right to get the desired visual effects. A steady hand is essential here—keep your cool to maintain the rings’ integrity, making your painting more dynamic and engaging.
Want to spice things up? Play around with the speed and height of your pour. This can change the thickness and look of your rings, leading to countless ring variations. And don’t shy away from using contrasting colors and metallics. They can really make your design pop, adding a striking finish to your masterpiece.
After the pour, tilting the canvas is where the magic happens. This step lets you manipulate the rings further, creating unique interactions between the colors and adding depth to your composition. It’s like being a paint wizard, crafting spellbinding patterns that draw viewers in.
Frequently Asked Questions
What Makes the Best Cells in Acrylic Pouring?
The best cells in acrylic pouring are achieved through the interaction of silicone oil and varying paint densities. This enhances cell structure, creating dynamic color interactions. Techniques like heat application and controlled pouring further refine cell definition and distribution.
How Do You Get Really Large Cells in Acrylic Pour?
To achieve large cells in acrylic pour, use higher ratios of silicone oil, thicker pouring mediums, and apply gentle heat. Employ slower pouring techniques and strategically layer colors to enhance cell creation and achieve ideal results.
What Is the Best Consistency for Acrylic Pouring?
The best consistency for acrylic pouring should resemble heavy cream, facilitating smooth flow. Achieving this involves a 2:1 ratio of pouring mediums to paint. Careful color selection and proper mixing guarantee ideal results and vibrant patterns.
What Is the Formula for Acrylic Pouring?
The formula for acrylic pouring involves mixing acrylic paint with a pouring medium at a 2:1 ratio. To enhance color mixing and marbled effects, add 2-3 drops of silicone oil to each color mix.
Conclusion
The techniques discussed offer a wide range of creative possibilities for artists exploring advanced acrylic pouring.
Mastery of the colander pour, bottle pour, string pull, swirl pour, ring pour, swipe technique, Dutch pour, bloom technique, and wreck-a-ring can greatly enhance artistic expression.
Each method provides unique opportunities for innovation and experimentation, allowing artists to develop distinct styles and achieve enchanting effects.
Continuous practice and exploration of these techniques will certainly lead to dynamic and visually striking artworks.


Leave a Reply