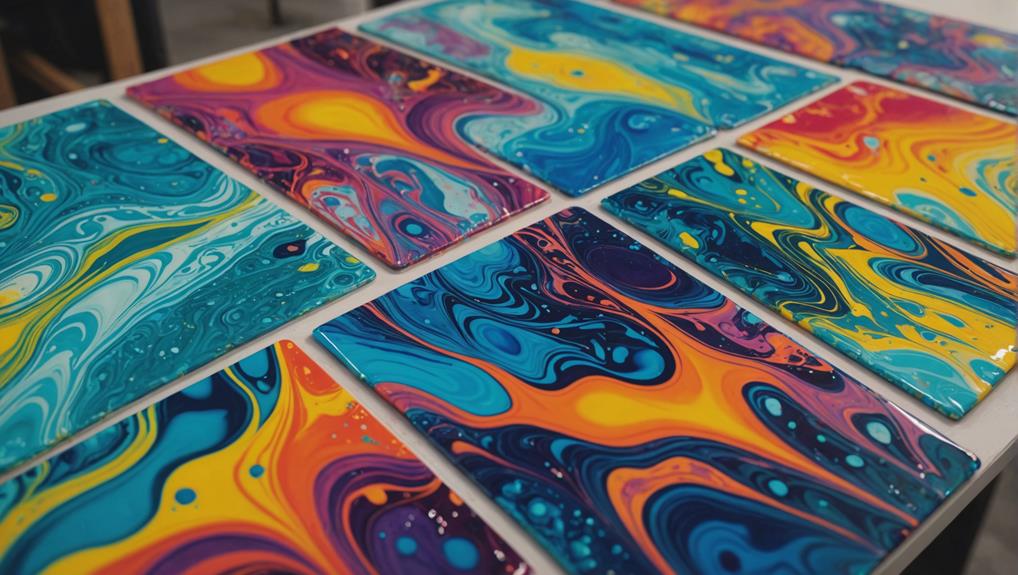
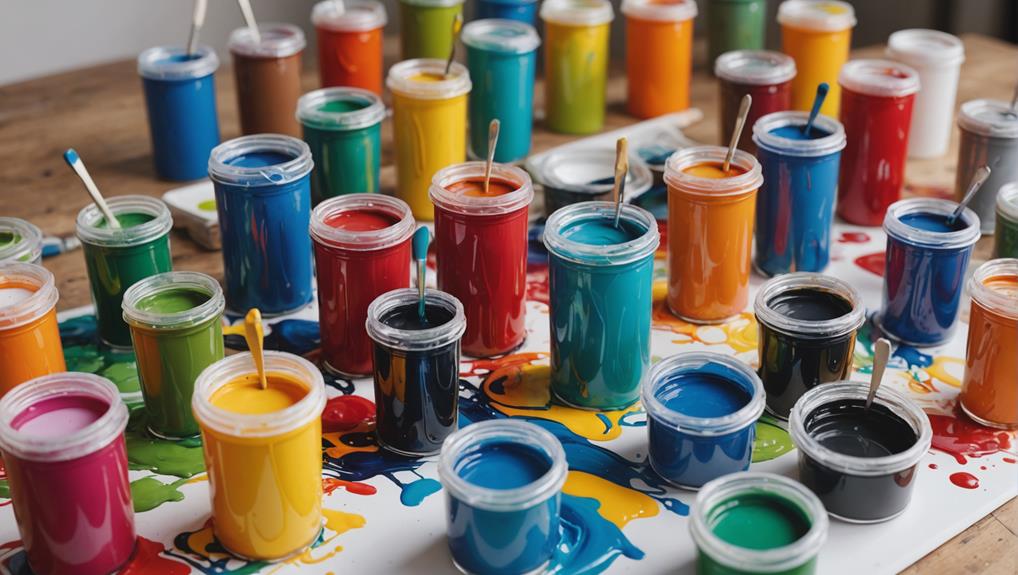
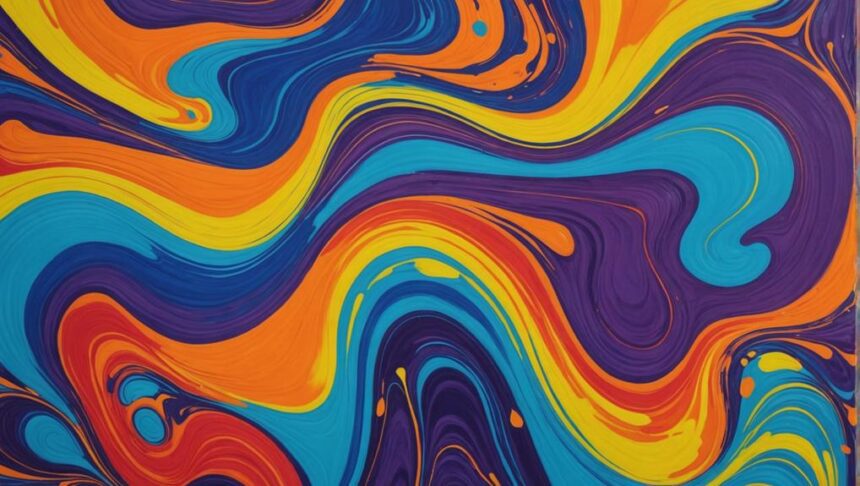
Acrylic pouring is an awesome way to create beautiful, flowing art pieces, even if you’re just starting out! This fun technique involves mixing acrylic paint with a pouring medium to get that dreamy, marble-like finish. You’ll need a few basics like vibrant acrylic paints, a canvas, and some mixing tools. Imagine swirling colors together and tipping the canvas gently to let the paint flow. It’s magical! Oh, don’t forget to protect your workspace from potential messes. Get ready to plunge into the messy, yet rewarding world of acrylic pouring, where every pour surprises you with a unique masterpiece!
Key Takeaways
- Acrylic pouring combines acrylic paint with a pouring medium for fluid, marble-like patterns.
- Essential materials include acrylic paint, pouring medium, canvas, mixing tools, and workspace protection.
- Soft body acrylics are ideal for pouring due to their minimal thinning requirements.
- Basic techniques include dirty pour, traditional pour, wet in wet swipe, and tilting the canvas.
What Is Acrylic Pouring?
Acrylic pouring, an enchanting fluid painting technique, involves combining acrylic paint with a pouring medium and applying it onto a canvas to create glossy, marble-like patterns. This mesmerizing art form is not just a modern trend but has roots in the history of abstract expressionism.
Early pioneers in fluid art, such as Jackson Pollock, experimented with pouring paint directly onto canvases to explore new artistic frontiers. While Pollock’s techniques were more focused on splattering and dripping, acrylic pouring has evolved to include a variety of methods that yield smoother, more controlled finishes.
Artistic influences for acrylic pouring are vast, drawing inspiration from both natural phenomena and contemporary art movements. The swirling patterns and vibrant colors often mimic the intricate designs found in marble, agate stones, and even planetary surfaces.
This technique has gained popularity among artists for its ability to produce stunning, unpredictable results that captivate viewers. The allure of acrylic pouring lies in its accessibility; beginners can achieve impressive outcomes relatively quickly, although mastering the subtleties of paint consistency and layering requires practice.
As artists continue to push the boundaries of this medium, acrylic pouring remains a dynamic and evolving form of creative expression.
Essential Materials
When preparing for an acrylic pouring project, having the right materials is essential to achieving desired results. To get started, you’ll need a few key items that are indispensable for mastering various acrylic pouring techniques and keeping up with paint pouring trends.
- Acrylic Craft Paint: Choose 2-3 colors to create vibrant and dynamic artwork. The quality of the paint affects the final look, so investing in good acrylic craft paint is important.
- Pouring Medium: This is crucial for achieving the right consistency in your paint mixtures. Options like Liquitex or Floetrol help the paint flow smoothly and prevent cracking as it dries.
- Canvas: You can use a canvas board or a regular canvas. Elevating your canvas on 3-4 small cups allows for smooth paint runoff and prevents excess paint from sticking to the bottom.
- Mixing Tools: Small disposable cups (2-3 oz) and wooden stir sticks are necessary for preparing your paint mixtures. These tools help you achieve the perfect blend of paint and pouring medium.
Additionally, protect your workspace with a tarp or baking sheet.
Consider using a kitchen torch to pop bubbles and enhance details in your artwork.
With these materials, you’re ready to explore the exciting world of acrylic pouring!
Choosing Paints
When choosing paints for acrylic pouring, it’s important to opt for soft body or fluid acrylics, as they provide better flow and consistency compared to heavy body acrylics, which may need extra pouring medium to achieve the right viscosity.
Mixing your paints with a medium like Liquitex Acrylic Pouring Medium in a 1:3 ratio guarantees smooth finishes and ideal pourability.
Limiting your palette to 2-5 complementary colors helps avoid muddy mixtures and keeps your artwork vibrant and visually appealing.
Selecting Paint Types
Selecting the appropriate paint type is vital for achieving ideal results in acrylic pouring techniques.
When diving into this vibrant art form, understanding color theory and texture exploration becomes significant. The right paint consistency can make or break your artwork, so let’s explore the best options.
Soft Body and Fluid Acrylics: These paints are your go-to for acrylic pouring. They offer a pourable consistency straight out of the bottle, minimizing the need for additional thinning. This makes them perfect for smooth, fluid pours.
Heavy Body Acrylics: While these paints have a thicker consistency, they can still be used for pouring if mixed with a substantial amount of pouring medium. This guarantees they reach the right viscosity for detailed and textured effects.
Pouring Mediums: Popular choices like Liquitex Acrylic Pouring Medium, DecoArt, and Floetrol help achieve a glossy finish and reduce air bubbles. They are vital in balancing the paint’s flow and drying properties.
Specialty Acrylics: Experimenting with metallic or glitter acrylics can add depth and a touch of sparkle to your pieces. These paints bring an extra element of texture exploration, enhancing the overall aesthetic of your artwork.
Color Combinations Tips
To create visually engaging acrylic pours, it is essential to carefully select a harmonious palette of 2-5 complementary colors. This approach fosters color harmony and prevents overwhelming the canvas. Utilizing color theory, consider incorporating contrasting colors to add dynamic and striking effects. For instance, pairing warm shades like reds and oranges with cool hues like blues and greens can greatly enhance visual interest.
Color psychology plays an important role in your selection process. Different colors evoke different emotions and responses. For example, blue can convey calmness while red can evoke excitement. Combining these insights can lead to more emotionally resonant artwork.
Testing your color combinations on a small scale before pouring is highly recommended. This practice allows you to visualize the final outcome and make necessary adjustments, ensuring that the colors blend well without creating muddy mixtures. Additionally, incorporating metallic and iridescent paints can add depth and shimmer, giving your artwork a unique, enchanting appeal.
Below is a simple table to illustrate some contrasting color pairings:
| Warm Colors | Cool Colors |
|---|---|
| Red | Blue |
| Orange | Green |
| Yellow | Purple |
| Pink | Turquoise |
| Gold | Teal |
Mixing Paint Consistencies
Achieving the ideal paint consistency is essential for successful acrylic pouring, requiring a balance of acrylic paint and pouring medium to secure smooth application and best flow. Imagine trying to pour warm honey—that’s the kind of paint viscosity you’re aiming for! This guarantees your paint spreads evenly on the canvas, creating those mesmerizing patterns.
To get started, here are some useful tips:
- Medium Ratios: A common practice is mixing 1 part acrylic paint with 3 parts pouring medium. This ratio helps attain that perfect, pourable consistency.
- Choosing Acrylics: Soft body and fluid acrylics are your best friends here. They have lower viscosity, making them easier to mix. If you’re using heavy body acrylics, you’ll need to add more medium to match the same flow.
- Color Mixing: Stick to complementary colors and limit yourself to no more than 5 shades. This prevents your artwork from turning into a muddy mess, securing bright and vibrant results.
- Adding Silicone: A little silicone oil can create cool cells in your artwork. But be cautious—not too much, or it might mess with the paint’s quality.
Following these guidelines, you’ll be set to create beautiful, fluid acrylic pours!
Preparing Your Workspace
Setting up your workspace properly is essential for a smooth acrylic pouring experience.
Start by protecting your surfaces with a drop cloth or plastic sheeting to catch any spills, and raise your canvas to let the paint flow freely.
Keep cleaning supplies handy to quickly tackle any messes, and organize your materials within arm’s reach to keep the process efficient and enjoyable.
Surface Protection Essentials
Protecting your workspace effectively is essential for a successful acrylic pouring session. When the paint starts flowing, things can get pretty messy, so ensuring your area stays clean and damage-free is vital. Here’s why the drop cloths importance can’t be overstated: they catch all those colorful drips, maintaining your workspace cleanliness and preventing potential damage.
Here are some key tips to keep things tidy:
- Use Drop Cloths or Plastic Sheeting: Lay these down to catch any paint runoff. You can even use old shower curtain liners for an eco-friendly twist.
- Elevate Your Canvas: Place your canvas on small cups or a cooling rack. This allows excess paint to drip off without pooling underneath, making cleanup a breeze.
- Wipe-Clean Tablecloth: Cover your workspace with a wipe-clean tablecloth. This makes managing spills easier and keeps the area tidy.
- Hand Protection: Keep rubber gloves handy. They protect your hands from paint and pouring medium, making the process more enjoyable and less messy.
Taking these steps will help you maintain a neat workspace, so you can focus on the fun part—creating your masterpiece!
Organizing Cleaning Supplies
Efficiently organizing cleaning supplies is essential to ensuring a smooth and stress-free acrylic pouring experience. Imagine you’re in the middle of a paint pour and suddenly realize you’ve splattered paint everywhere—panic sets in, right? That’s why having a solid supply organization plan is vital.
Start by keeping easy-to-reach cleaning supplies, like sponges, towels, and a basin filled with soapy water, nearby. Trust me, you’ll thank yourself when you can quickly tackle those unexpected spills. Rubber gloves are also a lifesaver; they protect your hands from the paint and medium, making cleanup a breeze.
Don’t forget to have a scraper or a piece of acetate handy. These tools help you swipe paint and manipulate designs on your canvas effectively—think of them as your secret weapons!
Also, prepare some empty bottles, cups, or jars to collect any excess paint. This clever cleaning strategy minimizes waste and lets you reuse paint for future projects.
Mixing Paint and Medium
Achieving the ideal consistency for acrylic pouring involves meticulously mixing the paint with a suitable pouring medium in precise ratios. To create a pourable consistency, it is generally recommended to mix acrylic paint with a pouring medium at a ratio of 1 part paint to 3 parts medium, guaranteeing the mixture resembles warm honey. This specific mixing ratio helps in achieving the desired flow and smoothness for your artwork.
Using fluid pouring mediums like Liquitex or Floetrol can not only help achieve a smooth, self-leveling finish but also reduce the occurrence of air bubbles in the paint.
Here are four essential tips to keep in mind when mixing paint and medium:
- Different Paint Types: Experiment with various acrylic paint types such as soft body or fluid acrylics. Heavy body acrylics may require more medium to reach the desired viscosity.
- Silicone Oil: Adding silicone oil to your paint mix can create unique cells and textures, but use it sparingly to avoid paint degradation.
- Mix More Paint: Always mix more paint than you think you’ll need. Excess paint can be stored in airtight containers for future use, reducing waste.
- Thorough Mixing: Guarantee thorough mixing of the paint and medium to avoid lumps and inconsistencies in your final pour.
Basic Pouring Techniques
Exploring basic pouring techniques is essential for mastering the art of acrylic pouring and achieving diverse artistic effects.
One popular method is the Dirty Pour, where you layer multiple colors in a single cup before pouring them onto the canvas. This technique creates unique and unpredictable patterns, perfect for those who love surprises in their artwork.
Another approach is the Traditional Pour, where each color is poured separately onto the canvas. This allows for distinct separation of colors and more controlled designs, ideal for artists looking for precision.
The Wet in Wet Swipe method uses a base layer of white paint, over which other colors are swiped to create cells and depth. This canvas technique adds a dynamic, layered look to your art.
After pouring, tilting the canvas helps spread the paint evenly, ensuring varied effects and complete coverage. Experimenting with additives like silicone oil can enhance the creation of cells, adding texture and visual interest.
Each of these color layering techniques offers a different way to express your creativity, making acrylic pouring an exciting and versatile art form. Remember, practice makes perfect, so don’t be afraid to experiment!
Drying Time and Care

After experimenting with various pouring techniques, understanding the drying time and care for your acrylic pour paintings is vital to preserving the integrity and beauty of your artwork. Knowing the appropriate drying techniques and being aware of curing factors can make a significant difference in your final piece.
Here are some key points to reflect on:
- Drying Time: Acrylic pour paintings need at least 24 hours to dry, but thicker layers can take up to 72 hours. Patience is essential here; don’t rush the process.
- Undisturbed Environment: Keep your artwork in a stable, undisturbed place while it dries. Any disturbances can alter the patterns or cause the paint to run off the canvas, ruining your hard work.
- Curing Factors: The quality of the paint, the thickness of its application, and the type of pouring medium you use all influence how your painting cures. Higher-quality materials generally result in better finishes.
- Surface Preparation: Always seal absorbent surfaces before painting. This step guarantees that the paint doesn’t get excessively absorbed, leading to a uniform finish.
Maintaining a clean workspace with standard room conditions is essential to prevent contaminants from affecting your painting’s quality. By following these tips, you’ll guarantee your acrylic pour paintings dry beautifully and retain their intended appearance.
Troubleshooting Issues
Encountering issues with acrylic pouring is common, but understanding how to troubleshoot them can enhance the quality of your artwork.
One frequent problem is paint viscosity. If your paint isn’t moving on the canvas, it’s likely too thick. You can fix this by adding more pouring medium, which thins the paint and helps it flow better. On the flip side, if the paint runs off the canvas too quickly, it’s too thin. To solve this, mix in more paint to achieve a thicker consistency that stays in place.
Another common issue is incomplete coverage. This can be frustrating, but it’s easy to fix. Just mix additional paint and reapply it strategically to the bare spots. This guarantees a more even and polished finish.
Bubble prevention is also essential for a smooth pour. Bubbles can appear if the paint is mixed too vigorously. To minimize them, gently tap the underside of the canvas or use a toothpick to pop any bubbles before the paint dries.
If all else fails, don’t be afraid to scrape off the wet paint and start anew, or pour fresh paint over a dry layer to create a new design.
Further Resources

For artists looking to deepen their expertise and resolve common issues in acrylic pouring, a plethora of further resources are available to enhance their skills and knowledge. Engaging with these resources can make a substantial difference in your artistic journey. Here are some valuable options to evaluate:
- Instructional Videos: The YouTube channel ‘Acrylic Paint Pouring with Tanja Jung’ is a fantastic resource. Tanja’s visual demonstrations and tutorials help beginners grasp various pouring techniques effectively, making complex methods easier to understand.
- Books: ‘The Art of Fluid Painting’ offers in-depth insights into the techniques and materials specific to fluid art. This book caters to both beginners and advanced artists, providing a wealth of information on improving your craft.
- Online Communities: Participating in online communities and forums dedicated to acrylic pouring can be incredibly beneficial. These platforms allow you to get valuable feedback, tips, and inspiration from fellow artists, fostering a sense of belonging and shared learning.
- Workshops: Many local art supply stores often hold workshops or classes on acrylic pouring. These sessions provide hands-on experience and direct guidance from experienced instructors, which can be invaluable for mastering new techniques.
Frequently Asked Questions
What Is the Formula for Acrylic Pouring?
The formula for acrylic pouring involves mixing 1 part acrylic paint with 3 parts pouring medium for ideal consistency. Effective pouring techniques and limiting color combinations to 4-5 can enhance the clarity and vibrancy of the artwork.
What Do You Put on Canvas Before Pouring Acrylic?
Before pouring acrylic, canvas preparation is essential. Use a pre-gessoed canvas for a smooth surface, raise it on cups for ideal paint runoff, and make sure it is clean and free from contaminants for effective pouring techniques.
What Are the Basic Steps of an Acrylic Painting?
The basic steps of an acrylic painting include preparing your canvas, selecting a color palette based on color theory, applying a base layer, and using layering techniques to build depth and detail, followed by drying the artwork.
What Do I Mix With Acrylic Paint for Pouring?
To achieve a pourable consistency for acrylic pouring, mix acrylic paint with pouring mediums at a 1:3 ratio. Silicone oil can be added sparingly for cell formation. Limit color mixing to around five hues to prevent muddiness.
Conclusion
Acrylic pouring is an accessible and engaging art form that blends creativity with scientific principles.
Mastery of its basics, including understanding essential materials, paint selection, workspace preparation, paint and medium mixing, and fundamental pouring techniques, is vital.
Attention to drying time, proper care, and troubleshooting common issues further enhance the artistic process.
Continued exploration through additional resources can greatly expand one’s proficiency and appreciation for this dynamic art practice.


Leave a Reply