Working with resin molds can be incredibly fun and messy, but with some smart tricks, you'll nail it every time! Start by preparing a non-stick workspace covered in plastic or newspapers—trust me, resin sticks to everything else. Keep your tools organized; silicone cups are magic for easy cleaning. Always mix resin and hardener exactly as directed, and remember—it's all about temperature control! Use heat guns to zap pesky bubbles and maintain a stable room temperature. Oh, and don't forget your safety gear. With these tips, even a beginner can create stunning resin pieces that will impress everyone by following just a few straightforward steps.
Key Takeaways
- Use mold release agents to ensure easy demolding and prolong mold lifespan.
- Clean molds meticulously to remove dust and residue for optimal resin adhesion.
- Warm resin in a water bath for 5-10 minutes to improve mixability and consistency.
- Cover curing projects to protect against dust and airborne particles.
Work Area Preparation
When preparing your work area for resin projects, it is essential to use non-stick surfaces to prevent spills from causing damage and to facilitate easy cleanup. Imagine the horror of finishing a beautiful resin piece only to find your dining table ruined! To avoid such disasters, think about workspace cleanliness first. Lay down protective coverings like plastic sheeting or old newspapers. These barriers catch any rogue drips, saving your table from becoming a sticky mess.
Painter's tape is your secret weapon here. Use it to mask off areas around your workspace, ensuring that resin stays exactly where you want it. No one enjoys peeling hardened resin off their favorite table.
Another vital step is preparing a dome or cover to shield wet resin from dust. Even tiny particles can ruin the glossy finish you worked so hard to achieve. Picture a perfectly smooth surface, now marred by a single speck of dust—heartbreaking, right?
And remember, not all surfaces are created equal. Research and choose materials that resin won't adhere to, ensuring your workspace remains tidy. By focusing on these steps, you can achieve a clean, protected area perfect for your resin projects.
Organizing Supplies
To kick off an organized resin project, having all your essential tools ready is vital.
Imagine the frustration of hunting for a missing mold or mixing cup just when you're in the creative zone!
Essential Resin Tools
Efficiently organizing essential resin tools like mixing cups, stir sticks, and a heat gun is crucial for a streamlined resin pouring process. When you have everything in its place, you can focus on perfecting your mixing techniques and cleaning methods without unnecessary interruptions. Silicone mixing cups are a game changer—they make cleanup super easy! Just wait for the resin to harden, peel it off, and pop the cups in the dishwasher for reuse.
Having a designated spot for your decorative mix-ins, like glitter and beads, is equally important. Labeled containers make it a breeze to find just what you need, adding sparkle to your projects without any fuss. Also, don't forget your safety gear. Keep gloves and a respirator nearby to protect yourself from epoxy resin fumes.
Here's a quick reference table to help you get organized:
| Essential Tool | Purpose |
|---|---|
| Mixing Cups | For accurate resin measurement |
| Stir Sticks | To mix resin and hardener |
| Heat Gun | Bubble removal |
| Glitter, Beads, Inks | Decorative mix-ins |
| Gloves, Respirator | Personal protection |
| Mold Release Agents | Easy demolding |
Properly stored molds and the use of mold release agents can prolong mold lifespan and facilitate easy demolding, making your resin crafting journey smoother and more enjoyable!
Efficient Workspace Setup
A well-organized workspace is the cornerstone of efficient resin crafting, ensuring that all supplies are easily accessible and properly arranged. Start by preparing your workspace with non-stick surfaces to guard against resin spills, and tape off areas to prevent unwanted resin contact. This not only helps maintain workspace aesthetics but also keeps your materials in top condition.
An efficient layout can be achieved by gathering all necessary supplies like mixing cups, stir sticks, and safety gear before you start mixing your resin. This way, you won't get distracted searching for items mid-process. Utilize a resin beginner supply checklist to make sure you have everything you need within arm's reach. This simple step can drastically improve your workflow.
Setting a timer to track the pot time of your mixed resin is another key trick. It helps you manage your pace, ensuring you finish your tasks before the resin begins to cure. Additionally, keep a first aid kit accessible to handle any minor accidents quickly.
Incorporating these steps into your workspace setup not only boosts efficiency but also enhances your overall crafting experience. Remember, a well-organized space is a happy space!
Handling Resin Safely
Properly handling resin requires meticulous organization of supplies to secure both safety and efficiency during your crafting process. Resin can be tricky, and nobody wants to deal with resin allergies or accidents that could have been avoided with a bit of planning.
First things first, let's gather all the essentials: resin, hardener, mixing cups, gloves, and safety gear. Having everything ready before you start will make the process smoother and keep distractions at bay.
Now, let's talk about your workspace. You want to use non-stick surfaces and protective mats to prevent spills and protect your table. This will save you from a sticky nightmare later!
Keeping all your tools and accessories within arm's reach is vital for streamlining the mixing and pouring process. Trust me, you don't want to be running around looking for a tool while your resin is curing.
To help you stay on track, set a timer to monitor the pot time of mixed resin. This guarantees you stay within the working time limits for best results.
- Gather all necessary supplies beforehand.
- Use non-stick surfaces and protective mats.
Following these safety protocols will keep your crafting experience safe and enjoyable!
Resin Basics
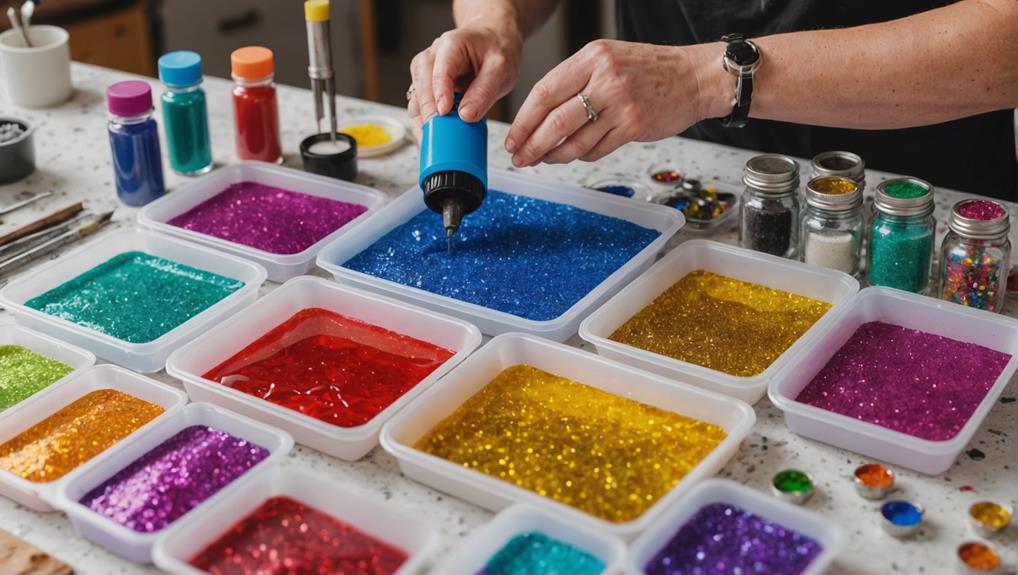
Understanding the fundamental properties and components of epoxy resin is vital for achieving successful outcomes in resin projects.
Epoxy resin consists of two parts: the resin itself and a hardener. These components must be mixed in precise ratios to guarantee proper curing. Incorrect mixing ratios can lead to issues like tackiness or incomplete hardening, which can ruin your project. Different resin types are available, each designed for specific applications. Whether you are casting, coating, or working on art, selecting the right type of resin for your project is essential.
The curing process transforms the liquid mixture into a solid plastic, achieving a durable, high-gloss finish. This chemical reaction requires attention to detail, especially regarding temperature. Maintaining room temperatures in the low 70s Fahrenheit is ideal for best curing. Neglecting temperature control can result in a subpar finish or extended curing times.
Safety is another significant aspect when working with resin. Always wear gloves and masks to protect yourself from fumes and skin contact with uncured resin.
Understanding these basics will set the foundation for your resin projects, allowing you to create beautiful, long-lasting pieces.
Following Resin Directions
Adhering strictly to the instructions provided by the resin manufacturer is essential for guaranteeing ideal results in your projects. Different resin brands have unique requirements, so understanding and following them is vital. Start by carefully reading the instructions for resin mixing and curing times. This will help you avoid common pitfalls and achieve a perfect finish.
To make the process smoother, here are a few key points to remember:
- Mixing Ratios: Always follow the specified ratios for resin and hardener. Inaccurate measurements can lead to improper curing.
- Open Time: Pay attention to the open time, which is the period you can work with the resin after mixing. Use a timer to keep track.
Ignoring these details can lead to problems like sticky surfaces or incomplete curing. Also, remember to pay attention to the minimum and maximum mixing quantities specified in the directions. This way, you guarantee the resin cures properly and avoid wasting materials.
Drying Materials
When working with resin, ensuring your materials are properly dried is essential for achieving a flawless finish.
Proper ventilation techniques, such as using fans or opening windows, can help speed up the drying process and reduce humidity in your workspace.
Additionally, you can use tools like hairdryers or heat guns to accelerate drying, but be cautious not to overheat the items and compromise their integrity.
Proper Ventilation Techniques
To guarantee a safe and effective resin curing process, it is vital to maintain proper ventilation in the workspace to dissipate fumes and control moisture levels. The importance of ventilation cannot be overstated, as it directly impacts air quality and your health while working with resin. Making sure that your workspace is well-ventilated will prevent the buildup of potentially harmful fumes and create a more pleasant environment.
Here are some practical tips to improve your workspace:
- Open Windows and Use Fans: Promote airflow by opening windows and using fans. This helps to disperse fumes and keeps the air fresh.
- Use an Air Purifier: Consider using an air purifier with a HEPA filter to capture airborne particles, guaranteeing cleaner air quality and a healthier workspace.
Additionally, allowing natural materials like flowers and papers to dry completely in a well-ventilated area is vital. Moisture can compromise the resin's integrity, so make sure these materials are thoroughly dried before use.
Accelerating Drying Process
Ensuring that all materials are thoroughly dried before embedding them in resin is paramount to maintaining the resin's integrity and achieving ideal results. Imagine spending hours perfecting your resin project only to have it ruined by a bit of hidden moisture—heartbreaking, right? To avoid this, let's talk about some nifty ways to speed up the drying process.
Desiccant methods are your best friends here. You can use silica gel packets, like the ones you find in new shoe boxes, to suck the moisture out of your flowers or papers. Just toss them in a sealed container with your items and let them work their magic.
Another trick is to place your materials in a warm environment. A sunny windowsill or a low-temperature oven works wonders, but be careful not to overdo it and damage your items.
If you're in a hurry, a heat gun or hairdryer on the low setting can gently warm and dry surfaces. Remember though, patience is key—rushing can lead to overheating and damage.
Surface Preparation
Proper surface preparation is vital to achieving high-quality results in resin casting. Whether you are working with silicone, plastic, or metal molds, preparing the surface correctly can make all the difference. Different mold types come with various surface textures, each presenting unique challenges. Here are some important steps to guarantee your resin casting turns out perfectly:
- Thorough Cleaning: Always clean your mold surfaces meticulously to remove any dust or residue. This guarantees proper adhesion of the resin and results in a smooth finish.
- Mold Release Agent: Apply a suitable mold release agent, like aerosol spray or paste wax. This not only facilitates easy demolding but also helps prolong the lifespan of your mold.
If you're dealing with glossy molds, a light sanding might be necessary to enhance resin grip, as very slick surfaces can cause issues.
Additionally, for porous molds, using a primer can reduce resin absorption and improve the overall surface finish of your cast piece.
These preparatory steps can greatly impact the quality of your resin creations.
Ideal Temperature Conditions
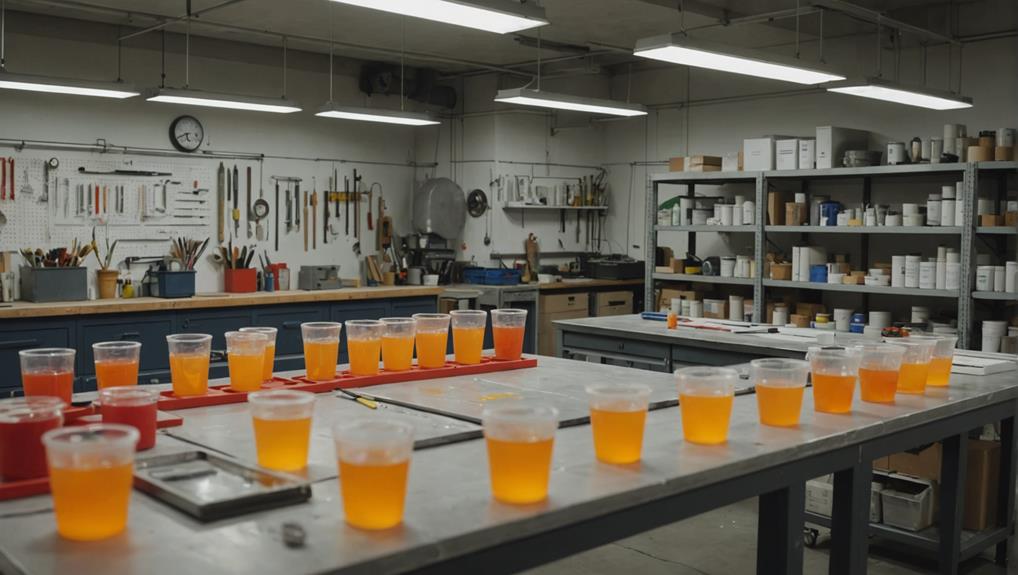
Maintaining an ideal room temperature in the low 70s F (around 21-23°C) is essential for achieving the best results with resin molds, as it helps prevent issues like bubbles or poor adhesion.
Monitoring the temperature and making adjustments when needed, such as using space heaters in colder environments, can greatly impact the curing process.
Additionally, always check the resin manufacturer's recommendations to confirm you're working within the ideal temperature range for your specific resin type.
Optimal Room Temperature
Achieving ideal resin curing conditions requires maintaining a consistent room temperature in the low 70s Fahrenheit (around 21-23 degrees Celsius). Confirming the right resin temperature is essential for curing consistency. Fluctuations can mess with the resin's viscosity, making it tricky to get that perfect mix and pour.
Imagine trying to pour honey on a freezing day versus a hot summer afternoon—similar issues arise with resin. Cold temperatures can make the resin thicker and tough to mix, while higher temperatures can speed up the curing process, leading to more bubbles. Neither scenario is fun when you're aiming for a flawless finish.
To avoid these pitfalls, let your resin acclimate to room temperature before mixing. This simple step can save you a lot of headaches.
Here are some quick tips to keep your resin projects on track:
- Acclimate: Always let your resin sit in the room where you'll be working for a few hours to reach the ideal temperature.
- Monitor: Keep an eye on your workspace's temperature to avoid unexpected shifts.
Temperature Monitoring Techniques
To guarantee consistent curing conditions for resin, employing effective temperature monitoring techniques is paramount. Resin can be quite finicky, and temperature fluctuations can throw a wrench in your project.
Keeping the room temperature in the low 70s Fahrenheit (around 21-23 degrees Celsius) is your best bet. Anything too hot or too cold can mess up the curing process, leaving you with a sticky or uneven mess.
One of the essential monitoring tools for this task is a reliable thermometer. Check the temperature of your workspace before you even think about mixing your resin. It's like checking the oven before baking a cake; you want everything just right.
If you find your space is a bit chilly, consider warming things up with a space heater or a heat lamp. But, be careful not to overdo it—resin hates extremes!
Another handy trick is to warm your resin and hardener in a water bath for 5-10 minutes before mixing. This not only makes the resin easier to mix but also helps avoid those pesky temperature fluctuations that can ruin your masterpiece.
Cold Weather Adjustments
Resin enthusiasts must adapt their techniques during cold weather to secure ideal curing conditions and avoid common pitfalls associated with low temperatures. When it's chilly, resin can become thicker, making it harder to mix and more prone to bubbles. Nobody wants a bubbly mess, right? So, how can you keep things smooth?
First, aim to maintain your workspace in the low 70s F (around 21-23°C). If your room is more like an icebox, consider using space heaters or heat lamps to warm things up. This keeps the resin at a good consistency. Another nifty trick is to warm your resin bottles in a water bath for about 5-10 minutes before use. This simple step can make a big difference.
Also, keep your curing area free from drafts and temperature swings.
Here are some quick tips:
- Use a curing box or an insulated enclosure to secure a stable temperature.
- Remember that lower temperatures can stretch out the curing time, so be patient before demolding.
Curing Process
Ensuring a successful curing process for resin molds involves maintaining a stable temperature and avoiding disturbances to the material.
Curing times vary based on resin chemistry, with an initial hardening taking about 24 hours, though full strength can take several days. During this period, it's essential to keep the temperature steady around the low 70s°F. Sudden changes can cause issues like incomplete curing or unsightly surface imperfections, which nobody wants!
One golden rule: no touching! As tempting as it is to poke and prod, touching the resin while it's curing can mess up the process and leave marks.
Also, dust and debris are the enemies of a flawless finish. Covering your project with a dome or something similar can keep those pesky particles away. Think of it as tucking your resin in for a good night's sleep.
Resin Heating Techniques
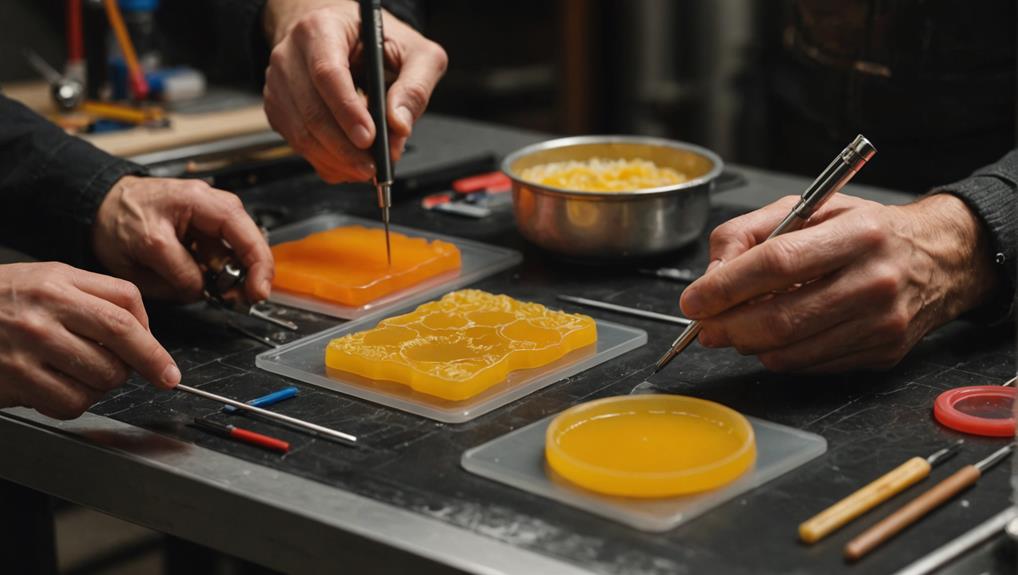
Properly heating resin can greatly enhance both the mixing process and the quality of the final product.
When working with resin, maintaining the right resin viscosity is essential for achieving a smooth and bubble-free finish. Here are some effective techniques to guarantee your resin is ideally heated:
- Water Bath: Warm your resin and hardener bottles in a water bath for 5-10 minutes. This not only promotes easier mixing but also considerably reduces bubble formation.
- Thermometer Usage: Always use a thermometer to monitor the water temperature. Making sure the water is properly heated, without being too hot, will help maintain the resin's quality.
Avoid using cold resin as it can lead to a thick consistency, complicating the mixing process.
During the heating duration, make sure the bottles are securely closed to prevent any spillage or contamination.
Proper heating techniques can make a world of difference, guaranteeing that your resin projects come out perfectly every time.
Color Mixing Techniques
Achieving vibrant and consistent hues in resin projects requires meticulous attention to the color mixing process. Properly blending your resin and hardener first is essential. Once the mixture is clear and streak-free, you can incorporate your colorants, such as alcohol inks or resin pigments. Adding colorants at this stage guarantees the clarity and curing process of your resin remains uncompromised.
When aiming for the perfect color intensity, remember that a little goes a long way. Overloading your resin with too much pigment can affect its transparency and curing. It's best to start with a small amount and gradually add more until you achieve your desired shade. Separate mixing cups for each color will prevent cross-contamination, preserving the purity of each hue.
Layering techniques can add depth and dimension to your resin creations. By pouring different colors in successive layers, you can create unique effects. Allow each layer to partially cure before adding the next one to prevent unwanted blending. This method also helps in maintaining distinct color boundaries, enhancing the complexity and beauty of your final piece.
Always test your colors on a small scale first to guarantee accuracy before committing to larger projects.
Calculating Resin Quantity
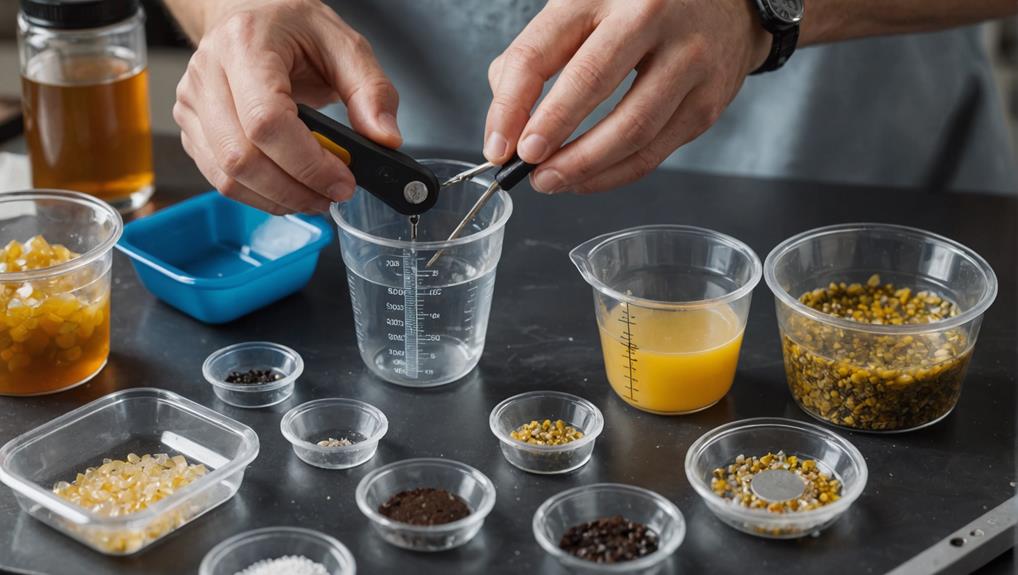
Accurate resin quantity calculation is fundamental to the success of any resin project, ensuring you have enough material to achieve your desired results without unnecessary waste.
To start, you'll need a ruler to measure the dimensions of your project, then multiply the length, width, and height to find the total volume in cubic inches or centimeters. Sounds simple, right? But wait, there's more!
When calculating, don't forget to account for the thickness of the resin layer you plan to pour. Whether your project requires a thin 1/4 inch layer or a thicker 3 inches, this detail is essential for measurement accuracy. And believe me, there's nothing worse than running out of resin mid-pour.
To keep things easy and precise, consider using a resin calculator like the one from Resin Obsession. Just input your mold dimensions, and voila, it tells you exactly how much resin you need.
- Measure project dimensions and calculate volume
- Account for resin layer thickness
Remember to keep a record of past projects. This helps refine your estimates and improves accuracy over time. Mixing the right amount saves you from unnecessary waste and keeps your project smooth sailing!
Mold Preparation
Preparing your mold correctly is vital to guarantee a smooth demolding process and a flawless final piece. The first step is mold cleaning. Confirm the mold surface is clean and free of any dust or debris, which can affect proper adhesion and result in a bumpy finish. Use a soft cloth or brush to clean the mold thoroughly.
Next, apply a mold release agent. This step is important as it facilitates easy demolding and prolongs the mold's lifespan. Spray or brush the mold release agent evenly over the mold, making sure to cover all surfaces. Allow it to dry for 20-30 minutes to maximize its effectiveness and prevent the resin from sticking.
Flexible silicone molds are highly recommended, as they allow for easier removal of cured resin pieces without damaging them. For custom molds, sealing the sides with silicone or hot glue can help prevent leaks during the pouring process.
Here's a quick reference table to guide you through the mold preparation steps:
| Step | Action | Tip |
|---|---|---|
| Mold Cleaning | Clean with a soft cloth or brush | Confirm no dust or debris is left |
| Mold Release | Apply release agent | Allow 20-30 minutes for drying |
| Silicone Molds | Use flexible silicone molds | Eases removal of cured resin |
| Sealing Custom | Seal sides with silicone or hot glue | Prevents leaks during pouring |
| Final Check | Inspect mold for cleanliness and coverage | Confirm mold release is applied evenly |
Frequently Asked Questions
How to Get the Best Results With Resin?
To achieve ideal results with resin, guarantee thorough mixing of resin and hardener, use flexible molds, and apply mold release agents. Carefully monitor curing times and incorporate resin colorants in moderation to maintain clarity and integrity.
How to Properly Work With Resin?
To properly work with resin, prioritize resin safety by using protective gear and guaranteeing proper ventilation. For ideal results, focus on meticulous mold preparation: clean, dry, and apply a mold release agent to guarantee seamless demolding and product integrity.
What Are Three Important Tips When Pouring Resin?
Three important tips when pouring resin include thorough resin color mixing, employing appropriate mold release techniques to prevent sticking, and maintaining a controlled pour to minimize air bubbles and guarantee a smooth, professional finish.
How to Keep Resin From Sticking to Mold?
To prevent resin from sticking to molds, apply release agents like aerosol spray or paste wax. Make certain molds are clean and dry, and prioritize using flexible silicone mold types, which facilitate easier demolding compared to rigid alternatives.
Conclusion
In conclusion, mastering resin molds involves several critical steps:
preparing the work area,
organizing supplies,
understanding resin basics,
adhering to resin directions,
drying materials properly,
utilizing resin heating techniques,
mixing colors effectively,
calculating the right amount of resin,
and preparing molds correctly.
Attention to detail and adherence to best practices guarantee successful outcomes, fostering creativity and precision in resin crafting.
Such diligence leads to high-quality results that reflect careful planning and execution.


Leave a Reply