Creating your own fluid art wall panels is an exhilarating way to splash creativity across your walls! You’ll be playing with vibrant acrylic paints that flow unpredictably, making each piece uniquely yours. First, choose colors that vibe with your space, and gather essentials like fluid acrylics, pouring mediums, and a sturdy canvas. Clear a workspace, mix your paints right—two parts paint to one part medium, add a dash of silicone oil for funky cells, and pour away with techniques like Dirty Pour or Flip Cup. Let your masterpieces dry, seal them for protection, and mount them perfectly to dazzle your guests. Want to explore more? Keep going!
Key Takeaways
- Choose fluid acrylic colors and appropriate pouring mediums for effective paint movement and visual appeal.
- Experiment with basic pouring techniques like Straight Pour, Dirty Pour, and Flip Cup for unique designs.
- Organize and cover the workspace to prevent spills and stains, ensuring materials are within easy reach.
- Maintain a 2:1 paint-to-pouring medium ratio for optimal consistency and to prevent cracking.
Benefits of Fluid Art
Fluid art offers numerous benefits, including fostering spontaneous creativity through its unpredictable paint movements, which result in unique and non-replicable designs.
This form of art is like a playground for creative expression, allowing artists to experiment with colors and techniques without the constraints of traditional methods. The joy of watching paint swirl and blend on the canvas can ignite a sense of wonder and artistic freedom, making it an exciting endeavor for both beginners and experienced artists alike.
Beyond its aesthetic appeal, fluid art also provides significant therapeutic benefits. Engaging in this art form can be incredibly relaxing, promoting a state of mindfulness that helps reduce stress and enhance overall mental well-being.
The process of pouring and manipulating paint can be meditative, offering a gentle escape from daily pressures and a chance to focus solely on the present moment.
Additionally, the vibrant colors and glossy finishes typical of fluid art can uplift the spirit, creating a joyful and visually stimulating environment.
Whether used as a hobby or a form of art therapy, fluid art’s combination of creative expression and therapeutic benefits makes it a valuable practice for enhancing both emotional and mental health.
Choosing Your Design
Selecting the right fluid art design involves considering the overall aesthetic of your space to guarantee the chosen colors and patterns enhance the ambiance effectively.
Begin by exploring various inspiration sources, such as online galleries, social media, or art communities, to see what designs resonate with you. When choosing your design themes, think about the mood you want to create in your room. Do you prefer calming blues and greens, or are you drawn to vibrant reds and yellows?
To make your design unique, experiment with different pouring techniques. The Dirty Pour, where multiple colors are poured together, can create stunning, unpredictable patterns. Alternatively, the Tree Ring Technique produces mesmerizing, concentric circles. These methods allow you to reflect your personal style and creativity.
Consider the color combinations and ratios that will complement your space. Lighter colors can brighten a room and provide contrast against darker shades, making the artwork pop.
Don’t forget to think about the size and shape of your canvas, as these will affect how your design fits into your wall space. Larger canvases can make a bold statement, while smaller ones might be perfect for adding subtle accents.
Reviewing community feedback and tutorials can provide additional tips and inspiration, helping you to refine your design vision.
Essential Materials
When creating DIY fluid art wall panels, selecting the right materials is vital for success.
You’ll need specific types of paint, like fluid acrylics, to guarantee smooth application, along with a good pouring medium to achieve perfect consistency.
Don’t forget essential tools like disposable cups for mixing, spatulas for spreading, and protective gear to keep yourself clean while you work.
Paint Types Required
To achieve the best results in fluid art, it is essential to use fluid acrylic colors specifically designed for pouring, such as white, red, yellow, and neon shades for vibrant visual impact. When selecting your paints, consider how different color combinations and paint layering will affect the final look of your art piece.
Fluid acrylics are favored for their smooth consistency and ease of mixing. Soft body or fluid acrylics are ideal, as their thinner viscosity guarantees an even flow across the canvas. Heavy body acrylics, while rich in pigment, often require additional thinning to achieve the desired fluidity. This is vital for creating those mesmerizing swirls and cells that make fluid art so enchanting.
For an extra touch of creativity, you can incorporate acrylic inks. These inks have a low viscosity and can enhance the fluidity of your artwork, creating unique effects that stand out. Mixing your paints thoroughly before pouring is also important, as inconsistencies can lead to unwanted results and disrupt the overall appearance of your masterpiece.
Pouring Medium Options
Utilizing the right pouring medium is essential for achieving a smooth and visually appealing finish in fluid art. Pouring mediums help maintain the paint’s fluidity, reduce blemishes, and enhance the overall look of your artwork. There are several pouring medium types to take into account, each with unique properties and benefits.
Popular choices include Liquitex and Brustro, both known for improving paint flow and maintaining color vibrancy. Acrylic mediums are also an option, but they require careful mixing, especially when used with heavy body acrylics. When working with these mediums, a common ratio is 2 parts paint to 1 part medium, though this can be adjusted to achieve the desired consistency.
Adding silicone oil to your pouring medium can enhance cell formation, creating fascinating patterns. However, it’s vital to keep in mind pouring medium safety. Always work in a well-ventilated area and use protective gear to avoid inhaling fumes or skin contact.
Here’s a quick comparison of popular pouring mediums:
| Pouring Medium Type | Key Features |
|---|---|
| Liquitex | Enhances flow, maintains color |
| Brustro | Smooth finish, vibrant colors |
| Acrylic Mediums | Requires careful mixing |
| Silicone Oil | Creates unique cell patterns |
Necessary Tools List
Gathering the right tools and materials is essential for a successful fluid art project, ensuring both efficiency and quality in your work.
To start, you’ll need sturdy canvases or sealed panels, as these provide the necessary support for the weight of the fluid acrylic paint. When selecting your paint, consider your color theory; a range of shades like white, red, and neon can add depth and intrigue to your piece, sparking artistic inspiration.
Next, mix your fluid acrylic colors with a pouring medium to get that perfect consistency, and don’t forget paper cups for mixing and pouring. Protective gear is a must too—gloves and an apron will save you from stains.
Raise your canvas using tins or jars, allowing the paint to flow freely without sticking to the surface below. Cover your workspace with newspapers or plastic sheets to catch any spills, keeping your area clean and stress-free.
This setup not only helps you focus on the creative process but also prevents any unwanted mess. With these materials and a dash of artistic inspiration, you’ll be well-prepared to plunge into the mesmerizing world of fluid art.
Preparing Your Workspace
Before diving into your fluid art project, it is essential to properly prepare your workspace to guarantee a smooth and mess-free process.
Start by focusing on workspace organization and spill prevention. Clear your workspace of any clutter, then cover it with newspapers or plastic sheets to catch any spills and protect your surfaces from paint splatter. Trust me, you don’t want to deal with stubborn paint stains later!
Make sure you have ample space between canvases so you can pour and tilt without bumping into anything. This will help you achieve those beautiful fluid effects. Keep all your necessary materials, like paints, pouring medium, and tools, within arm’s reach. This way, you won’t have to scramble around looking for something mid-pour.
Set up your canvases on a sturdy, flat surface to keep them secure. If necessary, use clamps to prevent any unwanted movement while you’re working on your masterpiece.
To help the fluid paint adhere and flow better, apply a base coat of regular acrylic paint to your canvas and let it dry for 2-3 hours. This small step can make a big difference in the final result.
Happy painting!
Mixing Acrylic Paints
Achieving the ideal consistency for fluid art requires meticulously mixing acrylic paint with a suitable pouring medium. Begin with a mixing ratio of approximately 2 parts acrylic paint to 1 part pouring medium. This guarantees your mixture is fluid enough to pour smoothly but retains enough thickness to hold vibrant colors.
Experimenting with different color combinations can yield stunning results. Mix slowly and thoroughly to avoid clumps and bubbles, which can ruin the final appearance. Here’s a quick reference table to help with mixing ratios and enhancing flow:
| Component | Purpose |
|---|---|
| Acrylic Paint | Provides color and base consistency |
| Pouring Medium | Adjusts viscosity, enhances flow |
| Water (sparingly) | Fine-tunes consistency, smooths flow |
| Silicone Oil | Creates unique cells and effects |
Different brands like Brustro or Liquitex may offer varied results, so it’s worth trying a few to see what works best with your chosen paints. A few drops of water can help achieve a smoother flow, but be cautious not to dilute the color intensity. Adding a couple of drops of silicone oil per color can create intriguing cells and effects in your artwork. Remember, the key is to mix slowly and thoroughly to guarantee a beautiful, bubble-free finish.
Selecting Pouring Medium
Selecting the right pouring medium can make all the difference in your fluid art projects, helping your acrylic paints flow smoothly and leveling out beautifully.
Brustro and Liquitex are popular choices that many artists trust for their reliable results and improved paint viscosity.
Choosing Ideal Consistency
Determining the ideal consistency for your pouring medium is vital for achieving smooth, vibrant, and visually appealing fluid art. The key to success lies in adjusting ratios of your materials. Typically, a ratio of 2 parts acrylic paint to 1 part pouring medium works well, guaranteeing a seamless flow and optimal blending of colors. This balance not only helps in achieving textures but also in maintaining the integrity and vibrancy of the paint.
Pouring mediums, such as those from Liquitex or Brustro, are designed to create a self-leveling effect, which minimizes blemishes and enhances the glossy finish of your artwork. For added flair, incorporating a few drops of silicone oil can promote cell formation, introducing unique textures and enchanting patterns to your piece.
It’s essential to mix the pouring medium thoroughly with the acrylic paint to eliminate any lumps or bubbles, as these imperfections can disrupt the smooth application and final appearance.
Experimenting with different mediums and their ratios is part of the fun; keeping detailed notes on the amounts used will be invaluable for replicating successful effects in future projects. This meticulous approach guarantees you achieve the desired results consistently.
Comparing Medium Brands
When comparing pouring mediums for fluid art, it’s vital to take into account the specific qualities and performance characteristics of each brand to confirm they align with your artistic goals.
Liquitex and Brustro are top recommendations for their high-quality performance, guaranteeing smooth results and reducing blemishes in your artwork. These brands are known for their consistent medium performance, making them popular choices among fluid artists.
The typical paint-to-pouring medium ratio is around 2:1, which allows for the best flow and consistency. This ratio works well with various acrylic paint types, contributing to the overall success of your fluid art creations.
However, some artists opt for PVA adhesive as a more budget-friendly alternative. While PVA adhesive can be cost-effective, it tends to offer less predictable results compared to traditional mediums.
Brand comparisons are essential, as different mediums can affect the final look of your artwork. Testing various mediums to find the right viscosity for your specific paints is key.
Additionally, always check the manufacturer’s guidelines to verify the medium is compatible with your chosen acrylics. Some mediums are specially formulated to work with specific paint types, assuring the best possible results for your fluid art wall panels.
Mixing Techniques Explained
Mastering mixing techniques is fundamental for achieving the desired fluidity and visual effects in your fluid art wall panels. Selecting the right pouring medium is vital because it impacts the consistency and final look of your artwork. Typically, a 2:1 ratio of paint to medium works best. Popular choices like Liquitex and Brustro are favored for their self-leveling properties, guaranteeing a smooth, glossy finish.
Adding silicone to your mix can create mesmerizing cells, adding depth and intrigue to your piece. Experimenting with different brands and types of mediums will offer varied effects—some may increase transparency while others provide a thicker consistency, influencing your layering techniques and color blending. Always mix thoroughly to avoid separation and guarantee a uniform texture for easier manipulation during the pour.
Here are some tips to take into account:
- Always measure your ratios carefully to maintain consistency.
- Test small batches first to understand how each medium behaves.
- Use a palette knife or stir stick for thorough mixing.
- Experiment with layering techniques to create unique patterns.
Preparing Canvas or Panels
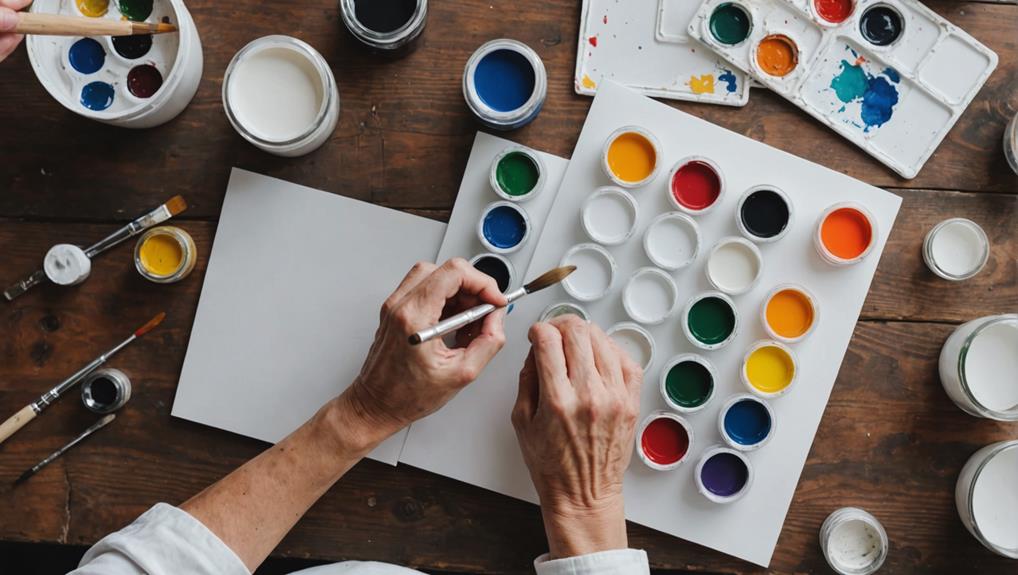
Selecting a well-primed and sealed canvas or panel is essential to guaranteeing a smooth and receptive surface for fluid art applications. Proper canvas preparation and thoughtful panel selection are the first steps in creating a stunning piece of fluid art. Choose a sturdy surface that has been adequately sealed and primed to avoid any absorption issues that might distort your art.
Once you have your canvas or panel, apply a base coat of regular acrylic paint. This helps create a suitable foundation for the pouring process. Allow the base coat to dry for 2-3 hours before you start with the actual fluid art. While waiting, make sure all your paints and materials are within arm’s reach. This not only saves time but also keeps your workspace clean and efficient.
It’s also important to guarantee your environment is free from dust and debris. These tiny contaminants can ruin the final appearance of your artwork, so a clean space is vital.
Don’t be afraid to experiment with different panel sizes and shapes, as this can greatly affect the dynamics of your pouring techniques and the overall visual outcome of your fluid art masterpiece.
Basic Pouring Techniques
Exploring basic pouring techniques can greatly enhance the depth and complexity of your fluid art creations. Whether you’re new to fluid art or refining your skills, mastering these foundational methods is essential.
- Straight Pour: This technique involves pouring one color at a time onto the canvas, allowing you to build distinct layers and maintain control over your composition. It’s perfect for creating organized, layered effects.
- Puddling Technique: In this method, you pour individual color puddles onto the canvas. By tilting the canvas, you spread the paint, achieving dynamic and fluid coverage with minimal effort.
- Dirty Pour: For a more blended, marbled effect, combine several colors into a single cup before pouring. The mixed colors will flow together, creating enchanting and unpredictable patterns.
- Drizzle Technique: This involves pouring paint in a controlled manner to form fine lines and intricate patterns across the surface, ideal for adding detailed, linear elements to your artwork.
Advanced Pouring Techniques
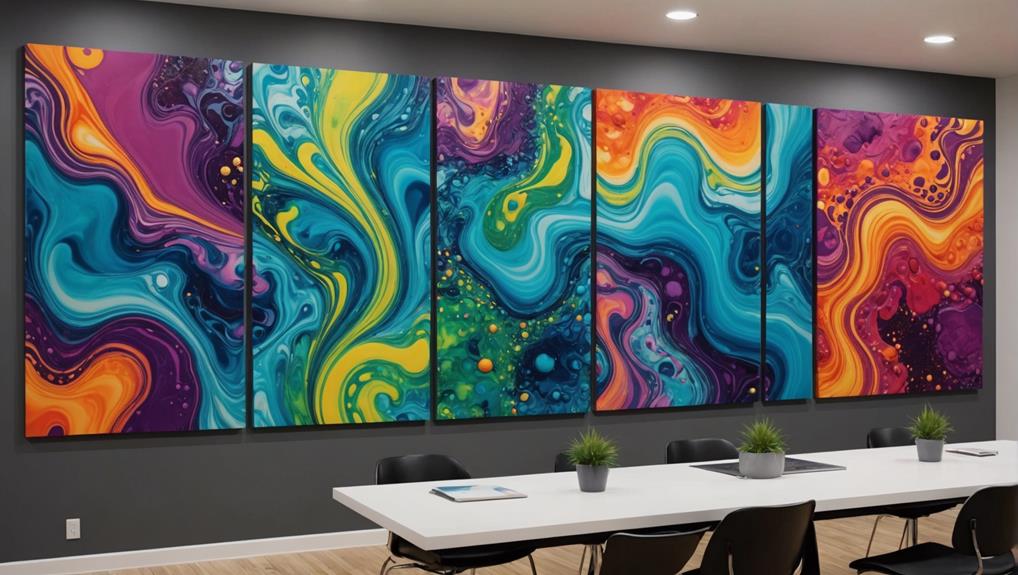
Building upon the foundational techniques, advanced pouring methods introduce new dimensions of complexity and creativity to fluid art.
One exciting approach is the scrape technique, where silicone is added to your paint mixture to create cells. These cells enhance the visual interest of your artwork, making it pop with intricate details.
Pouring onto wood pallets can give your art unique textures and effects. The wood’s uneven surface allows the paint to flow in unexpected ways, leading to dynamic patterns that are both mesmerizing and one-of-a-kind.
After you’ve poured your paint, using a dryer can be a game-changer. It pushes the paint around, adding movement and creating stunning effects as the paint dries. This technique can result in breathtaking dynamic patterns that seem to dance on the canvas.
Experimenting with combinations of pouring methods, like layering colors in a dirty pour or tilting the canvas after puddling, can also produce diverse and unpredictable results.
Watching instructional videos can be incredibly helpful. They provide step-by-step guidance, making it easier to achieve your desired outcomes and master these advanced techniques.
Managing Drying Times
When it comes to managing drying times for your fluid art wall panels, it’s all about creating the right environment and being patient.
Ensuring ideal drying conditions means keeping your artwork in a stable, dust-free space to prevent paint movement and protect it from contaminants.
Optimal Drying Conditions
To guarantee your fluid art dries properly, maintaining a controlled environment with specific temperature and humidity levels is essential. Proper temperature control and humidity management are vital to make sure your artwork dries evenly and without defects.
Aim for a temperature range of 20°C to 25°C (68°F to 77°F) and keep humidity levels below 50%. This will help prevent issues like cracking and uneven drying.
Establishing ideal drying conditions involves more than just setting the right temperature and humidity. Here are some additional tips:
- Allow ample drying time: Standard fluid art pieces typically need at least 24 hours to dry, while thicker applications may require up to 72 hours.
- Protect from dust and airflow: Cover your artwork with a clean cloth or place it in a dust-free area to shield it from particles and drafts.
- Monitor the surface: Regularly check that the surface remains flat and undisturbed to prevent any movement that could disrupt the paint patterns.
- Avoid direct sunlight: Direct sunlight can cause the paint to dry too quickly, leading to cracks.
Preventing Paint Movement
Guaranteeing the stability of your fluid art during the drying process requires meticulous attention to drying times and environmental conditions.
To prevent unwanted paint movement, allow a minimum drying time of 24 hours for thinner layers and up to 72 hours for thicker films. This patience pays off by guaranteeing paint stability and preserving your artwork’s intricate patterns.
Covering your paintings while they dry is an essential drying technique. This simple step shields them from dust and airflow, which can disrupt the paint surface and make it run off the canvas. Also, avoid disturbing your art; even a slight nudge can alter its appearance dramatically.
Prepping your canvas is another key factor. If you’re using unprimed, absorbent surfaces, seal them before pouring. This prevents the canvas from soaking up too much paint, reducing the risk of unwanted movement.
Lastly, keep an eye on your environment. Temperature and humidity play big roles in drying times. Extreme conditions can wreak havoc on paint stability, so aim for a stable, moderate climate.
Protecting From Contaminants
Protecting your fluid art wall panels from contaminants during the drying process is vital for preserving the integrity and appearance of the final piece. Imagine spending hours on your masterpiece, only to have dust and debris ruin it. Heartbreaking, right? That’s why dust prevention techniques are so important.
To keep your artwork pristine:
- Cover your workspace: Make sure your area is spotless and cover it to keep dust at bay.
- Use a dust-proof cloth: Gently place this over your drying art to shield it from airborne particles.
- Stable environment: Maintain moderate temperatures and low humidity, as these conditions help prevent contaminants.
- Minimum drying time: Allow at least 24 hours for the artwork to dry undisturbed, guaranteeing the paint sets correctly.
These drying time strategies will help guarantee your art looks just as stunning when dry as it did when wet. So, treat your drying artwork like a precious gem, and you’ll end up with a beautiful, contaminant-free piece!
Preventing Paint Cracking
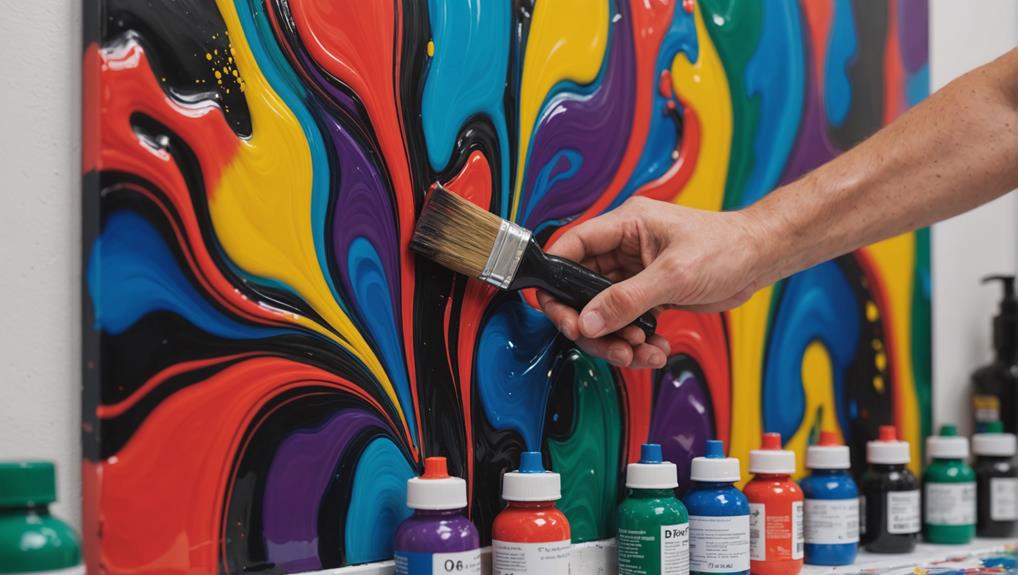
Maintaining the integrity of your fluid art masterpiece requires careful attention to the paint-to-pouring medium ratio, typically around 2:1, to prevent cracking during the drying process. Cracking causes can vary, but often it’s due to incorrect ratios, poor-quality pouring medium, or insufficient drying time. Imagine spending hours on your art only to find it marred by unsightly cracks—heartbreaking, right? Let’s explore some maintenance tips to keep your creation pristine.
First, invest in a high-quality pouring medium. It’s like giving your paint a superpower, ensuring it levels out and dries smoothly. Also, patience is key! Allow sufficient drying time between layers, even if you’re itching to see the final result. Rushing only invites cracks.
Environmental factors play a role too. Keep an eye on temperature and humidity; avoid extreme fluctuations as they can wreak havoc on drying paint. Below, find a quick reference table to simplify these tips:
| Issue | Solution |
|---|---|
| Incorrect Ratio | Maintain a 2:1 paint-to-pouring medium ratio |
| Low-Quality Medium | Use high-quality pouring medium |
| Insufficient Drying | Allow ample time between layers |
| Environmental Fluctuations | Monitor and control temperature and humidity |
Sealing and Finishing
Once your fluid art masterpiece has dried without cracks, the next step is to seal and finish the piece to enhance its durability and aesthetic appeal.
Applying a sealant not only protects your artwork but also brings out the vibrant colors and intricate details. One of the most popular sealing techniques is using varnish or resin.
When applying varnish, maintain a spraying distance of 25-30 cm to avoid drips and guarantee even coverage. Always wear protective gear, like a mask and gloves, to safeguard yourself from fumes.
Allow the sealant to dry completely, which can take anywhere from a few hours to a couple of days depending on the product used. Once dry, inspect the final appearance to ascertain a smooth, blemish-free surface. If you find any imperfections, gently sand them away with fine sandpaper.
For added protection, consider using a UV-resistant sealant to prevent fading and damage from sunlight exposure over time.
- Maintain proper spraying distance: 25-30 cm for even coverage.
- Wear protective gear: Mask and gloves are essential.
- Drying time: Can range from a few hours to a couple of days.
- Inspect and correct: Use fine sandpaper for blemishes.
Mounting Wall Panels
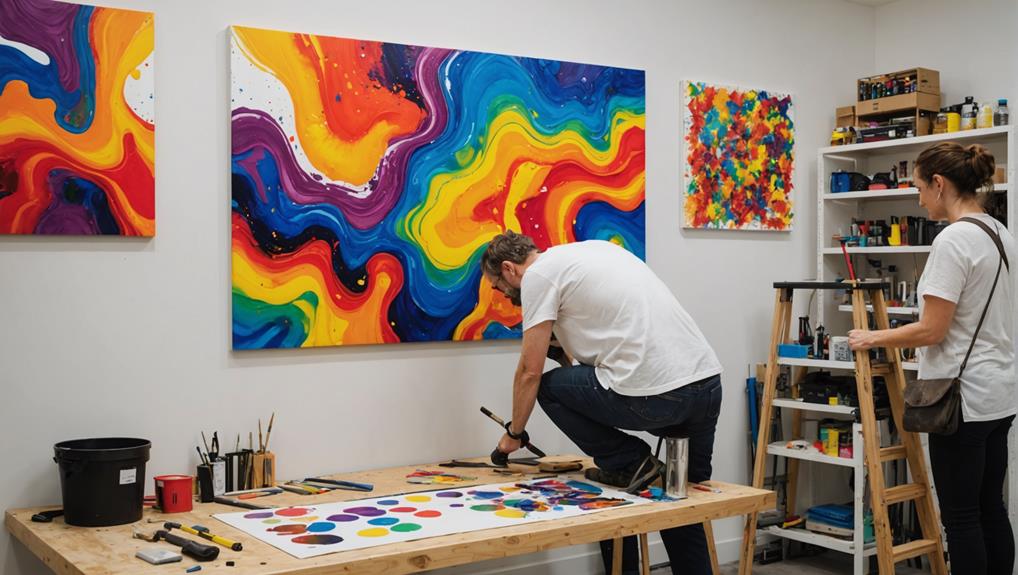
Accurately measuring the wall area is the first step to guarantee your fluid art wall panels fit seamlessly and create a polished appearance. Start by using a measuring tape to get the exact dimensions of your desired wall space. This confirms proper panel placement, preventing any awkward gaps or misalignments.
Once you have your measurements, use a level to draw guidelines on the wall. These guidelines act as a roadmap for aligning the panels straight and evenly spaced, ensuring a professional finish.
Next, consider your adhesive selection. The weight and thickness of your panels will determine whether you should use a strong adhesive or mounting hardware. Adhesives like heavy-duty construction glue work well for lighter panels, while mounting hardware is more suitable for heavier pieces.
To further secure your artwork, consider framing the panels. Not only does this enhance stability, but it also adds a refined touch to the overall aesthetic.
Be patient and allow the adhesive to cure fully as per the manufacturer’s instructions. This guarantees the panels are securely attached and won’t shift over time. Avoid hanging any additional decorations or placing heavy items nearby until the adhesive has set completely.
Troubleshooting Issues
When working on fluid art wall panels, you might face some frustrating issues, but don’t worry, there are ways to fix them!
If your paint is too thick or too runny, try different ratios of acrylic medium and water until you find the perfect balance for a smooth pour.
Also, remember to let your paint sit for a bit before pouring to avoid those pesky bubbles and make sure each layer dries completely to prevent cracking—your masterpiece deserves it!
Common Pouring Problems
Mastering fluid art requires understanding and addressing common pouring problems to achieve a flawless finish. One of the trickiest parts of fluid art is nailing the color theory and layering techniques. Mixing colors can be a blast, but if you’re not careful, you might end up with a muddy mess instead of vibrant swirls.
Here are some common issues and how to fix them:
- Cracking: This happens when you pour too thickly and don’t allow enough drying time between layers, leading to unsightly cracks. Make certain each layer is dry before adding the next.
- Bubbles: Tiny bubbles can ruin the smooth finish of your art. Use a torch or heat gun right after pouring to pop those pesky bubbles.
- Mud Color: Mixing dark colors directly can result in a murky look. To avoid this, use lighter colors as separators.
- Uneven Coverage: If your paint isn’t spreading evenly, gently tilt the canvas after pouring to make certain every nook and cranny is covered.
Ensuring Proper Drying
Ensuring proper drying of your fluid art is essential to maintaining the integrity and finish of your masterpiece. Patience is key here, as fluid art panels need a minimum of 24 hours to dry, but if you’ve got thicker layers, you might be looking at up to 72 hours. Yeah, it’s a bit of a wait, but trust me, rushing it can lead to cracks and heartbreak.
Now, let’s talk about drying techniques and environmental factors. Your drying environment plays a huge role—extreme temperatures and humidity can mess with your drying times and even the final look of your artwork. Keep it cool, dry, and steady.
You’ll also want to protect your artwork from dust and airflow—imagine spending all that time creating something beautiful only to have dust bunnies ruin it! Cover your piece gently, maybe with a dust-free cloth or a protective tent.
And, hands off! Moving your panels can cause the paint to run, turning your masterpiece into a mess.
Lastly, keep an eye out for any contaminants like dust or oil on the surface. These little invaders can degrade your paint’s quality, making your final finish less than stellar.
Engaging With the Community
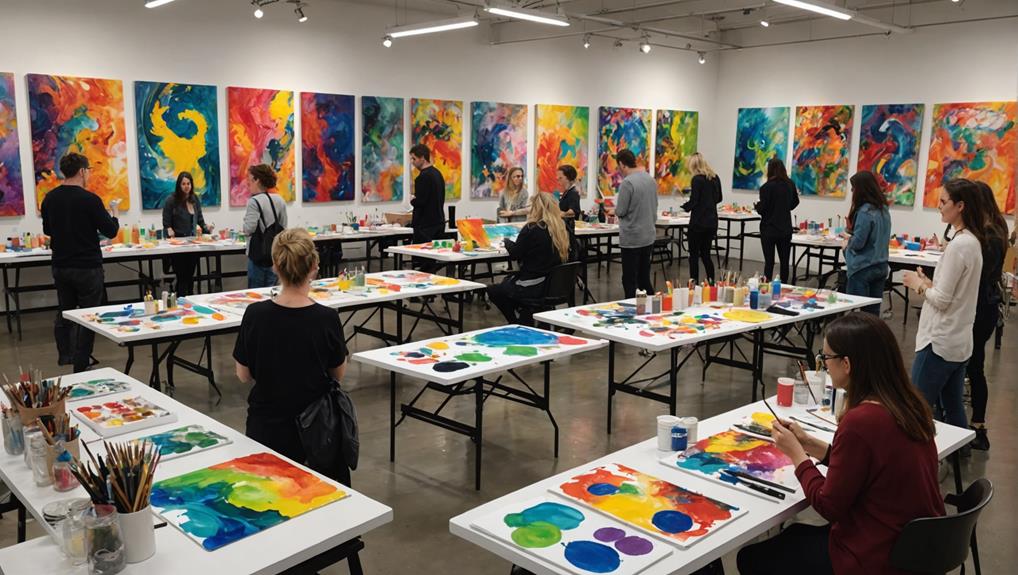
Engaging with the fluid art community offers artists a wealth of insights and inspiration that can greatly enhance their creative journey. Community engagement through online forums is an excellent way to connect with fellow artists, share experiences, and gain valuable feedback.
Here are some key benefits of participating in the fluid art community:
- Shared Experiences: Artists often share their successes and challenges, creating a supportive environment where everyone can learn.
- New Techniques: Discover fresh methods and styles through community discussions and tutorials.
- Collaborative Projects: Join in on community challenges and collaborations, pushing your creative boundaries.
- Constructive Feedback: Receive tips on improving your mixing ratios, pouring methods, and more.
Participating in these platforms not only broadens your artistic skills but also builds a network of supportive peers.
Whether you’re a beginner or a seasoned artist, these interactions can provide the motivation and knowledge needed to uplift your fluid art.
Frequently Asked Questions
Can You Mix Water With Acrylic Paint for Pouring?
Yes, water can be mixed with acrylic paint for pouring, but it should be used sparingly to maintain acrylic viscosity and avoid compromising adhesion. For best results, consider using pouring mediums designed for advanced pouring techniques.
What Do I Need to Start Fluid Art?
To start fluid art, you need a sealed and primed canvas, acrylic paint mixed with a pouring medium and water, and essential tools. Experiment with color combinations and utilize various pouring techniques to achieve unique visual effects.
What Kind of Paint Do You Use for Fluid Art?
For fluid art, the recommended paint types include soft body or fluid acrylics, heavy body acrylics thinned with pouring mediums, and acrylic inks. Properly mixing paint with pouring mediums guarantees ideal consistency and desired flow effects.
What Is the Ratio of Acrylic Paint to Water for Pouring?
The ideal ratio of acrylic paint to water for pouring is typically 2 parts paint to 1 part water, ensuring proper paint consistency. Adjusting this ratio enhances different pouring techniques, with thorough mixing being essential.
Conclusion
Fluid art wall panels present a unique and visually appealing method for enhancing interior spaces.
Mastery of this technique requires an understanding of design selection, material preparation, and execution processes.
By systematically following the outlined steps, individuals can create personalized art pieces that reflect both creativity and skill.
Proper finishing and mounting techniques guarantee the longevity and stability of the artwork.
Engagement with the fluid art community further supports continuous improvement and inspiration in this artistic endeavor.

Leave a Reply