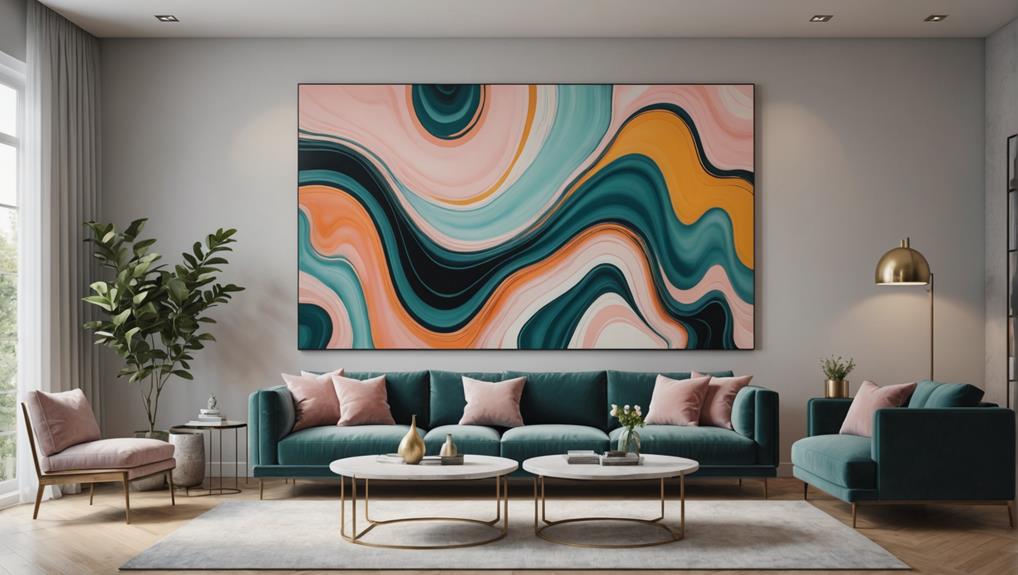
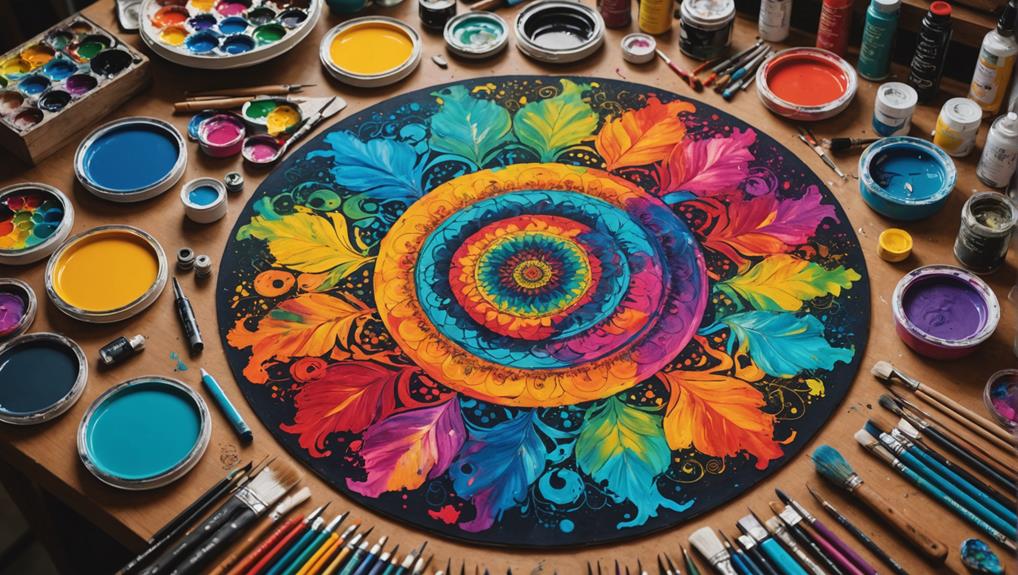
Combining fluid art with other art forms can bring your décor to life in the most mesmerizing ways. Imagine personal photographs surrounded by swirling colors created with techniques like swiping and Dutch pour, turning each piece into a unique masterpiece. Choosing three key colors from your photos guarantees harmony, while a bold black base can make your central image pop. Experimenting with different tools like palette knives and even hairdryers can create intricate patterns and textures. This artistic mix keeps things balanced and vibrant, making your collection not just unique but deeply personal. Stick around, and you'll discover just how magical this fusion can be!
Key Takeaways
- Select personal photographs as foundational elements to add a unique, personal touch to the artwork.
- Use three key colors from photographs to ensure color harmony in the composition.
- Employ swiping and Dutch pour techniques for dynamic and intricate fluid art effects.
- Utilize negative space to highlight central photographic elements while complementing fluid art patterns.
Concept Development
Developing the concept for combining fluid art with other art forms, such as photography, begins with selecting personal photographs to serve as the foundational elements of the artwork.
Imagine snapping a picture in the bustling heart of Times Square or capturing the elegance of Radio City. These photos aren't just memories; they become the photographic inspiration that drives the entire artistic process.
Now, this is where it gets exciting. When you pair up with another artist, it's an artistic collaboration that mixes different styles and techniques. The photographs set the stage, but it's the fluid art that adds the magic, swirling colors and patterns around the images.
Using techniques like swiping with a palette knife or the Dutch pour method with a hairdryer, artists create mesmerizing effects that dance around the photographs, highlighting them without overpowering.
It's a process full of experimentation and reflection. You try out different ideas, see what works, and tweak things based on feedback and your own artistic vision.
This phase is all about playing around and discovering what looks best, ensuring the final piece is both unique and deeply personal.
Color Selection
Selecting the right colors is essential when blending fluid art with other forms like photography.
Start by picking three key colors from the photograph to guarantee a cohesive look, with turquoise and gold often providing a striking contrast against a black background.
Drawing inspiration from the photograph's palette can guide your choices, helping to create a visually harmonious and balanced piece.
Key Color Choices
Effective color selection is essential in fluid art, as it establishes harmony and guarantees the artwork remains visually engaging.
When choosing colors, consider color harmony and color psychology. By selecting three key colors from your reference photograph, you can maintain cohesion and confirm that your artwork is both attractive and meaningful.
Using a black base paint can provide a striking framing effect, which helps the central image stand out. This technique not only enhances the visual prominence of the photograph but also adds depth to the composition.
Popular colors like turquoise and gold can infuse vibrancy and elegance into your piece, especially when layered thoughtfully.
A useful approach is to incorporate two bursts of color on each side of the canvas, complemented by negative space. This method allows the photographic element to shine while giving the fluid art a chance to make its statement.
Confirming color consistency by mirroring your chosen hues across the canvas creates a cohesive and visually appealing piece.
Palette Inspiration Sources
Drawing inspiration from various sources can greatly enhance the color palette selection for fluid art, guaranteeing a harmonious blend with other art forms.
One effective strategy involves using photograph inspiration, where you extract three key colors from a chosen image to create a balanced and cohesive palette. For instance, combining turquoise and gold layered on a black base can produce stunning results. The black background not only frames the photograph but also makes the colors pop, providing a striking contrast.
Here are some tips for selecting your color palette:
- Photograph Inspiration: Choose an image that resonates with you and extract three dominant colors. This method guarantees the fluid art complements and enhances the photograph.
- Nature Colors: Look to nature for inspiration. Natural landscapes offer a vast array of harmonious color combinations that can be mirrored in your fluid art.
- Swiping Method: Use techniques like the swiping method with a palette knife to layer your chosen colors, creating unique patterns while maintaining visual harmony.
- Paint Consistencies: Experiment with different paint consistencies, such as using a thicker fluid achieved through a pouring medium, to control color blending and application.
Swiping Technique
The swiping technique in fluid art brings a dynamic and enchanting aspect to any piece.
By layering colors strategically and using a palette knife to create intricate patterns, artists can achieve a level of detail that enhances the overall composition.
This method not only allows for unique designs but also provides a striking contrast, especially when starting with a bold base color like black.
Color Layering Strategy
Layering colors through the swiping technique offers a distinctive method for creating intricate and dynamic patterns in fluid art. This approach not only adds depth but also brings an exciting visual interplay that captures the viewer's attention.
Understanding color psychology and layering techniques is essential in this method, as it helps in selecting the right hues and creating a balanced composition.
Here's a step-by-step guide to master the swiping technique:
1. Begin with a Black Base:
Starting with a black base layer provides a strong contrast, making the vibrant colors stand out more effectively. This foundational layer frames the entire artwork and sets the stage for the subsequent color applications.
2. Use Titanium White and Floetrol:
Mixing Titanium white paint with Australian floetrol guarantees a smooth consistency, which is vital for achieving the desired effects during the swiping process. This mixture helps in creating fluid, seamless shifts between colors.
3. Experiment with Color Combinations:
Don't hesitate to try different color combinations. Maintaining consistency across the canvas enhances harmony and balance, making the artwork more visually appealing.
4. Perform Multiple Swipes:
To develop intricate patterns, multiple swipes are necessary. This technique allows you to manipulate the colors dynamically while preserving negative space around key elements for visual prominence.
Palette Knife Techniques
Employing a palette knife in fluid art swiping techniques allows artists to achieve precise control over the blending and distribution of colors, resulting in intricate and dynamic patterns. This method involves layering different colors of fluid paint on the canvas, then using a palette knife to drag and blend them. The flat edge of the palette knife is essential, as it helps maintain control over the thickness and spread of the paint, guaranteeing a balanced composition.
Here's a handy table to keep things clear:
| Technique Step | Tool/Material Needed | Tips for Success |
|---|---|---|
| Layering Colors | Fluid Paints | Use contrasting colors for depth |
| Dragging Paint | Palette Knife | Apply consistent pressure |
| Enhancing Effects | Titanium White, Australian Floetrol | Mix well for improved flow |
| Multiple Swipes | Palette Knife | Experiment with angles and directions |
| Blowing Paint | Hairdryer | Adjust distance and angle carefully |
When using a palette knife, remember palette knife safety is important—always handle it with care to avoid injuries. Regular palette knife maintenance, like cleaning it after each use, guarantees it remains effective and lasts longer. Combining these techniques allows for the creation of intricate designs, making your art pieces truly unique.
Dutch Pour Approach
Mastery of the Dutch pour approach requires a delicate balance of technical skill and artistic intuition. Originating from fluid art traditions, the Dutch pour technique employs airflow techniques, specifically using a hairdryer, to create intricate patterns and vibrant blends of color. This method, which dates back to the early explorations of fluid art, allows artists to move paint across the canvas without the use of brushes, creating a mesmerizing dance of hues.
To achieve the finest results with the Dutch pour technique, consider the following:
- Consistency: The paint must be mixed to a thicker fluid consistency using a pouring medium. This guarantees the paint responds effectively to the hairdryer.
- Mixing Mediums: Combining white Titanium paint with Australian floetrol can greatly enhance the fluidity and movement of colors, leading to more dynamic visual effects.
- Airflow Control: Successful artists carefully manage the hairdryer's temperature and speed, typically opting for a cool, low setting to maintain the paint's integrity.
- Sectional Manipulation: The technique allows for working in sections, giving flexibility to add more paint as needed to achieve the desired outcomes.
Mastering these elements can lead to stunning, unique pieces that stand out in any decor.
Balancing Colors

Building on the technical finesse required for the Dutch pour approach, achieving balance in color selection is vital for creating cohesive and visually engaging fluid art compositions. By adhering to the principles of color theory, artists can select a limited palette of three to five key colors, ensuring a harmonious blend that captivates viewers. This thoughtful approach to color selection not only enhances visual harmony but also prevents the composition from becoming overwhelming.
Utilizing contrasting colors, such as turquoise and gold against a black base, can greatly boost the visual impact. This strategic use of contrasting colors allows the main subjects, like photographs, to stand out, creating a striking focal point within the artwork.
Incorporating negative space is another essential aspect of balancing colors. By leaving specific areas blank around the colored sections, artists can draw attention to the central elements, ensuring that integrated photographs or other focal points remain prominent.
Regular experimentation with color placement and consistency, along with mirroring colors across the canvas, is crucial. This practice helps achieve a balanced distribution of colors, enhancing the overall visual flow and harmony of the fluid art composition.
Layering Effects
Layering effects in fluid art introduce depth and complexity by applying multiple colors in specific sequences, enhancing the visual richness of the composition. By utilizing various layering techniques, artists can create pieces with significant visual depth and intricate design.
- Swiping and Pouring: These techniques are foundational in fluid art. Swiping involves dragging a tool across the surface to blend colors, while pouring allows for natural mixing and marbling, creating layers that appear almost three-dimensional.
- Black Base Color: Starting with a black base color can frame the artwork, making the layered colors pop. This contrast guarantees that the vibrant hues stand out, drawing the viewer's eye to the intricate details.
- Dutch Pour: This method, where paint is blown across the canvas, results in delicate shifts and intricate patterns. It contributes to the overall complexity and visual depth by softening the edges between layered colors.
- Negative Space: Leaving parts of the canvas blank, or using minimal color, helps to balance the composition. It makes the central image or focal point more prominent, allowing the layered colors to shine without overwhelming the viewer.
Experimenting with colors like turquoise and gold can enhance these effects, adding a unique flair to each piece.
Overcoming Challenges

Combining fluid art with other art forms can be tricky, but it's totally doable with some effort.
Managing artistic integration means making sure the two styles work together without clashing, which can be a real puzzle.
Plus, you might need to tweak your techniques on the fly, like using a sponge to soften harsh lines or adjusting your color choices to keep everything looking harmonious.
Managing Artistic Integration
Integrating fluid art with other art forms demands a strategic approach to tackle challenges like color harmony, textural cohesion, and background integration. Successfully merging different techniques requires a clear artistic vision to overcome these integration challenges.
Here are four key strategies to help navigate this complex process:
- Color Harmony: One effective way to guarantee color harmony is by selecting three key colors from your primary art piece, like a photograph. This creates a cohesive, visually appealing effect that ties the two forms together seamlessly.
- Textural Cohesion: Utilize techniques such as the swiping method and Dutch pour to enhance the layering of colors. These techniques help maintain the integrity of both fluid art and the other art form you're working with, guaranteeing they complement rather than clash.
- Background Integration: If the background is too harsh, softer techniques like sponging can create a more blended, cohesive look. This helps in integrating the different elements smoothly without one overpowering the other.
- Tool Experimentation: Experimenting with various tools like palette knives and hairdryers can achieve the desired fluidity and texture. This not only adds depth but also allows for more creative control over the final piece.
Addressing Fluid Art Issues
Overcoming challenges in fluid art demands a thorough understanding of technique and a willingness to experiment with various methods to achieve the desired outcome.
Fluid dynamics plays an essential role in this process, especially when integrating fluid art with other forms like photography. One major hurdle is ensuring that photographic elements remain prominent without being overshadowed by the fluid techniques. Utilizing a black paint background can help create a framing effect, keeping the photograph visible while allowing vibrant colors to shine without distraction.
Experimenting with techniques like the Dutch pour method can add depth and complexity to the artwork. This method enhances fluid dynamics, providing opportunities for artistic synergy. Layering colors and using tools like a palette knife for swiping can generate intriguing patterns while preserving negative space around the photograph. These techniques help maintain balance, ensuring neither the fluid art nor the photographic elements dominate the composition.
Engaging with the art community for feedback is invaluable. Fellow artists can offer insights and suggestions for overcoming challenges, helping refine your approach for future projects. This collaborative spirit fosters a supportive environment where creative solutions flourish, making the journey of combining fluid art with other forms both thrilling and rewarding.
Adapting Techniques Mid-Process
Adapting techniques mid-process is essential for addressing unforeseen challenges and achieving a harmonious blend of fluid art with other artistic elements.
This approach requires technique flexibility and creative improvisation to overcome obstacles and enhance the final piece.
When working with fluid art and photography, for example, you might need to use a sponge to soften harsh backgrounds or adjust color placements for better visual harmony.
Here are some practical tips to keep your art on track:
- Layering Techniques: Use multiple swipes with a palette knife to create dynamic patterns. This allows for spontaneous modifications as the artwork evolves.
- Consistent Fluid Consistency: Incorporate a pouring medium to maintain a steady fluid consistency. This enables close hairdryer use during techniques like the Dutch pour, which helps with real-time adjustments.
- Experimentation: Try different color combinations and techniques on each canvas. This encourages exploration and creativity while mirroring colors for a cohesive design.
- Reflection and Feedback: Embrace the challenges of integrating two art forms by reflecting on outcomes and being open to feedback. This can inspire future adaptations and improvements.
Artistic Adjustments
To achieve a harmonious blend of fluid art and other art forms, artists must make thoughtful adjustments throughout the creative process. This involves a balance of artistic experimentation and technique refinement.
For instance, when integrating fluid art with photography, maintaining negative space is essential to keep the photograph as the focal point. A black base can frame the photo, making it pop against the vibrant fluid colors.
Using the swiping technique can add layers of color and create patterns that seamlessly connect the fluid art with photographic elements. Trying out different techniques like the Dutch pour can lead to unique variations that enhance the artwork's overall appeal. Continuous adjustments, such as softening harsh lines with a sponge, help in achieving a cohesive look.
Mirroring colors across the canvas guarantees harmony between the fluid art and the other art forms. These adjustments, although small, can greatly enhance the visual impact of the piece.
Audience Feedback

Engaging with audience feedback is indispensable for artists combining fluid art with other art forms, as it provides valuable insights for refining their creative techniques.
Listening to what viewers have to say can inspire new combinations and styles, pushing the boundaries of initial concepts. Constructive criticism is particularly useful for identifying areas for improvement, such as color harmony and the balance between photographic elements and fluid art features.
To effectively incorporate audience engagement and feedback analysis, consider the following steps:
- Solicit Opinions: Actively ask for feedback through social media, exhibitions, and art shows. This can provide a wide range of perspectives that can be essential for artistic growth.
- Analyze Criticism: Not all feedback is equal. Focus on constructive criticism that offers specific suggestions for improvement rather than vague or negative comments.
- Engage with the Community: Encourage participation by hosting workshops or interactive sessions. This fosters a sense of community and opens up collaborative possibilities.
- Implement Changes: Use the gathered feedback to make informed adjustments to your art. This can help in creating pieces that resonate more deeply with your audience.
Future Projects
Future projects will emphasize the integration of fluid art with diverse mediums, including mixed media, sculpture, and digital art, to create enchanting and multifaceted décor pieces.
Imagine a piece that blends the flowing patterns of fluid art with the bold textures of sculpture or the sleek lines of digital design. The goal is to craft pieces that are not just visually stunning but also tell a story through the combination of different art forms.
Collaborative projects with artists from various disciplines will be a cornerstone of this endeavor. By working together, artists can inspire each other and push the boundaries of what's possible, creating works that are innovative and fresh.
Thematic exploration is also key; whether it's capturing the essence of natural landscapes or diving into abstract concepts, these themes will guide the creation process, adding depth and meaning to each piece.
Experimenting with different color palettes and pouring techniques will refine the harmony between fluid art and other mediums.
Plus, feedback from the community will be essential in shaping these future projects, ensuring they resonate with a wide audience and continue to evolve in exciting ways.
Frequently Asked Questions
What Is an Art Technique That Combines Different Materials Together Called?
An art technique that combines different materials together is called mixed media. This approach emphasizes material fusion, allowing artists to integrate various elements and textures, thereby creating visually complex and dynamic works of art.
What Do You Call the Combination of Art Forms That Form an Artwork?
The combination of different art forms within a single artwork is called mixed media or interdisciplinary art. This approach integrates various techniques and materials, resulting in a cohesive piece that showcases a blend of artistic elements.
What Are Good Color Combinations for Pour Painting?
Good color combinations for pour painting include turquoise and gold for vibrancy, a triadic scheme for balance, and earth tones with metallics for sophistication. Utilizing complementary colors, such as blue and orange, enhances contrast and intensity, aligning with color psychology principles.
How to Embellish an Acrylic Pour Painting?
To embellish an acrylic pour painting, consider using texture techniques such as adding sand or glitter. Enhance visual depth by layering effects with transparent paints or creating patterns with stencils, ensuring additions complement the original composition.
Conclusion
Combining fluid art with other art forms can result in unique and enthralling décor.
By carefully selecting colors and employing techniques such as the swiping and Dutch pour methods, artists can achieve a harmonious balance.
Overcoming challenges and making artistic adjustments are essential for refining the final piece.
Audience feedback provides valuable insight for future projects.
The fusion of various art forms enriches the creative process and offers endless possibilities for innovative and personalized decorative works.


Leave a Reply