Creating fluid art plant pots is a vibrant and thrilling way to spice up your gardening game. Imagine this: you start with simple, plain flower pots, then, armed with fluid acrylic paints in dazzling colors like turquoise and crimson, you let your creativity flow. You’ll need gloves and a covered workspace because, trust me, it’s going to get messy—but in the best way! Layer your chosen paints, pour them over the pot, and watch as mesmerizing patterns emerge. After drying for at least 24 hours, you’ll have not just a stunning pot but also a matching canvas piece. Exciting, right? Let’s explore the process in more detail!
Key Takeaways
- Clean the pot and ensure it’s non-porous to prepare the surface for painting.
- Layer fluid acrylic paints in a cup, then pour over the upturned pot for marbled effects.
- Place a canvas beneath the pot to capture dripping paint for additional artwork.
- Allow the pot to dry for at least 24 hours in a well-ventilated area.
Workshop Overview
The Online Acrylic Pouring Workshop provides a detailed introduction to creating fluid art plant pots and paintings using specialized acrylic pouring techniques. This workshop offers numerous benefits, making it an excellent choice for both beginners and seasoned artists looking to explore new creative avenues.
One of the primary workshop benefits is the extensive instruction provided, guaranteeing participants understand each step of the acrylic pouring process. This is especially valuable for those who may feel intimidated by the complexity of fluid art.
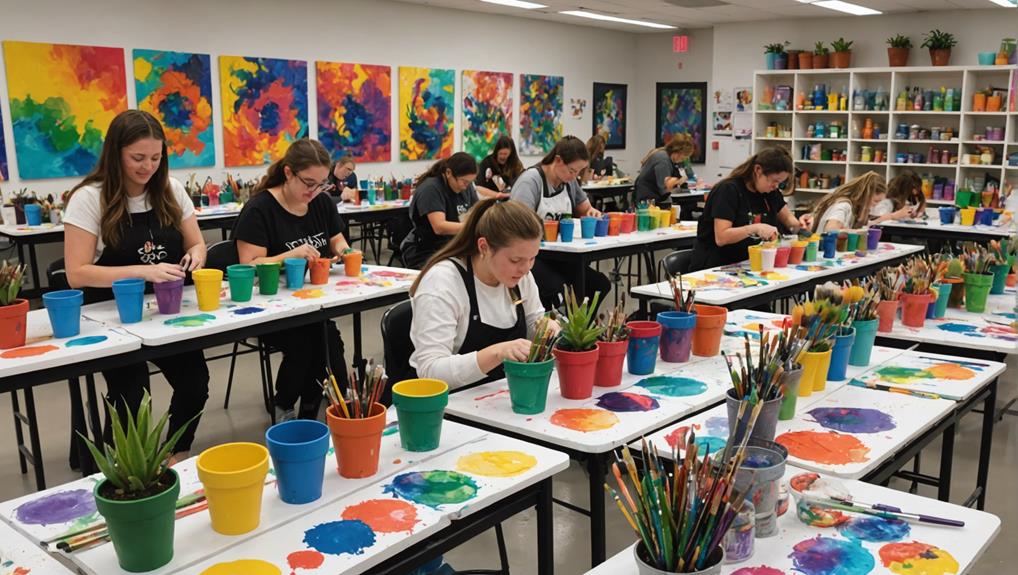
Participants have shared their delightful experiences, highlighting the interactive and supportive environment fostered during the sessions. They appreciate the hands-on approach, which allows them to immediately apply the techniques they learn. Each session lasts three hours, giving ample time for attendees to create a beautifully poured flower pot and a stunning 10×10 painting.
The selection of vibrant colors, including turquoise, alizarin crimson, white, light purple, and silver, adds to the excitement and creativity.
Moreover, the convenience of receiving a workshop recording guarantees that participants can revisit and refine their skills at their own pace. Overall, the workshop combines practical benefits with an engaging and enjoyable experience, making fluid art accessible and fun for everyone.
Materials Needed
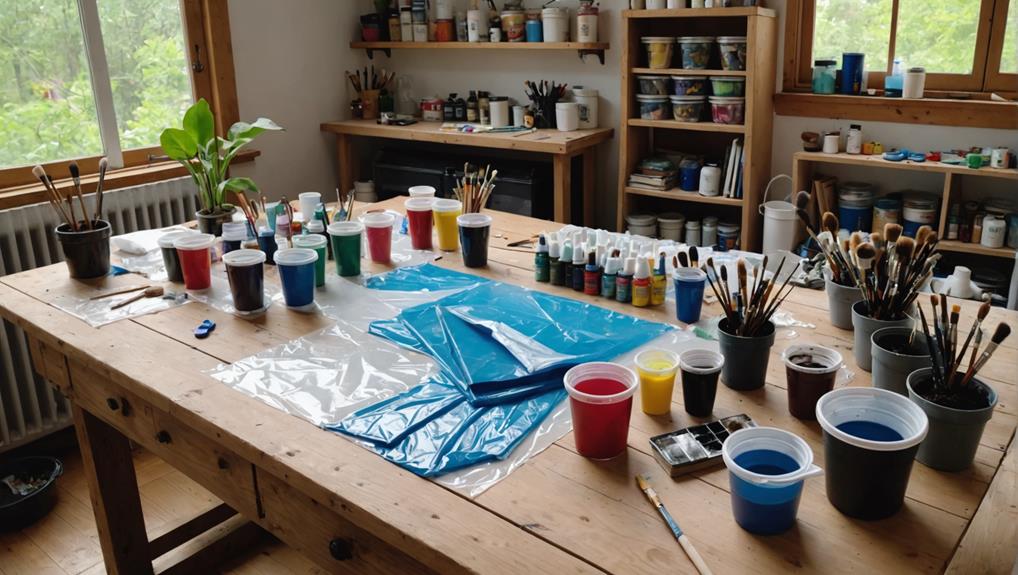
To start creating your fluid art plant pots, you’ll need a few essential supplies: fluid acrylic paints in vibrant colors like turquoise, alizarin crimson, and silver, as well as a non-porous flower pot and a canvas to catch the drips.
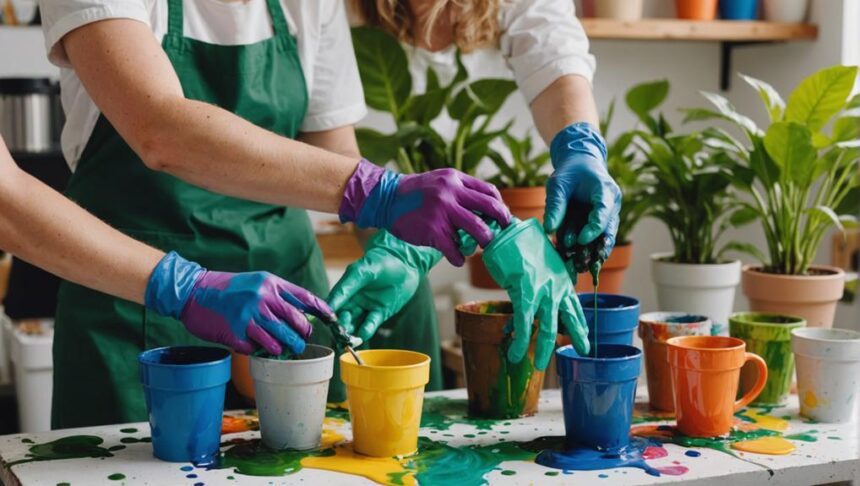
Protective gear such as gloves and an apron are a must to keep your hands and clothes clean. It’s wise to cover your workspace with a plastic drop cloth or newspaper to manage any spills.
These materials can be conveniently picked up at your local art supply store or ordered online, ensuring you’re fully prepared to create your masterpiece.
Essential Acrylic Pour Supplies
Gathering the essential acrylic pour supplies is the first step towards creating stunning fluid art plant pots.
To begin, you’ll need to choose the right acrylic paint types. Fluid acrylic paints are ideal for this project because they flow easily and mix well, making them perfect for various fluid art techniques. Colors like turquoise, alizarin crimson, white, light purple, and silver are great options to start with.
Next, you’ll need a clean, upturned terracotta pot. This pot serves as the canvas for your fluid art, allowing the paint to drip down its surface, creating unique patterns. Additionally, have a 10×10 canvas ready to catch any drips, giving you a complementary piece of art.
Other necessary materials include a mixing cup and stirring sticks to blend your colors properly. Gloves are vital to keep your hands clean, and a surface cover is important to protect your workspace from spills.
To guarantee a smooth finish, have a torch or heat gun handy to eliminate any pesky air bubbles in the paint.
With these supplies, you’re well on your way to crafting beautiful fluid art plant pots that will add a splash of color to any space.
Paint Color Options
Selecting the right paint colors is a key aspect of achieving vibrant and visually appealing fluid art plant pots. The workshop provides a diverse palette that includes turquoise, alizarin crimson, white, light purple, and silver. These colors not only offer a visually stunning combination but also allow for creative freedom in paint mixing, enabling participants to explore various shades and effects.
Understanding color psychology can greatly enhance your design. For instance, turquoise evokes calmness and tranquility, making it perfect for a serene plant pot. Alizarin crimson, with its deep, rich hue, can add a touch of passion and energy. Meanwhile, white brings balance and simplicity, and light purple introduces a sense of creativity and whimsy. Silver adds a sophisticated, metallic touch, giving your pot a modern, elegant finish.
When it comes to paint mixing, these colors provide endless possibilities. Experiment with different ratios to create unique shades that reflect your personal style.
Here are some tips to get you started:
- Layering Colors: Create depth and contrast by layering light and dark shades.
- Drizzling Techniques: Use different pouring techniques to achieve varied textures.
Material Pickup Locations
Material pickup for the Fluid Art Plant Pots workshop is conveniently available at both the Art School of Peterborough and The Village Pantry. These locations were chosen for their excellent pickup logistics and location accessibility, making it easy for participants to gather their materials without hassle.
You can pick up your materials on scheduled dates like Sept 20, Oct 4, 18, Nov 1, 15, 29, and more dates will be announced in the following months. To guarantee you get your kit on time, make sure to place your order by Tuesday at 5 pm for a Wednesday pickup. This way, everything runs smoothly, and you can dive right into your creative project without delay.
For those who prefer a quick and easy experience, curbside pickup is offered. Just drive up, and the staff will bring your materials directly to your car. This added convenience means you can stay in your comfy clothes, grab your materials, and be on your way in no time.
Each kit includes everything you need to create one poured flower pot and one 10×10 painting using specific acrylic pouring techniques. So, no need to fret about missing a thing – it’s all there, ready for your artistic touch!
Picking Up Supplies

For those participating in the Fluid Art Plant Pots workshop, supplies can be conveniently picked up from either the Art School of Peterborough or The Village Pantry on scheduled dates. This streamlined supply sourcing process guarantees that you have all the necessary materials to create your masterpiece.
To make things even easier, a curbside convenience option is available, allowing you to collect your supplies without leaving your car.
To engage our readers more effectively, here’s a quick list of what you need to know:
- Scheduled Pickup Dates: Supplies are available on specific dates, including Sept 20; Oct 4, 18; Nov 1, 15, 29; Dec 13; Jan 10, 24; Feb 7, 21; Mar 6, 20; Apr 3, 17; May 1, 15, 29; June 12, 26; July 10, 24; Aug 7, 21.
- Order Cut-off: Make sure to order your kit by Tuesday at 5pm for a Wednesday pickup.
With these straightforward steps, securing your supplies becomes a hassle-free experience.
Registration Details
To secure your spot in the Online Acrylic Pouring Workshop, advance registration is essential, with a fee of $50 or a discounted rate of $45 for members.
You have the option to attend on Wednesdays either from 2-5pm or 10:30am-4:30pm, and remember that the cut-off for ordering your workshop kits is Tuesday at 5pm.
Material pickup is conveniently available at the Art School of Peterborough and The Village Pantry, and a recording of the workshop will be emailed to you for future reference.
Workshop Fee and Discounts
The online Acrylic Pouring Workshop is priced at $50, with a discounted rate of $45 available exclusively for members. This workshop pricing not only covers the engaging and informative session but also guarantees you have access to expert guidance and a creative community. For those who are members, the discount is a great way to save a bit while diving into the world of fluid art.
To secure your spot in this exciting workshop, participants must register in advance. This guarantees that everyone gets the materials they need and can fully participate in the session. Plus, there’s an added bonus: after the workshop, a recording will be emailed to all participants. This means you can revisit the techniques and tips shared during the session anytime you want.
Here’s a quick rundown of what you can expect:
- Advance Registration Required: Guarantee your spot by signing up early.
- Workshop Recording: Access to a recording after the session for future reference.
Material Pickup Locations
Securing your materials for the online Acrylic Pouring Workshop is facilitated through convenient pickup locations at the Art School of Peterborough and The Village Pantry.
The pickup logistics are designed to be as smooth as possible, ensuring you can get your hands on the supplies without any hassle. These locations are strategically chosen for their accessibility, making it easy for participants to pick up their kits.
Scheduled pickup dates are set well in advance, including September 20, October 4, and 18, with more dates continuing in the following months. This consistent schedule allows for ample planning time, ensuring you won’t miss out.
To make things even more convenient, there’s a curbside pickup option. So, you can just drive up, grab your materials, and be on your way without stepping inside the building.
Registration Deadlines
Assuring your participation in the Online Acrylic Pouring Workshop requires advance registration, with a weekly cut-off every Tuesday at 5pm to secure materials for the Wednesday pickup.
This means you need to plan ahead to make certain you get everything you need for the workshop. Here are some registration tips and deadline reminders to help you out:
- Mark Your Calendar: Set a reminder for every Tuesday before 5pm so you don’t miss the registration cut-off. It’s easy to lose track of time, but having a reminder will keep you on top of things.
- Plan for Multiple Workshops: If you’re thinking about joining more than one session, consider registering for multiple dates at once. This can save you time and assure you’re always ready.
Acrylic Pouring Basics
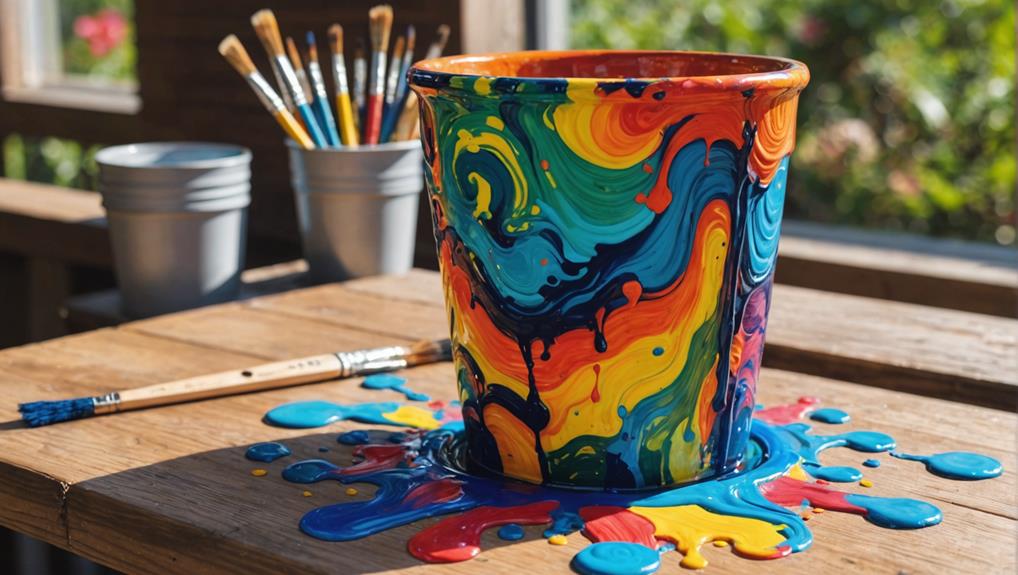
Acrylic pouring, an enchanting art form, involves layering fluid paints to create dynamic and intricate marbled effects on various surfaces. The process begins with mastering acrylic pouring techniques and color blending methods. By mixing vibrant colors like turquoise, alizarin crimson, white, light purple, and silver, you can achieve striking and eye-catching results. Imagine the excitement as you drizzle these fluid paints over an upturned pot, watching them flow and settle into mesmerizing patterns.
In acrylic pouring, the magic truly happens when the paint begins to drip from the pot, creating a second unique artwork on a canvas placed beneath. This allows you to enjoy two pieces of art from one creative process! Workshops are perfect for beginners, providing a guided experience where you can learn the essentials, such as mixing paints with the right pouring medium. This guarantees ideal flow and blending, making it easier to explore your creativity and develop your skills.
Acrylic pouring is not just about the final product; it’s about the journey and the thrill of watching colors blend and dance together. Whether you’re a seasoned artist or a curious beginner, this technique offers endless possibilities for creating beautiful, fluid art plant pots.
Paint Layering Techniques
Building on the foundational techniques of acrylic pouring, paint layering techniques are essential for achieving depth and intricate patterns on fluid art plant pots. By understanding the properties of your paints, particularly their viscosity, you can control how they interact and blend.
Fluid paint layering involves drizzling fluid acrylic paints, like turquoise, alizarin crimson, white, light purple, and silver, over an upturned flower pot. Each layer should be applied gradually, allowing the previous layer to partially dry. This gradual approach creates depth and texture in your final artwork, making your plant pot a unique piece of art.
Here are some key tips for effective paint layering:
- Varying paint viscosity: Thicker paints will stay in place more, while thinner paints will flow and blend, creating different effects.
- Color selection and order: Choose colors that complement each other and layer them in an order that enhances their natural blending.
As the paint drips from the pot, it will also create a complementary artwork on a canvas below, giving you a matching set. Mastering these layering techniques can enhance your fluid art projects to new heights.
Creating the Flower Pot
Initiate the creation of your fluid art plant pot by selecting a clean, upturned flower pot as the canvas for your acrylic pour. This step is vital as the pot design will be the centerpiece of your artistic endeavor.
Begin by choosing fluid acrylic paints in colors such as turquoise, alizarin crimson, white, light purple, and silver. These shades blend beautifully, creating a striking marbled effect.
Layer the paints in a cup, pouring one color at a time. This layering is fundamental for achieving the desired paint flow, allowing the colors to interact in mesmerizing patterns.
Once your paint layers are ready, slowly drizzle the mixture over the upturned pot. Watch as the colors cascade down, swirling and merging to form unique, intricate designs. This method guarantees that each pot design is one-of-a-kind, full of vibrant energy.
As the paint drips from the pot, it not only decorates the pot but also creates fascinating designs on the canvas below. This dual creation process adds an extra layer of excitement, transforming your workspace into a dynamic art studio.
With patience and practice, you’ll master the fluid art technique, crafting stunning pots that are as functional as they are beautiful.
Making the Canvas Art
While the paint cascades down the upturned pot, it simultaneously creates a secondary artwork on the canvas positioned below. This dual creation process adds an exciting layer of creativity and unpredictability to your fluid art experience.
To begin, place a 10×10 canvas beneath your pot. As the fluid paints—turquoise, alizarin crimson, white, light purple, and silver—drip onto the canvas, they form spontaneous, unique patterns.
This is where different canvas techniques come into play. You can experiment with various pouring techniques to achieve diverse fluid effects:
- Dirty Pour: Mix all your colors in a single cup before pouring to create intricate, marbled designs.
- Swipe Method: Pour colors in lines or patches, then use a tool to drag the paint across the canvas for mesmerizing swirls.
As the paint drips from the pot, it not only creates a beautiful piece of art on the canvas but also serves as an extension of your original flower pot design.
This interconnected process showcases the beauty and versatility of fluid art, making each piece truly one-of-a-kind.
Drying and Finishing

Allow the poured plant pots to dry completely for at least 24 hours to guarantee the acrylic paint has set properly. Patience is key here, as rushing this step can ruin all your hard work.
Use effective drying techniques by placing the pots in a well-ventilated area, helping to disperse any lingering paint smells.
Once the pots are thoroughly dried, it’s time for the finishing touches. Apply a clear sealant, which not only protects your vibrant artwork from moisture and UV damage but also enhances its longevity. Think of it as giving your masterpiece a protective shield! This step is essential, especially if you plan to use the pot for actual planting.
Make sure there’s a drainage hole to allow excess water to escape, which helps prevent any potential damage to your beautiful painted surface.
Also, be mindful to avoid exposing your finished pots to extreme temperatures or direct sunlight, as this could cause the paint to fade or crack over time.
Displaying Your Art
After completing the drying and finishing process, your beautifully crafted fluid art plant pots are ready to be displayed as enchanting elements within your space. The next step is to find the perfect arrangement to showcase these colorful creations. Design inspiration can come from many sources, so feel free to experiment and find what works best for your style and space.
Consider the following display arrangements to make your art pots stand out:
- Group Multiple Pots: Arrange pots of varying sizes and colors together. This creates a dynamic, visually interesting display that can serve as a focal point in any room or garden.
- Utilize Natural Light: Place your art pots near windows. The natural light will highlight the unique designs and vibrant colors of your fluid art, making them even more mesmerizing.
Additionally, think about the plants you choose. Selecting flora that contrasts or harmonizes with your pot’s colors will enhance the overall aesthetic, making your display truly eye-catching.
Supporting the Art School

Supporting the Art School of Peterborough plays an essential role in fostering artistic development and maintaining a vibrant cultural community. As a registered Canadian charity, the Art School is dedicated to expanding art education and igniting creativity within the local area. By engaging with the community, the school offers a wide range of workshops and programs that help people of all ages develop their skills in the visual arts.
When you participate in activities like the Acrylic Pouring Workshop, you’re not just learning a new technique; you’re directly contributing to the sustainability of these valuable programs. Your involvement helps keep the school’s resources available for everyone, ensuring that art education remains accessible and inspiring.
The Art School stays connected with its supporters through social media, making it easy for you to stay updated on events and opportunities to get involved. Financial support and active participation are vital for the school’s growth and outreach.
Contact Information
If you have questions about the Online Acrylic Pouring Workshop, you can easily reach out to the Art School of Peterborough via email or phone; their contact details are conveniently listed on their website.
For the latest updates and program information, be sure to follow them on social media under the handle @ArtSchoolPtbo.
They are available to assist you Monday to Friday from 10:00am to 5:00pm, and Saturday from 10:00am to 3:00pm.
Email and Phone Details
For inquiries about the Acrylic Pouring Workshop, you can contact the Art School of Peterborough via email or phone as listed on their website.
Whether you’re curious about workshop details, need assistance with registration, or have questions about material pickup, their team is ready to help.
When it comes to email inquiries, simply send your questions to the address provided on their website. This method is particularly useful for specific queries that might require detailed responses.
Remember, clear communication guarantees you get the most accurate information in return.
For those who prefer direct interaction, phone support is available. The Art School of Peterborough’s phone number is also listed on their website.
Make sure to call during their operating hours (10:00am to 5:00pm Monday to Friday) to get timely assistance.
Here are some helpful tips for reaching out:
- Email inquiries: Perfect for detailed questions and follow-ups.
- Phone support: Ideal for quick answers and immediate assistance.
Social Media Platforms
Leveraging its active presence on platforms like Instagram and Facebook, the Art School of Peterborough connects with the community and shares updates under the handle @ArtSchoolPtbo. By doing so, they create a vibrant online art community where followers can stay informed about workshops, events, and art education initiatives. For example, they frequently post about their Acrylic Pouring Workshop, giving fans a sneak peek into the creative process and final masterpieces.
This social media engagement allows art enthusiasts to interact with the school in various ways. Followers can comment on posts, share their own artwork, and participate in lively online discussions. This not only builds a sense of community but also provides a platform for budding artists to showcase their talents and seek feedback.
If you’re curious about upcoming classes or have questions about material pickups, you can easily reach out to the Art School of Peterborough through these social media channels. In addition to social media, they are accessible via email and phone, ensuring that all your inquiries are promptly addressed.
Frequently Asked Questions
How Do You Make a Pouring Medium for Fluid Art?
To create a pouring medium for fluid art, combine one part acrylic paint with two parts pouring medium. Experiment with pigment choices and pouring techniques to achieve desired effects, ensuring the mixture is well-blended for ideal flow.
What Is the Best Sealant for Terracotta Pots?
The best sealants for terracotta pots are acrylic sealants for their waterproof finish and quick drying time, and polyurethane sealants for their durability. Both offer excellent terracotta care, with acrylic maintaining the pot’s natural appearance.
Can You Use Acrylic Paint on Plastic Plant Pots?
Yes, you can use acrylic paint on plastic plant pots. To guarantee acrylic adhesion and paint durability, thoroughly clean the surface and apply a plastic primer before painting. Seal with a clear acrylic sealer to protect the finish.
Do I Need to Seal Terracotta Pots Before Painting?
Yes, sealing terracotta pots before painting is essential in terracotta pot preparation. This step prevents excessive paint absorption and guarantees a smoother finish, enhancing the longevity of your design and safeguarding it against chipping and fading.
Conclusion
Fluid art plant pots offer a unique blend of creativity and functionality, transforming ordinary planters into vibrant pieces of art.
The workshop provides an opportunity to learn acrylic pouring techniques, ensuring participants leave with both knowledge and a completed project.
Supporting the art school through such activities fosters community engagement and promotes artistic development.
This workshop is an excellent way to explore artistic expression in a practical context.


Leave a Reply