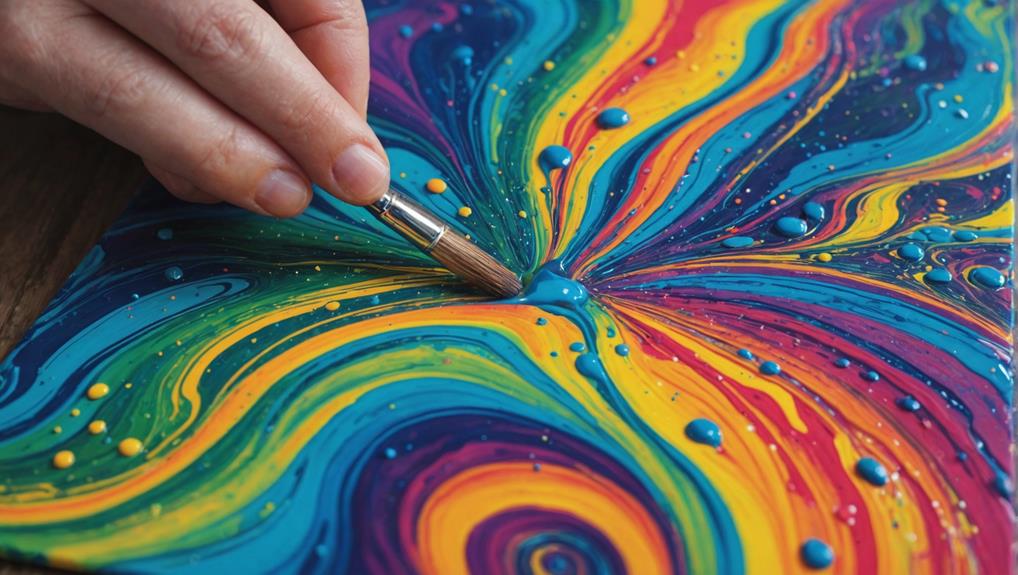
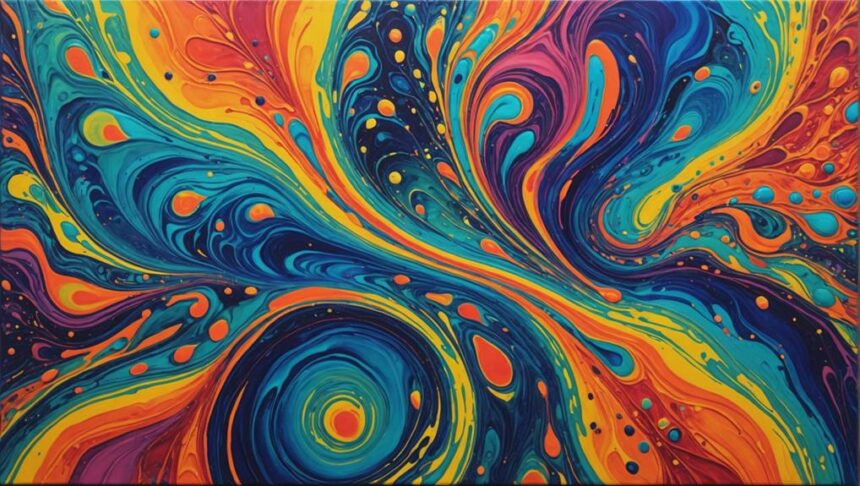
Creating a rainbow effect with acrylic pour painting is like orchestrating a color symphony. First, gather your rainbow paints—red, orange, yellow, green, blue, indigo, and violet. Mix each with a pouring medium to achieve a honey-like consistency, using about one part paint to two parts medium. Protect your workspace with plastic or newspaper, and get ready for the messy fun. Layer your colors in a single cup, starting with red and following the rainbow order. Now comes the magic: pour the mixture in the center of your canvas, tilting and swirling to spread the colors. Want to add that perfect final touch?
Key Takeaways
- Select high-quality acrylic paints in rainbow colors: red, orange, yellow, green, blue, indigo, and violet.
- Mix acrylic paint with pouring medium in a 1:2 ratio for smooth consistency.
- Layer paints in the rainbow spectrum order for seamless color transitions.
- Use blowing techniques and tools like straws to manipulate colors dynamically.
Understanding Acrylic Pouring
Acrylic pouring, an enchanting fluid art technique, involves mixing acrylic paints with a pouring medium to create dynamic, flowing designs on canvas.
At its core, acrylic pouring is all about understanding how colors interact and flow together, which is where color theory and paint viscosity come into play.
Color theory helps artists choose hues that complement each other, ensuring the final piece is visually appealing and harmonious. Imagine blending reds, blues, and yellows to create a mesmerizing rainbow effect—each color needs to be vibrant and distinct for the best results.
Paint viscosity, on the other hand, is all about the thickness of the paint. Too thick, and it won't spread well; too thin, and it might run off the canvas altogether.
Getting the right consistency is like finding the perfect recipe, requiring a delicate balance of paint and pouring medium.
Techniques like the dirty pour or flip cup rely heavily on this balance to achieve those stunning, fluid designs. For example, adding a bit of silicone oil can create fascinating cells, adding depth and texture to your artwork.
Gathering Your Materials
To create a stunning rainbow effect in acrylic pour painting, you must first gather a complete set of high-quality materials. Begin by selecting acrylic paints in the full spectrum of rainbow colors: red, orange, yellow, green, blue, indigo, and violet. Opt for reputable paint brands known for their vibrancy and consistency, as this will greatly influence the final outcome of your artwork.
Next, acquire a pouring medium, which is essential for achieving the right consistency in your paint mixture. Pouring mediums are designed to help the paint flow smoothly across the canvas without cracking or separating. Brands like Liquitex and Floetrol are popular choices among artists for their reliable performance.
For those looking to add an extra layer of interest to their painting, consider gathering some silicone oil. This additive can create intriguing cell formations within the pour, adding a unique texture to your piece. Additionally, prepare a suitable canvas—ideally around 40 by 30 inches—to showcase the full effect of your rainbow pour.
Don't forget protective gear like gloves and a mask to guarantee safety during the process. With your materials ready, you are well-prepared to commence your colorful acrylic pouring journey.
Preparing Your Workspace
Begin by laying down a protective layer, such as plastic or newspaper, to shield your workspace from inevitable paint spills and splatters. This simple step is essential to keep your working area clean and make the whole process more enjoyable.
Next, gather all your vital materials—acrylic paints in rainbow colors, pouring medium, silicone oil (if desired), and your canvas. Having everything ready helps keep the creative flow uninterrupted.
Now, let's talk workspace organization. Arrange your materials within arm's reach so you're not scrambling around mid-pour. Trust me, having separate cups for mixing each paint color will save you a lot of hassle. Organization is key to a smooth and fun painting session.
Don't forget the protective measures! Wear gloves to protect your hands from paint, and a mask to avoid inhaling any fumes. It's better to be safe than sorry!
Lastly, set up your canvas on a raised surface or use a stepladder. This gives you better access and control when pouring, making it easier to create that stunning rainbow effect.
With everything in place, you're now ready to plunge into the colorful world of acrylic pouring!
Mixing Rainbow Colors
Achieving a vivid rainbow effect in your acrylic pour painting starts with meticulously mixing each color with a pouring medium to guarantee a smooth, fluid consistency.
Understanding color theory is essential here, as you'll be working with primary and secondary colors: red, orange, yellow, green, blue, indigo, and violet. To make certain your colors blend seamlessly into a vibrant spectrum, you need to pay close attention to mixing ratios.
Begin by mixing each acrylic paint with the pouring medium. Typically, a ratio of one part paint to two parts pouring medium works well, but feel free to experiment to achieve your desired consistency.
The smoothness of your mix is vital for the colors to flow and blend beautifully during the pour.
Layering and Pouring Techniques
Layering and pouring techniques are vital for achieving a seamless and visually engaging rainbow effect in acrylic pour painting.
Using a clean cup, carefully layer your acrylic paints according to the rainbow spectrum (red, orange, yellow, green, blue, indigo, violet). This order guarantees a smooth shift between colors, aligning with color theory principles for a harmonious effect.
To create an enchanting rainbow, employ the dirty pour technique. Fill a cup with your layered colors and pour it onto the canvas diagonally. This method mirrors the natural arrangement of a rainbow, producing an eye-catching flow.
Enhance your masterpiece by adding silicone oil to specific colors before pouring, which generates cells and adds visual depth.
Control the flow and mixing of colors by varying the height at which you hold the cup above the canvas. This technique allows dynamic interaction between hues.
To further manipulate the poured colors, use a straw or blow dryer, creating soft blends and unique shapes that emphasize the rainbow effect.
Creating the Rainbow Flow
Creating an enchanting rainbow flow in acrylic pour painting involves meticulously layering primary colors and utilizing various blowing techniques to manipulate and enhance the fluidity of the paint. To achieve the vibrant and seamless color blending characteristic of a rainbow, follow these steps:
- Layering Colors: Start by layering primary colors in this order: red, orange, yellow, green, blue, indigo, and violet. This sequence guarantees the colors blend smoothly during the pour.
- Using Pouring Medium: Mix each acrylic paint with a pouring medium. This combination creates the ideal consistency, allowing the paint to flow effortlessly and blend beautifully.
- Incorporating Central Green: Include a central green color in your pour. Green acts as a bridge between warm and cool tones, ensuring a harmonious shift.
- Blowing Techniques: Experiment with blowing techniques, such as using a straw or blow dryer. These tools help manipulate the paint, creating dynamic petal effects and enhancing the overall flow.
Additionally, consider adding pastel shades, like soft blue, to the corners of your canvas. This creates a gentle sky effect, complementing the bold rainbow colors in the center.
Adding Final Details

Enhancing the depth and visual appeal of your acrylic pour painting involves meticulous attention to final details. Adding final touches is where you can truly make your artwork shine and achieve color harmony.
Consider incorporating gold or metallic accents strategically to mimic sun rays. These touches can create visual interest and add a touch of elegance to your rainbow effect.
Use finger swiping techniques to blend colors at their edges. This method guarantees a smooth shift, maintaining the vibrancy of the rainbow flow while avoiding harsh lines.
To achieve a harmonious balance, incorporate pastel shades, like a soft blue, at the corners of the canvas. This can create a gentle sky effect that surrounds the vibrant colors and makes the painting feel complete.
Applying additional layers of contrasting colors, such as dark blue, can help define specific areas and make the rainbow colors pop against the background.
Don't forget to check for any areas that may need touch-ups or extra embellishments. Confirming the overall composition feels cohesive and dynamic is key.
These final touches will bring your masterpiece to life, making it a truly enchanting work of art.
Sharing Your Artwork
Sharing your acrylic pour painting with a broader audience can enhance your artistic journey and open up new opportunities for growth and connection. Social media platforms like Instagram and Facebook are perfect for showcasing your masterpieces. By using relevant hashtags such as #AcrylicPour and #FluidArt, you can connect with other artists and enthusiasts who share your passion.
Here are some ways to share your artwork and engage with the community:
- Social Media: Post your finished pieces on platforms like Instagram and Facebook. Use hashtags to increase visibility and connect with other artists.
- Online Art Communities: Join forums or groups where you can post your work, receive feedback, and discuss techniques and tips.
- Local Art Shows: Participate in community events or art shows dedicated to fluid art to showcase your pieces and network with other artists.
- Portfolio Website: Create a personal website or blog to document your artistic journey, featuring your acrylic pour paintings along with insights on your techniques and materials.
Encouraging community engagement through these methods not only helps you gain valuable feedback but also fosters a sense of belonging in the art community.
Frequently Asked Questions
How to Make a Rainbow Gradient With Paint?
To create a rainbow gradient with paint, employ color mixing by blending primary colors. Utilize gradient techniques such as layering colors in a single cup and pouring diagonally to achieve a seamless shift across the canvas.
How Do You Make a Swirl Effect With Acrylic Paint?
To create a swirl effect with acrylic paint, employ swirl techniques by layering colors in a cup for a dirty pour. Use a stick to stir in circular motions, promoting color mixing and achieving a dynamic swirl pattern.
How Do You Make Cool Effects With Acrylic Paint?
To create cool effects with acrylic paint, employ techniques such as color mixing and paint layering. Use silicone oil for cell formation, experiment with different pouring methods, and manipulate the paint with tools like straws or blow dryers.
How Do You Make Iridescent Acrylic Paint?
To create iridescent acrylic paint, mix iridescent mediums with paint additives. Combine one part iridescent pigment with three parts transparent acrylic medium, ensuring a balanced shimmer. Test the mixture on a small canvas to confirm the desired effect.
Conclusion
To summarize, mastering the rainbow effect in acrylic pour painting requires a combination of understanding the medium, meticulous preparation, and skilled execution.
The process involves gathering the right materials, mixing vibrant rainbow colors, and employing effective layering and pouring techniques.
The final touches and sharing of the artwork complete the journey, showcasing the artist's dedication and creativity.
This artistic endeavor not only enhances technical skills but also provides a visually stunning and rewarding experience.


Leave a Reply