The string pull technique in fluid art is like magic on canvas! By combining traditional string art with vibrant acrylic paints, artists create stunning and dynamic patterns. Picture dipping a string in paint, then pulling it across a canvas to weave intricate designs—it’s both meditative and thrilling. Not only is this method beginner-friendly, it also allows for endless creativity with colors and textures. Plus, the process is a fantastic stress reliever, almost like painting with a bit of surprise every time. With some simple materials and a dash of imagination, you can discover enchanting results that make you enthusiastic to explore this art form further.
Key Takeaways
- The string pull technique involves dragging paint-covered strings across a canvas to create intricate patterns and textures.
- Various string types like yarn, twine, or embroidery floss yield different artistic effects in fluid art.
- A balanced paint to pouring medium ratio (1:1 to 1:2) ensures optimal fluidity for the technique.
- Experimenting with different pulling speeds, angles, and string placements enhances the variety in designs.
History of String Pull Art
The string pull technique, a contemporary art form that combines traditional string art with modern fluid acrylic pouring, gained prominence in the early 2010s. This innovative method emerged as artists sought new ways to blend the visual dynamics of fluid art with the textural possibilities of string manipulation.
The string pull origins can be traced back to the broader fluid art movement, which itself surged in popularity thanks to vibrant, eye-catching styles that were widely shared on social media platforms.
In its early days, the technique captivated artists who were enthusiastic to experiment with fluid acrylics, resulting in a mesmerizing interplay of color and texture. Contemporary influences played a significant role, with artists drawing inspiration from both traditional string art and the spontaneous, free-flowing nature of fluid painting.
Workshops and online tutorials quickly sprang up, making the string pull technique accessible to beginners and fostering a thriving community of enthusiasts. Exhibitions and art challenges further spotlighted this unique method, showcasing its potential for creating intricate designs and allowing for deep personal expression.
This blend of tradition and modernity has cemented string pull art as a distinctive and evolving form in the contemporary art scene.
Benefits of String Pulling
Building on the rich historical context of string pull art, the benefits of this technique extend beyond its aesthetic appeal. One of the most significant advantages is its ability to foster creative expression. Whether you’re a seasoned artist or a beginner, string pulling invites you to experiment with a myriad of color combinations and paint flows, resulting in unique and dynamic patterns every time. This unrestricted creativity can be incredibly fulfilling.
Moreover, string pulling is not just about creating art; it’s also about experiencing stress relief. The repetitive and rhythmic motion of pulling the string through paint can be remarkably calming and meditative. This therapeutic process offers a fantastic way to unwind and escape the stresses of daily life.
Here are some key benefits of string pulling:
- Encourages creative expression: Experiment with colors and techniques to create one-of-a-kind art.
- Offers stress relief: The meditative nature of the technique helps in reducing stress and promoting relaxation.
- Beginner-friendly: This technique is accessible to all skill levels, making it an excellent entry point for new artists.
Essential Tools and Supplies
Gathering the right tools and supplies is vital for successfully executing the string pull technique in fluid art.
First, let’s talk about the strings. You’ll need various string types, such as yarn, twine, or even embroidery floss. Different thicknesses and textures can create unique patterns, making your artwork stand out.
Next, let’s explore medium selection. Acrylic paints are your best bet because they’re vibrant and versatile. However, you can’t use them straight out of the tube; you need to mix them with a pouring medium. This helps achieve the right fluidity, making it easier to manipulate the paint with your strings.
Now, onto the canvas or wood panel. This will be your painting surface, and it might need priming to enhance paint adhesion and finish.
Don’t forget your protective gear! Gloves and an apron are vital to keep you clean, as acrylic paints can be stubborn and messy.
Choosing Paint Colors
Choosing the right paint colors for your string pull fluid art can make all the difference!
Use a color wheel to find complementary or analogous colors for a balanced look, and remember, high-quality acrylics with good pigmentation will make your artwork pop.
Mixing contrasting shades like warm reds with cool blues can create eye-catching effects, while a mix of opaque and transparent colors adds depth to your masterpiece.
Color Harmony Essentials
To achieve a visually striking string pull fluid art piece, it is essential to carefully select paint colors that harmonize well together. Understanding color theory and visual balance is vital in this process.
Using a color wheel can help you identify complementary colors that enhance each other, adding visual interest to your artwork. Sticking to a limited palette of three to five colors guarantees harmony and prevents overwhelming your composition, resulting in a cohesive piece.
Experimenting with analogous colors—those next to each other on the color wheel—can create a soothing, harmonious effect. Additionally, incorporating a neutral color like white or black can provide contrast, making the other colors pop and enhancing the overall visual impact of your piece.
Before committing to a larger canvas, it is wise to test your color combinations on a small surface to verify they blend well and achieve the desired effect.
- Use a color wheel to find complementary colors.
- Limit your palette to three to five colors.
- Experiment with analogous colors for harmony.
Contrasting Shades Impact
Leveraging contrasting shades in the string pull technique can greatly amplify the visual dynamics of fluid art, making each pattern more striking and engaging. By using contrast techniques, artists can create a compelling interplay between colors that instantly captures the viewer’s attention. For instance, complementary color pairs like blue and orange or red and green generate a vibrant contrast, emphasizing the intricate details formed by the strings.
Understanding color psychology is essential when selecting these shades. Colors evoke different emotions and reactions, so combining them thoughtfully can enhance the artwork’s impact. Experimenting with varying saturation levels within these schemes adds depth and interest, as lighter shades can effectively highlight darker ones, creating a layered, three-dimensional effect.
The color wheel proves to be an invaluable tool in this process, helping artists identify which contrasting shades will produce the most striking results. Additionally, incorporating metallic or iridescent paints alongside matte colors can further heighten the contrast, adding an extra layer of visual intrigue.
This blend of metallic shimmer with flat tones can transform a simple piece into something truly mesmerizing, engaging the viewer’s senses and drawing them into the fluid art’s dynamic world.
Seasonal Palette Inspiration
When planning a seasonal palette for string pull fluid art, consider the colors that naturally evoke the essence of each season to create a more resonant and visually appealing piece. By drawing inspiration from the changing seasons, your artwork can capture the unique moods and emotions each time of year brings. For instance, warm colors like oranges and yellows can evoke the cozy feel of autumn, while cool blues and whites reflect the serene beauty of winter.
To get you started, here are a few tips:
Autumn: Use warm hues such as oranges, yellows, and deep reds to mimic the falling leaves and harvest vibes.
Winter: Cool blues, whites, and silvers can create a frosty, tranquil atmosphere reminiscent of snowy landscapes.
Spring: Earthy tones like greens and browns, along with fresh pastels, symbolize new growth and rejuvenation.
Summer: Vibrant pinks, bright blues, and sunny yellows capture the lively and energetic spirit of the season.
Don’t forget to balance your palette with a neutral color, like white or gray, to make your seasonal inspirations pop.
Experiment with metallic or iridescent paints for added shimmer, especially during festive periods. By understanding color psychology, you can craft fluid art that truly resonates with the essence of each season.
Preparing Your Workspace
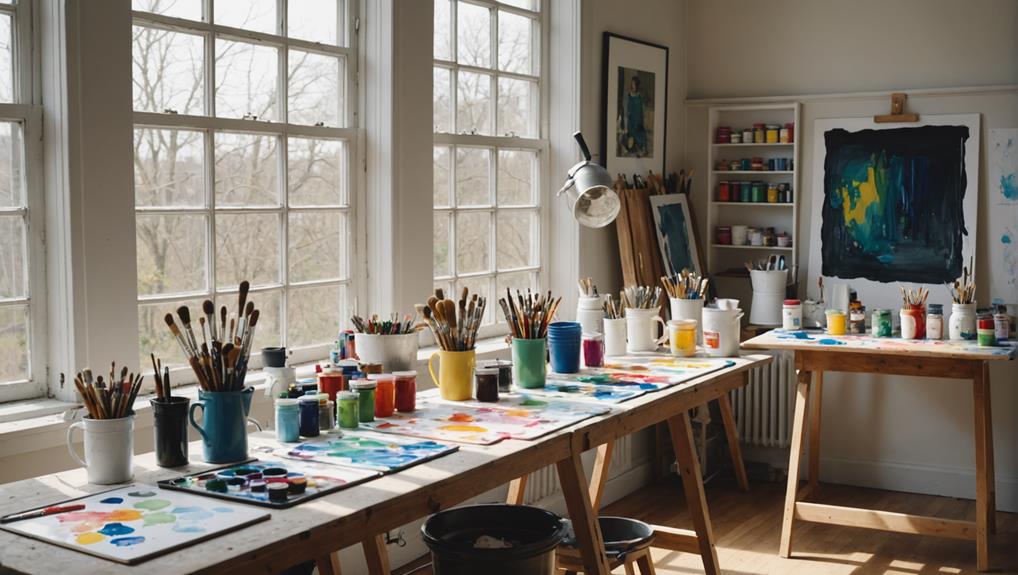
Selecting a well-ventilated area for your workspace is essential, as acrylic paints and mediums can emit fumes during application. Proper workspace organization and safety precautions are key to a smooth and enjoyable art experience. Begin by choosing a spacious, well-lit spot to guarantee you can see your colors and effects clearly.
Protect your workspace by laying down plastic sheeting or old newspapers to catch any spills. Gather all your materials—acrylic paints, pouring medium, strings, canvas, and protective gear—before you start, so you won’t need to interrupt your creative flow.
Here’s a handy table to help you organize your workspace:
| Item | Purpose |
|---|---|
| Protective Covering | Prevent paint spills |
| Paper Towels | Quick cleanup of spills |
| Cleaning Supplies | Maintain a tidy workspace |
| Good Lighting | Assess color mixing and visual effects |
| Ventilation | Guarantee safety from paint fumes |
Keep paper towels and cleaning supplies nearby for quick cleanups, and always wear protective gear like gloves and an apron. With your workspace set up properly, you can focus on the string pull technique and let your creativity flow without worrying about messes or safety issues.
Mixing Paint and Medium
Achieving the perfect consistency for fluid art involves carefully blending acrylic paint with a pouring medium. This step is essential for guaranteeing smooth and vibrant results in your string pull technique. To start, aim for a ratio of 1:1 to 1:2 paint to medium. This balance will give your paint the right fluidity.
First, use a mixing stick or palette knife to thoroughly combine the paint and medium. Make certain the mixture is smooth and free of lumps, as this guarantees even application on your canvas.
Next, consider experimenting with your color mixing. Adding small amounts of water or silicone oil can alter the consistency, giving you unique effects in your final artwork.
Before you plunge into your main piece, always test your mixture on a small canvas or paper. This step helps you check if the consistency and color are just right.
Finally, let your mixed paint sit for a few minutes. This allows any air bubbles to escape, preventing unwanted imperfections.
- Aim for a 1:1 to 1:2 paint to medium ratio.
- Mix thoroughly with a stick or palette knife.
- Experiment with water or silicone oil for different effects.
String Placement Techniques
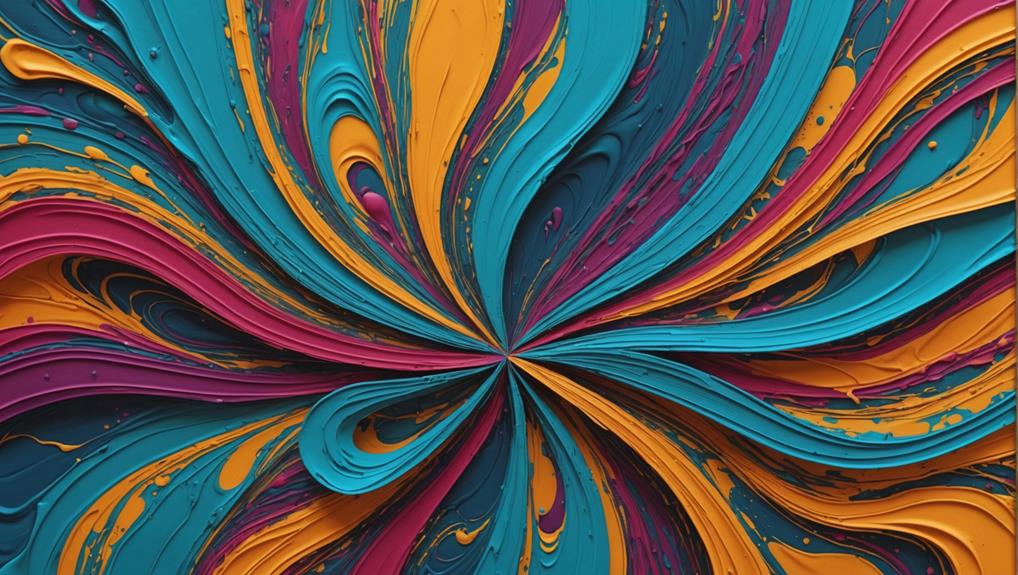
Now that your paint mixture is ready, the next step is to master string placement techniques to achieve mesmerizing patterns and textures in your fluid art. Understanding string dynamics and string tension is essential for creating visually stunning pieces.
Begin by experimenting with varying lengths of strings; longer strings can produce broader, sweeping strokes, while shorter strings yield more intricate and detailed patterns.
Using multiple strings in parallel or crisscrossing arrangements can greatly enhance the visual interest and create layered textures. To guarantee the strings stay in place, anchor them securely to the canvas with a small amount of paint or tape. This prevents the strings from shifting during the pull, allowing for consistent and predictable patterns.
Consider the intended flow of the paint as you position the strings. Placing them in spiral or wave patterns can help guide the paint movement, resulting in more dynamic and fluid designs.
Before committing to your final canvas, practice different placements on scrap surfaces to understand how string dynamics and tension affect the outcome. This allows for creative exploration and adjustments, making sure your final artwork achieves the desired effect.
Pouring Paint Over Strings
Consistently achieving ideal results in fluid art begins with properly pouring paint over the strategically placed strings. This step is essential for creating the vibrant and intricate patterns that characterize string pull techniques.
First, select the appropriate string types, such as cotton yarn or embroidery thread, for your desired effect.
Next, mix your acrylic paints with a suitable pouring medium to guarantee a smooth, fluid consistency. This mixture should flow easily over the strings without being too runny or too thick.
Carefully pour the mixed paint over the strings, making sure of complete coverage. This can be done using various pouring techniques, such as:
- Direct pour: Pouring the paint directly from the cup onto the strings.
- Dirty pour: Mixing multiple colors in a single cup before pouring.
- Puddle pour: Creating small puddles of paint on the canvas that the strings will pass through.
Each technique will result in different visual effects, adding to the uniqueness of your art.
Be patient and meticulous during this process to guarantee the best outcomes.
Pulling Techniques Explained
How can the various pulling techniques in fluid art enhance the complexity and beauty of your creations? Understanding the nuances of string dynamics and tension control is essential to mastering these methods.
Different pulling techniques, like straight pulls, loops, or twists, can transform a simple pour into a mesmerizing piece of art. For example, a straight pull can create elegant, elongated lines, while loops and twists can introduce unique textures and intricate designs, making your artwork stand out.
The speed and angle at which you pull the strings also play a significant role in the final outcome. A slower, more deliberate pull can result in smoother shifts and more controlled color blending, whereas a faster pull might produce more dynamic, spontaneous effects.
Additionally, the tension control you apply to the strings during the pull can determine the sharpness and clarity of your patterns. Using thicker strings or varying the thickness of the paint can further refine your lines and shapes, adding depth and dimension to your work.
Creating Complex Patterns
To create complex patterns with the string pull technique, start by layering multiple colors of paint on your canvas, which will give your artwork depth and vibrant color shifts.
Experiment with varying the lengths and thicknesses of your strings to see how they affect the final design.
Layering Multiple Colors
Layering multiple colors in the string pull technique involves strategically applying mixed acrylic paints over the strings to create intricate and visually appealing patterns. This process, known as color layering, requires careful consideration of paint transparency to achieve the desired depth and richness in the artwork. By allowing each layer to partially dry before adding the next, artists can enhance the dimensionality and complexity of their designs.
Experimentation is key to mastering this technique. Varying the types of acrylic paint and pouring mediums can lead to unique blends and textures, amplifying the overall visual interest of the piece. Additionally, incorporating tools like blow dryers or heat guns between layers can manipulate paint flow, fostering organic blending and intricate patterns.
To grab the audience’s attention:
- Use different color combinations: Mix colors to see which ones complement each other best.
- Play with paint transparency: Some colors should be more opaque while others remain translucent for depth.
- Incorporate drying techniques: Utilize a blow dryer or heat gun to control paint flow and blending.
Varying String Lengths
Utilizing varying string lengths in the string pull technique allows artists to create intricate and complex patterns that add depth and visual interest to their fluid art pieces. By experimenting with different string lengths, artists can manipulate string dynamics to produce a diverse range of effects. Shorter strings often result in tighter, more controlled patterns, whereas longer strings enable broader, sweeping motions that contribute to a more expansive design.
One of the exciting aspects of using varying string lengths is the potential to enhance the layering effect. Different string lengths interact with the paint in unique ways, creating distinct textures and depths within the artwork. When multiple strings of varying lengths are used together, they can generate complex overlapping patterns, making the final piece visually dynamic and engaging.
However, maintaining consistent tension control is essential when pulling strings of different lengths to achieve uniform results and avoid unwanted splatters. Strategic placement and direction of the strings allow artists to create specific visual effects, such as spirals or waves. This method not only adds complexity but also gives the artist greater creative freedom to craft mesmerizing fluid art pieces.
Drying and Finishing Methods
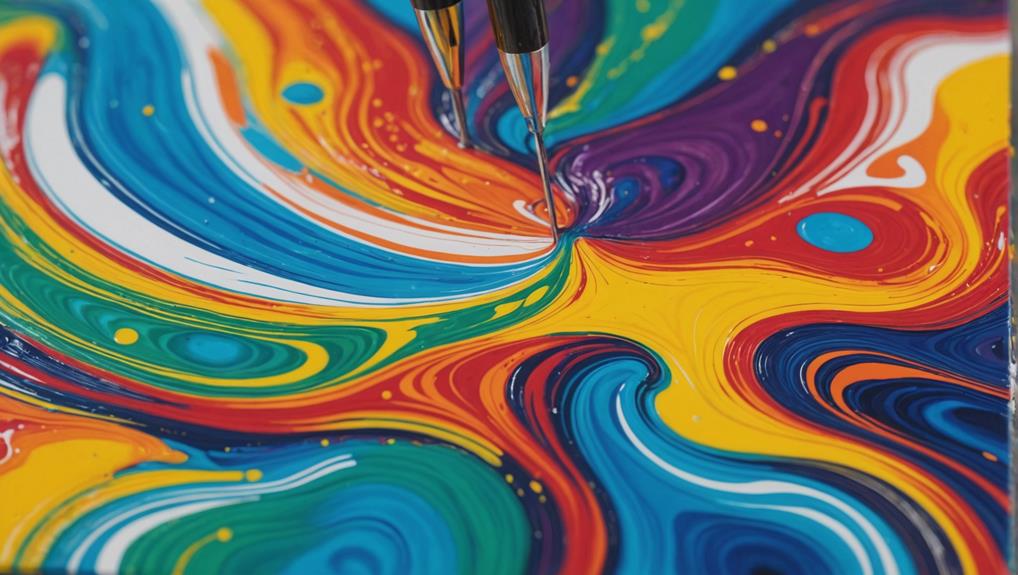
Guaranteeing your string pull artwork dries thoroughly is crucial for maintaining the integrity and vibrancy of the design.
Utilizing effective drying techniques can prevent unwanted blemishes and guarantee a flawless finish. Allow the artwork to dry in a dust-free environment for at least 24 hours, or longer if a pouring medium is used. Follow the manufacturer’s drying recommendations, which can range from 24 to 72 hours depending on the paint’s thickness.
Once your piece is completely dry, it’s time to reflect on varnishing options. Applying a clear varnish or resin can protect the artwork and enhance the colors, making them pop even more. Verify the varnish is compatible with acrylics to avoid any adverse reactions.
To capture your audience’s attention, here are some key tips:
- Dust-Free Environment: Keep your drying area clean to avoid contamination.
- Proper Drying Time: Adhere to the recommended drying period for ideal results.
- Varnish Selection: Choose a varnish that enhances and protects.
Lastly, framing under glass can provide additional protection, safeguarding your masterpiece from dust and scratches while maintaining its visual appeal.
Common Mistakes to Avoid
One of the most frequent errors in string pull fluid art is failing to properly mix the acrylic paints with the pouring medium, which can result in inconsistent fluidity and undesirable textures. This common pitfall can be easily avoided by thoroughly blending your paints and medium until they reach a smooth, even consistency.
Another mistake artists often make is using strings that are too thick or too stiff. This can hinder the pulling process, making it difficult to achieve the desired flow and intricate designs. Opt for finer, more flexible strings to maintain control over your artwork.
Skipping the step of allowing layers to dry between applications is another significant error. When colors are applied too soon, they can muddy together, losing their vibrancy and clarity. Be patient and let each layer set properly.
Neglecting to prime the canvas is an oversight that can absorb too much paint, resulting in a less dynamic finish and uneven texture. Always prime your surface to guarantee a vibrant outcome.
Lastly, a cluttered workspace can lead to color contamination, diminishing the integrity of your color palette. Keep your area organized to avoid unnecessary mistakes and maintain the quality of your final piece.
Advanced String Pull Methods
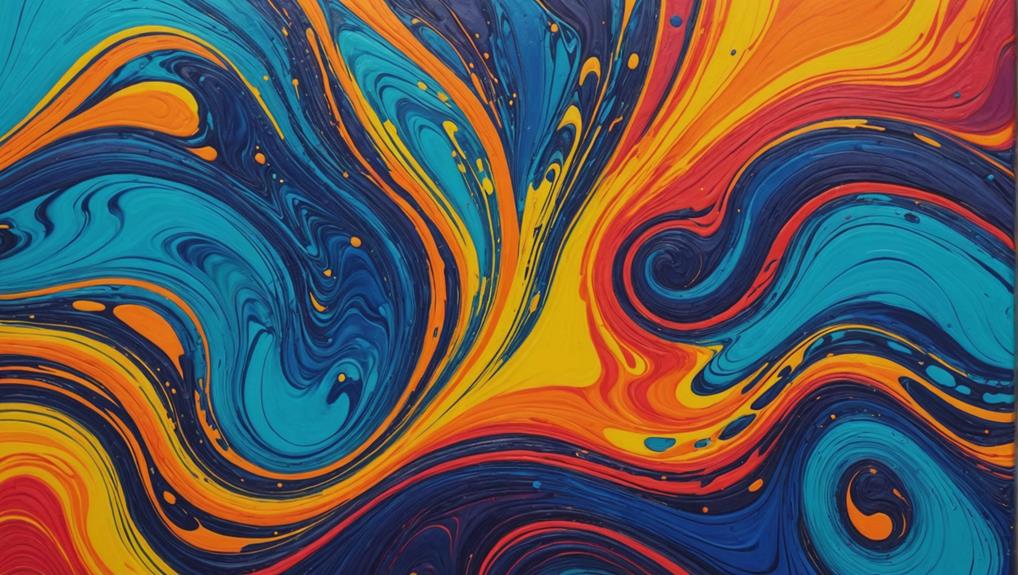
Advanced string pull methods enhance fluid art by incorporating varying string tensions and lengths to create intricate patterns and textures. By manipulating these factors, artists can produce results that are far more complex and visually engaging than basic string pulls.
To explore further into texture exploration, consider the following advanced techniques:
- Tension Variation: Adjusting the tension of the string can dramatically change the appearance of the pull. Tighter strings create finer lines, while looser strings result in broader strokes.
- Multiple Strings: Using strings of different thicknesses simultaneously can add depth and complexity to the artwork, making the design more dynamic.
- Layering Colors: Allow each layer of paint to dry before applying the next string pull. This method creates more pronounced separation and contrast between colors, enhancing the overall visual effect.
Experimenting with these techniques allows for endless possibilities in fluid art. By combining straight pulls with swirling motions, you can create unique patterns that resemble galaxies or waves. Each variation opens new avenues for creativity, making your artwork truly one-of-a-kind.
Showcasing Finished Art
After experimenting with advanced string pull techniques, the next step is to effectively showcase the finished artwork to emphasize its intricate patterns and vibrant colors. This is where exhibition strategies and art presentation play an essential role. Displaying your artwork in the right setting can make all the difference.
Proper lighting is key—whether you’re using natural light or spotlights, the aim is to highlight the unique textures and dynamic patterns that make your piece stand out.
Framing your artwork or using easels can give it a polished and professional look, suitable for exhibitions or even home decor. Think about how you want viewers to experience your art. For example, presenting your piece at eye level can create a more intimate experience, allowing viewers to get lost in the details.
Another engaging way to showcase your art is by documenting the creative process. Time-lapse videos or step-by-step photos can provide fascinating insights into how the piece came to life. This not only adds value to your artwork but also creates a connection with your audience, making them appreciate the effort and creativity involved.
String Pull Art Inspirations
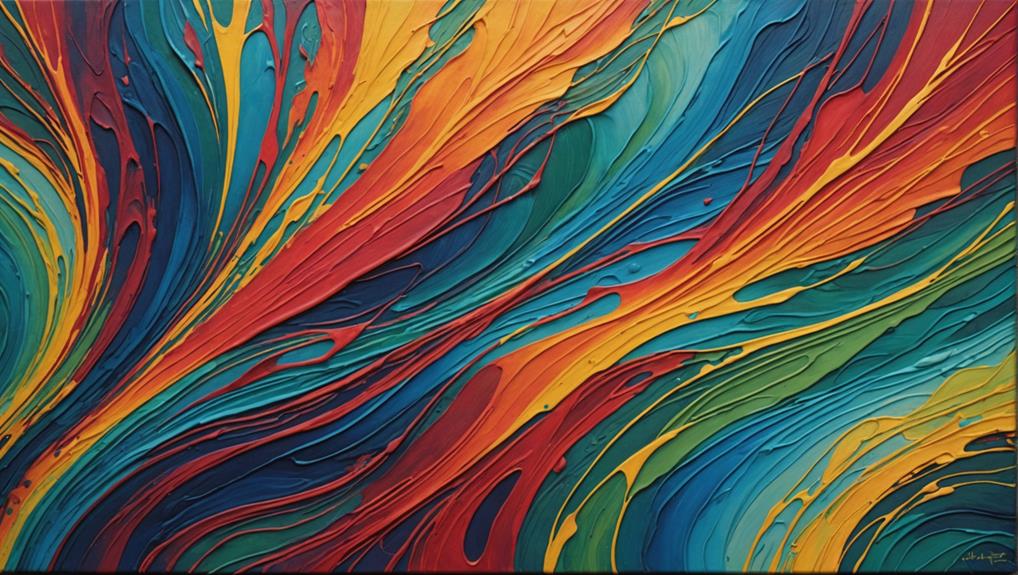
Drawing inspiration from diverse sources, string pull art captivates with its ability to translate intricate natural patterns and vibrant color schemes into mesmerizing visual compositions. This technique not only highlights the beauty of nature influences but also explores color psychology to evoke specific emotions and reactions from viewers.
Artists frequently draw upon organic shapes and hues found in landscapes, floral arrangements, and even underwater scenes, creating artworks that resonate on a deeply emotional level.
To provide further inspiration for your string pull art, consider these sources:
- Natural Elements: Explore patterns in leaves, flowers, and water movements to incorporate into your designs.
- Color Psychology: Use colors strategically to invoke feelings of calm, excitement, or warmth in your audience.
- Art Challenges: Engage with social media platforms that host art challenges, allowing you to gain new ideas and share your work.
Frequently Asked Questions
How to Do a String Pull?
To perform a string pull, begin with proper canvas preparation and mix acrylic paints with a pouring medium. Lay various string types on the canvas, pour paint over them, and gently pull the strings to create intricate patterns.
How to Make Pulled String Art?
To make pulled string art, prepare a fluid acrylic base, lay out strings in a desired pattern, cover them with paint, and carefully pull them through. Experiment with various creative techniques to achieve unique designs and textures.
How to Mix Paint for Chain Pull Technique in Acrylic?
To mix paint for the chain pull technique in acrylic, achieve the ideal paint consistency by blending high-quality acrylics with a pouring medium. Apply color theory principles to select harmonious hues, ensuring vibrant and cohesive final artwork.
How to Use String to Paint?
To use string for painting, select varied string types to achieve different textures. Lay the string in a pattern, pour mixed acrylic paint over it, and pull gently. Guarantee color contrast for visually striking designs.
Conclusion
In summary, the string pull technique for fluid art offers a fascinating blend of creativity and precision.
Mastery of this technique involves understanding its historical context, selecting the right tools and colors, and meticulously preparing the workspace.
Avoiding common mistakes and exploring advanced methods can enhance the artistry.
Displaying the finished art and drawing inspiration from various sources further enriches the practice.
The journey from novice to expert in string pull art is both challenging and rewarding.


Leave a Reply