Starting with fluid art is like opening a door to a world of swirling, vibrant colors and endless possibilities. For beginners, acrylic pouring is the way to go! Imagine mixing paint to a honey-like consistency, then using the dirty pour or flip cup techniques to create unique, eye-catching patterns. Silicone oil can even make magical cells appear in your art! You’ll need some basic materials—acrylic paints, pouring mediums, and mixing tools—and a sense of adventure. Just think of all the exciting creations you can make with a little experimentation and creativity. If you’re curious about how to start your artistic journey, there’s lots more to discover!
Key Takeaways
- Experiment with dirty pour and flip cup techniques to create unique patterns and marbled effects.
- Use high-quality acrylic paints and pouring mediums for optimal fluidity and color blending.
- Incorporate silicone oil to create striking cells and add visual depth to your artwork.
- Test paint and medium mixtures for desired consistency before applying to the canvas.
Acrylic Pouring Basics
At its core, acrylic pouring involves mixing acrylic paint with a pouring medium to achieve ideal fluidity for various artistic techniques. This fascinating method, known as fluid art, lets artists create stunning, abstract pieces that captivate the eye with their vibrant colors and intricate patterns.
Imagine the consistency of warm honey—that’s what you’re aiming for when you mix your paint with the medium. This perfect consistency guarantees the paint flows smoothly, blending seamlessly to produce mesmerizing visual effects.
Acrylic pouring isn’t a one-size-fits-all process. Techniques like the dirty pour, where multiple colors are mixed in one cup before pouring, and the flip cup, where the cup is inverted onto the canvas, offer endless possibilities. Each method produces unique outcomes, from layered colors to fascinating cells and patterns that form naturally through the paint’s interaction.
For those looking to add even more texture and drama to their work, additives like silicone oil can be a game-changer. These additives help create striking cells—small, bubble-like formations that add depth and interest.
Beginners in fluid art are encouraged to experiment with these techniques, as practice will certainly refine their skills and help them discover their personal style.
Essential Materials
To successfully commence your fluid art journey, it’s vital to gather the right materials.
Start with must-have acrylic paints that are perfect for pouring, and make sure to have key mixing tools like cups and stir sticks for blending your colors.
These essentials will set the foundation for creating stunning fluid art pieces.
Must-Have Acrylic Paints
Selecting the right acrylic paints is essential for achieving the best results in fluid art projects. When diving into brand comparisons, you’ll quickly find popular names like Liquitex, Golden, and Daler Rowney. These brands offer fluid and high-flow acrylics that are perfect for fluid art due to their smoother consistency and vibrant color range.
Color mixing is another critical aspect to take into account. Fluid acrylics should have a viscosity similar to heavy cream, which guarantees they mix well with pouring mediums and flow smoothly on the canvas. A good pouring medium, like Liquitex Pouring Medium or Floetrol, helps improve paint fluidity and prevents it from drying too quickly, giving you more time to create those mesmerizing patterns.
Before starting your main piece, always test a small amount of paint mixed with your chosen pouring medium to check the flow and consistency. This step might seem tedious, but it can save you from potential mishaps and guarantee that your colors blend beautifully without any unexpected surprises.
Key Mixing Tools
Accurate and efficient mixing in fluid art relies on essential tools like measuring cups, stir sticks, and a scale to confirm precise ratios of paint and pouring medium. Confirming the right mix is vital for achieving the desired fluidity and flow in your artwork. Let’s explore the must-have tools that make your mixing techniques more precise and your art more vibrant.
Measuring cups, especially ones with graduated markings, are indispensable for measurement accuracy. They help you measure both paint and pouring medium precisely, confirming consistency in your art. Stir sticks, on the other hand, are great for blending the paint and medium thoroughly. They help eliminate lumps, giving you a smooth, even mixture. A scale is another essential tool, especially when you need to measure ingredients by weight for more precision.
Let’s take a closer look at these tools:
| Tool | Purpose | Benefit |
|---|---|---|
| Measuring Cups | Measure paint and medium accurately | Confirms consistent ratios |
| Stir Sticks | Mix paint and medium thoroughly | Eliminates lumps, smooth texture |
| Scale | Measure ingredients by weight for precision | Confirms exact proportions |
Don’t forget the palette knife and funnel! The knife helps mix colors without lumps, while the funnel makes transferring mixtures neat and easy. Happy pouring!
Choosing Paints
When choosing paints for your fluid art projects, it’s essential to pick high-quality acrylics that are made for pouring, as they guarantee vibrant colors and smooth flow.
Opt for paints with similar viscosity to get better mixing and seamless shifts between hues.
Additionally, exploring different brands can be an exciting way to discover unique consistencies and effects, providing endless creative possibilities.
Types of Acrylics
Choosing the right type of acrylic paint for fluid art is vital for achieving smooth application and vibrant, long-lasting results. When exploring acrylic paint types, it’s important to take into account their flow and consistency. High-flow, fluid acrylics are specifically formulated for pouring techniques, ensuring a seamless blend of colors and a glossy finish without cracks.
Brands like Liquitex, Golden, and Arteza offer excellent options, each maintaining consistent viscosity essential for creating stunning visual effects. Mixing these paints with a pouring medium, such as Liquitex Pouring Medium or Floetrol, further enhances their fluidity and helps prevent cracking as they dry.
Testing different brands and colors can help you find the perfect combination for your artwork. Below is a table summarizing key attributes of popular acrylic paints for fluid art:
| Brand | Key Feature | Pouring Medium |
|---|---|---|
| Liquitex | Consistent Viscosity | Liquitex Pouring Medium |
| Golden | High Color Intensity | GAC 800 |
| Arteza | Budget-Friendly | Floetrol |
For beginners, starting with a limited color palette can simplify the process, allowing for experimentation with mixing and layering techniques. This approach not only makes it easier to manage but also encourages creativity as you explore the endless possibilities of fluid art.
Ideal Color Choices
Selecting the right color palette for fluid art can greatly influence the harmony and visual impact of your final piece. When choosing paints, start with high-flow acrylics designed specifically for pouring to guarantee they mix and flow perfectly.
Now, let’s talk color psychology and color harmonies. Color psychology is super interesting—it’s all about how colors make us feel. For example, blues and greens can be calming, while reds and yellows might energize you. Knowing this can help you decide what vibe you want your artwork to give off.
A neat trick is to use a limited color palette. This means choosing just a few colors that look great together. Colors that sit next to each other on the color wheel, like blue and green, are called analogous colors and they blend beautifully. Don’t forget to toss in some metallic or iridescent paints for extra sparkle and depth.
Before you go big, always test your colors on a small canvas. The way they mix can surprise you! Also, use a pouring medium to get that perfect heavy cream consistency.
Happy pouring—your masterpiece is just a pour away!
Pouring Mediums
Pouring mediums are integral to acrylic pouring, ensuring that the paint achieves the necessary fluidity for seamless flow and blending. These mediums are essential for enhancing fluidity, making your paint move smoothly and blend beautifully. Common pouring mediums include Liquitex Pouring Medium, Floetrol, and Golden GAC 800. Each has unique properties that affect the paint’s consistency and finish, helping you achieve different effects in your artwork.
The ideal consistency for a pouring medium should be like heavy cream. This helps in creating fascinating cells and patterns. Typically, you mix the paint and pouring medium in ratios ranging from 1:1 to 1:2, depending on your technique and how fluid you want the paint to be. Adding silicone oil to your mixture can create dynamic cells and textures, making your artwork even more engaging and visually striking.
Here’s a quick comparison of some popular pouring mediums:
| Pouring Medium | Unique Properties | Ideal Uses |
|---|---|---|
| Liquitex Pouring Medium | Enhances gloss finish | Smooth, glossy paintings |
| Floetrol | Improves flow | Reducing brush marks, leveling agent |
| Golden GAC 800 | Reduces crazing | Thicker pours, preventing cracks |
Understanding these mediums will help you create stunning fluid art projects effortlessly. Experiment with different mediums to find what works best for you!
Dirty Pour Technique
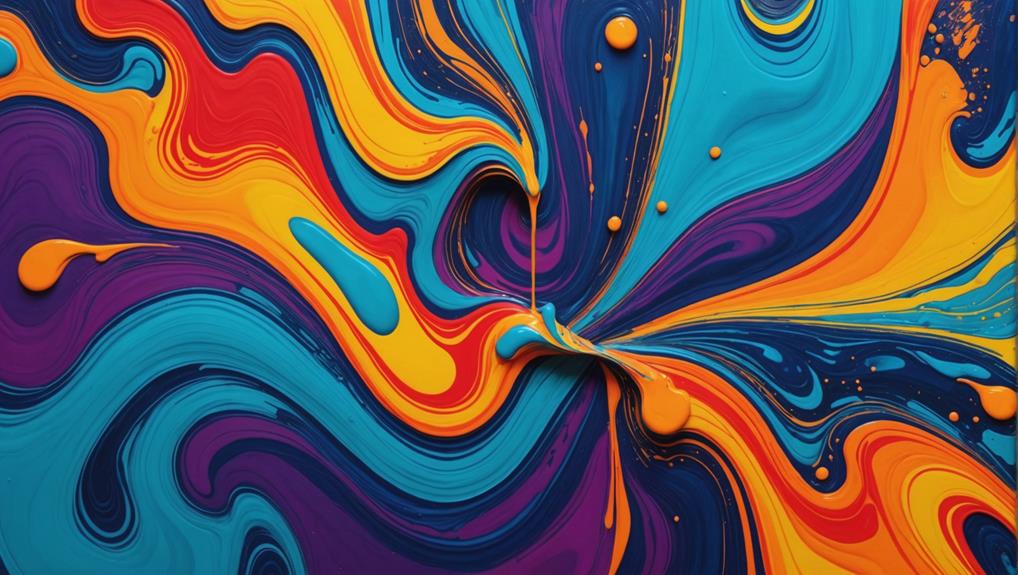
The dirty pour technique, characterized by its unique marbled effects, involves carefully layering multiple colors of acrylic paint in a single cup before pouring them onto the canvas. This method is a fantastic way to explore color psychology and art inspiration, mixing hues to evoke different emotions and themes.
To start, you’ll need to use a pouring medium to guarantee the paint flows smoothly and blends well. Begin by filling a cup with about 1-2 ounces of each chosen color, pouring them gently on top of each other. The key is to avoid mixing the colors in the cup, which helps maintain distinct layers and creates those mesmerizing marbled patterns.
When you’re ready to pour, hold the cup close to the canvas and tilt it slightly, letting the paint flow out in a controlled manner. This technique allows you to manipulate the design by adjusting the pouring angle and speed.
Experimenting with different color combinations and angles can greatly affect the outcome, so don’t be afraid to practice and play around.
Flip Cup Method
In the Flip Cup method, different colors of acrylic paint are layered in a single cup, which is then inverted onto the canvas to produce a distinct and dynamic design. This technique is a favorite among fluid art enthusiasts due to its simplicity and the exciting results it can yield. To achieve the right consistency, a pouring medium is essential, ensuring smooth flow and blending of the paints.
Color psychology plays a significant role in the Flip Cup method. By understanding how different hues interact and evoke emotions, artists can create pieces that are not only visually appealing but also emotionally stimulating. For instance, combining calming blues with energetic reds can produce a balanced yet vibrant artwork.
Art inspiration can be drawn from various sources when selecting your color palette. Nature, emotions, or even favorite memories can guide your choice of colors and layering techniques. After flipping the cup, gently tilting the canvas helps the paint spread evenly, revealing fascinating patterns and gradients.
Experimenting with different color combinations and layering techniques can lead to stunning variations in the final artwork. Embrace the unpredictability of the Flip Cup method and let your creativity flow!
Creating Cells
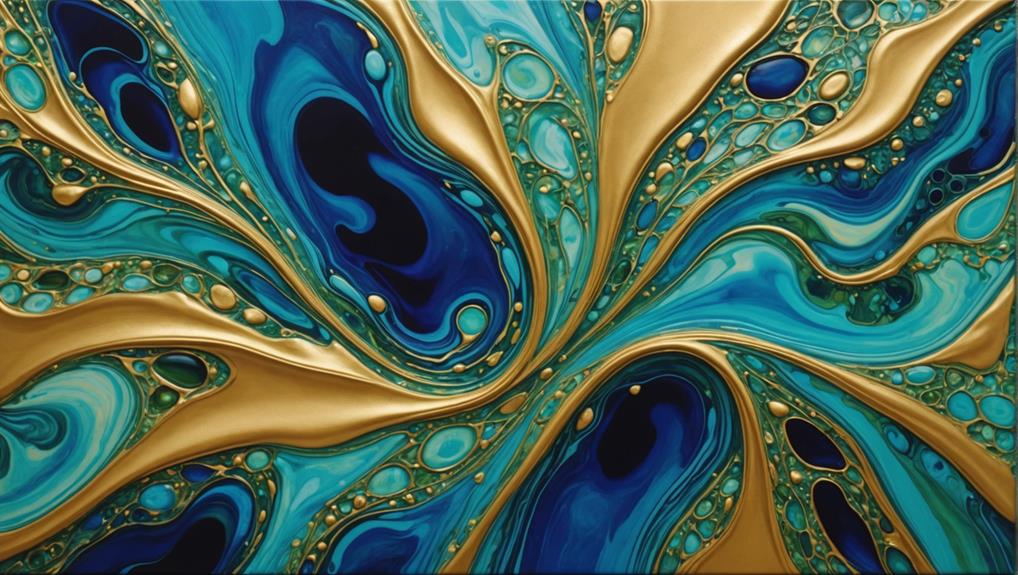
Mastering the technique of creating cells in acrylic pouring can greatly enhance the visual complexity and charm of your fluid art projects. Cells are those fascinating, bubble-like formations that add depth and intrigue to your pieces.
To achieve this, one effective cell formation technique is to incorporate additives like silicone oil or dimethicone into your paint mixture. These additives interact with the paint to form unique textures and patterns.
Confirming that your paint mixture has the right consistency is essential. Adding a pouring medium will keep the paint fluid yet thick enough to hold the additives, enabling ideal cell formation. Once your paint is poured, applying heat with a heat gun or torch can encourage the cells to expand and pop, revealing stunning patterns.
- Use silicone oil or dimethicone for unique textures
- Maintain the right paint consistency with a pouring medium
Experimenting with different color combinations can further enhance cell creation. Lighter colors tend to rise to the surface, interacting with darker shades to create striking contrasts.
Layering Colors
Layering colors in fluid art is like creating a beautiful layered cake, where the order and selection of colors can make a huge difference.
Choosing the right colors and placing lighter ones on top of darker ones can create stunning visual effects, while experimenting with different techniques like ‘dirty pour’ or ‘flip cup’ can add unique patterns.
Ensuring each paint layer has the same consistency and using a pouring medium helps keep the colors from mixing too much, allowing for sharp, defined lines and vibrant gradients.
Color Selection Tips
Selecting the right colors and understanding their interaction is essential for achieving visually stunning acrylic pour paintings. The key to successful color selection lies in grasping the principles of color psychology and color harmony.
Understanding how colors affect mood and perception can help you create pieces that evoke specific emotions and draw viewers in. For instance, blues and greens often convey calmness, while reds and oranges can add energy and excitement.
To guarantee your artwork is harmonious and visually appealing, consider using the color wheel. This tool helps identify complementary and analogous colors, which work well together and create a balanced look. For example, pairing blue with its complement, orange, can make both colors pop, while using analogous colors like blue and green creates a soothing gradient effect.
Here are three tips to enhance your color selection process:
- Viscosity: Thicker paints sit on top of thinner ones, aiding in better separation and defined layers.
- White or Metallics: Adding these can create depth and luminosity.
Layering Order Importance
Understanding the order in which colors are layered in acrylic pouring is essential for achieving desired visual effects and overall composition. The layering techniques you choose can greatly impact the final result, creating depth and contrast in your artwork. Using a consistent pouring medium helps maintain fluidity, ensuring that each color flows seamlessly into the next.
Generally, lighter colors should be layered on top of darker ones. This prevents them from being lost or muted in the final piece. Experimenting with different layering orders can produce unique effects, such as cells and patterns, making it a fundamental aspect of your fluid art projects.
Here’s a handy table to illustrate the impact of layering:
| Layering Order | Expected Effect |
|---|---|
| Dark to Light | Enhanced depth and contrast |
| Light to Dark | Subtle shifts, softer look |
| Alternate Light/Dark | Dynamic patterns, potential for cells |
Understanding these techniques can help you avoid common pitfalls and create visually appealing compositions. By mastering the art of layering, you’ll be well on your way to producing stunning fluid art pieces. Remember, the key is to experiment and find what works best for your artistic vision.
Achieving Gradient Effects
Creating gradient effects in acrylic pouring involves strategically combining colors to shift smoothly from one hue to another, thereby enhancing both depth and visual interest in the artwork.
To achieve this beautiful gradient blending, you’ll start with a base color and then gradually add lighter or darker shades of the same color. This process allows the colors to naturally blend and create a seamless shift during the pour.
Using a pouring medium is essential for maintaining the right fluidity and consistency in your paint, making it easier to achieve those smooth color harmony effects.
Techniques like the ‘dirty pour’ or ‘flip cup’ are particularly effective for layering colors. These methods help the paint interact and flow together in a way that creates unique gradient patterns.
Experiment with different color combinations: Trying out various hues can help you discover new and interesting gradient effects.
Adjust your pouring angles: Changing the angle at which you pour the paint can produce different gradient patterns.
Play with the amount of each color: Varying the quantity of each shade can greatly impact the final look.
Adding Texture
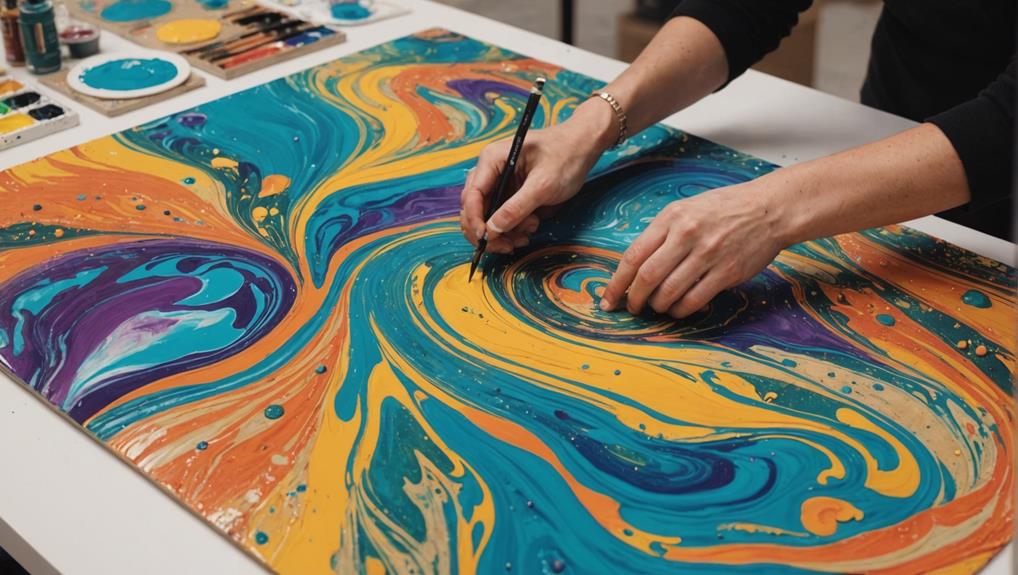
Integrating texture into your fluid art projects can greatly improve the visual complexity and appeal of your work. Various texture techniques and surface manipulation methods can help you achieve stunning results. One popular method is the use of silicone oil, which creates intriguing cells and patterns, adding a dynamic element to your piece.
To manipulate the surface of your painting, try using tools like palette knives or combs. These can be dragged through the paint to create ridges, waves, and other interesting textures. Experimenting with different pouring mediums, such as those containing sand or other granular materials, can introduce a three-dimensional aspect to your artwork, making it pop off the canvas.
Another effective technique is to carefully layer colors while pouring. This can produce a beautiful marbled effect, adding depth and texture to your piece. Additionally, the drying conditions of your artwork, such as humidity and temperature, play an essential role in the final texture and appearance. By varying these environmental factors, you can achieve unique and unexpected results.
Incorporating these texture techniques and surface manipulation methods can uplift your fluid art projects, making them more engaging and visually enthralling.
Achieving Shine
Achieving a brilliant shine in your fluid art projects involves a few key steps.
Start by choosing the right additives, like silicone oil, to create that glossy texture and eye-catching cells.
Then, consider applying a varnish or even experimenting with metallic paints to really make your artwork shimmer and stand out.
Choosing the Right Additives
Selecting the appropriate additives is essential for enhancing shine and texture in fluid art projects. Additive experiments can help determine the ideal proportions needed to achieve the desired effects without compromising the paint’s flow. For beginners, the right additives can make a significant difference in the final outcome of your artwork, so it’s worth spending some time to get it right.
Silicone oil, for instance, is a popular choice for creating cells in your painting. A few drops can add depth and visual interest, while also enhancing the shine. Pouring mediums that contain a gloss finish are another great option, as they help achieve a smooth, shiny surface while maintaining the fluidity necessary for effective pouring techniques.
Here are some key points to keep in mind:
- Silicone Oil: Just a small amount can create fascinating cells and add shine.
- Pouring Mediums: Choose ones with a gloss finish for a smooth, shiny surface.
Applying Varnish Techniques
Applying varnish to finished fluid art is an essential step for enhancing its shine and providing long-lasting protection. Varnish application not only makes your artwork pop but also acts as a protective coating, shielding it from UV light and moisture.
Before diving into the varnish application, verify your artwork is completely dry, which may take 24 to 72 hours. Choose a high-quality varnish—water-based polyurethane or acrylic varnish works best. These types are compatible with most paints and provide a stunning finish.
When applying varnish, use a clean, soft brush or a spray application to avoid streaks and bubbles. A smooth and even coat is key. For best results, apply multiple thin layers of varnish instead of one thick layer. Allow each coat to dry fully before adding the next, verifying a flawless, glossy finish.
| Step | Tool Needed | Key Tip |
|---|---|---|
| Preparation | Drying area | Verify artwork is fully dry |
| First Coat | Soft brush or spray | Apply thin, even layer |
| Drying | Time (24-72 hours) | Wait for complete drying |
| Second Coat | Soft brush or spray | Repeat thin, even application |
| Final Inspection | Clean workspace | Check for streaks and bubbles |
Following these steps will guarantee your fluid art gleams beautifully and remains protected for years to come.
Enhancing With Metallics
Incorporating metallic acrylic paints into your fluid art can boost its visual appeal by adding a compelling shimmer and depth. These metallic effects can transform your pieces, making them catch the light in enchanting ways. To seamlessly blend metallics with other colors, verify your pouring medium is compatible, preserving the fluidity of your paints.
To maximize the impact of metallics, consider the following tips:
- Add Silicone Oil: A small amount can create cells and enhance texture, making your artwork dynamic.
- Layering Techniques: Use flip cup or dirty pour methods with metallics and contrasting colors for beautiful marbling effects.
Adding metallics is not just about the visual pop; it’s also about the depth and complexity they bring to your art. The reflective quality of metallic paints can mimic the look of precious metals, providing a luxurious feel.
Whether you’re aiming for subtle highlights or bold statements, metallic effects can raise your fluid art to new heights. Experiment with different techniques and ratios to find what best expresses your artistic vision, and watch how metallics can make your artwork truly shine.
Mixing Tips
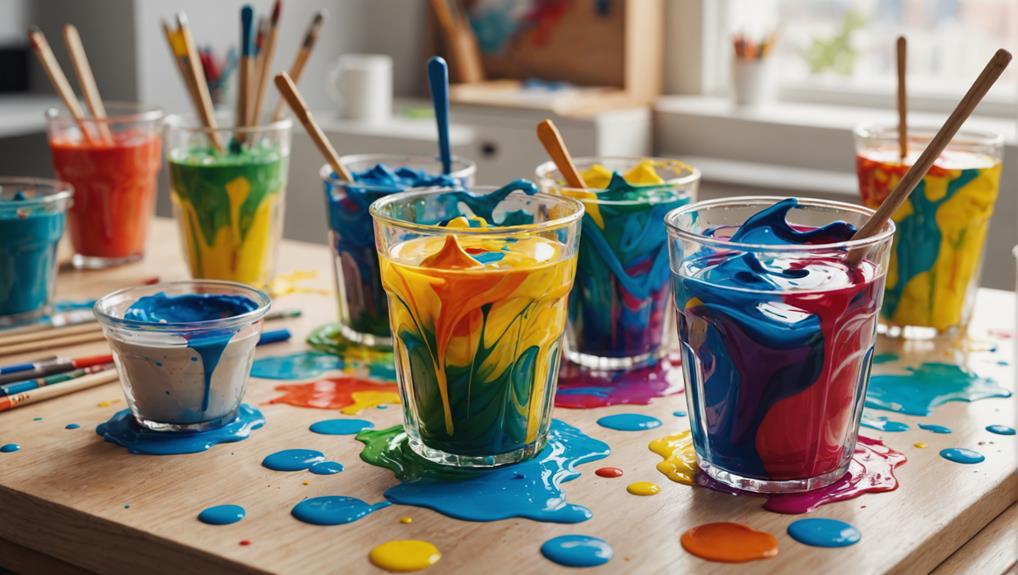
Achieving the perfect consistency for fluid art begins with thoroughly mixing acrylic paints with a pouring medium in a ratio of approximately 1:1. This mixing consistency is essential to guarantee your paint flows smoothly and evenly, resembling heavy cream. When it comes to paint ratios, start with one part paint to one part pouring medium. Depending on your specific project, you might need to adjust this ratio slightly.
Mixing your paints thoroughly is key to avoid lumps and get an even color distribution. This makes your pours smoother and the colors blend better. Use a separate cup for each color to keep them pure and untainted. This is especially important for techniques like dirty pour or flip cup, where distinct layers of color create striking effects.
For a bit of fun, you can add a few drops of silicone oil to your mix. This helps create cells and cool patterns, but remember to mix it gently so you don’t break the paint’s surface tension.
Application Tools
To successfully execute fluid art techniques, selecting the right application tools is just as important as mastering the paint mixing process. An application tools overview would highlight the essentials like palette knives, pouring cups, and stir sticks, which are indispensable for mixing and transferring paint smoothly.
For creating enchanting visual effects, a heat gun or torch can be invaluable. These tools help in forming cells and reducing surface tension, elevating the artwork’s aesthetic appeal. Additionally, a silicone spatula guarantees no paint goes to waste, allowing you to scrape excess paint from containers efficiently.
Precision is key in fluid art, so using a measuring cup with clear markings is essential for accurately mixing pouring mediums and paints to achieve the desired consistency.
To sum up, here are the essential tools you’ll need:
- Palette knives, pouring cups, and stir sticks for effective paint mixing and transfer.
- Heat gun or torch to create cells and enhance visual effects.
Tool maintenance tips are simple but important: always clean your tools immediately after use to prevent paint from hardening, and store them in a dry, organized space to prolong their lifespan.
Community Interaction

Engaging with the fluid art community through interactive platforms greatly improves the learning experience for beginners. By participating in community feedback, novices can share their experiences and seek advice on different acrylic pouring techniques. This exchange of knowledge and ideas is invaluable, helping to foster a sense of camaraderie and mutual growth.
Inviting viewers to vote on which pouring technique to explore next adds a layer of excitement and collaboration. This interaction not only engages the audience but also makes them feel like a part of the creative journey. Encouraging viewers to post their artwork and techniques in viewer showcases further enriches community interaction, providing endless inspiration for others trying fluid art.
Highlighting viewer comments and questions in future videos promotes a more interactive learning environment. It acknowledges the audience’s contributions and guarantees that their voices are heard. Reminding participants to subscribe for more content builds a stronger community and keeps everyone updated on new tips and techniques tailored specifically for beginners.
Here’s a quick look at how to engage with the community:
| Activity | Benefit |
|---|---|
| Sharing experiences | Gain advice on acrylic pouring |
| Voting on techniques | Foster collaboration and excitement |
| Posting artwork | Inspire others in the community |
| Highlighting comments/questions | Promote interactive learning |
| Subscribing for updates | Stay informed on new tips and techniques |
Beginner Challenges
Steering through the initial hurdles of fluid art, beginners often find paint consistency a significant challenge that can make or break their projects. Achieving the right balance is essential, as too thick or too thin paint can lead to disappointing results. These beginner frustrations are common, but understanding them helps in overcoming the obstacles.
One of the first common mistakes is improper layering of colors. This can result in muddy, unattractive outcomes rather than the desired vibrant effects. Additionally, many newcomers struggle with manipulating the paint to create patterns and cells. This requires a good grasp of the paint’s flow and movement, which can be tricky at first.
Another frequent issue is finding the right pouring medium. The medium should achieve the perfect fluidity without dulling the paint’s color. Beginners often experiment with different products to find what works best for them.
To summarize, here are some key beginner challenges:
- Paint consistency: Getting the perfect thickness to guarantee smooth flow and vibrant colors.
- Layering colors: Avoiding muddy mixtures by mastering proper layering techniques.
Overcoming these beginner hurdles can set a strong foundation for future success in fluid art.
Future Techniques
Building on the foundational skills and overcoming the initial challenges, we now turn our attention to advanced techniques that will enhance your fluid art projects to new levels.
As we dive deeper into the world of fluid art, get ready to explore future trends and creative innovations that will push your artistic boundaries.
In upcoming videos, you’ll discover new mixing recipes tailored for various pouring methods. These recipes are essential for achieving the right consistency, which is key to getting those stunning visual effects and patterns.
You’ll learn how to layer colors like a pro, creating mesmerizing designs that will leave your audience in awe.
We’ll also tackle common challenges that beginners face, offering practical tips and solutions to improve your techniques. Whether it’s dealing with paint consistency or mastering color combinations, we’ve got you covered.
Moreover, engagement with the community will be a big part of our journey. You’ll have the chance to suggest which techniques you’d like to learn next, making our exploration of fluid art a collaborative experience.
Frequently Asked Questions
What Do I Need to Start Fluid Art?
To start fluid art, essential supplies include acrylic paints, a pouring medium, cups, stir sticks, a canvas, and a heat source. Proper color mixing with the pouring medium is vital for achieving the desired consistency and vibrant results.
How to Do Acrylic Pours for Beginners?
To begin acrylic pours for beginners, start with proper canvas preparation. Mix acrylic paints with a pouring medium to achieve the desired consistency. Master color mixing techniques and explore methods like the dirty pour to create stunning effects.
How to Learn Fluid Art?
To learn fluid art, start by mastering fluid art techniques such as dirty pour and flip cup. Focus on color mixing for ideal consistency, and engage with online communities for additional guidance and to overcome common challenges.
How to Do a Dutch Pour?
To execute a Dutch Pour, mix acrylics with a pouring medium for fluidity. Layer your color combinations in a cup, then use a hairdryer to spread the paint across the canvas, employing Dutch techniques for dynamic flow and blending.
Conclusion
Acrylic pouring offers an accessible entry point into the vibrant world of fluid art.
By understanding the basics, selecting appropriate materials, and mastering fundamental techniques, even beginners can achieve stunning results.
Engaging with the artistic community provides valuable support and inspiration, fostering growth and creativity.
While initial challenges may arise, persistence and practice will lead to improved skills and exciting future possibilities in fluid art exploration.

Leave a Reply