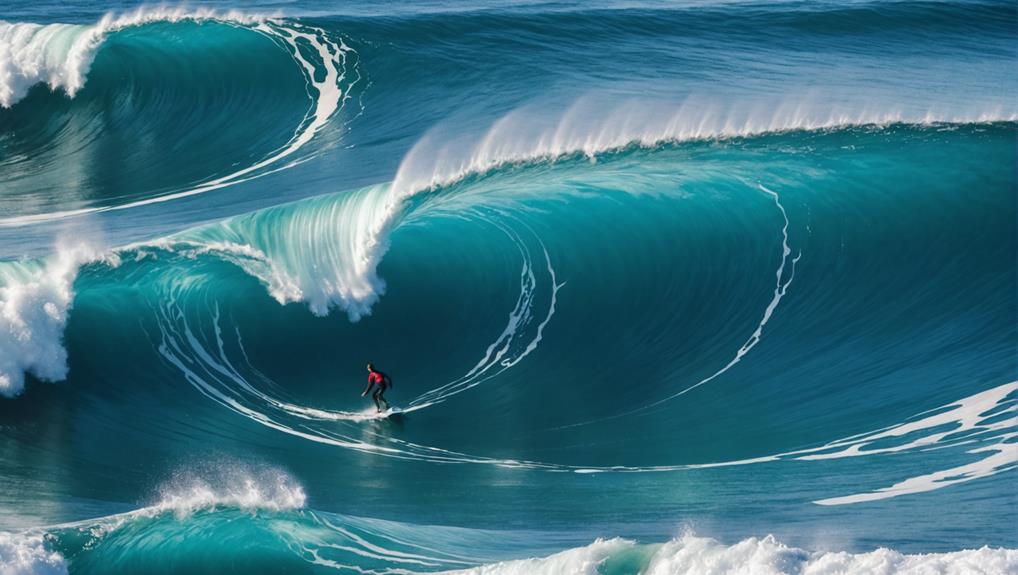
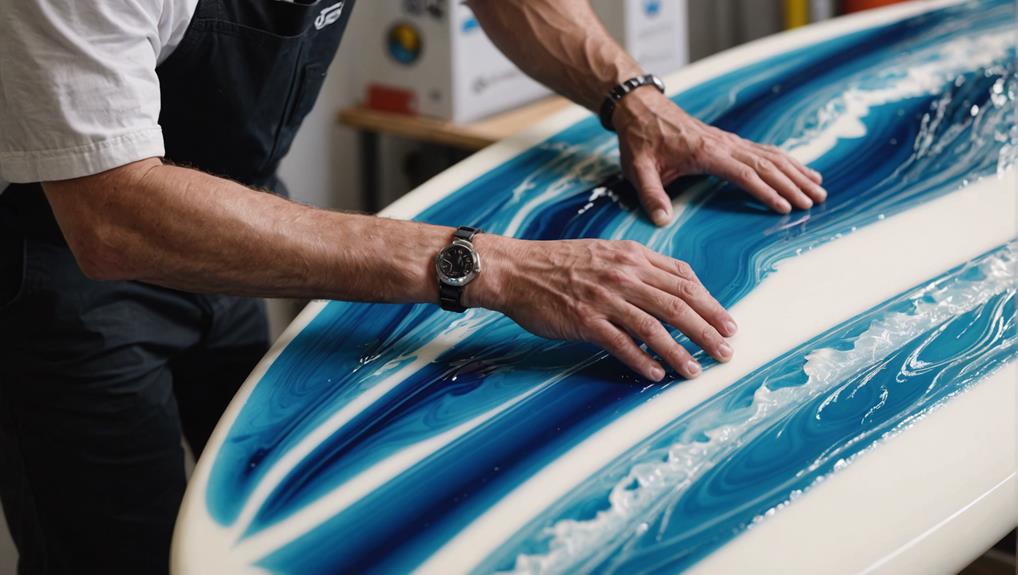
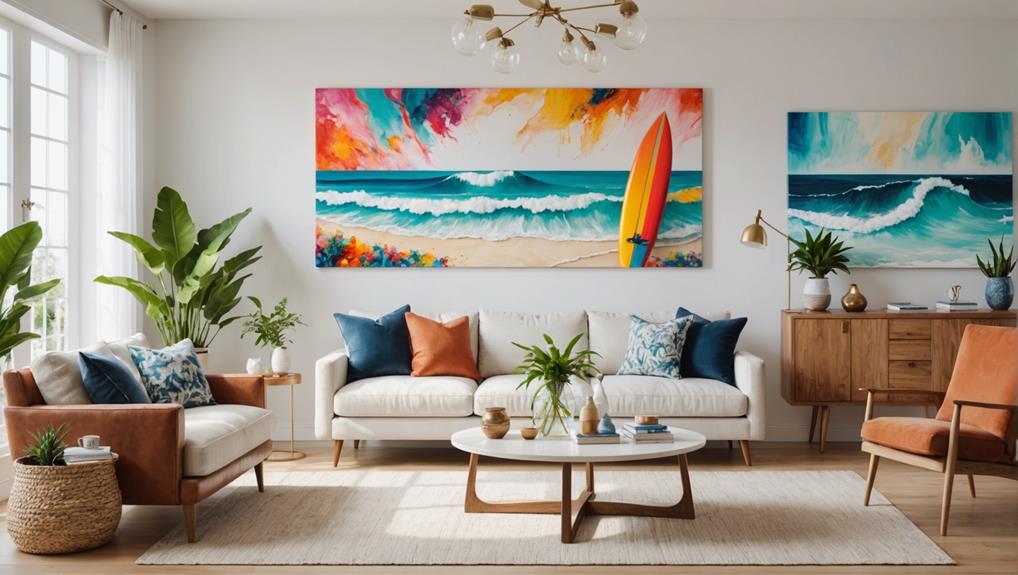
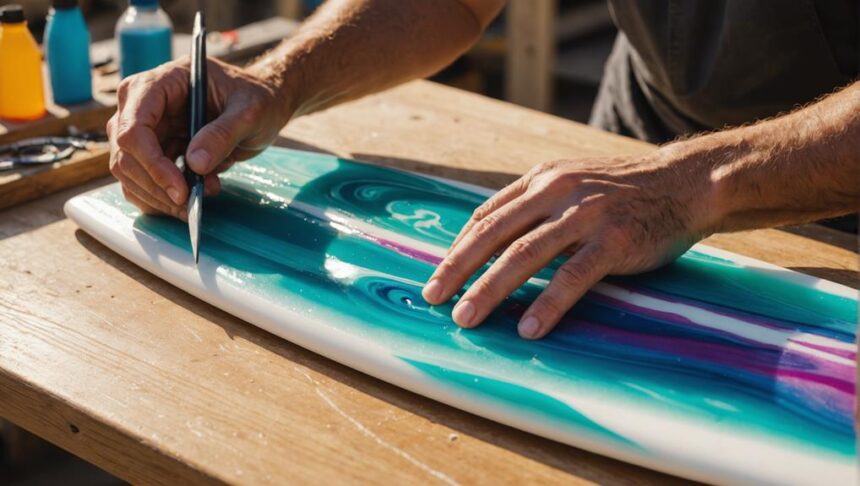
Creating stunning surfboard resin art is an awesome adventure! Start by sketching your design and finding an old surfboard to recycle. Clean it well and sand the surface smooth. Mix your resin and pigments carefully, then pour in colorful stripes for a vibrant background. Use a heat gun to get rid of bubbles and try adding layers for a wave effect. Don’t forget to work in a well-ventilated space and protect your work area. Once your masterpiece is done, seal it with a clear coat for shine. Ready for some cool display ideas and pro tips? Keep going!
Key Takeaways
- Choose a surfboard and prepare its surface by cleaning and sanding for optimal resin adhesion.
- Mix resin components accurately and thoroughly, ensuring consistency and eliminating air bubbles.
- Use high-quality pigments to color the resin and create a vibrant base layer.
- Apply resin evenly, use a heat gun for wave effects, and maintain the right consistency.
Planning and Design
Effective planning and design are essential steps in creating surfboard resin art that is both visually striking and cohesive.
Before you even touch a surfboard, you need to decide on the size and shape. Are you going for a longboard or a shortboard? Each offers a different canvas for your creativity, so think about what fits your artistic inspiration best.
Start by creating detailed sketches that highlight specific features and decorative elements. These sketches will serve as a roadmap, guiding you through the design process. Don’t just wing it—having a plan helps avoid mistakes and makes your final piece look polished.
To find artistic inspiration, immerse yourself in surf culture. Look at bold, exaggerated shapes and unique designs that scream “surf’s up!” You can also draw from natural elements or personal experiences to create a design theme that feels authentic and cohesive. Maybe you love the ocean’s waves, or perhaps you’re inspired by a sunset you saw while surfing.
Gather all the materials and tools you’ll need—like resin, pigments, and safety gear—before you start. This guarantees you won’t have to stop midway, keeping the momentum and creativity flowing.
Choosing Your Surfboard
Selecting the right surfboard is a critical step that sets the foundation for your resin art masterpiece.
First, think about surfboard sourcing. You can use an old, clean board you have lying around or find one at a thrift store. Recycling a board gives it a new life and your unique touch.
Next, consider your artistic vision. Do you want a large, sweeping design? Then a longboard might be your best bet. If you’re aiming for more intricate details, a shortboard could be perfect. The shape of the surfboard will impact how your design flows, so choose wisely.
Before you plunge into your project, make certain the surfboard is free of wax and dirt. A clean surface guarantees that your paint and resin will stick properly. Scrubbing it down thoroughly is a must.
Also, pay attention to the materials. Some resins and paints adhere better to fiberglass than to foam. Confirming compatibility will save you from future headaches.
Finally, think about the board’s size and weight. Larger boards might need special mounts if you plan to display your artwork.
With these tips, you’re on your way to creating a stunning surfboard resin art piece!
Shaping the Foam Blank
Shaping the foam blank is an essential step that dictates the surfboard’s overall performance and aesthetic appeal. Imagine it like sculpting a masterpiece; every curve and contour matters.
First, outline your desired surfboard shape on the foam blank with a pencil or marker. This helps you stay precise when you start cutting. Think of this outline as your road map.
Next, grab a hand saw and carefully cut along the lines. Clean edges are vital, so take your time. Once you have your rough shape, it’s time to refine those contours. This is where your shaping tools come in handy. Use a G-rasp for detailed areas and a shaping block to smooth out larger sections. Foam blank techniques like these allow you to create intricate designs and elegant curves.
Now, it’s sanding time! Start with Tigershark sandpaper to tackle the rough surface. Gradually switch to finer grits like 150 and then 220. This process makes the foam smooth and ready for the next steps.
Don’t forget to inspect your work for imperfections. A smooth, flawless blank sets the stage for stunning surfboard resin art.
Preparing the Surface
To get the surfboard ready for resin art, start by sanding it with medium-grit sandpaper to give the resin something to stick to.
Next, clean the board thoroughly to remove any dust or oils—this step is essential for a smooth finish.
Make sure your workspace is well-ventilated and that the board is on a level surface to avoid any resin mishaps during the application.
Sanding for Adhesion
Properly sanding the surfboard timber is essential for achieving ideal resin adhesion, as a textured surface enhances the bonding capability.
When it comes to sanding techniques, the first thing you need to know is that grit selection is super important. Start with a medium-grit sandpaper, like 80 to 120 grit, to create a rough, even surface. This roughness is what helps the resin stick better. Think of it like Velcro; the rougher the surface, the better the grip.
Once you’ve got that initial roughness, switch to a finer grit, around 220. This helps smooth out any big scratches while still keeping enough texture for the resin to adhere.
Make sure you sand the whole area evenly, paying extra attention to the edges and corners. These spots can be tricky and are often where resin adhesion can fail.
Cleaning the Surface
Following the sanding process, it’s essential to clean the surface meticulously to eliminate any contaminants that could compromise resin adhesion. Imagine spending all that time sanding your surfboard, only to have dust and grease ruin your masterpiece—what a disaster!
To avoid this, grab a lint-free cloth and some isopropyl alcohol. This combo is like a superhero team, swooping in to remove any dust, grease, or residues hiding on your board.
Now, let’s talk cleaning techniques. Wipe down every inch of the surface, making sure no spot is left untouched. Look closely, like a detective on a mission. If you spot any surface imperfections, such as dings or cracks, don’t panic. These can be fixed with the right filler, making your board smooth and ready for resin.
Next, double-check everything. Think of it as a final sweep before a big show. Confirm your workspace is well-ventilated; fresh air is your friend, especially when dealing with fumes.
Workspace Setup Essentials
Creating an ideal workspace is essential for guaranteeing a successful surfboard resin application. First, choose a level surface to work on. A flat and stable area prevents resin from pooling in unwanted places, saving you from headaches later. Next, protecting the area is a must. Cover your workspace with a plastic sheet or a protective film. This simple step makes cleanup a breeze and keeps your space tidy.
Ventilation is key. Resin fumes can be nasty, so set up in a well-ventilated space to keep the air fresh and your lungs happy. Safety first, right? Speaking of safety, gather all your essential tools—mixing cups, stir sticks, and a heat gun—before you start. Good workspace organization means you won’t be scrambling for tools mid-project.
Temperature control is another biggie. Keep your workspace between 18°C to 25°C. Resin doesn’t like extreme temperatures, and you want it to cure just right.
Here’s a quick recap:
| Workspace Setup | Why It’s Important | Tips |
|---|---|---|
| Level Surface | Prevents pooling | Use a spirit level |
| Protect Area | Easy cleanup | Use plastic sheets |
| Ventilation | Reduces fumes | Work near windows |
Following these steps guarantees a smooth, stress-free resin art experience.
Mixing Resin Components
Guarantee accuracy and consistency by meticulously measuring the resin and hardener according to the manufacturer’s specified ratio. This step is essential, as different resin types and curing agents require precise proportions to ascertain the resin cures properly and maintains the strength of the final product. Imagine you’re baking a cake – too much of one ingredient can ruin the whole thing!
Start by using mixing cups to measure your components. Trust me, eyeballing it is not the way to go. Pour the resin and hardener into the cup and mix thoroughly for about 2-3 minutes. This gets rid of air bubbles and makes certain everything blends perfectly, giving you that smooth, glossy finish you’re aiming for.
Once mixed, let the resin rest for 5-10 minutes. During this time, any stubborn air bubbles will rise to the surface. Think of it as giving the resin a little nap before it gets to work on your surfboard. This little break guarantees a smoother finish on your art.
Coloring the Resin
After confirming your resin mixture is properly prepared and air bubbles have settled, the next step is to infuse it with color to bring your surfboard art to life. This is where your creativity truly shines! High-quality color pigments are essential for vibrant, long-lasting hues that won’t fade over time. Wave Pro powder is a great option; it creates rich, wave-like effects far superior to regular dyes.
Divide your resin mixture into separate cups before adding pigments to achieve the desired color intensity. Remember, a little pigment goes a long way, so start small and add more if needed. Thoroughly stir in the pigments to guarantee uniform color blending.
Patience is key. After mixing the resin components A and B according to the manufacturer’s instructions, wait 30-40 minutes to reach the ideal viscosity for pouring and creating waves.
Here’s a quick guide to help with pigment selection and color blending:
| Step | Action | Tips |
|---|---|---|
| 1 | Select Pigments | Use high-quality, fade-resistant pigments |
| 2 | Divide Mixture | Create separate cups for each color |
| 3 | Add Pigments | Start with small amounts |
| 4 | Blend Thoroughly | Ensure even color distribution |
Creating the Background

Creating the background for your surfboard resin art starts with pouring resin in horizontal stripes to form a colorful base layer.
Be certain to mix your pigments thoroughly to get the perfect hues, then layer a transparent resin on top to add depth.
Using a gas heat gun, gently remove any air bubbles to guarantee a smooth finish before letting it cure completely.
Resin Layering Techniques
To create a dynamic background for your surfboard resin art, start by pouring resin in stripes across a level art-board, guaranteeing the colors blend seamlessly. This method lets the resin flow naturally, creating beautiful layering effects. Make sure your art-board is level to prevent the resin from pooling or running, which can mess up your design.
Now, divide your resin into separate cups, each for a different color. Mix dyes thoroughly in each cup to achieve consistent hues. Pour these colors in stripes on the board. This technique, one of the foundational resin art techniques, guarantees the colors blend harmoniously. A transparent resin layer over any hardened sections helps create a smooth surface for adding more layers later.
Use a heat gun to eliminate air bubbles from the poured resin. This step is essential for a clear and smooth background before the resin cures. The heat gun also helps the colors meld together even more, adding depth to your design.
Here’s a quick reference table for these steps:
| Step | Action |
|---|---|
| Pouring Resin | Pour in stripes on a level board |
| Mixing Colors | Divide resin, mix dyes thoroughly |
| Transparent Layer | Apply over hardened sections |
| Removing Air Bubbles | Use a heat gun for clarity and smoothness |
Keep these tips in mind to create stunning backgrounds for your surfboard resin art!
Color Mixing Tips
Achieving the perfect background in surfboard resin art hinges on mastering the nuances of color mixing.
To start, divide your resin into separate cups for each color. This allows you to control the mixing process and achieve the desired color intensity. Begin with small amounts of color pigments and gradually add more until you reach the preferred shade. Going slow here is key—you don’t want to end up with colors that are too intense or too dull.
To create wave effects, stir Wave Pro powder thoroughly into the resin for a rich white color. This will make your waves look more realistic and vibrant.
Consistency is another important factor. A thicker resin mixture will hold its shape better, making it perfect for defined patterns. On the other hand, a thinner mixture will create smoother shifts between colors, which can be useful for gradient effects.
- Control Your Colors: Separate cups for each color help maintain control.
- Take It Slow: Add pigments gradually to avoid overwhelming the resin.
Applying the Resin
Accurate measurement of the resin and hardener is essential to guarantee proper curing and consistency in your resin application. First, follow the manufacturer’s recommended ratio precisely. This is one of the most critical resin application techniques. Mixing the resin thoroughly for 2-3 minutes, while scraping the sides and bottom of the container, assures a uniform mixture free of bubbles. Surface preparation tips are also important; always make certain your surfboard is clean and dry.
Once mixed, pour the resin onto the prepared surfboard surface and use a spreader to distribute it evenly, aiming for a consistent thickness. This process may seem tricky, but practice makes perfect. To eliminate surface bubbles, carefully pass a heat gun or torch over the resin layer. But be cautious—hold it too close, and you risk overheating the resin, causing more harm than good.
| Step | Description | Emotion Evoked |
|---|---|---|
| Measurement | Precise resin and hardener ratio | Confidence |
| Mixing | Thoroughly mixed, bubble-free resin | Satisfaction |
| Application | Evenly spread, smooth resin layer | Accomplishment |
Allow the resin to cure completely according to the manufacturer’s instructions before considering any additional layers or decorative elements. Patience is key to achieving that stunning finish!
Creating Wave Effects

Creating wave effects in surfboard resin art is all about getting the resin mixture just right, layering it properly, and using the right tools.
Start by making sure your resin is thick and well-mixed. Then, pay close attention to the timing as you layer your resin to form waves.
Resin Mixture Consistency
Consistently achieving ideal wave effects in surfboard resin art requires a carefully balanced resin mixture with the right thickness for effective manipulation. To get that perfect wave consistency, you need to pay close attention to resin viscosity. Using a resin like Art Pro Deluxe, which has the right viscosity for layering, guarantees that your waves will hold their shape well.
Here are some key tips to help you nail the perfect resin mixture:
- Timing is Everything: Wait 30-40 minutes after mixing your resin components before starting your wave creation. This wait time allows the resin to reach the perfect thickness.
- Matching Consistencies: Make sure that the liquid resin layer and the wave mixture are of similar consistency. This guarantees both will blend seamlessly.
Layering and Timing
Properly layering resin and timing its application is essential for achieving realistic wave effects in surfboard resin art.
Start by pouring a thin stripe of resin near the beach area, which is usually the lightest color on your board. Use a heat source, like a heat gun, to blow this stripe towards the sea, adjusting your speed to get the perfect wave timing.
You need to begin this process within 30-40 minutes after mixing the resin. This is when the consistency is just right. Pour additional layers further from the beach, but be quick—resin waits for no one! If it hardens too soon, your waves will look more like lumps.
To make the waves pop, quickly pass a heat gun flame over them. This helps the waves stand out, making them look more like actual ocean waves.
Wave Creation Tools
Utilizing the right tools is paramount for crafting realistic wave effects in surfboard resin art. To achieve those mesmerizing waves, you’ll need to depend on some essential wave creation tools and techniques.
First, choose a thick resin like Art Pro Deluxe, which offers a workable period of 30-40 minutes—perfect for creating dynamic wave effects.
When applying the resin, start with a thin stripe near the beach area and use a heat gun angled at 30 degrees. This technique blows the resin toward the sea, forming natural-looking waves. Keep a close eye on the time. You’ll want to complete your wave creation within the resin’s ideal working period.
Here are some key tools and techniques to enhance your wave effects:
- Heat Gun: Use it for the initial wave creation and to add movement.
- Thick Resin: Art Pro Deluxe is perfect due to its extended work time.
For additional waves, use the heat gun’s flame quickly over formed waves to boost their dynamic appearance. This creates a more lifelike oceanic effect, making your surfboard resin art truly stunning.
Finishing and Sealing
To achieve a professional finish, apply a seal coat of clean resin using a brush to guarantee an even application and enhance the glossy finish of the surfboard art. This step might seem simple, but it’s essential for making sure your artwork shines like a finished masterpiece. Using the right finishing techniques and sealing methods can make all the difference.
After the first coat dries, grab some 220 grit sandpaper and lightly sand the surface. This helps to remove any tiny bumps or imperfections, making sure the next layer sticks well. Yes, it’s a bit tedious, but trust me, it’s worth it!
Next, consider adding a second clear coat of resin or varnish. This not only adds extra depth but also makes your artwork more durable. Make sure to let it fully cure—this means leaving it alone in a dust-free environment for the time recommended by the resin manufacturer. You don’t want any dust bunnies ruining your hard work!
Lastly, inspect your masterpiece. Look for any tiny flaws and fix them. Your goal is a flawless finish, so take your time. Once you’re satisfied, get ready to show off your stunning surfboard resin art!
Displaying Your Art

With your surfboard resin art now boasting a flawless finish, it’s time to carefully consider how best to display this unique piece of craftsmanship.
Display options are essential to ensuring your artwork gets the attention it deserves. You might mount it on a wall, use a floor stand, or even hang it from the ceiling. Each option provides a different visual impact, enhancing the charm of your surfboard art.
Lighting techniques are vital for showcasing the intricate details and vibrant colors of your resin art. Proper lighting can create an inviting atmosphere, making the artwork pop. You could use spotlights to highlight specific areas or ambient lighting to create a soft glow around the piece.
To make your display even more fascinating, consider these tips:
- Choose a backdrop that complements the coastal theme of your surfboard art.
- Regularly clean and dust the surfboard to maintain its vibrant appearance.
Frequently Asked Questions
How Do You Make Perfect Resin Art?
To achieve perfect resin art, meticulously follow resin mixing instructions for ideal curing. Employ layering techniques, allowing each layer to set completely before proceeding. Utilize heat tools to remove air bubbles, ensuring a smooth, professional finish.
How Do You Add Color to Surfboard Resin?
To add color to surfboard resin, guarantee proper pigment selection by using high-quality, resin-compatible color pigments. Achieve ideal color mixing by thoroughly blending small amounts into the resin, adjusting for the desired saturation and intensity.
How Do You Make Coastal Resin Art?
To create coastal resin art, pour a base layer of clear or colored resin, incorporating sand and seashells for realistic coastal themes. Utilize dye and Wave Pro powder for depth, and finish with a clear top coat for ocean inspirations.
How Do You Make Resin Art Shiny?
To achieve a shiny resin art finish, employ resin polishing techniques such as sanding with 220 grit sandpaper and using a heat gun to eliminate bubbles. For ideal surface finish options, apply a high-quality, well-mixed clear coat.
Conclusion
To sum up, the process of creating surfboard resin art involves several meticulous steps, including planning, shaping, surface preparation, and resin application.
Each stage requires careful attention to detail to achieve a stunning final product.
By following the outlined procedures, one can transform a simple surfboard into a unique piece of art that showcases both creativity and technical skill.
The completed surfboard not only serves as a functional item but also as an eye-catching display of artistic expression.


Leave a Reply