Imagine creating a mini ocean masterpiece with resin and seashells—it's simpler than you think! Start by picking clean, unique shells; scallops are a great choice. Arrange sand, coral, and small shells inside the scallop's curve, setting the stage for your beach scene. Mix resin carefully, coloring it with shades of blue and white to mimic the sea. Pour, layer, and mix to craft depth and wave effects. Patience is key; let each layer cure before adding the next. Finish with a UV-resistant spray to protect your art. Ready to dive deeper into each step and create your own stunning piece?
Key Takeaways
- Select clean, intact scallop shells with unique shapes and colors for a visually appealing base.
- Create a beach scene by arranging sand, coral, and miniature decorations inside the shell.
- Mix and pour colored resin layers carefully to achieve a gradient effect mimicking ocean waves.
- Use a heat gun to remove bubbles and manipulate resin for realistic wave textures.
Selecting the Perfect Shell
Choosing the ideal shell is an essential first step in creating engaging resin shell art. Imagine you're on a quest for the perfect shell types—each one a treasure that will make your art shine. When selecting, look for scallop shells that are clean, intact, and uniquely shaped. These attributes enhance the overall aesthetic of your project and give it a special touch.
Size matters, too. Pick shells that are large enough to accommodate your design elements like sand and miniature decorations. You want everything to fit nicely while still allowing a clear view of the resin layers.
Also, consider the color and texture of the shell. Lighter shells can create a striking contrast against darker resin colors, making your art pop. Textured shells add depth, making your piece more interesting.
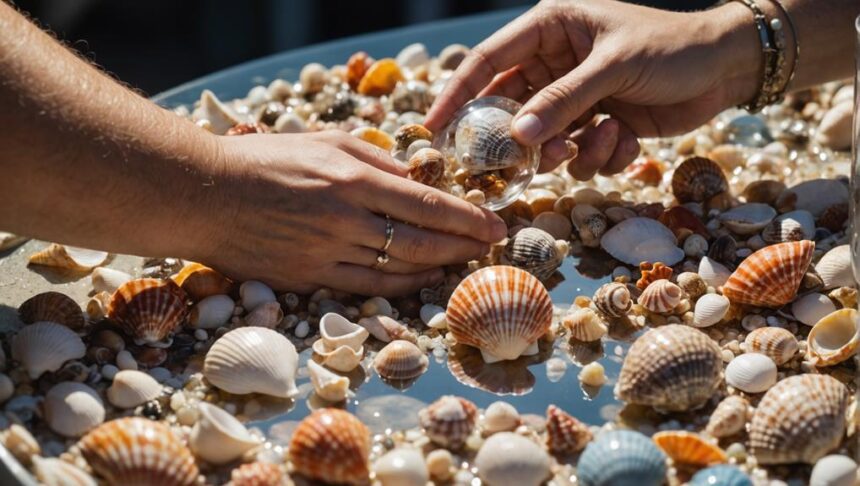
For shell sourcing, you can collect shells from local beaches or craft stores. Make sure they are free of debris and damage to achieve the best results.
Designing Your Beach Scene
After selecting the perfect shell, the next step is to thoughtfully design your beach scene to bring your resin shell art to life.
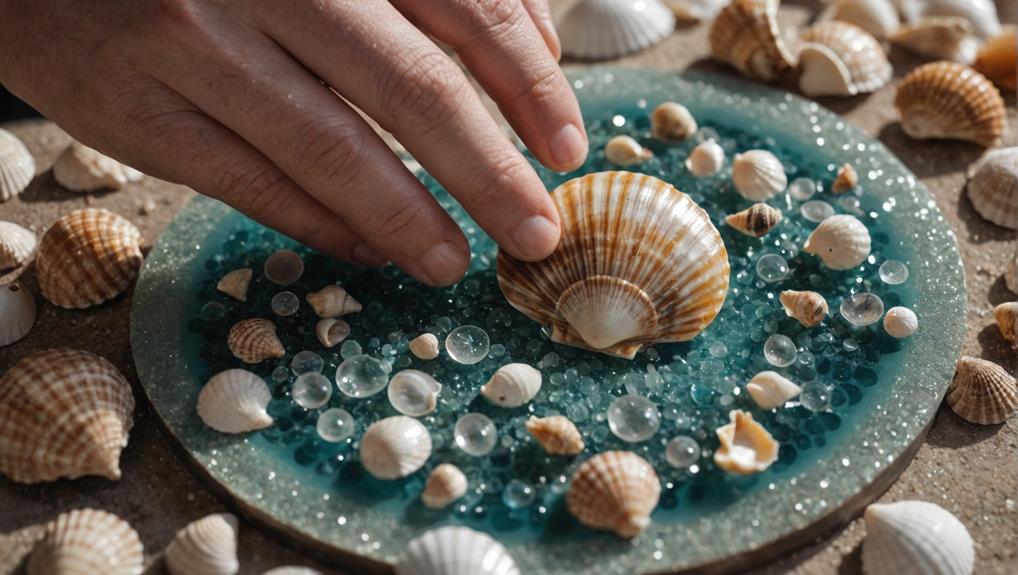
First, fill the curved part of your scallop shell with white sand. This creates a flat base and gives your beach scene a stable foundation. Think of it as laying the groundwork for a tiny, magical beach.
Next comes the fun part: shell arrangement. Arrange your coral and seashell pieces in the sand. Move them around, experiment with different positions, and see what looks best. It's like a mini-puzzle that only you can solve. Don't rush this part; it's where your creativity shines.
Now, let's talk colors. If you want to mimic the ocean's hues, consider using colored resin. Layer navy, dark teal, and light teal to create depth. Imagine the waves crashing in! For an extra touch of realism, flood the sand area with clear resin.
Preparing the Resin Mixture
To prepare the resin mixture, start by measuring 150ml of clear resin into a silicone cup to confirm accurate proportions. This step is essential for achieving a flawless finish. Precise resin proportions guarantee the mixture cures correctly and maintains its clarity.
Once you have your 150ml of clear resin, it's time to divide it into smaller cups for coloring. Follow these steps to keep everything organized:
- Separate the Resin: Pour 30ml each into three cups for navy, dark teal, and light teal. Pour 10ml into another cup for white resin.
- Mixing Techniques: Carefully blend each color into the resin, confirming there are no streaks or bubbles. Smooth consistency means your artwork will look professional.
- Check for Bubbles: Use a heat gun to eliminate any bubbles that may form during mixing. This step is critical for a clear, smooth resin surface.
Mixing techniques are key for a polished result. Mix slowly to avoid introducing air bubbles, and make sure each color is fully combined.
The right resin proportions and mixing methods lay the foundation for stunning resin shell art. Next, we'll discuss how to apply these colored layers to create depth and beauty in your piece.
Adding Colored Resin Layers
Initiating the layering process, pour the navy-colored resin into the shell mold, guaranteeing an even 0.5 cm thickness for a vibrant base layer.
This initial layer sets the stage for a stunning piece of art, creating depth and richness. According to color theory, navy acts as a strong foundation, allowing subsequent colors to pop.
Next, pour 30ml of dark teal resin on top of the navy layer. Use a gentle hand to maintain an even thickness.
Layering techniques are essential here; each layer should be smooth and consistent to avoid bubbles and guarantee clarity.
Continue by adding 30ml of light teal resin.
Light teal adds a revitalizing contrast, giving the art a dynamic, oceanic feel. The gradual shift from dark to light creates a visually appealing gradient, enhancing the overall depth.
For an added touch of magic, apply 10ml of white resin on top.
The white resin, though minimal, contrasts sharply with the other colors, bringing out their vibrancy. This layering technique not only enriches the artwork but also sets the stage for future details, making each layer count.
Creating the First Wave
Begin creating the first wave by applying a thin layer of white resin over the previously poured colored resin. This forms the base for your wave effect. Here's how you can achieve that stunning wave texture:
- Use a small stir stick: Gently drag it through the white resin. This will create fine lines that look like real waves.
- Employ a heat gun: Warm the white resin slightly. This helps it spread and form small cells, which enhance the wave texture.
- Let it dry: Allow the shell to dry for approximately 4 hours. This guarantees the first wave layer cures properly before adding more layers.
When you drag the stir stick, imagine you're drawing tiny, delicate lines. These lines mimic the natural flow of waves, adding depth and realism to your piece.
The heat gun is your secret weapon; it makes the resin come alive, forming intricate patterns that look like frothy waves crashing onto the shore.
Patience is key. Waiting for the resin to dry completely not only guarantees a solid foundation but also enhances the clarity and depth of the entire wave texture.
This step is essential for achieving a stunning layered effect in your resin art.
Applying a Second Wave
Once the first layer of waves has fully cured, proceed by mixing 15ml of clear resin to create the base for the second wave layer. This step is essential for achieving ideal resin adhesion and clarity. Pour the clear resin evenly over the entire area, ensuring a smooth base for the upcoming wave.
Next, add a line of white resin where the colored resin meets the clear resin. This will enhance the wave effect and create a dramatic, foamy look. Gently use a heat gun to spread the white resin, allowing it to flow and form defined wave patterns. This step adds depth and texture, making your artwork truly stunning.
Observe the difference in clarity and texture between the first and second wave layers. Wave layering in this manner greatly enhances the visual appeal of your resin shell art, creating a mesmerizing effect that mimics real ocean waves.
Here's a quick guide to help you visualize the process:
| Step | Description | Tools Needed |
|---|---|---|
| 1 | Mix 15ml of clear resin | Measuring cup, stirrer |
| 2 | Pour clear resin over the area | Mixing container |
| 3 | Add a line of white resin at the interface | White resin, pipette |
| 4 | Use heat gun to spread the white resin | Heat gun |
Follow these steps carefully to achieve a breathtaking result.
Curing and Finishing Touches

To guarantee a flawless finish, allow each layer of resin to cure completely according to the manufacturer's instructions, typically ranging from 4 to 24 hours. This step is vital for ensuring a strong bond and clarity in your art piece. During this curing process, make sure your workspace is dust-free to prevent debris from marring the surface.
Once the resin has cured, you can start with the finishing touches. Here's a simple guide:
- Sand the Edges: Use fine-grit sandpaper to smooth out any rough edges or imperfections. This will give your piece a polished look.
- Remove Air Bubbles: Gently use a heat gun or torch to eliminate any air bubbles that may have formed. This enhances the clarity and overall appearance of your resin shell art.
- Seal and Protect: Apply a UV-resistant spray sealant to protect your artwork from yellowing or degradation when exposed to sunlight.
These curing techniques and finishing methods are essential for achieving a professional look. Remember, patience is key! Rushing through the curing process can lead to a less-than-perfect finish. So, take your time and enjoy crafting your stunning resin shell art.
Exploring Advanced Techniques
Building on the foundational curing and finishing techniques, exploring advanced methods in resin shell art opens up a domain of creative possibilities for achieving depth and realism.
One exciting method involves layering techniques. By pouring multiple layers of resin, you can create distinct wave patterns and beach textures. Each layer can include different shell placements, adding to the depth and making the scene look more dynamic.
Color blending is another essential technique. Using additives like alcohol ink or metallic pigments can transform your resin art, making it vibrant and mimicking the ocean's natural beauty. Imagine a splash of blue fading into a soft, sandy beige—pure magic!
A heat gun is your new best friend. By using it strategically during the curing process, you can manipulate the resin to form cells and unique wave patterns. This adds complexity and makes your artwork truly stand out.
Experimentation is key. Trying out different mold shapes and sizes can lead to exciting designs. Mix and match elements to personalize your art.
Additional Resin Craft Ideas

Resin isn't just for shell art—it's like a magic potion for all sorts of beach-themed crafts!
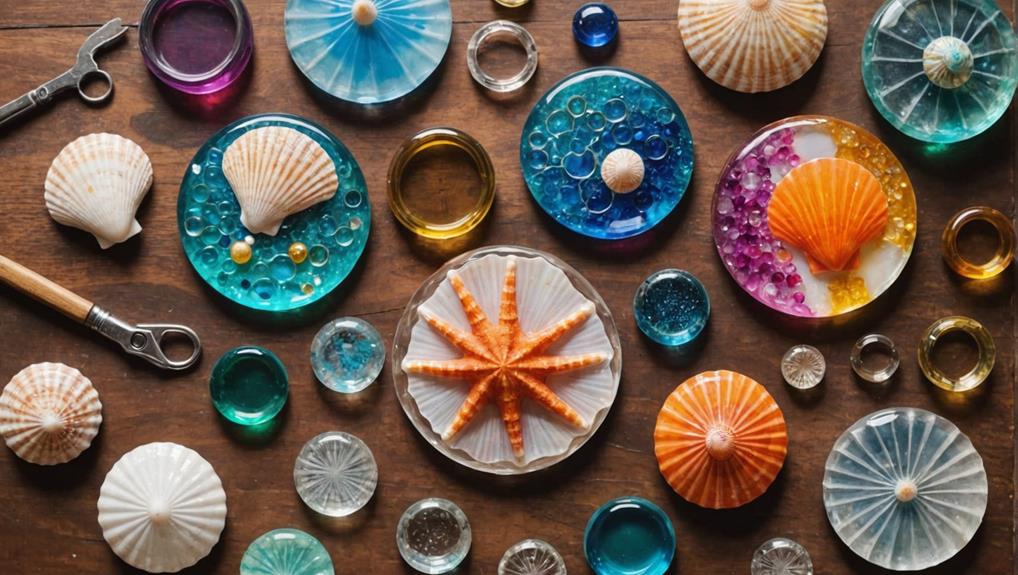
You can make awesome sand dollar coasters for summer parties, or even create seashell paperweights that bring a coastal vibe to any room.
How about crafting some cool resin jewelry or colorful coasters? The possibilities are endless!
Versatile Resin Projects
Expanding beyond traditional projects, versatile resin crafts offer endless possibilities for creating personalized and functional art pieces.
Imagine transforming simple items into stunning works of art. With resin color blending, you can create mesmerizing effects that mimic the ocean's depths, adding a magical touch to your creations. Pair this with thoughtful shell selection tips, like choosing shells with interesting textures or unique shapes, and you've got the recipe for standout pieces.
Here are three ideas to get your creative juices flowing:
- Sand Dollar Coasters: Perfect for a beach-themed living room. Use a mix of resin colors to create a sandy backdrop and embed real sand dollars for an authentic touch.
- Seashell Paperweights: Functional and beautiful, these can feature dyed seashells to match your office decor or favorite colors.
- Resin Jewelry: Craft stunning necklaces and earrings by encasing small shells and colorful gemstones in resin, creating wearable art that keeps summer close all year round.
Coastal-Themed Creations
Exploring further into the domain of resin artistry, coastal-themed creations offer an alluring blend of natural elements and innovative techniques to craft fascinating decor pieces. Imagine bringing the beach into your home with sand dollar coasters. These tiny treasures combine the simplicity of natural elements with the elegance of resin, creating not just art, but functional pieces for your living space.
Seashell paperweights, too, are an excellent way to preserve beach memories. Picture a desk adorned with a shimmering paperweight, filled with shells you collected on your last trip. Speaking of collecting, here are some shell collection tips: always look for shells at low tide and after a storm, as these times reveal the best finds.
Beach-inspired aesthetics don't stop there. Try creating poured resin wall art that captures the essence of ocean waves. The calming blues and whites can transform any room into a seaside retreat. Or, for a burst of color, make dyed seashell resin coasters. These vibrant creations are perfect for summer gatherings, adding a splash of fun.
For a patriotic twist, consider an ocean resin pour on USA cutouts. These pieces celebrate both your love for the coast and country.
Frequently Asked Questions
How to Apply Resin to Seashells?
To apply resin to seashells, first guarantee thorough shell preparation by cleaning and drying. Choose appropriate resin types and mix according to instructions. Carefully pour over shells, allowing it to settle and cure for best results.
How Do You Make Perfect Resin Art?
To achieve perfect resin art, master resin techniques by preparing your workspace meticulously, mixing resin correctly, and layering colors precisely. Use silicone molds, release spray, and heat tools for best results, ensuring each layer cures fully before proceeding.
How Do You Make Resin Art Shiny?
To make resin art shiny, follow these surface preparation tips: use high-quality clear epoxy resin, pour slowly to minimize bubbles, cure in a dust-free environment, apply a clear topcoat, and employ resin polishing techniques with a fine polishing compound.
How Do You Add Depth to Resin Art?
To add depth to resin art, employ layering techniques by applying multiple layers of resin, each approximately 0.5 cm thick. Incorporate color gradients and use a heat gun to create movement, enhancing the dimensionality and visual interest.
Conclusion
Creating stunning resin shell art offers a rewarding experience, blending creativity with craftsmanship.
By selecting the perfect shell, designing an appealing beach scene, and mastering resin techniques like layering and wave creation, one can produce mesmerizing art pieces.
The curing and finishing processes add the final touches, ensuring a polished look.
Exploring advanced methods and other resin crafts can further enhance one's skills, opening up new artistic possibilities and expanding the scope of resin art projects.


Leave a Reply