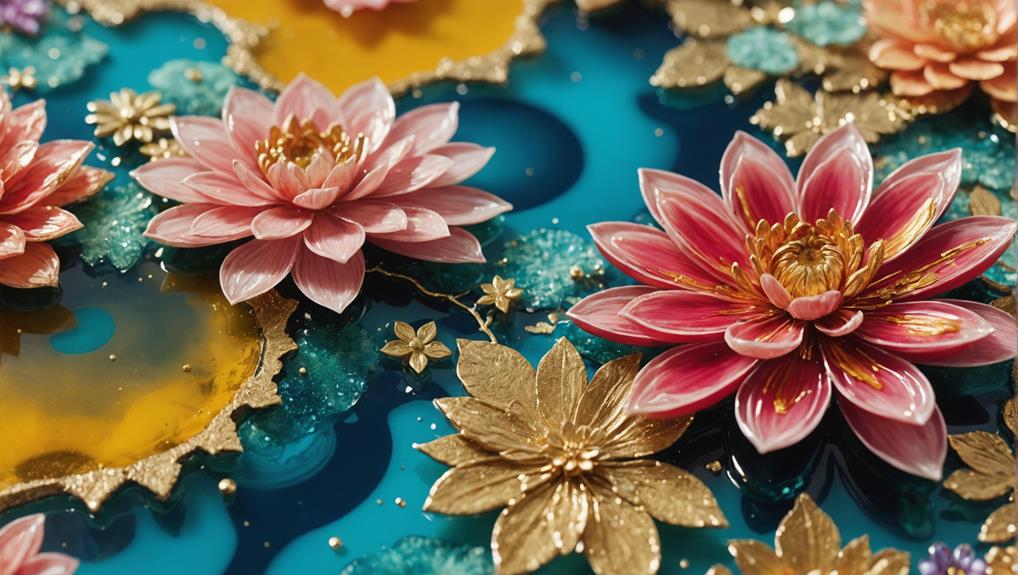
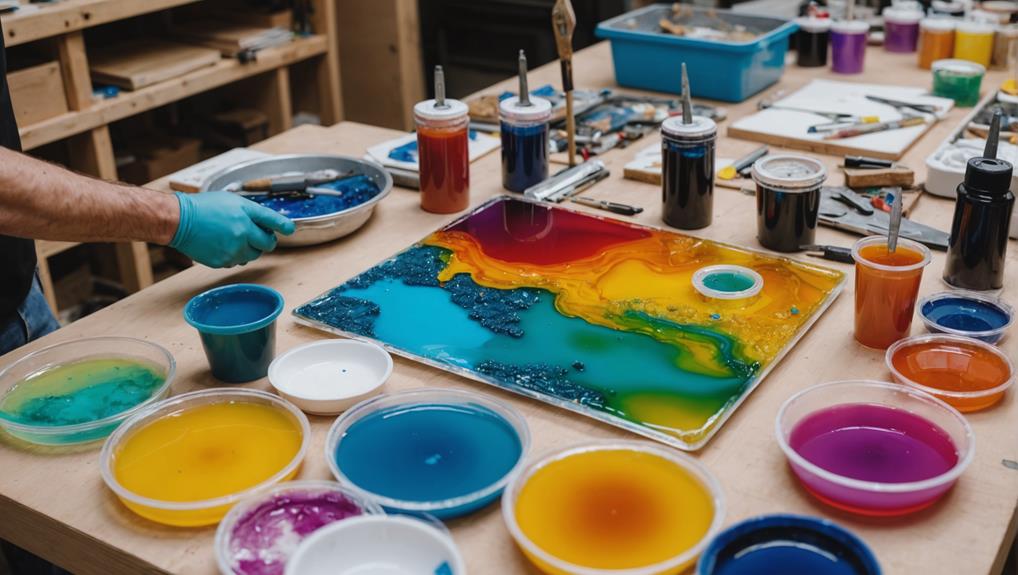
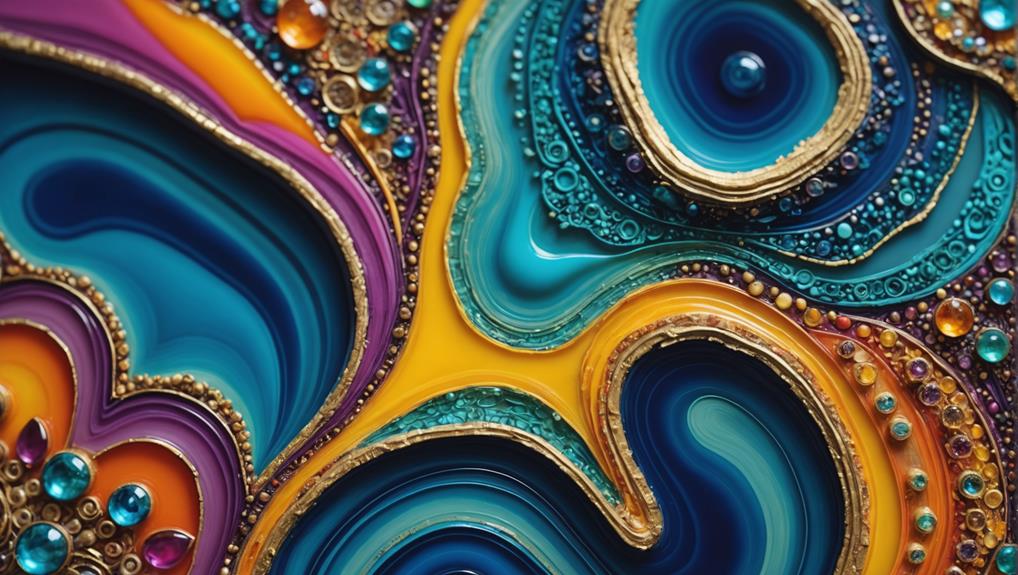
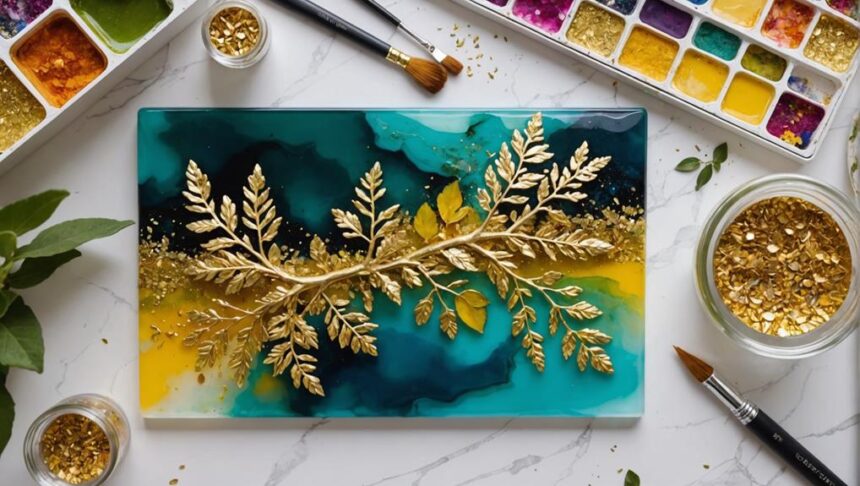
Layered resin art is like magic on a canvas, with layers creating beautiful depths and sparkling effects. To start, choose a clear theme, and gather essential materials, including colorful glitters, tiny trinkets, and safety gear. Make sure to pour your resin slowly to avoid bubbles and wait 4-5 hours between each layer for the best clarity. Positioning your decorations carefully is key to making your art pop. And don't forget, getting just the right mold shape and using a flat surface can make a big difference! With patience and a bit of creativity, you'll turn your ideas into stunning art pieces. Curious to see some specific project ideas?
Key Takeaways
- Define a clear theme to guide color choices and inclusion placements for cohesive layered resin art.
- Use silicone molds for flexibility and ease of demolding, ensuring proper cleaning and release agent application.
- Carefully position inclusions like dried flowers or glitter in the first layer for optimal visual impact.
- Allow each resin layer to cure for 4-5 hours before adding the next to maintain clarity.
Understanding Layered Resin Art
Layered resin art, a technique that involves sequentially pouring resin to build depth and incorporate various inclusions, offers a dynamic and visually striking medium for artistic expression. This method allows artists to play with layers, creating stunning, three-dimensional effects.
First, color theory is essential; understanding how colors interact can make your art pop. Imagine layering a deep blue with a sparkling white—each layer adding more depth and intrigue.
Texture exploration is another exciting aspect. Different materials, like glitter, sand, or even small objects, can be trapped between layers, giving a unique feel and look to each piece. The first layer sets the stage, acting as the foundation for the entire artwork. Think of it like the base of a pizza—you want it solid and ready for all the toppings!
Timing is everything in layered resin art. Each layer needs about 4-5 hours to solidify before adding the next to keep them from mixing together. This patience pays off when you see the clear resin showcasing your inclusions perfectly.
Planning Your Resin Project
To create a successful layered resin piece, start by meticulously planning your project to guarantee each element aligns with your artistic vision.
Begin by defining the desired outcome of your resin project. What is your theme inspiration? Are you going for an oceanic scene, a mystical forest, or something abstract? Deciding on the theme will guide your resin color choices and any inclusions, like glitter, shells, or dried flowers, that will enhance the visual appeal.
Next, choose an appropriate mold. Make certain you know the front and back orientation, so your inclusions are positioned correctly. Nothing worse than finding your favorite shell facing the wrong way!
Calculate the total volume of resin you'll need. This depends on the dimensions of your mold and the desired thickness of each layer. Remember, 1 fluid ounce is about 1.8 cubic inches.
Gather all necessary materials and tools. This includes resin, hardener, mixing cups, and safety gear. Organize your workspace before you start.
Planning the timing of each layer's pour is essential too. Allow sufficient curing time of 4-5 hours between layers to avoid mixing and guarantee clarity.
Happy crafting!
Selecting and Preparing Molds
Selecting and preparing molds is essential to achieving stunning layered resin art.
You'll need to pick the right materials, clean the molds thoroughly, and choose designs that add depth to your creations.
This careful preparation guarantees each layer stands out, making your art truly enchanting.
Mold Material Selection
Choosing the right mold material is vital for achieving high-quality layered resin art. When diving into this creative process, the durability and compatibility of the mold are key factors to take into account.
Silicone molds are a popular choice due to their flexibility and ease of demolding. This means that once your beautiful resin layers have cured, popping them out of the mold is a breeze, and the layers remain intact.
Before pouring your resin, make certain your mold is clean and free of dust or debris. Imagine spending hours on your masterpiece only for it to have tiny imperfections—frustrating, right? Also, always inspect your mold for any damage. A tiny tear can ruin the entire piece, and nobody wants that!
Identifying the front and back of the mold is vital. If the inside is the intended front, make sure any inclusions face the bottom. This guarantees the final product has the perfect look you envisioned.
Mold Preparation Techniques
Preparing molds for layered resin art involves several meticulous steps to guarantee a flawless final product.
First, identify the front and back of the mold to make certain your design appears as intended.
Cleaning the mold thoroughly is essential; any dust or debris can ruin your masterpiece. For mold cleaning techniques, use mild soap and water, or a dedicated mold cleaner, making sure every nook and cranny is spotless.
Next, consider release agent options to prevent your resin from sticking, especially with intricate designs. A good release agent can be a game-changer, making it easier to remove the cured resin without damaging the mold or the artwork. Spray release agents are popular for their ease of use, but liquid agents applied with a brush can offer more precision for detailed molds.
Place your clean, prepped mold on a flat surface. This guarantees even pouring and curing, preventing one side from being thicker than the other.
Think about the thickness of each resin layer and the total volume needed. This will help you choose the right mold size and shape for your project.
With these steps, you're on your way to creating stunning layered resin art!
Optimal Mold Designs
To achieve the best results in layered resin art, identifying the ideal mold design is as important as the preparation process.
Whether you're a beginner or a seasoned artist, selecting the right mold can make or break your project. Focus on mold aesthetics and mold complexity to guarantee your final piece is both visually stunning and structurally sound.
When choosing your mold, consider these important factors:
- Depth and Size: Verify the mold has enough depth for your layers and is the right size for your intended piece. A shallow mold might limit your creativity, while one that's too deep could complicate the layering process.
- Identification of Front and Back: Always determine the front and back of the mold before you start pouring resin. This guarantees that any inclusions or designs are placed correctly, enhancing the visual effects.
- Material: Silicone molds are highly recommended. They offer flexibility and durability, making it easier to remove your cured resin piece without causing damage.
- Stability: Place your mold on a flat and stable surface to prevent uneven curing and potential spills. Nothing ruins a project faster than watching it slide off the table!
With these tips, you'll be on your way to creating beautiful layered resin art.
Preparing the First Resin Layer
When preparing your first resin layer, it's essential to get the mold orientation right, so your inclusions look perfect.
Carefully placing dried flowers or small decorations can add a pop of excitement to your piece.
Make sure to pour the resin slowly and evenly to avoid bubbles, creating a smooth base for your artwork.
Mold Orientation Tips
Correct mold orientation is essential to confirm that the first resin layer sets the foundation for a visually appealing final piece. Imagine putting together a puzzle upside down—frustrating, right? The same goes for resin art. Getting your mold orientation right is key to making sure your inclusions, like glitter or small objects, look their best.
First, identify the front and back of your mold. This helps you know exactly where to put your inclusions. You want the shiny side of your inclusions facing the front of the mold to catch the light perfectly.
Here are some quick tips to confirm your mold orientation is spot-on:
- Mark the Mold: Use a small piece of tape to mark the front and back of your mold. This keeps things clear and avoids confusion.
- Face Down: Always place inclusions face down if the mold's inside is the front. This makes sure they look great from the outside.
- Clear Resin: Use clear or slightly glittered resin for the first layer. This enhances the visibility of inclusions later on.
- Curing Time: Let the first layer cure for 4-5 hours to prevent mixing with the next layer.
Follow these tips, and your resin art will dazzle!
Inclusion Placement Strategies
Careful positioning of inclusions in the first resin layer is essential for achieving an enchanting final piece. Before you start pouring, it's important to determine your mold's orientation. This helps guarantee your inclusions face the right direction, typically towards the bottom if the inside of the mold is the front.
Now, let's talk about inclusion types and placement techniques that can make your art pop. Using budget-friendly inclusions like dried flowers or sequins can add unique charm without breaking the bank. When placing these, consider using clear or slightly glittered resin for the top layer. This enhances the visibility of your inclusions, making them sparkle and shine beautifully.
The first layer acts as the foundation, so meticulous placement is vital. Imagine your inclusions as actors on a stage – they need to be in the right spot to steal the show!
After positioning your inclusions, allow the first resin layer to solidify for 4-5 hours. This timing is key to preventing the layers from mixing and guaranteeing a clean, stunning effect. By mastering these placement techniques, you can create resin art that's truly enchanting.
Pouring Subsequent Layers

To achieve a pristine and visually engaging layered resin art piece, confirm each layer has adequately cured before introducing the next. This guarantees that your resin layers remain distinct and clear. Pay careful attention to layer thickness and pouring techniques to create depth and dimension.
When planning your layers, it's essential to follow a few key steps:
- Initial Curing: Verify the first layer has solidified for at least 4-5 hours before adding the next. This prevents unwanted mixing and maintains clarity.
- Thickening Time: Allow the resin to thicken for about 15 minutes before pouring the next layer. This helps create a distinct separation between layers.
- Full Curing: For best results, wait 24 hours between layers to confirm full curing. This aids in the finest adhesion and enhances visual effects.
- Bubble Inspection: Always inspect the surface for bubbles before pouring the next layer. Trapped bubbles can disrupt clarity and the overall aesthetic.
Incorporating Inclusions
Incorporating inclusions into layered resin art adds a fascinating dimension, enhancing the artwork's visual and textural complexity. Imagine tiny dried flowers, sparkling glitter, or small objects nestled within your resin masterpiece. These inclusion types can create an enchanting visual effect, making your artwork truly unique. However, it's vital to confirm that these elements are compatible with the resin and won't affect its clarity.
When adding inclusions, think about their position carefully. For instance, placing a dried flower face down can make it look more vivid when viewed from the top. Varying the size and color of your inclusions helps in achieving aesthetic balance, guaranteeing they complement the overall design without overwhelming it. Picture a mix of tiny gold stars and larger, colorful beads; this variety keeps the eye interested and the piece harmonious.
To prevent inclusions from floating or ruining your design, let the first layer of resin cure properly before adding anything. This way, they stay exactly where you want them. A balanced combination of different inclusion types can make your resin art not just beautiful but also deeply engaging, like a little world encapsulated in clear, glossy layers.
Managing Resin Curing

Guaranteeing proper resin curing is fundamental to achieving a flawless layered resin art piece, as it directly impacts the clarity and stability of the inclusions. To get that perfect finish, you need to keep an eye on a few key factors.
The curing temperature, for instance, should be stable. Keep your room between 70°F and 75°F (21°C to 24°C) to avoid any unwanted imperfections. This stable environment helps your resin cure evenly and guarantees that each layer looks as stunning as the last.
Here are four essential steps to manage resin curing:
- Layer Timing: Let the first layer cure for 4-5 hours before adding new ones. This keeps your inclusions from mixing and maintains their visibility.
- Layer Thickening: Wait about 15 minutes for each layer to thicken before adding more elements. This prevents them from sinking, keeping your design intact.
- Initial Curing Time: Handle the resin only after 8 hours of initial curing. Full curing can take up to 72 hours, so be patient!
- Bubble Management: Use a heat gun on low to pop bubbles. Shine a light over the surface to spot and eliminate any remaining bubbles.
With these steps, you're on your way to creating a masterpiece!
Finishing Touches and Polishing
Achieving a professional and polished finish on your layered resin art requires meticulous attention to detail and the appropriate techniques.
To start, focus on surface treatment by addressing any imperfections. Begin sanding with a low grit sandpaper and gradually move up to 600 grit to achieve a smooth surface. Wet sanding is your best friend here—it minimizes dust and helps get that glass-like finish. Doesn't sound too bad, right?
Once your surface is smooth, consider applying a UV protective layer. This keeps your resin from yellowing and guarantees it stays clear and beautiful over time.
Now comes the fun part: embellishment techniques! Adding final touches like a bit of extra paint or some decorative elements can really make your piece pop. Ever thought about embedding eye screws into a wooden frame? This makes hanging your art a breeze.
For heavier pieces, wire wrapping adds extra support.
Exploring Advanced Techniques

Delving into advanced techniques for layered resin art opens up a world of creative possibilities and intricate designs.
Imagine adding dried flowers, glitter, and metallic leaf to your resin—each inclusion brings a layer of depth and wonder.
By playing with varying thicknesses of resin layers, you can create a sense of dimensionality that makes your artwork pop. A thicker base layer can anchor your piece, while lighter, translucent layers above add a dreamy effect.
Using a heat gun to manipulate the resin after pouring can give you swirls or waves, adding texture and movement to your art.
And let's not forget the magic of color shifting effects. Incorporating color-shifting pigments or even glow-in-the-dark elements in different layers can make your art transform under different lighting conditions.
Here are some advanced techniques to try:
- Layer Manipulation Techniques: Use a heat gun to create unique textures and effects.
- Inclusions: Experiment with dried flowers, glitter, and metallic leaf for added depth.
- Varying Layer Thickness: Thicker base layers can enhance the look of lighter, translucent layers above.
- Color Shifting Effects: Use pigments that change color or glow in the dark for dramatic visual changes.
Mastering these techniques takes time, but the results are worth it!
Frequently Asked Questions
How Long to Wait Between Layers of Resin?
For best results, wait 4-5 hours between layers of resin for partial curing, or 24 hours for a full cure. This guarantees proper bonding and prevents undesired blending, especially with varying layer thickness.
How Do You Layer Things in Resin?
To layer objects in resin, carefully time each resin pour to avoid blending, usually waiting 4-5 hours between layers. Incorporate materials like glitter or leaves to enhance layering effects, employing precise resin techniques for ideal visual separation.
What Sells Best With Resin Art?
Home decor items, such as coasters and wall art, sell best in the resin art market. Utilizing resin colorants and texture techniques enhances their appeal. Jewelry and customizable items also attract diverse customers due to their personalization options.
Is Resin Art Business Profitable?
Yes, the resin art business is profitable. With favorable market trends and effective resin pricing strategies, profit margins can range from 30% to 50%, driven by strong demand and opportunities for customization and personalization.
Conclusion
Layered resin art presents a mesmerizing blend of creativity and technique.
By understanding the fundamentals and carefully planning each stage—from mold selection to resin pouring and inclusion integration—artists can create stunning, multi-dimensional pieces.
Effective management of resin curing and meticulous finishing touches further enhance the final artwork.
Exploring advanced techniques can enhance one's craftsmanship, making layered resin art an ever-evolving and rewarding pursuit.
With dedication and practice, enchanting resin masterpieces can be achieved.


Leave a Reply