Resin art is a dazzling form of creativity where artists mix liquid resin and a hardener to craft glossy, glass-like masterpieces. Think of it as creating super colorful jewelry or awesome custom trays and coasters that look like they belong in an art gallery. It combines science and art, as you need the right mix of liquid parts, patience, and a bit of heat to pop those pesky bubbles. With endless possibilities like vibrant pigments, sparkles, and even dried flowers, it’s perfect for beginners and pros alike. Get ready to discover more techniques and ideas to kick-start your resin journey!
Key Takeaways
- Resin art combines liquid resin and hardener to create durable, glass-like artistic pieces.
- Precise 1:1 mixing ratios of resin and hardener are crucial for proper curing.
- Safety gear, including nitrile gloves and respirators, is essential for safe resin art practices.
- Epoxy resin is popular for its low odor and 24-hour curing time.
What Is Resin Art?
Resin art is the creative process of combining liquid resin and hardener to produce artistic pieces such as jewelry, coasters, and wall art. This fascinating art form has evolved over the years, with roots tracing back to ancient times when natural resins were used for various purposes, including artistic expression.
Today, resin art has become a popular medium for both beginners and experienced artists due to its versatility and the stunning, glass-like finish it provides. The history of resin art showcases how artistic expression has continually adapted, utilizing new materials and techniques to create beauty.
Epoxy resin, known for its durability and ability to enhance colors, has opened up endless possibilities for artists. Whether creating functional items like coasters or purely decorative wall art, the medium allows for a wide range of applications.
Artists often use pigments, glitters, molds, and various embellishments to customize their creations. These materials allow for unique textures and colors, making each piece of resin art truly one-of-a-kind.
However, it’s important to remember safety precautions, like wearing gloves and working in well-ventilated areas, due to the chemicals involved in the resin’s curing process.
Understanding Epoxy Resin
Epoxy resin is a fascinating material used in resin art, made by mixing two components in a precise ratio to start the curing process.
Artists love it for its versatility, allowing them to create everything from coasters to intricate jewelry.
Understanding how to mix, apply, and cure epoxy resin properly is key to achieving that stunning, glass-like finish that makes resin art so enchanting.
Composition and Mixing Ratios
Understanding the composition and precise mixing ratios of epoxy resin is fundamental for achieving the desired results in resin art projects. Epoxy resin, a popular medium in resin art, consists of two main parts: the base resin (Part A) and the hardener (Part B). These components need to be mixed in specific ratios to guarantee proper curing and achieve a solid, glossy finish.
When it comes to mixing techniques, it’s essential to follow these steps:
- Measure Accurately: Most resin art projects require a 1:1 ratio, meaning equal parts of resin and hardener. Use precise measuring tools to avoid errors.
- Stir Slowly: Mix the components slowly for at least 3 minutes. This thorough stirring helps blend the two parts completely and minimizes air bubbles.
- Follow Manufacturer Instructions: Different epoxy resins have unique properties and specific instructions. Always read and follow these guidelines to prevent issues like incomplete curing or a cloudy finish.
Correct mixing and understanding resin properties are significant. Improper ratios or hurried mixing can lead to disappointing results, such as a sticky surface or uneven texture.
Application Techniques
Mastering various application techniques is vital for creating intricate and visually appealing resin art projects.
One fundamental aspect is pouring techniques. You can pour resin first and then add objects, or place objects first and pour resin over them. Both methods have their perks. Pouring resin first guarantees a smooth, even surface, while adding objects first can create fascinating, embedded effects.
Layering effects add depth and richness to your artwork. Instead of pouring one thick layer, pour multiple thin layers. This helps you build up textures and colors, making your piece pop with dimension. Each layer should be allowed to partially cure before the next is added, guaranteeing a strong bond and preventing color blending.
Bubble removal is vital for a flawless finish. After pouring, use a heat gun or small torch to coax out air bubbles. Just be careful not to scorch the resin; a gentle, sweeping motion works best.
Curing and Hardening
Curing and hardening are critical processes that transform liquid epoxy resin into a solid and durable state. This magical transformation is known as curing, which typically takes between 10 to 24 hours for initial drying, depending on the product. But don’t get too excited just yet—complete hardness generally takes up to 72 hours.
To get it just right, you need to understand some key factors:
- Curing Techniques: Properly mixing your resin and hardener in the correct ratio, usually 1:1, is essential. This guarantees a smooth curing process.
- Curing Times: Environmental factors like temperature and humidity play a huge role. The ideal temperature is between 75-85°F (24-30°C). Too hot or too cold? Your resin might not harden properly.
- Exothermic Reaction: As the resin cures, it generates heat. If this heat isn’t managed, it could affect the final outcome, making your art look like a science experiment gone wrong!
Safety Procedures
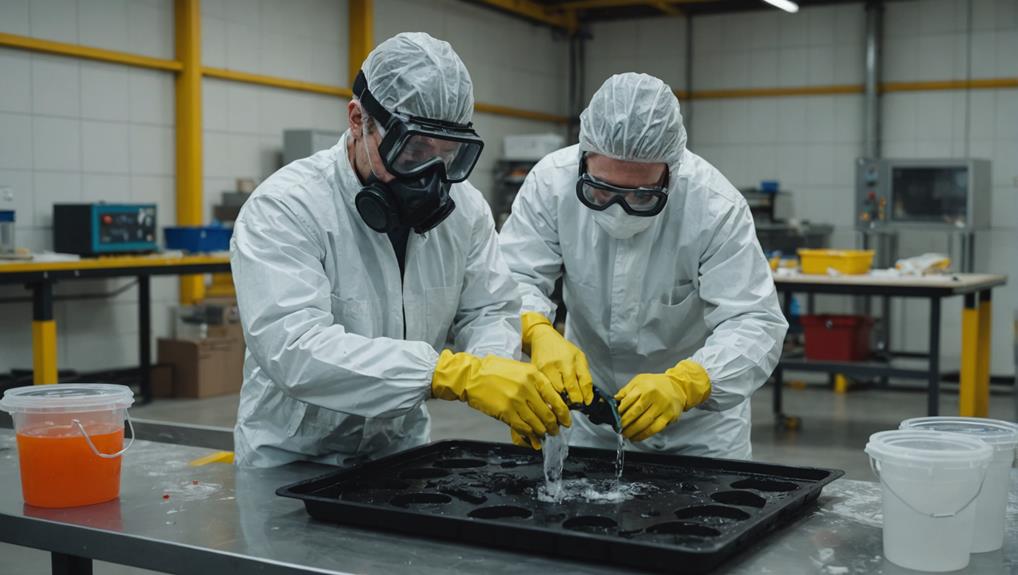
When working with epoxy resin, safety should always come first.
Make sure to wear nitrile gloves and safety goggles to protect your skin and eyes from irritation and injury.
Keep your workspace clean and well-ventilated, and don’t forget a respirator or mask to avoid inhaling harmful fumes and dust.
Essential Protective Gear
Proper protective gear is essential when working with epoxy resin to guarantee safety and prevent exposure to harmful chemicals and particles.
When it comes to resin art, sticking to safety protocols isn’t just smart—it’s vital. Here’s a quick rundown of what you need:
- Protective Clothing: Wear long sleeves and pants, preferably old clothes, to protect your skin from accidental splashes. Resin can be super sticky and tough to wash out, so you don’t want it on your favorite shirt!
- Nitrile Gloves: These gloves are significant. Epoxy resin can cause skin irritation, and nitrile gloves provide a strong barrier between your skin and those nasty chemicals. Plus, they’re more resistant to punctures than latex gloves.
- Safety Goggles: Your eyes are precious! Always wear safety goggles to guard against splashes and tiny particles during mixing and pouring. You don’t want to end up with resin in your eyes—trust me, it’s not fun.
In addition to these, using a 3M mask or respirator is a smart move, especially when sanding or dealing with large volumes of epoxy.
This will protect you from inhaling harmful fumes and particles.
Stay safe, happy crafting!
Workspace Preparation Tips
Guaranteeing your workspace is well-ventilated is paramount to minimizing exposure to potentially harmful fumes produced by epoxy resin. Simple ventilation strategies like working near open windows or using exhaust fans can make a big difference. These steps help keep the air fresh and reduce the risk of inhaling toxic chemicals.
In addition to proper ventilation, workspace organization is key. Maintaining a clean and organized workspace not only makes your project more enjoyable but also safer. Use silicone mats to catch spills and make cleanup easier. Store your heat gun or small blowtorch on a slate slab to prevent fire hazards. Always have these tools ready, as they are essential for popping bubbles in the resin.
Personal safety is just as important. Always wear nitrile gloves to protect your skin from potential irritation or allergic reactions to epoxy resin. Safety goggles are also a must to shield your eyes from any splashes during the mixing and pouring process.
Here’s a quick overview:
| Safety Measure | Purpose | Tools Needed |
|---|---|---|
| Ventilation | Minimize exposure to harmful fumes | Open windows, exhaust fans |
| Workspace Organization | Guarantee cleanliness and reduce hazards | Silicone mats, slate slab |
| Personal Protection | Protect skin and eyes from resin exposure | Nitrile gloves, goggles |
Work Area Preparation
A well-prepared work area is vital for both safety and efficiency when engaging in resin art projects. Proper workspace organization and ventilation tips are important to creating a productive and safe environment.
First, make sure your workspace is well-ventilated. Open windows or use fans to minimize fume exposure while working with epoxy resin, keeping your lungs happy and healthy.
Organizing your tools and materials is the next step to a smooth workflow. Gather everything you’ll need—measuring cups, mixing sticks, molds—before you start. This will save you from the dreaded mid-project scramble.
Setting up your work area can be broken down into three main steps:
- Protect Surfaces: Use silicone mats or plastic drop sheets to guard against spills and drips. This makes cleanup a breeze and keeps your workspace tidy.
- Level Work Surface: A flat, stable surface is key to preventing spills and making sure of even resin application. No one likes a lopsided art piece!
- Safe Storage for Tools: Store your heat gun or blowtorch on a non-flammable surface, like a slate slab. Safety first, always!
These steps will make your resin art experience safer and more enjoyable, setting you up for creative success.
Essential Supplies
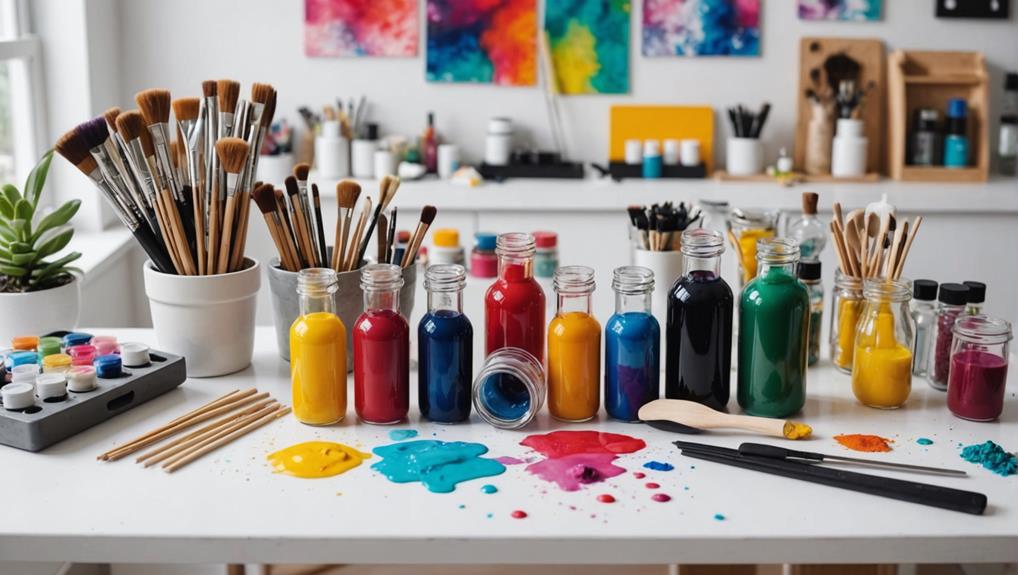
Having established a well-prepared work area, the next step involves gathering the essential supplies needed to begin your resin art journey.
First and foremost, an epoxy resin kit is indispensable. These kits typically include both resin and hardener, requiring a common mixing ratio of 1:1 for the best results. Accurate resin storage is essential to maintaining the quality of your materials, so always keep them in a cool, dry place.
Next, you’ll need measuring and mixing tools. Disposable measuring cups, mixing spatulas, and digital kitchen scales help guarantee precise measurements and thorough blending. This accuracy is crucial, especially when it comes to color mixing, where even a slight imbalance can alter your final product.
Silicone molds are also necessary. These molds offer flexibility and ease when removing your cured resin creations.
Don’t forget your safety gear! Nitrile gloves, goggles, and a ventilated mask are key to protect your skin from irritation and to prevent inhaling any harmful fumes.
Lastly, consider adding decorative elements to your resin, like pigments, glitters, and dried flowers. These items can dramatically enhance the visual appeal of your artwork, making each piece uniquely yours.
Basic Techniques
When it comes to mastering resin art, getting the basics right is super important.
First, you’ll need to mix your epoxy resin and hardener in a precise 1:1 ratio—no shortcuts here!
Next, learn to pour your mixture smoothly and get rid of pesky bubbles using a heat gun or blowtorch for a flawless finish.
Mixing Epoxy Resin
To achieve ideal results in resin art, precise mixing of epoxy resin and hardener is vital. The right mixing techniques not only guarantee a perfect blend but also play an essential role in bubble prevention.
First, always combine equal parts of the resin and hardener, typically in a 1:1 ratio, but make certain to follow the specific product instructions for accurate measurements. Here’s a quick guide to help you out:
- Use Proper Tools: Grab a sturdy mixing cup and a stir stick. Trust me, flimsy tools are not your friends here.
- Mix Slowly and Thoroughly: Stir the components slowly for at least 3 minutes. This isn’t a race; slow and steady wins the bubble-free race!
- Scrape, Scrape, Scrape: Don’t forget to scrape the sides and bottom of the mixing container to incorporate any unmixed material. You want a uniform consistency, not a lumpy mess.
After mixing, let the epoxy sit for a few minutes to allow bubbles to rise to the surface. This makes it easier to eliminate them later.
When you’re ready, pour the mixture gently to minimize bubble formation, and consider pouring down the side of the mold or surface to further reduce air pockets.
Pouring and Layering
Mastering the basic techniques of pouring and layering epoxy resin is crucial for creating visually striking and durable resin art pieces.
Pouring resin starts with thoroughly mixing equal parts of epoxy resin and hardener for at least three minutes. This guarantees a complete blend before you begin.
When it comes to layering effects, start with a clear resin base layer. Allow it to partially cure before adding colored layers. This creates depth in your artwork, making it pop!
Pouring techniques matter a lot here. Pour the resin slowly down the side of your mold or surface. This minimizes bubble formation and keeps your previous layers intact.
Experimenting with different pouring techniques like dirty pours or swipe techniques can produce unique patterns and textures. Imagine waves, marbling, or even galaxy-like swirls.
Adding a bit of heat with a heat gun or torch after pouring makes bubbles rise to the surface and pop, guaranteeing a smoother finish.
Bubble Removal Techniques
Effectively removing bubbles from epoxy resin is essential for achieving a flawlessly smooth and professional finish in resin art. Bubbles can be pesky and frustrating, but with the right bubble prevention techniques, you can conquer them like a pro.
First, mix your epoxy resin slowly and smoothly. Fast stirring introduces more air, and more air means more bubbles. So, take your time; your patience will pay off.
Second, when pouring the resin, pour it down the side of the mold or container instead of dumping it straight into the center. This simple bubble elimination method minimizes bubble formation right from the start.
After pouring, you’ll probably still see a few stubborn bubbles. This is where the magic happens:
- Heat Gun or Blowtorch: Gently warm the resin surface to make bubbles rise and pop without scorching.
- Toothpick: Carefully poke any remaining bubbles to burst them.
- Dust-Free Cloth: Cover your piece to protect it and allow trapped bubbles to escape over time.
Mixing and Curing
Achieving ideal results in resin art hinges on the precise mixing of epoxy resin and hardener, followed by a meticulous curing process. First, you must mix the resin and hardener in a 1:1 ratio, diligently following the manufacturer’s instructions. This step is vital. Use effective mixing techniques to guarantee a smooth blend. Stir the mixture thoroughly for at least 3 minutes, making sure to scrape the sides and bottom of your mixing container. If you don’t, you might end up with areas that won’t cure properly, which can be a real headache.
Next comes the curing process, which requires patience and the right conditions. The initial drying phase typically takes between 10 to 24 hours. However, full curing can take up to 72 hours, depending on the specific product you’re using. During this time, keep your artwork in a dust-free environment and cover it to prevent debris from landing on the surface. Temperature and humidity play a significant role too. Ideal curing conditions are between 75-85°F (24-30°C).
Here’s a quick reference table to help you out:
| Step | Time Required | Conditions |
|---|---|---|
| Mixing | At least 3 minutes | Thoroughly scrape sides and bottom |
| Initial Curing | 10 to 24 hours | Maintain a dust-free environment |
| Full Curing | Up to 72 hours | 75-85°F (24-30°C), low humidity |
Preventing Bubbles
Preventing bubbles in resin art involves a combination of careful mixing, controlled pouring techniques, and strategic use of heat.
Bubble prevention starts with the right mixing techniques. Stir the resin and hardener gently and smoothly for at least three minutes, keeping the spatula submerged. This helps reduce air bubbles introduced during the process.
Pouring the resin slowly and down the side of your mold is another critical step. This method allows air to escape more easily, minimizing bubbles that could ruin your artwork.
But even with the best mixing and pouring techniques, some bubbles may still appear. That’s where heat comes in. Using a heat gun or small blowtorch immediately after pouring effectively pops bubbles. The heat causes them to rise to the surface and burst, leaving a smooth, flawless finish.
Here are three key steps to bubble prevention:
- Thorough Mixing: Mix the epoxy resin and hardener thoroughly for at least three minutes.
- Controlled Pouring: Pour slowly and down the side of the mold to minimize air entrapment.
- Heat Application: Use a heat gun or blowtorch to pop any remaining bubbles on the surface.
Common Beginner Mistakes
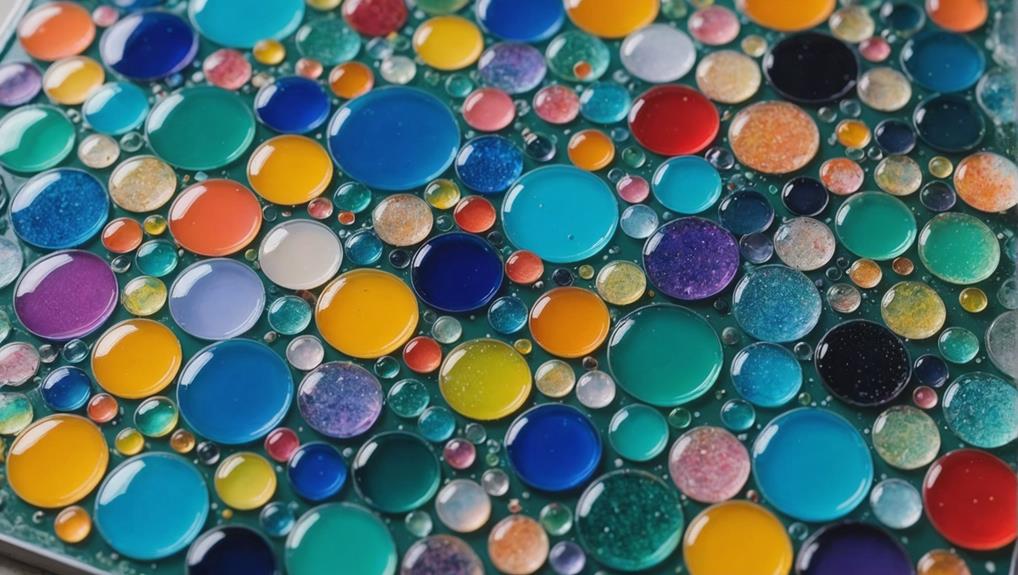
Many beginners in resin art struggle with issues such as insufficient mixing time, inaccurate measurements, and impatience during the curing process. These beginner challenges can lead to common pitfalls that can be frustrating and ruin your projects.
One of the biggest mistakes is not mixing the epoxy resin and hardener for long enough. If you don’t mix it well, your piece might end up sticky or soft instead of hard and shiny. Another common problem is not measuring the resin and hardener correctly. Even a little bit off can make your resin not set up properly, leading to a failed project.
Working on an uneven surface can also cause trouble. Resin can pool in low spots, making your artwork look uneven and messy. And let’s be honest, who hasn’t been impatient and taken their project out of the mold too early? If you do this, your piece might get damaged because the resin isn’t fully cured yet.
Here’s a quick table to summarize these common beginner mistakes:
| Mistake | Result | Solution |
|---|---|---|
| Insufficient Mixing Time | Tacky or soft finish | Mix thoroughly for the recommended time |
| Inaccurate Measurements | Inconsistent final product | Measure resin and hardener precisely |
| Uneven Working Surface | Resin pooling and spills | Confirm work surface is level |
| Early Mold Removal | Damaged pieces | Allow full curing time before demolding |
| Impatience in Curing | Compromised quality | Be patient and follow curing instructions |
Project Ideas
Exploring various project ideas allows resin artists to expand their creativity and produce stunning, functional, and decorative pieces. Whether you’re just starting or looking to try something new, resin art offers endless possibilities to make beautiful items. Here are a few exciting ideas to get your creative juices flowing:
- Jewelry Making: Immerse yourself in jewelry techniques by combining epoxy resin with colorful pigments, glitter, or tiny decorations. Use molds for pendants or earrings to create unique, eye-catching pieces that can make great gifts or personal accessories.
- Coasters and Trays: Custom coaster designs and serving trays are fantastic ways to bring art into everyday life. Pour colored resin into silicone molds and add elements like pressed flowers or agate slices to create functional yet beautiful items that are sure to impress.
- Ocean Art: Capture the mesmerizing beauty of the sea with beach-themed resin paintings. Layer different shades of blue and white resin to mimic ocean waves, and incorporate sand or shells for added texture and realism. It’s like bringing a piece of the beach into your home!
These projects not only enhance your skills but also let you create stunning art pieces that can be functional or purely decorative.
Engaging With the Community
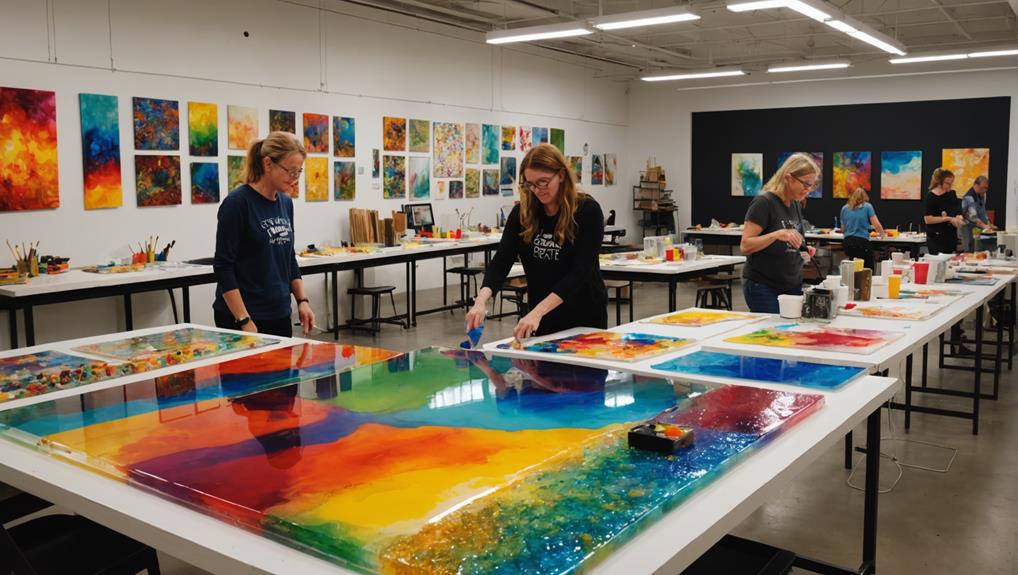
Engaging with the resin art community can greatly enhance an artist’s skills and broaden their creative horizons. By joining online communities, such as Facebook groups or Reddit forums, resin artists can share tips, ask questions, and showcase their projects. This not only provides valuable feedback but also fosters encouragement and motivation.
Following experienced resin artists on platforms like Instagram or YouTube can be incredibly inspiring. These artists often share tutorials and insights into new techniques and trends, which can help beginners learn and grow. It’s like having a virtual mentor guiding you through each step!
Participating in workshops, whether online or in-person, offers hands-on learning experiences. These sessions allow you to connect with fellow enthusiasts who share similar interests. Imagine working side-by-side with someone who loves resin art just as much as you do—it’s a fantastic way to develop your skills and make new friends.
Joining local craft fairs or art shows presents opportunities for artist collaborations. You can network with other artists, gain exposure for your work, and even collaborate on future projects.
Ultimately, subscribing to newsletters from resin suppliers or art organizations keeps you updated on new products, safety tips, and upcoming events, ensuring you’re always in the loop!
Types of Resin
Understanding the different types of resin is essential for selecting the right material for your artistic projects. Each resin type has distinct properties that make it suitable for various applications, ensuring your creations turn out just as you envision.
Epoxy Resin: This is the go-to choice for many artists due to its low odor and glass-like finish. Its versatility allows for a wide range of uses, from coasters to jewelry. Plus, it typically cures within 24 hours, so you don’t have to wait long to see your masterpiece.
Polyester Resin: Known for its stronger smell and harder finish upon curing, polyester resin is perfect for projects that require sanding and finishing, especially larger pieces. Its sturdiness makes it a favorite for more durable works of art.
Polyurethane Resin: If you’re in a hurry, polyurethane resin is your friend. It cures quickly and offers flexibility for various applications. However, it might not be as clear as epoxy resin, so it’s best for projects where transparency isn’t vital.
Additionally, casting resins are ideal for deep pours, allowing intricate three-dimensional creations, while coating resins are perfect for smooth, glossy surfaces on flat items like table tops.
Choosing the right resin can make all the difference in your art projects.
Tips for Success
Achieving success in resin art requires careful attention to safety, precise measurement, and meticulous technique.
First and foremost, always wear Personal Protective Equipment (PPE) like nitrile gloves, goggles, and a mask or respirator. This keeps you safe from the chemicals in epoxy resin. Safety first, right?
When mixing epoxy resin and hardener, accuracy is key. Measure them in a 1:1 ratio. Improper mixing could mean a sticky, half-cured mess. Pour the resin slowly to avoid bubbles. If you do get bubbles, use a heat gun or small blowtorch to pop them. It’s like magic, but safer!
Make sure your workspace is clean, level, and well-ventilated. Dust is the enemy of smooth resin art.
Now, let’s talk about the fun part: color mixing and texture techniques. Experiment with different colors and textures to make your artwork pop. You could mix in glitter, pigments, or even tiny objects. The possibilities are endless!
Lastly, patience is your friend. Allow your resin to cure for 10-24 hours. Rushing will only ruin your hard work. So, take your time, enjoy the process, and watch your resin art shine!
Frequently Asked Questions
What Is Resin Art in Simple Words?
Resin art involves using epoxy resin mixed with a hardener to craft items like jewelry and decor. The resin characteristics include a glossy finish, while creative techniques such as layering and embedding objects enable unique designs.
How to Learn Resin Art Step by Step?
To learn resin art step by step, start by gathering essential resin supplies and studying mixing techniques. Follow detailed tutorials, practice with simple projects, and engage with online communities for feedback and inspiration.
What Should You Not Put in Resin?
When working with resin, avoid incorporating organic substances such as fresh flowers, and toxic materials that can decompose or release gases. These can cause curing issues, cloudiness, unpleasant odors, and compromise the integrity of the resin.
Is Resin Easy for Beginners?
Resin art is accessible for beginners due to the availability of extensive starter kits and clear instructions. However, understanding resin safety and acquiring essential beginner supplies are vital for achieving successful and safe outcomes in initial projects.
Conclusion
Resin art is a fascinating and versatile craft that allows for endless creativity.
By understanding epoxy resin, adhering to safety procedures, and preparing the work area, beginners can immerse themselves into this exciting medium.
Essential supplies and project ideas provide a starting point, while engaging with the community can offer inspiration and support.
With different types of resin available and useful tips for success, anyone can create stunning and unique pieces.
The journey of resin art is both rewarding and fun.

Leave a Reply