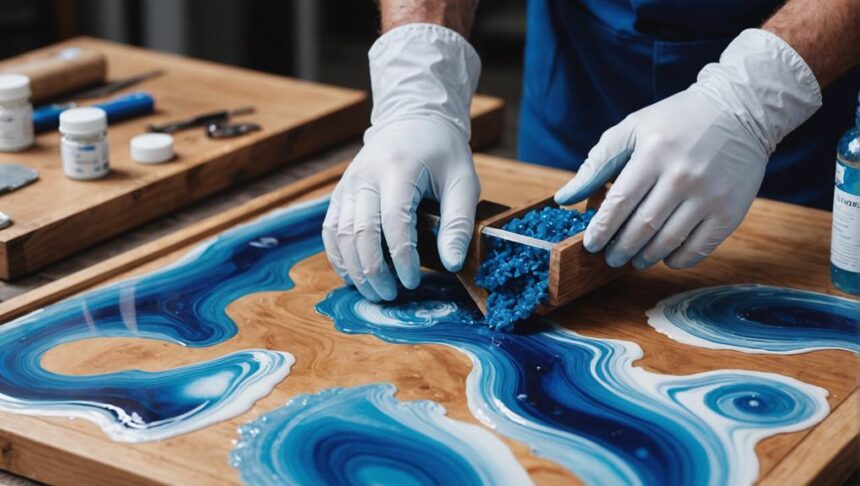
Creating stunning resin wave art is like capturing a piece of the ocean for your room. Begin with high-quality epoxy resin, mixing it with a hardener just right. Combine vibrant pigments, like deep blues and whites, to mimic ocean waves. You’ll need basic tools like mixing cups, a heat gun, and protective gear. Imagine pouring the darkest blue first, then adding lighter shades for a beautiful gradient. Use a heat gun to make it flow and form realistic waves. Allow it to cure for 24 to 72 hours. Stick around, and you’ll explore getting great results every time!
Key Takeaways
- Understand and use high-quality epoxy resin with precise mixing ratios for a glossy, water-like finish.
- Layer ocean-themed pigments like deep blue and turquoise for realistic ocean gradients and wave effects.
- Use a heat gun to manipulate resin flow and create natural wave patterns and foam details.
- Prepare a clean, dust-free workspace and protect surfaces to ensure a flawless finish.
Understanding Ocean Resin Art
Ocean resin art is a sophisticated technique that captures the dynamic essence of ocean waves through the meticulous use of epoxy resin and pigments. This art form has taken the world by storm, and for good reason! The beauty and motion of the ocean are mesmerizing.
Artists find endless artistic inspiration in the waves, tides, and colors of the sea. With each piece, they aim to express the powerful ocean symbolism: the calmness, the chaos, and everything in between.
Imagine being able to bring the ocean’s beauty right into your living room. Ocean resin art does just that. By layering different shades of blue and white, artists create stunning, realistic ocean scenes that make you feel like you’re standing on the shore. They use epoxy resin to get that glossy, water-like finish that makes the artwork pop.
What’s truly fascinating is how artists capture the movement of waves. Through careful pouring and layering, they create depth and motion that feels almost magical. This technique not only demands a good eye for color but also a steady hand and lots of patience.
The end result is truly one-of-a-kind, just like the ocean itself.
Basics of Epoxy Resin
Epoxy resin is like a magical potion made of two parts: resin and hardener.
When these two are mixed just right, they start a chemical reaction that turns them into a tough, glassy surface perfect for art.
It’s important to get the mixing and curing process spot on, or you might end up with bubbles or even a sticky mess!
Resin Composition Explained
Understanding the composition of epoxy resin is important for creating high-quality resin wave art.
Epoxy resin is a fascinating material consisting of two parts: Part A, the resin, and Part B, the hardener. When these two components are mixed, a chemical reaction occurs, transforming the liquid mixture into a solid, durable material through a process known as curing.
In resin chemistry, the curing process is essential as it determines the final look and strength of your artwork. Typically, curing takes between 24 to 72 hours, and this duration can be influenced by temperature and humidity. These factors play a significant role in ensuring your resin art achieves that glasslike clarity and high-gloss finish that makes it so appealing.
High-quality epoxy resin is a must for any art project. Using low-quality products can lead to undesirable outcomes like poor adhesion, yellowing over time, or an uneven finish.
The correct mixing ratio of resin to hardener is also important, often being 1:1 or 2:1, depending on the product. Deviating from this ratio can result in incomplete curing or a sticky surface, which nobody wants in their masterpiece.
Mixing and Curing
Properly mixing and curing epoxy resin is essential to achieving a flawless, high-quality finish in resin wave art. The resin consists of two parts: resin (Part A) and hardener (Part B). You’ll need to mix these in a precise ratio, often 1:1, as the manufacturer suggests. This step is vital—getting the mix wrong can lead to a sticky mess or a rock-hard lump!
When tackling the mixing process, make sure you’re in a clean, dust-free space. Dust is the enemy here! Use a mixing cup and stir stick, mixing for at least three minutes to get a uniform consistency. Be careful, though—over-mixing can introduce pesky air bubbles that can mess up your masterpiece.
Once you’ve mixed, give your resin a little nap—let it sit for about 15 minutes. This resting period helps reduce bubbles and makes the resin flow better when you pour it.
Now, let’s talk about curing conditions. Depending on the type of resin and environmental factors like temperature and humidity, your resin might need 24 to 72 hours to cure. Patience is key here!
Gathering Your Materials
Before starting your resin wave art project, gathering the right materials is essential.
You’ll need high-quality epoxy resin and hardener, blue and white pigments, and essential tools like mixing cups and a heat gun.
Don’t forget to wear protective gear, including nitrile gloves and a respirator mask, to keep yourself safe.
Essential Resin Supplies
A successful resin wave art project begins with the careful selection of high-quality epoxy resin and hardener, ensuring they are compatible for ideal curing and a glossy finish. Choosing the right resin types is essential, and you’ll want to look for ones specifically designed for art projects, like slow-curing or UV-resistant resins. Trust me, this makes a world of difference.
Next up is pigment selection, which is super exciting! For ocean-themed art, you can’t go wrong with blue resin pigments like MEYSPRING Pacific Blue and Turquoise Blue. These shades capture the depth and beauty of the sea. And don’t forget the white pigment paste—it’s your secret weapon for creating those stunning, frothy waves.
To mix everything perfectly, you’ll need mixing cups and craft sticks. These help you measure and combine your resin with pigments accurately. A heat gun is also essential. It not only helps you spread the resin but also removes those pesky air bubbles that can ruin your masterpiece.
Before you get started, remember to protect your workspace with plastic sheeting or drop cloths. Spills happen, and this makes cleanup a breeze. Now you’re all set for an amazing resin wave art adventure!
Protective Gear Needed
Ensuring your safety while creating resin wave art is paramount, necessitating the use of essential protective gear.
Resin allergies can be a real problem, so always wear nitrile gloves. They protect your hands from the irritation caused by resin and hardeners during the mixing and pouring process. Trust me, you don’t want itchy, red hands ruining your artistic vibe.
Next, grab some goggles to shield your eyes from any unexpected splashes or fumes. Your eyes are precious, and you’ll want to keep them safe while working with epoxy resin. Imagine getting resin in your eye—yikes!
Breathing easy is vital, so a respirator mask is essential. It filters out harmful fumes and dust particles, especially if you’re in a stuffy room. Your lungs will thank you later.
Don’t forget to cover your workspace with a silicone mat or plastic sheeting. This makes cleanup a breeze and protects surfaces from resin spills. Nobody wants a sticky mess.
Lastly, keep painter’s tape handy to mask off the edges of your panels. This little trick helps you avoid splatters in unwanted areas and gives your art a clean, professional finish.
With this protective clothing, you’ll be ready to create safely!
Essential Tools for Resin Art
To create stunning resin wave art, several essential tools are necessary to guarantee a smooth and successful process. First, you’ll need mixing cups and craft sticks. These are critical for mixing techniques, making certain the resin and hardener combine perfectly. Proper mixing is imperative for achieving the right consistency and avoiding sticky disasters.
Next, color blending is key to capturing the vibrant hues of the ocean. Use ocean-themed pigments like blue and white, and a white pigment paste for realistic foam effects. The following table summarizes the essential tools:
| Tool | Purpose | Importance |
|---|---|---|
| Mixing Cups | Combine resin and hardener | Make certain of proper consistency |
| Craft Sticks | Stir resin mixture | Prevents uneven blending |
| Heat Gun/Torch | Remove air bubbles, manipulate resin | Achieve textures, control flow |
| Nitrile Gloves | Protect hands from resin | Essential for safety |
| Silicone Mat | Protect workspace from spills | Easy cleanup |
A heat gun or torch is indispensable for removing air bubbles and manipulating the resin’s surface to create wave textures. Protective gear like nitrile gloves, goggles, and a respirator mask is a must to safeguard against fumes and skin contact. Additionally, using a silicone mat or plastic sheeting will protect your workspace and simplify cleanup. With these tools, your resin wave art will be a masterpiece!
Preparing Your Workspace
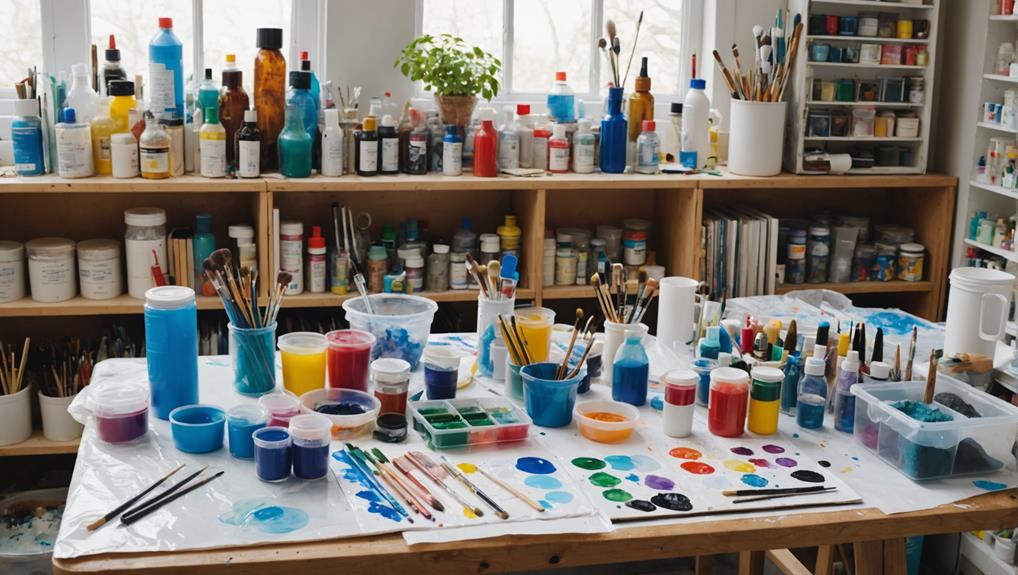
Before you start creating your resin wave art, it’s super important to get your workspace ready.
Make sure the area is clean and well-ventilated, and cover surfaces with drop cloths or newspapers to catch any mess.
Organize your materials and use painters tape to keep everything neat; this will help you work more efficiently and safely.
Essential Workspace Protection
When preparing your workspace for resin wave art, it is essential to cover surfaces with protective materials such as plastic sheeting, drop cloths, or newspapers to guard against spills and drips. These materials will save you a lot of headaches and keep your workspace clean. No one wants to deal with sticky resin on their favorite table!
Understanding workspace hazards is vital. Resin can be a bit messy, and if it gets on surfaces you care about, it’s hard to remove. Use painter’s tape to mask the edges of your project area. This will keep resin from splashing onto places where you don’t want it.
Having cleanup strategies is also key. Set up a dedicated cleanup station nearby. Stock it with rubbing alcohol and paper towels. This way, if you make a mistake or have a spill, you can handle it quickly and efficiently.
Ventilation and Safety Gear
Ensuring proper ventilation and using appropriate safety gear are critical steps in preparing your workspace for resin wave art. When working with epoxy resin, the fumes can be harmful, so good ventilation techniques are a must. Open windows, use a fan, or even invest in an air purifier to keep fresh air circulating. Trust me, your lungs will thank you!
Safety protocols are equally important. Always wear nitrile gloves to protect your hands from the sticky resin and hardeners—nobody wants itchy, irritated skin! A respirator mask is another essential piece of gear, as it helps you avoid inhaling those nasty fumes. And don’t forget your goggles; resin in the eyes is no joke and can cause serious irritation or injury.
Cover your workspace with plastic sheeting or newspapers. This will catch any spills and make cleanup a breeze. If you want to make life even easier, consider a silicone mat or baking paper for a non-stick surface. It’ll help you remove cured resin pieces without any hassle.
Organizing Materials Effectively
To achieve a seamless workflow when creating resin wave art, start by meticulously organizing all essential materials and tools within easy reach.
Begin by gathering supplies like epoxy resin, hardener, pigments, mixing cups, stir sticks, and protective gear. This material organization guarantees that you won’t have to scramble for items mid-project, keeping your workspace efficiency high.
Use painters tape to protect the edges of your project surface. Trust me, you don’t want resin drips ruining your masterpiece!
Prop your workspace panel off the surface with painters pyramids or plastic cups. This makes pouring easier and keeps your artwork clean from any debris on the table.
Organize your pigments and tools in a designated area, labeling each cup with the color. This helps you find what you need quickly and streamlines the mixing and pouring process.
Keep your workspace tidy by laying down plastic sheeting or newspapers. This not only catches spills but also makes cleanup a breeze.
PPE for Safety
Proper personal protective equipment (PPE) is vital for guaranteeing safety while creating resin wave art. Safety protocols are essential because working with epoxy resin involves handling chemicals that can be harmful.
First and foremost, always wear nitrile gloves. These gloves will protect your skin from irritation caused by the resin. Trust us, you don’t want itchy hands while you’re trying to create a masterpiece!
Next up, let’s talk about your lungs. A respirator mask is a must-have. Epoxy resin releases fumes that aren’t just smelly—they can be harmful if inhaled. So, wearing a mask helps keep those nasty fumes out of your lungs.
Safety goggles are also important. They shield your eyes from any accidental splashes, and let’s face it, no one wants resin in their eyes.
Your workspace needs some protection too. Use plastic sheeting or newspaper on your surfaces. This makes cleanup a breeze and keeps your table from becoming an accidental art piece.
Finally, make sure your room is well-ventilated. Fans or open windows help dissipate fumes, making the air safer to breathe.
With these protective measures, you can focus on creating stunning resin wave art without worrying about safety mishaps.
Mixing Epoxy Resin
Accurate measurement and thorough mixing of epoxy resin and hardener are essential steps in achieving ideal curing and the desired artistic effects in resin wave art.
First, you need to measure equal parts of epoxy resin (Part A) and hardener (Part B). Most brands follow a 1:1 epoxy ratio, but always check the manufacturer’s instructions.
Mixing techniques are super important! Grab a sturdy container and mix the two parts for at least three minutes. This part can be a bit boring, but it’s vital. Scrape the sides and bottom to make sure everything is well-blended. Trust me, you don’t want unmixed bits messing up your masterpiece.
Once mixed, divide your resin into separate cups if you plan to use different colors. This makes it easier to control your design. When adding pigments, keep it under 6% of the total resin volume. Too much color can mess up the curing process.
After mixing your colors, let the resin sit for about 15 minutes. This lets it thicken a bit, which helps reduce bubbles and makes it stick better to your surface.
Now, you’re ready for the next step in creating stunning wave art!
Adding Base Colors
Now it’s time to bring your ocean masterpiece to life by adding base colors.
Start by picking vibrant ocean-themed pigments and mixing them into your resin until they’re just right.
Next, pour the darkest blue first and gently tilt the surface to spread it.
Then add lighter shades for a stunning gradient effect.
Selecting Base Pigments
When selecting base pigments for resin wave art, it is essential to choose high-quality pigments specifically designed for epoxy to guarantee vibrant and lasting colors.
Pigment selection is vital for achieving the color vibrancy that brings your ocean artwork to life. Start with deep blue shades to represent the ocean depths accurately. Some popular choices include Pacific Blue, Tropical Blue, and Turquoise Blue. These colors will give your art that mesmerizing deep-sea allure.
To create realistic wave foam, use a white pigment paste. If you’re up for a fun DIY project, make your own by mixing a 1:3 ratio of Resin Part A and White Pearl Mica Powder.
Keep in mind, though, that too much pigment can mess with the resin’s curing process. So, limit the total amount of pigment to no more than 6% of the resin volume.
Here’s a quick checklist to keep your pigment selection on point:
- Deep Blue Shades: For that rich oceanic depth.
- White Pigment Paste: Essential for realistic wave foam.
- DIY White Paste: 1 part Resin Part A, 3 parts White Pearl Mica Powder.
With these tips, your resin wave art will be vibrant and stunning!
Mixing Resin Colors
To achieve a vibrant and cohesive color scheme in your resin wave art, begin by precisely measuring and mixing equal parts of resin (Part A) and hardener (Part B) according to the manufacturer’s guidelines. This step is essential for proper curing.
Once mixed, divide the resin into separate cups for each color. This allows you to create a variety of ocean hues and effects.
For a stunning base, start with a deep blue pigment to represent the ocean depths. Gradually mix in the pigment until the resin reaches a honey-like thickness. This helps maintain the desired opacity and vibrancy.
For shallower areas, consider adding lighter shades like turquoise or aqua. This method of pigment layering and color blending helps create a beautiful gradient effect that mimics real ocean waves.
Applying Initial Layers
Start by ensuring your workspace is clean and well-ventilated, using protective coverings to safeguard surfaces from potential resin spills. This step helps keep everything neat and safe.
Now, it’s time to plunge into applying initial layers, focusing on adding base colors with some cool layer techniques and color blending.
First, mix equal parts of epoxy resin and hardener. Stir for at least three minutes to make sure it cures properly. Then, divide this mixture into smaller cups. This way, you can create different base colors for your artwork.
Here’s a quick list of what to do next:
- Pour sand-colored resin along the closest edge of your surface.
- Spread it evenly for a natural beach effect.
- Start with the darkest ocean shade, pouring it next to the sand.
Creating Gradient Effects
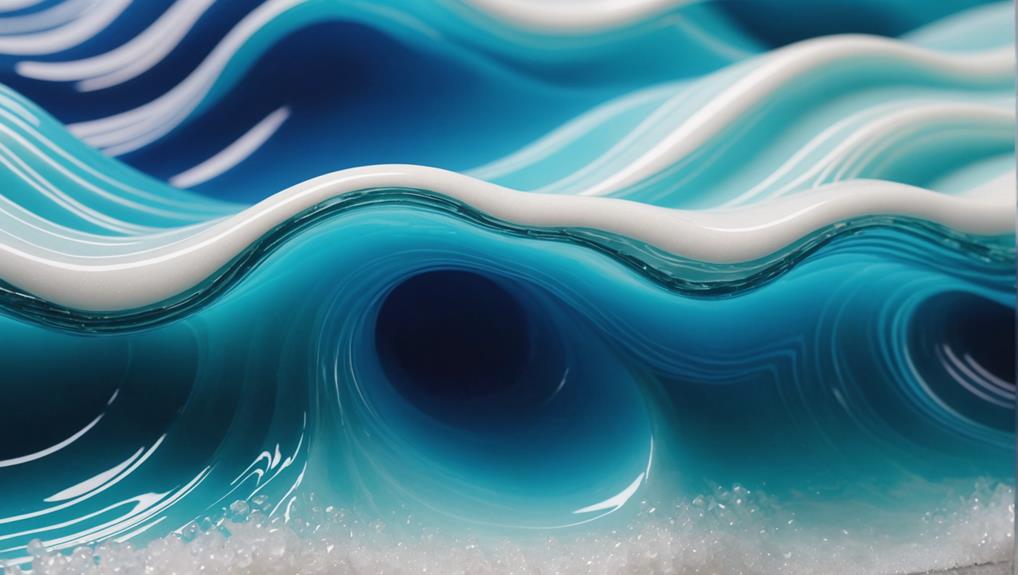
Achieving a stunning gradient effect in resin wave art demands a precise approach to color blending and layering.
Using gradient techniques, start by mixing deep blue pigment into your epoxy resin. Gradually add lighter shades, like turquoise and white, to get that smooth shift from deep ocean to foamy shore.
Pour each colored resin layer separately onto your canvas or board, allowing it to spread naturally. Tilt the surface gently to help the colors blend seamlessly. This part is super important because it helps create that natural oceanic look we all love.
Once you have your colors down, grab a heat gun. This handy tool helps you manipulate the resin, making the colors flow into each other even more beautifully. It’s like magic!
If you want to add a bit of drama, consider using white pigment paste to create foam effects at the top of your gradient. This can make it look like waves are crashing onto the shore.
Making Wave Details
With your gradient effects beautifully set, the next step involves crafting realistic wave details to bring your resin wave art to life. Capturing the essence of wave dynamics is all about mastering resin textures.
Start by pouring thin lines of white resin along the shoreline, mimicking the natural ebb and flow of waves. This foundational step establishes the stage for adding depth and realism.
Using a hairdryer on a low setting, gently manipulate the white resin. Move it back and forth to create a lacing effect that mirrors real sea foam. This technique aids in shaping the waves and adds intricate details, making them look lively and dynamic.
For finer details, incorporate tools like toothpicks. These can refine wave shapes and add delicate touches to the sea foam, enhancing the overall texture.
Layering different shades of blue and white resin is essential. Guarantee a clean separation between colors to prevent muddiness and add depth to your ocean scene.
- Pour thin lines of white resin along the shoreline.
- Use a hairdryer to create a lacing effect.
- Refine wave shapes with a toothpick.
Let the resin set slightly before adding more layers, controlling the flow and perfecting your wave details.
Using Heat Gun Techniques
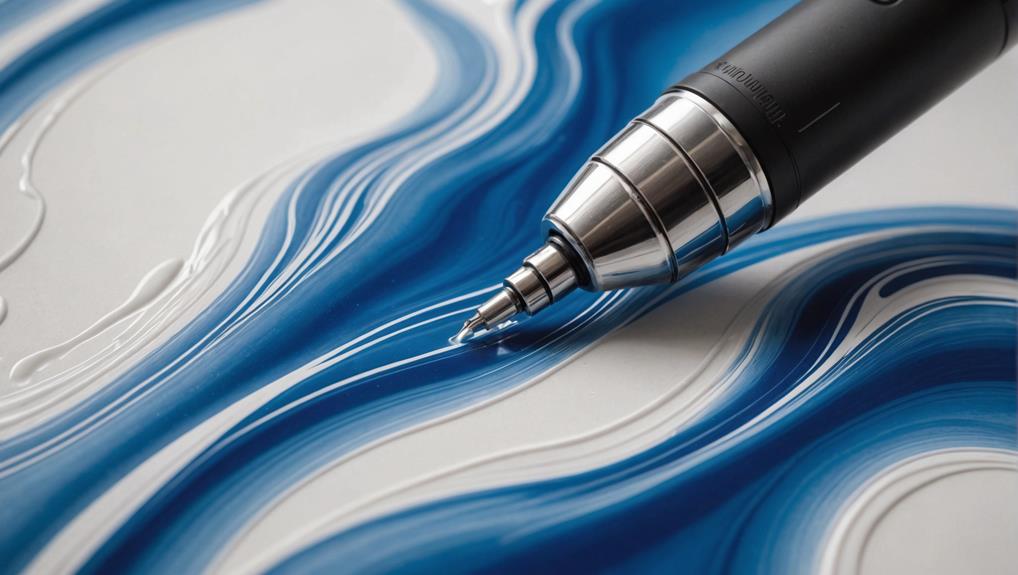
Employing a heat gun can markedly enhance the manipulation of resin, allowing for the creation of intricate wave shapes and the removal of air bubbles for a flawless finish.
With proper heat control, you can achieve mesmerizing wave effects. Keeping the heat gun at a distance of 6 to 12 inches from the resin surface prevents overheating, which can scorch or cause excessive bubbling. Just imagine your resin art turning into a bubbling cauldron – not the look we’re going for!
Gently moving the heat gun back and forth over the resin, while maintaining even heat control, allows for precise wave manipulation. This technique gives your ocean art a dynamic, lifelike appearance.
Using a low heat setting is especially important when working with colored resin. It helps maintain the integrity of the pigments, ensuring your colors stay vibrant and true. No one wants their ocean to look like a muddy puddle!
Once you’ve applied heat and achieved the desired wave effects, let the resin settle and cure undisturbed. This essential step, though tempting to skip, helps preserve the beautiful wave shapes you’ve worked hard to create.
Your patience will pay off with stunning, hardened resin waves ready for admiration.
Curing and Drying Time
Understanding the curing and drying time of epoxy resin is essential for achieving professional-quality resin wave art. This critical phase can greatly impact the final appearance of your artwork, so it’s important to get it right. Typically, the curing time for epoxy resin ranges from 24 to 72 hours, depending on the brand and environmental conditions such as temperature and humidity.
To guarantee your resin cures properly, consider these key points:
- Temperature and Humidity: Maintain a stable environment, ideally between 70°F and 80°F (21°C to 27°C), to prevent issues like bubbling or uneven curing.
- Initial Workability: Most epoxy resins reach a workable state within 30 to 60 minutes after mixing, allowing for initial manipulation before the full curing process begins.
- Avoiding Damage: After the initial curing period, the resin may still be soft. Avoid touching or moving the piece until it has fully cured to prevent damage.
Troubleshooting Common Issues
When creating resin wave art, encountering issues such as bubbles, uneven surfaces, or color bleeding is common, but understanding how to troubleshoot these problems can greatly improve your results.
Let’s explore some bubbles troubleshooting first. Bubbles can be pesky, but using a heat gun or torch gently over the surface can pop them before the resin cures. Imagine the satisfaction as those bubbles vanish, leaving a flawless, glassy finish!
Now, let’s tackle uneven surfaces. Sometimes, your resin might set with lumps and bumps. No worries! Lightly sand the cured resin with fine-grit sandpaper until smooth, then apply a thin topcoat. Voilà! A smooth, even surface that looks professional.
Color bleeding can turn your beautiful waves into a murky mess. To avoid this, make sure each layer cures fully before adding the next. This way, your colors stay crisp and defined, like perfect little ocean waves.
And don’t forget about dust! Cover your curing resin with a dust-free container or a clean cardboard box to keep those annoying particles away.
Protecting Finished Artwork
Safeguarding your finished resin wave art is vital to maintain its beauty and longevity. Once your masterpiece has fully cured, it’s imperative to take steps to prevent damage and keep those vibrant colors shining. Here are some tips to guarantee your artwork remains in top condition:
- Cover During Curing: Use a dust-free container or box to shield your resin wave art from debris while it cures. This simple step keeps the surface flawless.
- Store Properly: Keep your artwork in a safe, dry location away from direct sunlight. Sunlight can fade and degrade the colors over time, so a shaded spot is best.
- Apply a Clear Topcoat: Consider adding a clear topcoat of epoxy resin. This not only enhances the shine but also provides an extra layer of protection against scratches and UV exposure.
Joining the Resin Art Community
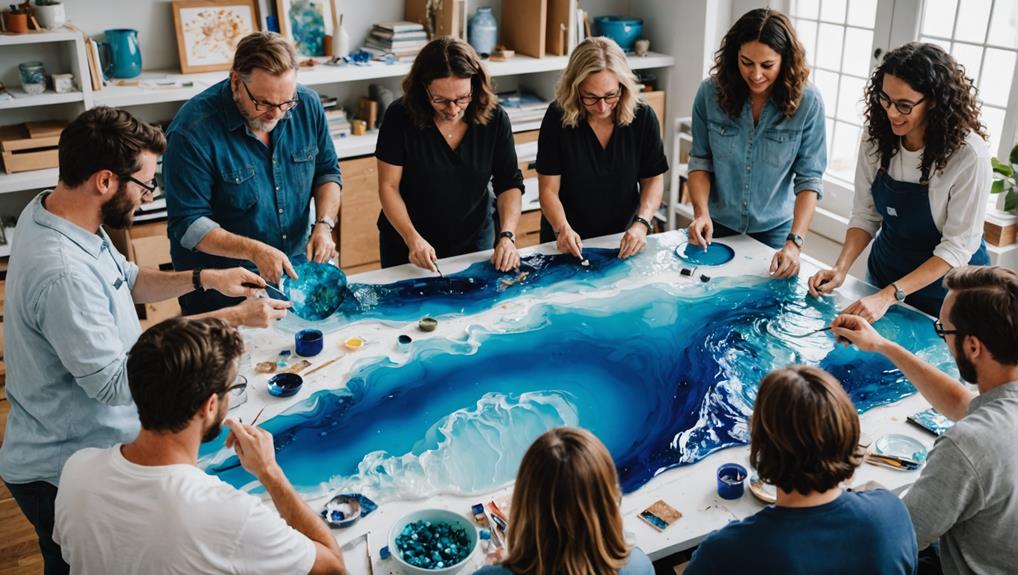
Engaging with the resin art community opens up a wealth of knowledge, inspiration, and support from fellow artists. Imagine having a whole network of people who love resin art as much as you do. They are always enthusiastic to share techniques, tips, and even give feedback on your projects. This makes learning way more fun and effective for both beginners and experienced artists.
Online platforms, like social media groups and forums, are great places to start. They offer regular updates on trends and new techniques. This keeps you informed and bursting with fresh ideas. Plus, participating in community challenges and artistic collaborations can really boost your creativity. It’s also a fantastic way to showcase your work to a wider audience, making you feel like a true artist!
And let’s not forget the resources. Tutorials and troubleshooting guides are often shared within these communities. They provide valuable insights to help you improve your resin art skills. Engaging with fellow artists also opens up networking possibilities.
Who knows? You might end up collaborating on a project or forming lifelong friendships based on your shared passion for resin art. So, immerse yourself and start connecting!
Frequently Asked Questions
How to Make a Wave Effect in Resin?
To create a wave effect in resin, use resin techniques such as pouring a thin line of white resin, manipulating with a heat gun for natural shapes, and color blending to add depth. Enhance details with tools for texture.
How Do You Make Coastal Resin Art?
To create coastal resin art, gather epoxy resin, hardener, and pigments. Mix resin colors for ocean themes, layer sand and turquoise hues, and use a heat gun for wave effects, adding white resin for sea foam details.
Is Making Resin Art Profitable?
Yes, making resin art can be profitable. With proper resin pricing and strategic positioning in the art market, artists can achieve significant returns by balancing material costs, leveraging platforms like Etsy, and utilizing social media for visibility.
How to Do Resin Art Beginners?
To start resin art as a beginner, gather essential resin supplies like high-quality epoxy resin and pigments. Follow strict safety precautions, including using gloves and masks, and guarantee a clean, well-ventilated workspace to achieve ideal results.
Conclusion
To conclude, creating stunning resin wave art involves understanding the basics of epoxy resin, gathering necessary materials and tools, and preparing a proper workspace.
Knowledge of curing and drying times, troubleshooting common issues, and methods for protecting finished artwork are essential.
Finally, joining the resin art community can provide valuable support and inspiration.
Mastery of these elements will enable the creation of beautiful, ocean-inspired resin art pieces.

Leave a Reply