Acrylic paint markers transform everyday items into vibrant masterpieces. Artists can create cosmic galaxy stones, textured wood mandalas, personalized fabric accessories, and mixed media journal pages with layering techniques. Other exciting projects include upcycled glass jar art, customized ceramic mugs, nature-inspired designs on recycled materials, precise geometric wall art, and expressive portraits with blending methods. These versatile tools work on almost any surface, adding bold color and fine details that traditional brushes can’t achieve. Each project opens a door to limitless creative possibilities.
Key Takeaways
- Create cosmic galaxy designs on stones using acrylic markers with blues, purples, and blacks for a striking 3D effect.
- Transform plain ceramic mugs into personalized gifts with oil-based markers, then heat-set for washable, durable designs.
- Develop layered abstract art on canvas by applying light colors first and gradually adding darker tones for depth.
- Customize fabric accessories like denim jackets and canvas bags with vibrant patterns that reflect personal style.
- Upcycle glass jars into luminous decorative pieces with transparent colors that catch and reflect light beautifully.
Vibrant Galaxy Stones: Transform Ordinary Rocks Into Cosmic Art
Rocks, humble and often overlooked, can transform into dazzling cosmic wonders with the right artistic touch. Artists can create stunning galaxy stones using acrylic markers in vibrant colors like deep blues, purples, and blacks. The magic happens when layers build depth, mimicking the infinite cosmos!
To begin this celestial journey, select smooth stones as your canvas—cleanliness guarantees better paint adhesion. Following simple step-by-step instructions, artists apply colors in layers, allowing drying time between applications. A damp brush helps blend edges for that seamless galaxy look.
The real fun starts when adding tiny stars and swirls with metallic markers, bringing intricate designs to life! Don’t forget the final touch—a clear acrylic spray seals your masterpiece, protecting it from the elements.
These pocket-sized universes make perfect gifts or garden decorations!
Mixed Media Journal Pages With Layered Marker Techniques
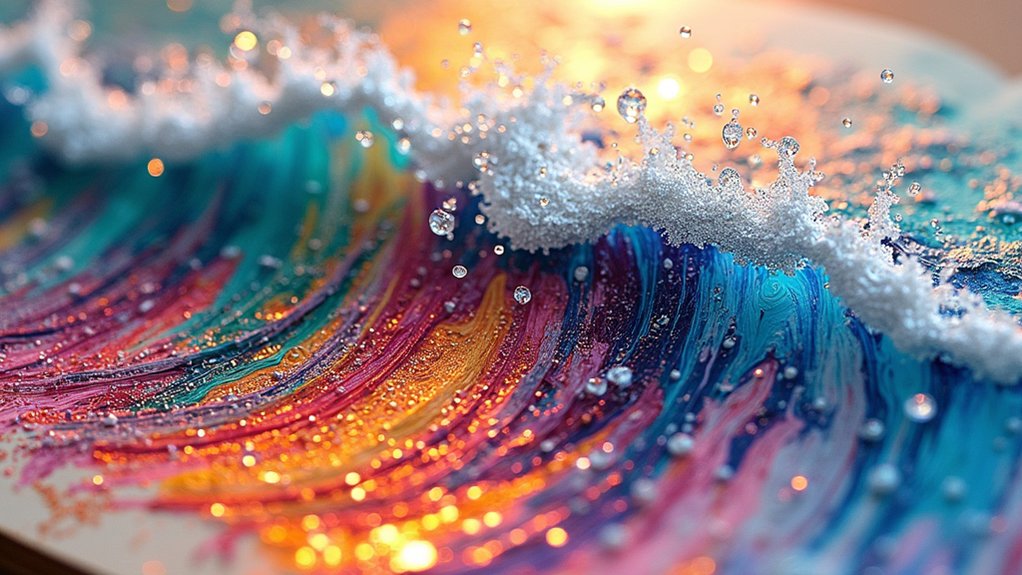
Mixed media journal pages come alive when artists layer acrylic markers to build impressive depth and vibrant designs.
Markers can be blended with wet brushes to create smooth color gradations, or applied using stippling and crosshatching for amazing texture effects.
These techniques, combined with other art supplies like watercolors or colored pencils, transform plain journal pages into personal artistic masterpieces worth showing off to friends.
Layering Color Techniques
Creating stunning journal pages with acrylic paint markers hinges on mastering the art of layering colors effectively. Artists should begin with lighter shades first, allowing each layer to completely dry before adding darker tones. This patience pays off with incredible depth that makes artwork pop!
When layering colors with acrylic markers, experiment with different blending techniques using a wet brush or overlapping strokes to create eye-catching gradients. Try stippling or crosshatching between layers—these simple tricks create unique textures that’ll make friends ask, “How’d you do that?!”
Don’t forget that textured surfaces can dramatically affect how markers behave. For mind-blowing artistic possibilities, combine your markers with watercolors or colored pencils. The results? Mixed media masterpieces bursting with rich, dimensional color that showcase your creative genius!
Artistic Texture Building
Many journal artists discover that building artistic texture with acrylic paint markers transforms ordinary pages into extraordinary visual experiences.
By combining stippling and crosshatching techniques, artists create beautiful, detailed designs that jump off the page with dimension and depth.
Starting with light colors and gradually layering darker shades, marker art acquires rich complexity that reflects the artist’s unique artistic style.
For even more interesting effects, artists can soften edges with a wet brush, creating dreamy shifts between colors.
Patience is key—letting each layer dry completely prevents smudging and preserves those carefully crafted textures!
The real magic happens when acrylic markers meet other materials in mixed media compositions.
Watercolors, colored pencils, and markers dance together on journal pages, opening endless possibilities for creative expression that’s both playful and profound.
Customized Fabric Accessories With Bold Marker Designs
Transforming ordinary fabric items into wearable art lets anyone express their unique style with acrylic paint markers.
Personalized denim jackets become statement pieces, while vibrant canvas bags turn shopping trips into fashion shows, and sneakers come alive with pattern-rich designs that make people stop and stare.
These customized accessories not only showcase your creativity but also create one-of-a-kind items that no store could ever match!
Personalized Denim Jackets
A plain denim jacket serves as the perfect canvas for self-expression with acrylic paint markers. These vibrant tools transform ordinary jackets into wearable masterpieces that showcase personal style!
Before diving in, artists should clean the denim surface and consider using fabric primer for better color adhesion.
The magic happens when layering colors with acrylic markers, creating depth and dimension that really pops. Try blending techniques to achieve eye-catching gradients that’ll make friends ask, “Where’d you get that awesome jacket?
For those intricate details that make a personalized design shine, fine-tipped markers are your best friend.
Don’t forget the finishing touch—heat-setting your paint marker drawing with an iron protects your artwork from fading during washes. Just place a cloth over the design, iron on low, and voilà!
Vibrant Canvas Bags
Canvas bags offer endless creative possibilities when paired with acrylic paint markers! These versatile accessories transform from plain to extraordinary with just a few strokes of vibrant color.
For best results, apply a thin primer first to make those colors pop and guarantee the longevity of your artwork.
Want to create stunning designs that turn heads? Try these techniques:
- Build depth by layering colors – start with lighter shades and gradually add darker tones.
- Use stippling (tiny dots) for amazing texture and dimension.
- Create bold outlines around your designs to make intricate details stand out.
- Let your creation dry completely before showing it off – patience pays off!
Blending techniques add gorgeous gradients to your canvas bags, making them unique fashion statements that reflect your personality!
Pattern-Rich Sneaker Art
Sneakers become walking masterpieces when adorned with acrylic paint markers! These versatile art projects transform ordinary footwear into personal style statements that showcase creativity with every step.
Before diving in, prep sneakers by cleaning with mild soap and water, ensuring the surface is completely dry for perfect color adhesion.
Artists can create depth by layering different colors from their chosen palette, allowing each application to dry fully between layers. Feeling adventurous? Try stippling and blending techniques to add amazing textures that make designs pop!
Many sneaker artists incorporate patterns that complement their home decor or favorite themes.
Once the masterpiece is complete, don’t forget to seal the artwork with fabric-specific spray. This essential final step protects the vibrant acrylic paint pens from daily wear, keeping those awesome designs fresh and eye-catching for months!
Upcycled Glass Jars: Translucent Window Art Projects
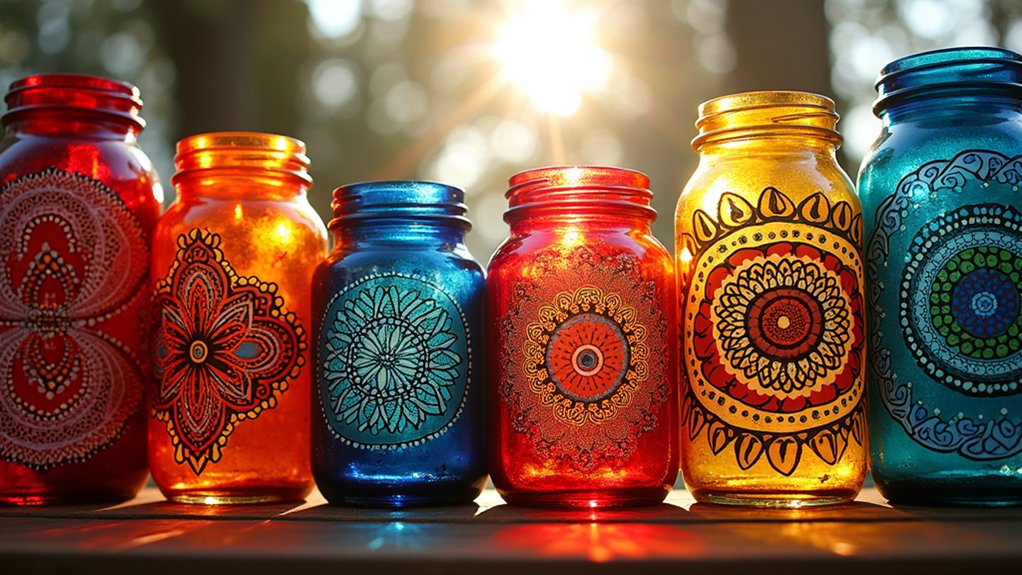
Transforming ordinary glass jars into enchanting window art creates a magical play of light and color that can brighten any room.
Using acrylic markers on upcycled glass jars allows artists to craft vibrant designs that shimmer when sunlight passes through them. The translucent quality of glass makes layering colors particularly effective, creating depth that changes throughout the day as light shifts.
To create stunning glass jar window art:
- Clean jars thoroughly and apply primer for better marker adhesion.
- Start with lighter colors as your base, then add darker details on top.
- Try metallic markers for areas where you want extra sparkle and shine.
- Allow your creation to dry completely for a water-resistant finish.
These luminous projects make perfect gifts, seasonal decorations, or everyday art that transforms ordinary sunlight into rainbow-hued magic!
Textured Wood Slice Mandalas for Home Décor
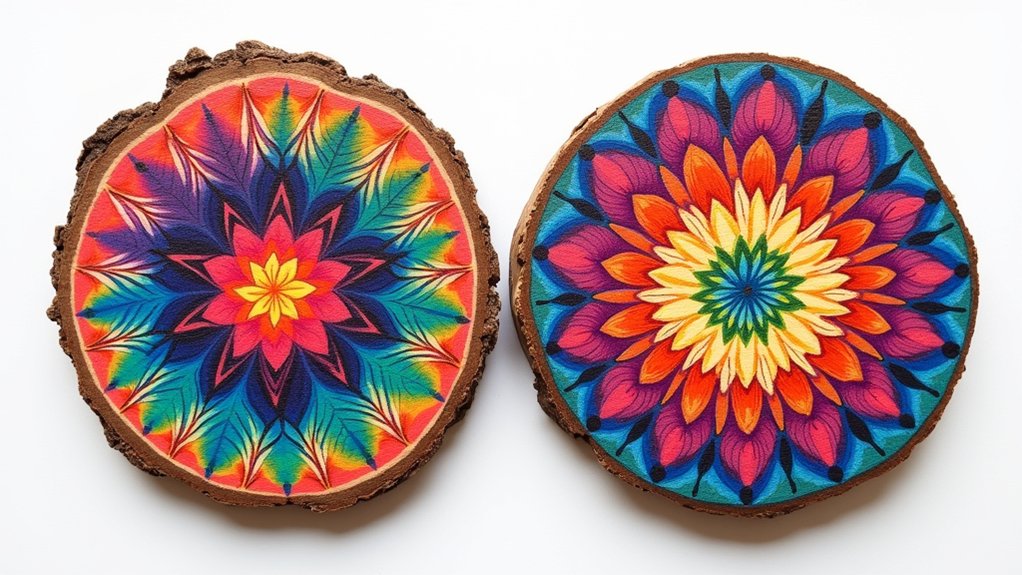
Natural warmth meets artistic expression in textured wood slice mandalas, creating perfect focal points for any home décor scheme.
These circular wooden canvases showcase nature’s own patterns while providing the perfect backdrop for vibrant acrylic markers to shine!
Before diving in, make sure your textured wood slices are clean and prepped with primer.
Then, let the magic begin! Start with lighter colors at the center, working outward with layering techniques to build amazing dimension.
Try stippling—those tiny dots create incredible texture that’ll make your mandala pop!
Once your masterpiece is complete, don’t forget to seal your artwork with clear acrylic spray.
This not only protects your creation from dust and damage but also makes those colors absolutely sing!
Your friends won’t believe you made these gorgeous pieces yourself!
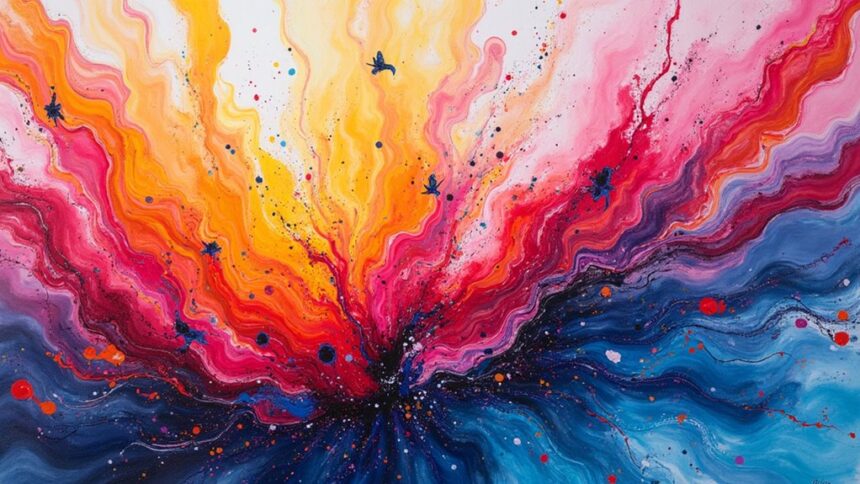
Abstract Canvas Marker Paintings With Gradient Effects
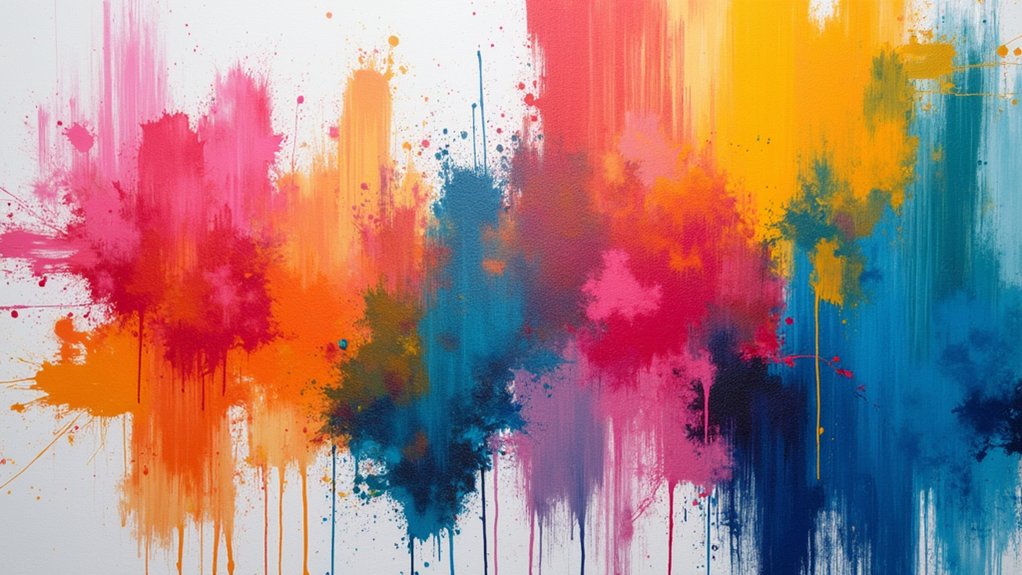
Acrylic markers are designed perfectly for creating these dreamy, flowing abstract designs that pop with color and dimension.
Remember, patience is key when layering these gorgeous gradient effects!
Try these awesome techniques:
- Start with light colors first, then slowly add darker shades
- Use stippling (tiny dots!) for cool textures in your paint pen art
- Let each color dry completely before adding the next one
- Mix different tip sizes for both tiny details and bold splashes
Don’t be afraid to experiment—sometimes the most amazing abstract designs come from happy accidents!
Personalized Ceramic Mugs With Heat-Set Marker Designs
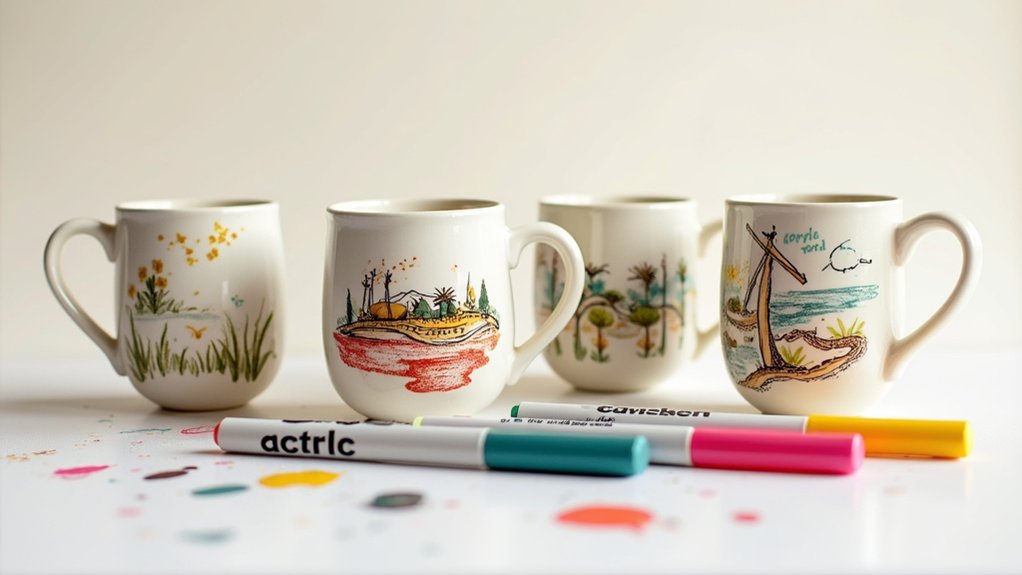
Moving from the canvas to the kitchen, personalized ceramic mugs offer a fantastic way to showcase your acrylic marker talents on something you can actually use every day!
To create these functional art pieces, start by thoroughly cleaning your mug—oils from your hands can ruin even the coolest designs!
Use special oil-based ceramic markers that create vibrant, permanent designs that won’t wash away. Let your creativity shine with techniques like stippling or layering colors for extra wow-factor!
After your masterpiece is complete, patience is key! Let it dry for 24 hours, then bake it in the oven at 350°F for 30 minutes to heat-set your design.
Always start with a cold oven to prevent the mug from cracking—nobody wants their hard work shattered before the first sip!
Nature-Inspired Marker Art on Recycled Materials
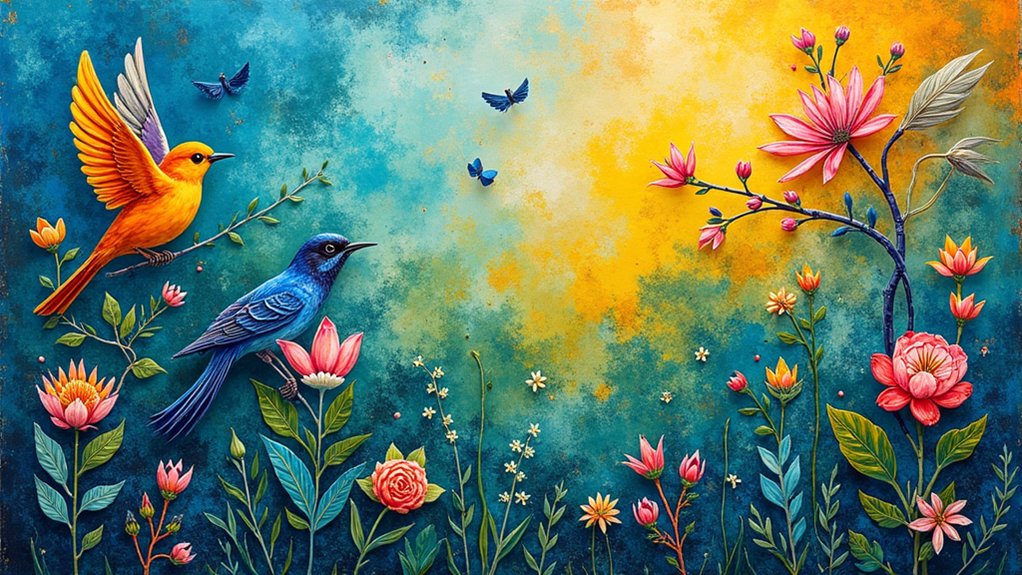
Countless everyday discarded items can transform into stunning canvases for nature-inspired acrylic marker masterpieces! Old cardboard boxes, magazine pages, and wood scraps become the perfect backdrop for vibrant colors and intricate designs from the natural world.
With Paint Marker Pens, artists can create sustainable art that celebrates our environment while reducing waste.
Try these awesome techniques:
- Layer different colors to create depth like a forest canopy or sunset sky
- Use stippling techniques for textured effects that mimic leaves or animal fur
- Draw silhouettes of animals against colorful backgrounds on recycled cardboard
- Create floral patterns on old magazine pages, letting the original images peek through
Seal your finished artwork with a clear protective coat, and these recycled masterpieces will brighten any space with eco-friendly creativity!
Geometric Wall Art: Precision Techniques With Fine-Tip Markers
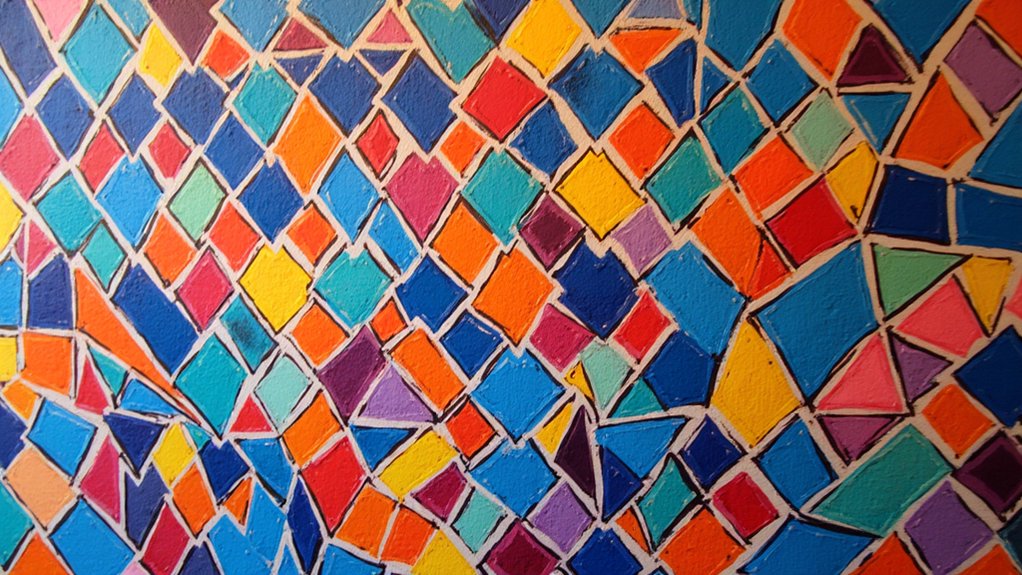
When precise lines meet vibrant colors, geometric wall art becomes a mesmerizing focal point in any room! Fine-tip markers are perfect tools for creating sharp edges and intricate patterns that will wow everyone who sees your masterpiece.
Artists can achieve professional-looking designs by using rulers or stencils to maintain perfect angles—no wobbly lines allowed!
Layering colors adds amazing depth to geometric shapes, but patience is key. Let each color dry completely before adding the next layer, or you’ll end up with a smudgy mess!
Try blending techniques with a damp brush to soften harsh edges between shapes. For extra pop, play with contrasting colors and varying line thicknesses.
The secret to stunning precision techniques lies in planning your design first, then executing it with confidence. Who knew math and art could be such awesome friends?
Expressive Portrait Studies Using Marker Blending Methods
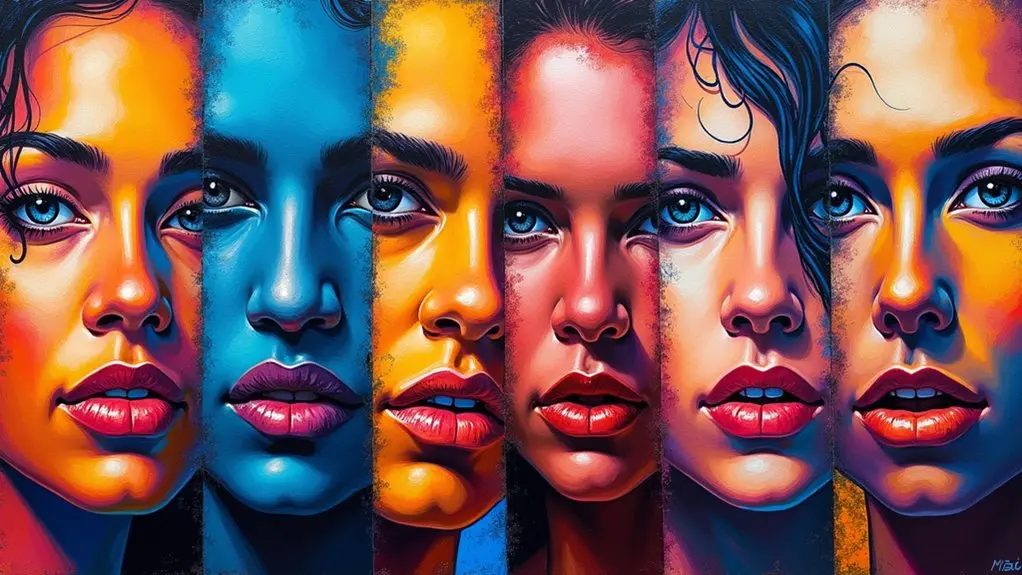
Creating lifelike portraits with acrylic paint markers might seem intimidating, but anyone can master this expressive art form with the right techniques! The secret lies in layering and blending to capture the depth and personality in every face.
- Start with light skin tones as your base layer, then gradually build up darker shades to create dimension—this layering technique is what makes portraits pop!
- Blend colors using a slightly damp brush to create soft shifts between shades, perfect for realistic skin textures.
- Add personality with stippling techniques for freckles, pores, or hair textures—these tiny details make portraits come alive!
- Outline key facial features with fine-tip markers to define eyes, lips, and other important details that give your portrait structure and clarity.
Frequently Asked Questions
What to Do With Acrylic Paint Markers?
Artists can explore acrylic painting techniques on multiple surfaces with proper preparation advice. Marker blending tips enhance color layering strategies, while consistent marker maintenance tips guarantee longevity of vibrant artistic expressions.
What Can I Make With Markers?
Individuals can create DIY Home Decor, experiment with Marker Art Techniques, produce Creative Doodles, design Marker Mandalas, and craft Customized Gifts that showcase personal style and artistic expression.
What Is the Best Marker to Write on Acrylic?
For writing on acrylic, the best acrylic markers offering permanent marker options with reliable adhesion include Posca and Sharpie. These provide vibrant color selection and excellent marker surface compatibility for lasting results.
What to Make With Posca Markers?
Posca markers excel for custom marker designs on rocks, journals, or home decor. Artists explore Posca marker techniques through color blending, layering, and various marker art styles for creative marker projects.
Conclusion
Acrylic paint markers open up a world of creative possibilities for artists of all skill levels. With these versatile tools, everyday objects transform into personalized masterpieces that burst with color and imagination. Whether decorating stones, customizing mugs, or creating wall art, these markers make artistic expression accessible and fun. So grab your markers, let your creativity flow, and watch as ordinary items become extraordinary works of art that reflect your unique personality!

Leave a Reply