Posca markers offer endless creative possibilities for eye-catching art. Try vibrant pop art cupcakes with bold color blocking, glass effect butterflies, or mountain scenes with dimensional layering. Urban graffiti lettering and geometric designs showcase sharp contrast techniques. Customize fashion items or everyday objects with unique patterns and designs. Nature-inspired art benefits from gradient shifts and texture layering. Community-centered projects add purpose to your creativity. These fifteen techniques will transform ordinary surfaces into personalized masterpieces.
Key Takeaways
- Create vibrant pop art cupcakes and botanicals with gradient color transitions for eye-catching food design elements.
- Design glass effect butterflies and dimensional mountain scenes using layering techniques for nature-inspired art.
- Develop urban graffiti-inspired lettering and geometric designs with sharp line contrasts for bold abstract compositions.
- Customize clothing and everyday items like ceramics with heat-set designs and proper surface preparation.
- Add depth through stippling, white highlights, varied line thicknesses, and color blending techniques.
Pop Art Cupcakes With Color Blocking and Layering
Several eye-popping cupcake designs can burst to life with the magic of Posca markers! Artists can transform plain surfaces into delectable pop art cupcakes using bold color blocking techniques.
Start with a clean white base, then add vibrant colors that contrast dramatically—think electric blue against fiery orange or neon pink paired with lime green.
Layering is essential for creating depth in these sweet designs. Let each application of color dry completely before adding the next layer, which prevents muddy blending and keeps colors crisp.
Layer each color patiently. The secret to vibrant cupcake art lies in the drying time between applications.
Different marker tip sizes come in handy for various details: thick tips for filling large areas, fine tips for adding sprinkles, swirls, or outlines.
Don’t forget to add highlights with white markers to make your designs pop! These fun, colorful cupcakes are perfect for beginners looking to explore the world of Posca art.
Glass Effect Butterflies Using Transparency Techniques
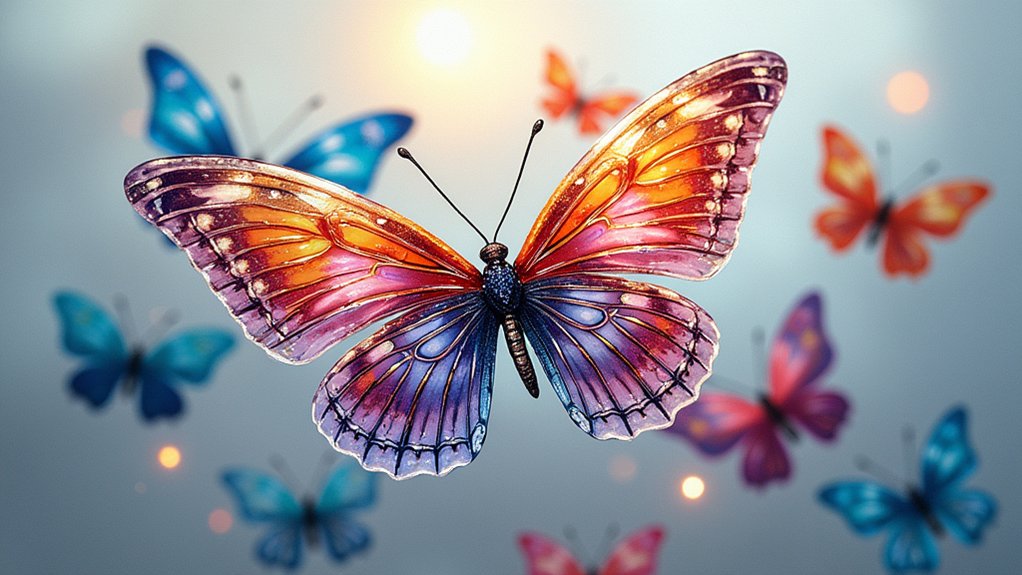
Creating glass effect butterflies with Posca markers requires specific materials and careful layering techniques.
Artists need illustration board, white Posca markers for the base, and a range of transparent-colored markers to build the glassy appearance.
The magic happens through patient layering—starting with white underlayers, adding light colors first, and building up to darker tones while creating strategic highlights that make your butterflies look like they’re made of stained glass!
Required Materials
When diving into the mesmerizing world of glass effect butterflies, artists need a specific arsenal of supplies to achieve that jaw-dropping translucent look! Posca markers are the star of the show here, but other materials play vital supporting roles.
| Essential Items | Purpose | Options |
|---|---|---|
| Illustration Board | Dark, smooth base | Black or navy preferred |
| Posca Markers | Creating vibrant colors | Various tip sizes (PC-1M, PC-3M, PC-5M) |
| White Marker | Base layering | PC-1MR or PC-3M White |
The layering techniques require patience and a steady hand! Artists will need white markers for the base coat, followed by lighter colors that gradually build into deeper hues. For those amazing translucent effects, don’t forget fine-tipped markers for adding those tiny highlights that make your butterflies practically shimmer with life!
Layering For Transparency
The magic of glass effect butterflies lies in the delicate layering techniques that transform ordinary marker strokes into ethereal, light-catching wings!
Creating this stunning effect starts with a white Posca marker underlayer, which establishes a vibrant base that makes colors pop like real stained glass.
Artists achieve the transparency by patiently building up layers—each one must dry completely before adding the next.
The secret? Using pastel colors for upper layers that catch and reflect light beautifully. Darker colors applied along wing edges create shadowing techniques that give butterflies that jaw-dropping 3D look.
The final touch is adding bright white highlights where sunlight would naturally dance across glass, making your butterfly literally shine!
With practice, these layering for transparency methods create butterflies so realistic, friends might try to touch them!
Galaxy Dreamscapes With Blending and Stippling
Diving into the cosmic world of galaxy dreamscapes opens up incredible possibilities for Posca marker artists!
Creating these otherworldly scenes begins with layering deep blues and blacks as your night sky base. Let each layer dry completely before adding more—patience leads to depth!
The magic happens when blending lighter colors like purple, pink, and white while the base is still wet. This creates those dreamy, smooth shifts that make galaxies look so vibrant and mysterious.
Then comes the fun part—stippling! Using different-sized Posca marker tips, add tiny dots of yellow and orange to represent stars scattered across your universe. Small tips create distant stars, while broader tips make stunning, bright celestial bodies.
Finish with white highlights to make your stars shimmer and your nebulae glow!
Urban Graffiti-Inspired Lettering and Typography
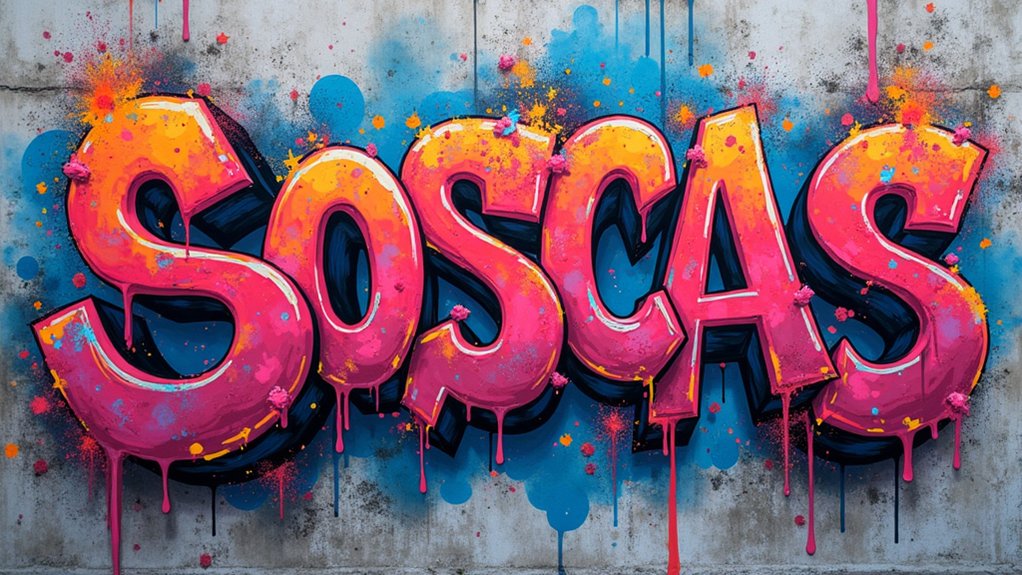
Urban graffiti-inspired lettering transforms ordinary text into street art masterpieces with Posca markers taking center stage in this expressive art form.
Bold tag styles burst with personality through thick outlines and vibrant color schemes, giving letters a rebellious edge that captures the raw energy of street culture.
Artists can level up their typography by adding dimensional letter effects like drop shadows, highlights, and 3D perspective tricks that make letters seem to pop right off the surface!
Bold Tag Styles
Frequently, bold tag styles emerge as the most striking way to showcase your personality through Posca marker art. These dynamic letterforms, inspired by urban graffiti, can transform ordinary surfaces into eye-catching displays that scream with creative energy.
By experimenting with different tip sizes, artists create depth—using broad tips for filling large areas and fine tips for adding those jaw-dropping intricate details.
- Try color layering techniques to create vibrant gradients that make your letters pop with dimension
- Explore stenciling and masking for super clean edges that give your tags a professional look
- Add splashes, drips, or personal doodles around your letters for that extra wow-factor that’s uniquely you
The beauty of bold tag styles lies in their versatility—they’re loud, proud, and impossible to ignore!
Dimensional Letter Effects
Transform flat letters into jaw-dropping 3D masterpieces with dimensional letter effects! Artists are taking their Posca markers to new heights by layering colors to create depth that makes each letter pop off the page.
The secret? Start with a bold outline, then add shadows on one side and highlights on the other—instant dimensionality!
Blending techniques work wonders when shifting between colors, especially when wet. Try using different tip sizes to add detail where it counts, like those sharp edges and slick curves.
The coolest part? You can make letters look like they’re jumping right at you! Many artists add drop shadows (super easy but super effective) or create bubble letters that seem to float.
With highlights and shadows in the right spots, even simple letters transform into street-style masterpieces that’ll make friends say, “No way you drew that!”
Mandala Patterns With Precision Dot Work
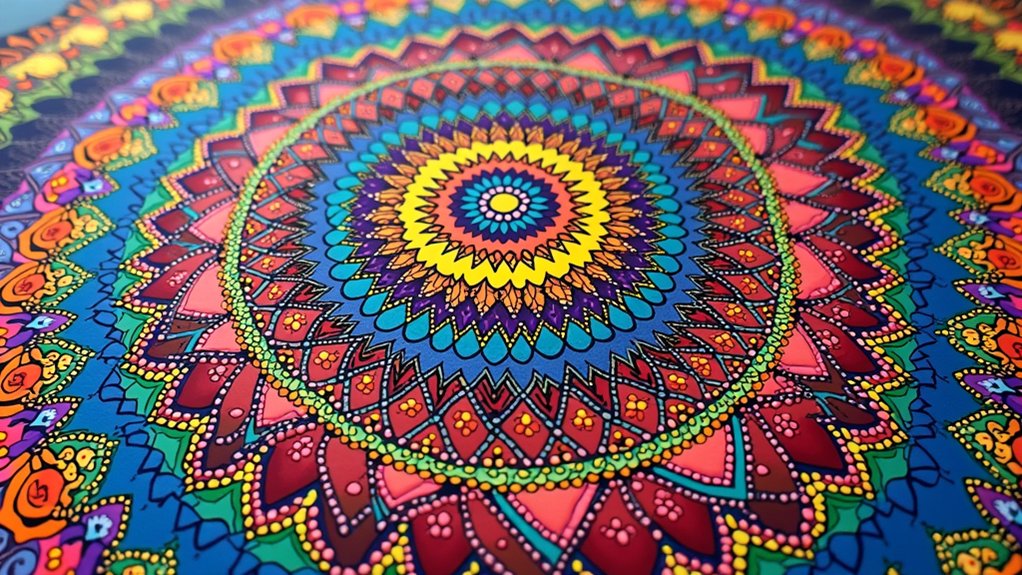
Creating mesmerizing mandala patterns with Posca markers isn’t just artwork—it’s a journey into patience and precision!
Artists begin by sketching a simple outline with pencil, establishing the foundation for their vibrant dotted masterpiece. The magic happens when precision dot work transforms these guidelines into stunning, symmetrical designs that practically pulse with color.
To create depth and complexity in your mandala patterns:
- Use different-sized Posca marker tips for varied dot dimensions
- Layer colors strategically, allowing each dot to dry completely before adding more
- Experiment with color gradients that flow from the center outward
The technique might seem challenging at first, but watching those tiny dots build into something magnificent is totally worth it!
Each patient tap of your marker creates a unique pattern that showcases the incredible versatility of Posca markers.
Texture-Rich Landscapes Using Mixed Marker Techniques

Artists can transform flat paper into stunning sceneries with Posca marker layering techniques that build incredible mountain depth and forest textures.
By varying pressure and tip sizes, creators can capture the magical glow of city lights against dark skyscrapers or the dramatic shadows cast across rugged peaks.
The secret to bringing these scenes to life lies in mixing techniques—building up colors in thin layers, adding texture with dots and short strokes, and creating contrast between light and dark areas for that jaw-dropping “wow” factor.
Mountain Scene Dimension
When mountains come to life on paper, Posca markers become the perfect tools for capturing their majestic depth and texture. Artists create dimension by layering different blue and gray shades, letting each dry before adding the next. This patience pays off with stunning results that practically jump off the page!
To build amazing mountain scenes, try these techniques:
- Blend colors with a wet brush at the mountain base for a misty, distant feel
- Use fine-tip markers for tiny details like trees and rocky edges
- Add stippling in the foreground for realistic foliage and flowers
The magic happens when light meets shadow—place lighter colors on peaks and darker tones in valleys. This clever contrast tricks the eye into seeing real mountains instead of just marker strokes.
Suddenly, your flat page transforms into a window to wilderness!
Cityscape Light Contrast
From serene mountain vistas to bustling urban jungles, Posca markers bring every scene to vivid life!
Creating cityscape light contrast is all about playing with depth and dimension to capture the electric energy of urban environments after dark. Artists can achieve stunning results by layering techniques that build from light background washes to bold foreground details.
Start with a dark base, then add contrasting colors like neon yellows and bright whites to mimic glowing windows and street lamps—wow, what a difference this makes!
Posca markers with various tip sizes allow artists to craft intricate architectural details while maintaining that eye-catching artwork quality that viewers can’t look away from.
Don’t be afraid to experiment with stippling for texture in brick buildings, or to add white highlights that make your cityscape pop like it’s actually illuminated from within!
Forest Texture Layering
The magic of forest scenes bursts to life when artists master texture layering with Posca markers! Creating lush woodland environments requires strategic application of colors and techniques.
Start with light greens as your base, then gradually add darker shades to build depth that makes trees pop off the page.
- Mix stippling with broad strokes to create leaf patterns that look super realistic
- Try blending techniques by working with colors while they’re still wet for awesome forest gradients
- Use fine tips for tiny details like bark textures, mushrooms, and forest critters
Experimenting with different tip sizes is key to capturing the complexity of forest textures.
When layering colors, remember that nature isn’t perfect—random patterns and varying pressure create that wild, natural look that makes your forest scenes totally believable!
Vibrant Botanicals With Gradient Color Transitions
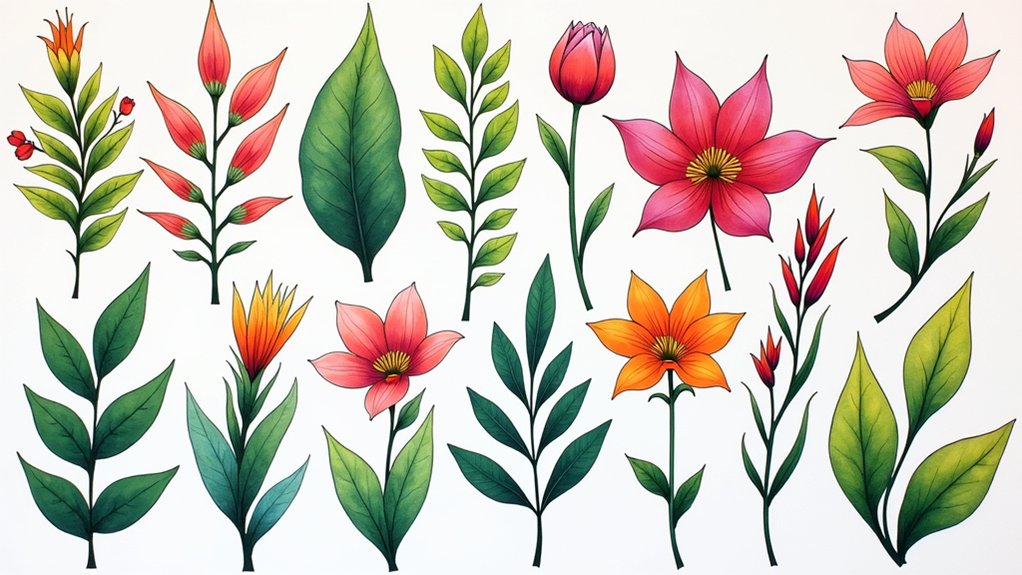
Immerse yourself in the mesmerizing world of botanical art with Posca markers, where vibrant colors transform ordinary flowers and leaves into extraordinary creations! Start with a light base layer, let it dry, then add deeper hues for amazing dimension. The secret to those jaw-dropping gradients? Layer wet markers, using lighter shades for highlights and darker tones for shadows.
| Technique | Effect | Wow Factor |
|---|---|---|
| Stippling | Natural texture | Makes petals pop! |
| White accents | Striking contrast | Brings art to life |
| Multi-tip sizes | Intricate details | Looks professional |
Don’t forget to experiment with different tip sizes for those super-detailed botanical elements. Try stippling—those tiny dots create depth that’ll make your friends say, “No way you made this yourself!”
Geometric Abstract Art With Sharp Line Contrasts
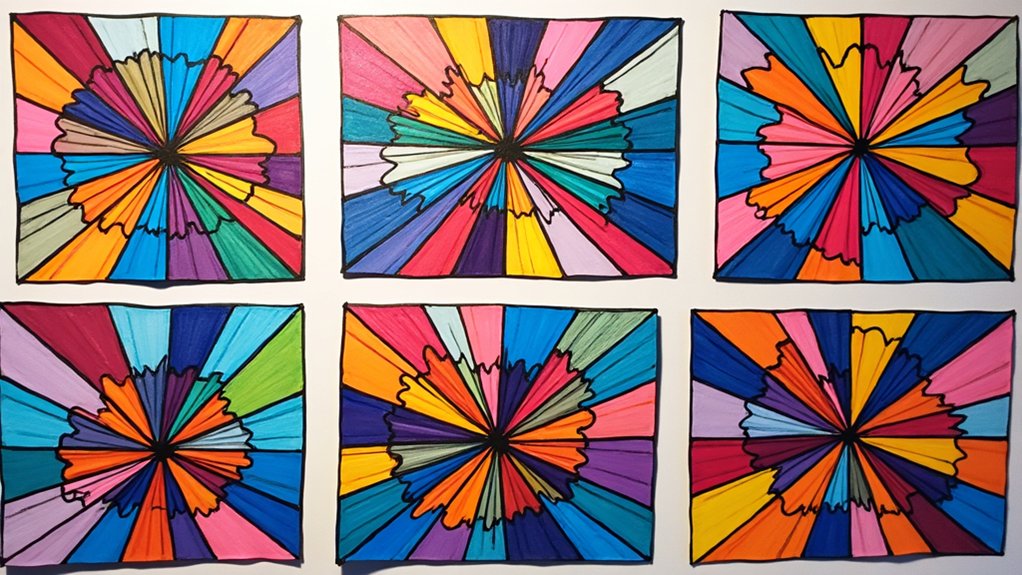
Geometric abstract art pops to life when artists master precise line techniques using Posca markers of different tip sizes.
The magic happens through color blocking, where bold shapes filled with contrasting colors create eye-catching patterns that seem to jump off the page!
Layering different shapes and colors adds incredible depth to the artwork, turning simple lines and forms into complex visual puzzles that keep viewers looking for hidden connections.
Precise Line Techniques
Creating sharp, crisp lines forms the foundation of stunning geometric abstract art with Posca markers. Artists achieve professional-looking results by selecting fine tip PC-1M and PC-1MR markers, which glide across surfaces with incredible precision.
Masking techniques using tape or stencils guarantee those clean edges that make geometric shapes pop with striking clarity!
When working with Posca markers on geometric designs, try these techniques:
- Layer contrasting colors to build depth, making foreground shapes jump off the background
- Experiment with different tip sizes (from super-thin 0.7mm to bold 8.0mm) for dynamic line variation
- Add stippling and dotting to flat areas for texture that transforms simple shapes into complex masterpieces
These precise techniques transform basic shapes into eye-catching abstract compositions that’ll wow your friends!
Color Blocking Principles
Why settle for blending colors when you can make them collide with spectacular results? Color blocking with Posca markers creates bold, eye-catching designs that practically jump off the page! By dividing your artwork into geometric shapes filled with solid colors, you’ll create sharp contrasts that really pop.
Grab different tip sizes to guarantee clean, precise edges between your shapes. The magic happens when you choose contrasting color combinations – think purple next to yellow or blue beside orange. These opposites create visual excitement that’s impossible to ignore!
Try layering colors within each section to add depth and dimension. For super crisp lines, use tape or stencils as guides. Remove them carefully after your color dries, and voilà – perfectly sharp edges that make your geometric masterpiece look professionally crafted!
Layering Pattern Effects
Transform flat designs into multi-dimensional masterpieces through the art of layering!
By combining geometric patterns with vibrant colors, artists can create stunning abstract compositions that practically jump off the page. Start with a light pencil grid, then apply base colors before building up darker shades to achieve amazing depth and dimension in your work.
Contrasting colors around the edges of shapes make them pop with incredible visual impact!
- Try overlapping semi-transparent markers to create unexpected color blends where geometric shapes intersect
- Use different tip sizes to vary line thickness – thin lines for details, thick lines for bold statements
- Alternate between straight and curved lines for a dynamic balance that keeps the viewer’s eye moving
Whimsical Character Designs With Dimensional Shading
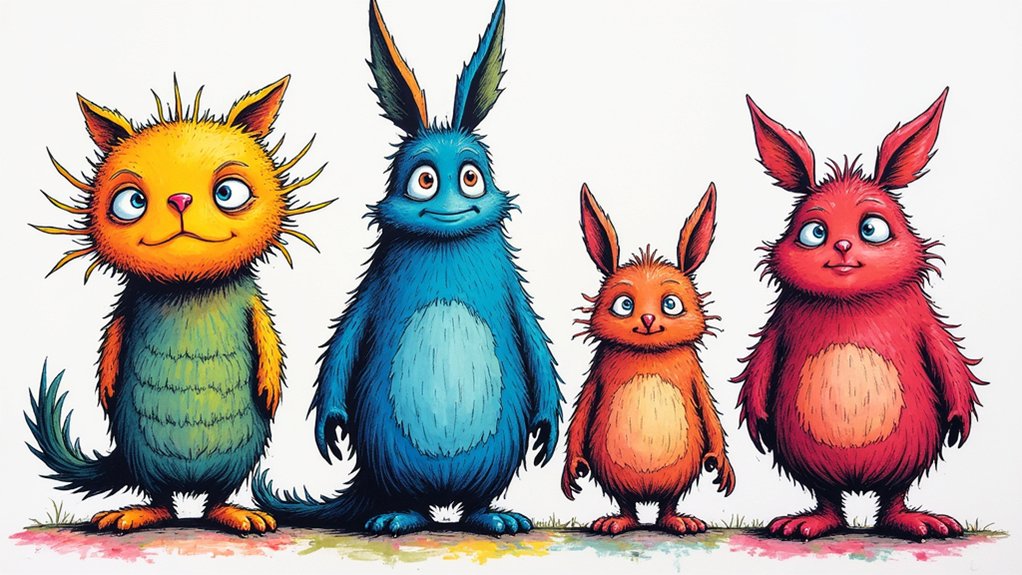
Magic happens when Posca markers bring whimsical character designs to life through dimensional shading techniques!
Artists can build incredible depth by applying layers of color, waiting patiently between coats for that perfect vibrancy. The secret? Mix those tip sizes! Use fine points for twinkling eyes and bold tips for funky hairstyles.
Want your characters to pop off the page? Try stippling and blending to create shadows that make your creations look almost 3D! Adding white or pastel highlights creates that “wow” factor, making spots look like they’re catching real light. How cool is that?
Playing with unexpected color combinations helps each character develop their own quirky personality. A purple monster with orange spots? Why not!
The contrast makes these whimsical buddies totally eye-catching and unforgettable.
Customized Clothing and Fabric Embellishments
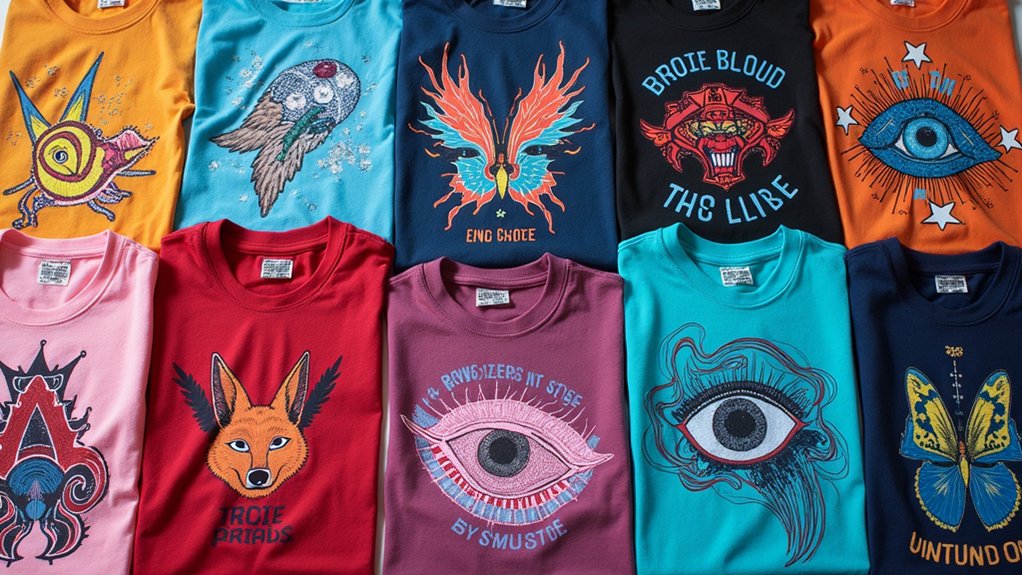
Beyond creating charming characters, Posca markers also hold the power to transform plain clothing into wearable art! These versatile tools allow anyone to craft vibrant designs on fabric that remain permanent after drying, turning ordinary garments into unique fashion statements.
For best results, pre-wash fabrics before applying markers, and heat-set designs with an iron to guarantee they withstand regular washing.
- Different tip sizes enable everything from delicate line work to bold patterns, perfect for customizing t-shirts, denim jackets, or canvas shoes.
- Layering techniques create depth and dimension, making colors pop against fabric backgrounds.
- Experimenting with color combinations produces eye-catching results that reflect personal style and creativity.
Fashion-forward artists love how fabric embellishments with Posca markers require no special equipment—just imagination and a steady hand!
Stone and Pebble Art With Weathered Effects
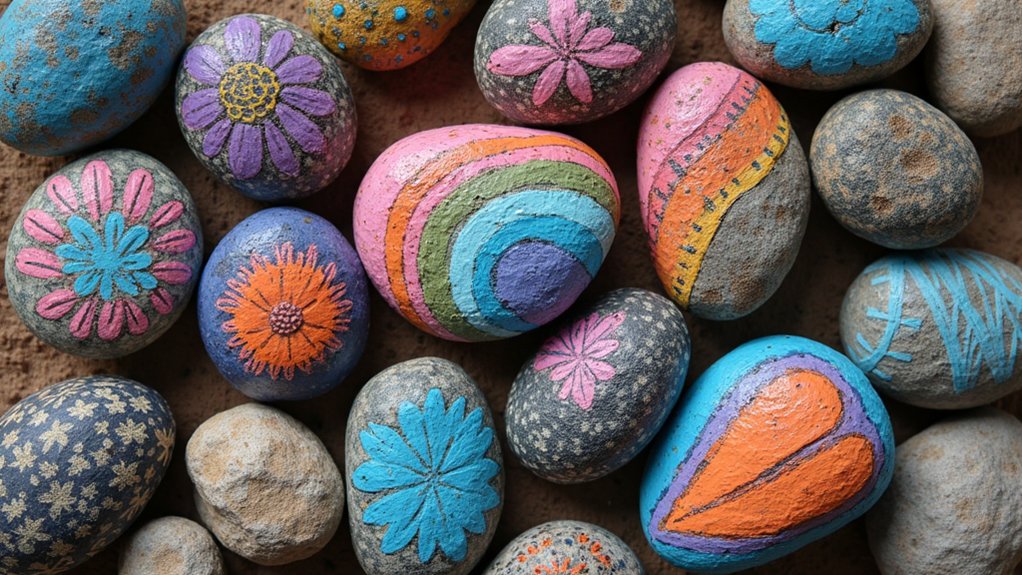
Weathered by nature and transformed by art, smooth stones and pebbles offer the perfect canvas for Posca markers enthusiasts looking to create lasting, portable masterpieces.
These natural elements provide unique textures that make vibrant colors pop with extraordinary intensity!
Artists can build stunning depth by using layering techniques—starting with a base color, letting it dry completely, then adding intricate patterns on top.
Blending colors while they’re still wet creates awesome weathered effects that mimic the stone’s natural journey.
For those little details that make artwork special, smaller Posca marker tips work wonders! You can create tiny flowers, intricate mandalas, or even miniature vistas on a single pebble.
Just remember to seal your finished masterpiece with clear varnish—especially if your colorful creation will brave the outdoors as garden décor or pathway markers!
Ceramic and Glassware Decoration Techniques
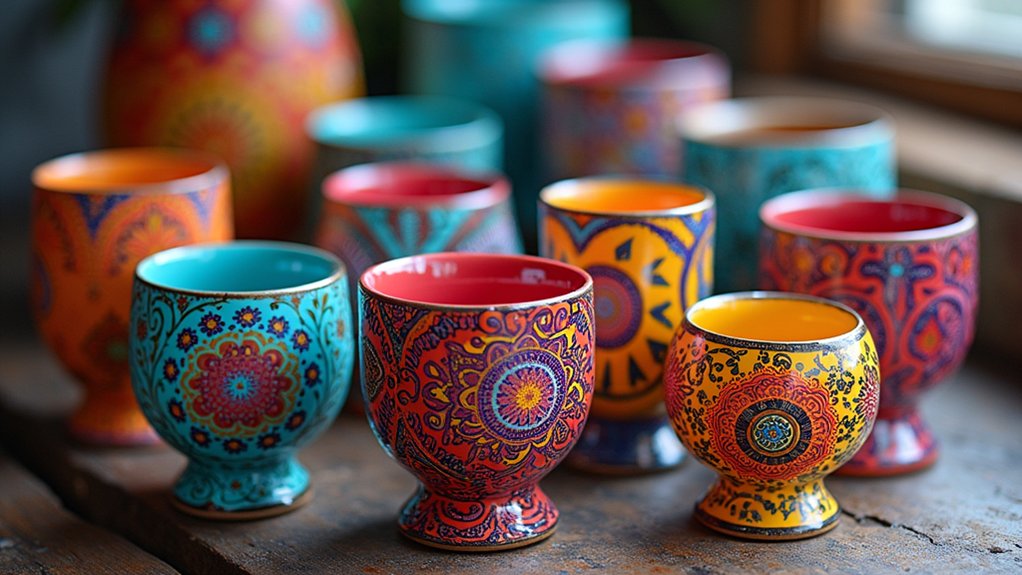
From natural stones to manufactured glass, Posca markers continue to dazzle on virtually any surface! These versatile tools transform ordinary ceramic surfaces into personalized masterpieces with just a few colorful strokes.
Artists can create intricate patterns that pop with vibrant hues, making everyday items extraordinary.
The magic happens when following these simple techniques:
- Clean surfaces thoroughly before decorating (oils from fingers can mess up your design!)
- Try layering colors for amazing depth—light colors first, then darker ones on top
- Use masking techniques with tape or stencils for super-crisp edges on mugs and plates
Don’t forget to cure your finished pieces in the oven! This simple step makes your artwork dishwasher-safe and prevents fading, so your amazing creations will last through countless uses and compliments from impressed friends!
Surrealistic Doodles With Flowing Line Work
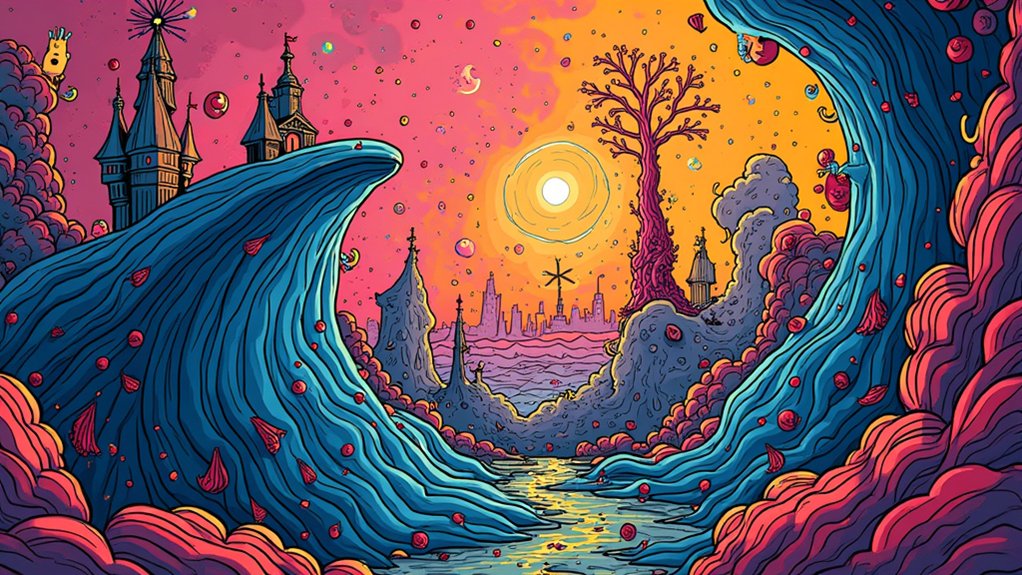
Dreamlike visions and fantastical imagery emerge effortlessly when artists plunge into the world of surrealistic doodles with Posca markers. The fluid nature of flowing line work creates otherworldly shapes that blur the boundary between imagination and reality, transforming blank spaces into vibrant dreamscapes.
Artists achieve stunning visual impact by layering techniques with Posca markers, building depth through overlapping transparent and opaque elements. Varying line thicknesses—from whisper-thin to bold strokes—adds texture and dimension that pulls viewers into the artwork. Bold color blocking within fluid designs creates delightful contrast!
Layer, overlap, vary—the magic of Posca markers emerges through technique, transforming thin lines and bold strokes into dimensional wonderlands.
Many artists find that sharing their surrealistic doodles online sparks community inspiration. These collaborative exchanges help everyone grow, as techniques are traded and celebrated.
The perfect balance of structure and spontaneity makes surrealistic doodling an exciting playground for self-expression.
Multi-Surface Murals With Environmental Themes
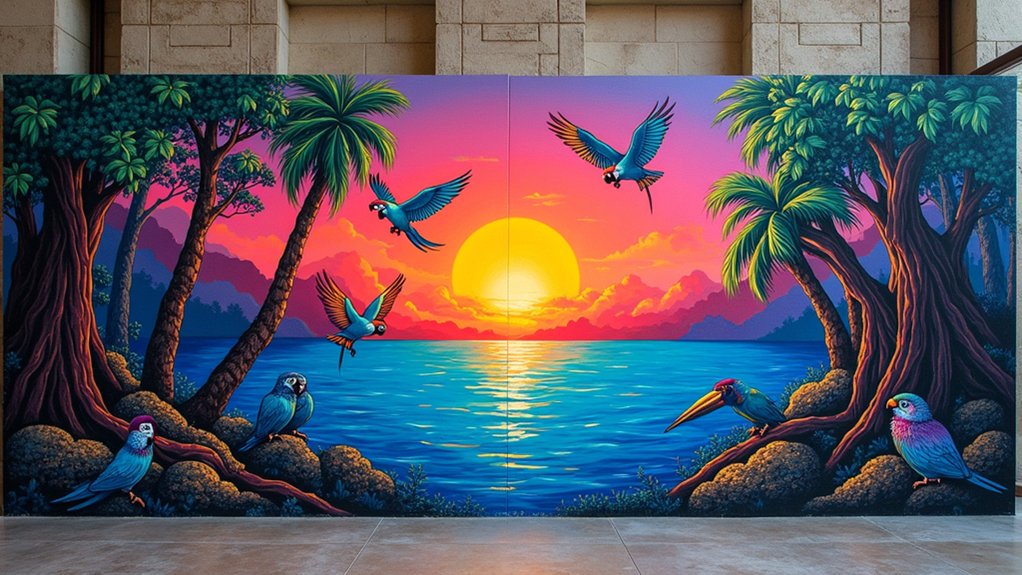
Environmental consciousness springs to life when artists create stunning multi-surface murals with Posca markers, transforming ordinary spaces into powerful visual stories about our planet. These vibrant colors pop against walls, wood, and even metal, grabbing viewers’ attention while sparking important conversations about our fragile ecosystems.
Artists use clever layering techniques to add depth to murals featuring:
- Endangered wildlife that seems to leap from the surface
- Breathtaking scenery that reminds us what we’re fighting to protect
- Climate action symbols that inspire communities to make changes
The magic happens when community involvement transforms these projects from simple artwork into neighborhood movements. Kids, parents, and local leaders grabbing markers together doesn’t just create beautiful murals—it builds a shared commitment to environmental protection that lasts long after the paint dries.
Miniature Art Cards With Detailed Illustrations
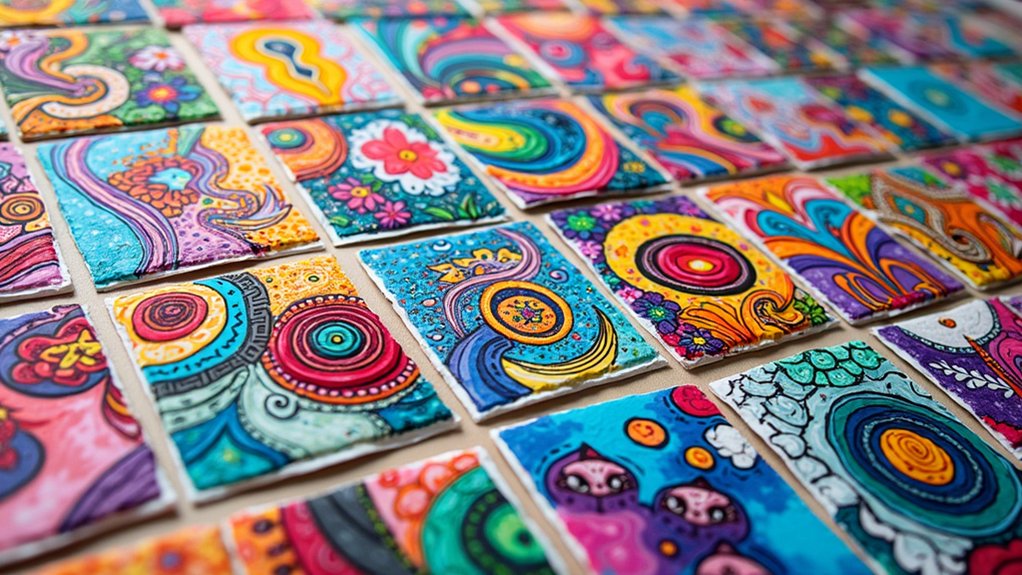
Pocketsized canvases explode with imagination when artists create miniature art cards using Posca markers. These tiny treasures showcase intricate detailed illustrations that pack a big visual punch despite their small size. Artists layer vibrant color combinations to create depth and dimension that captivates viewers.
| Technique | Surface | Marker Size | Effect |
|---|---|---|---|
| Stippling | Cardstock | PC-1MR | Textured details |
| Blending | Sturdy paper | PC-3M | Smooth shifts |
| Outlining | Watercolor paper | PC-1M | Sharp definition |
| Layering | Bristol board | PC-5M | Dimensional depth |
The beauty of miniature art cards lies in their shareability! These palm-sized masterpieces make perfect social media content, sparking creative conversations among fellow artists. With fine tips for delicate work and broader markers for bold backgrounds, anyone can jump into this tiny-but-mighty art form!
Frequently Asked Questions
What Cool Things Can You Do With POSCA?
Posca techniques allow artists to create vibrant art projects on creative surfaces. Layering effects build depth in custom designs, transforming everyday objects into personalized masterpieces with bold, permanent colors.
Is POSCA Ok on Skin?
Posca markers are generally safe for temporary skin application, though not specifically designed for this surface. Proper application techniques and patch testing are recommended. Color blending works well, with varying longevity depending on skin type.
Can POSCA Pens Get Wet?
Posca pen durability depends on drying time. While dry Posca ink properties include water-resistance, unsealed marks can be damaged by moisture. Waterproofing techniques like acrylic sealants improve surface compatibility and prevent accidental cleaning of Posca marks.
Why Are Posca Markers so Expensive?
Posca markers command premium pricing due to their superior ink formulation, exceptional marker quality, and established brand reputation. Cost comparison reveals justifiable expense given artist preferences for their professional performance and versatility.
Conclusion
Posca markers offer an amazing world of artistic possibilities for creators of all levels. From vibrant pop art to intricate mandalas, these versatile tools can transform ordinary surfaces into extraordinary masterpieces. By experimenting with different techniques and surfaces, artists can develop their unique style while creating eye-catching designs. So grab some markers, let your creativity flow, and watch as your colorful visions come to life in bold, beautiful ways!

Leave a Reply