Pencil shading transforms flat sketches into lifelike drawings. Artists use various pencil grades—soft B pencils for deep shadows and hard H pencils for fine details. Cross-hatching creates texture through intersecting lines at different angles, while proper blending tools (not fingers!) like tortillons and stumps guarantee smooth shifts. Light source understanding dictates shadow placement, making drawings pop with dimension. Mastering pressure control and layering techniques will turn simple outlines into stunning, realistic artwork that jumps off the page.
Key Takeaways
- Master graphite pencil selection from 2B for general shading to 6B for deep shadows and H pencils for fine details.
- Control pressure and adjust hand positions (fingertip, side-of-hand, overhand, underhand) to create varied textures and line qualities.
- Implement directional shading and cross-hatching at complementary angles (45° and 135°) to build realistic form and dimension.
- Layer graphite gradually and use proper blending tools (tortillons, stumps) instead of fingertips for smooth, professional transitions.
- Understand how light direction affects shadow placement, with shadows darkest near objects and gradually lightening with distance.
Essential Graphite Pencil Types for Shading
The humble graphite pencil, often overlooked in our digital age, is actually an artist’s secret weapon for creating stunning drawings!
When it comes to a pencil grades overview, artists should know that pencils range from hard (H) to soft (B), each creating different effects. The trusty 2B pencil is the all-around champion for most shading work, giving that perfect balance between darkness and control.
The artist’s palette isn’t just color—it’s the spectrum of graphite from H to B, with 2B as the versatile hero of shading.
For a complete shading tools introduction, remember that softer pencils like 4B and 6B create those deep, dramatic shadows that make drawings pop off the page!
Meanwhile, harder H pencils are perfect for those tiny details and light, precise lines. The secret to realistic sketches? Using multiple pencil grades together! This creates a full range of tones, from whisper-light to midnight-dark, bringing your artwork to life.
Mastering Pressure Control for Smooth Transitions
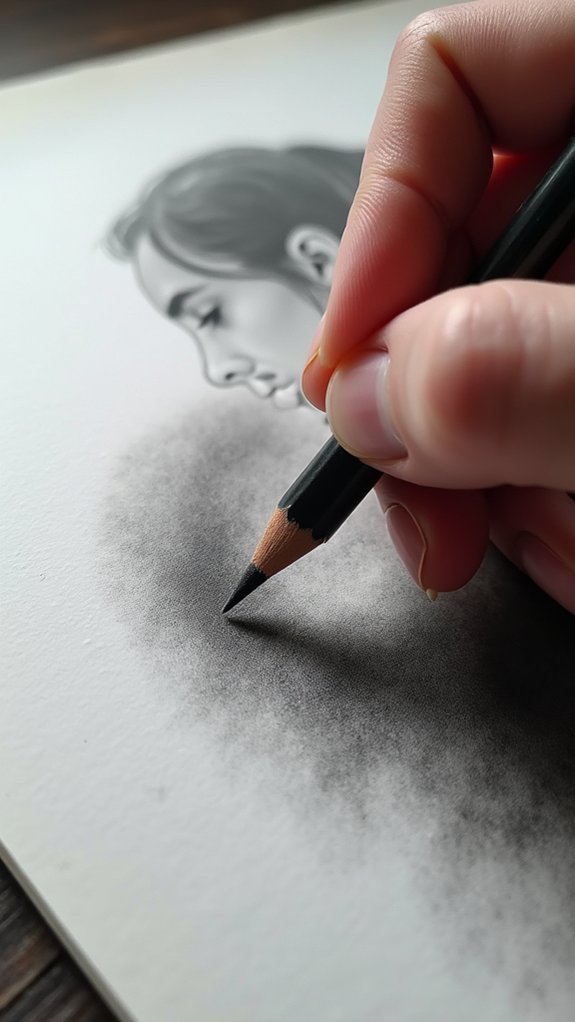
Mastering smooth shifts in pencil art requires careful control of pressure, gradually easing up as your hand moves back into the arm.
The direction of your strokes greatly impacts the final texture, with diagonal strokes creating different effects than vertical or horizontal ones.
Artists who pay attention to these subtle pressure changes can transform simple graphite work into drawings with remarkable depth and professional-looking dimension.
Gradual Pressure Release
Achieving smooth changes in pencil art demands a technique that many artists consider magical — gradual pressure release. When artists move back into their arm while easing pencil pressure, they create those gorgeous, seamless shifts that make drawings pop!
Pressure modulation techniques involve controlling hand positioning, which totally affects which direction the graphite flows across the paper.
For super-smooth results, many artists combine black Prisma color with graphite, creating rich, velvety textures that dance across the page.
Shading consistency strategies help avoid those frustrating smudges that can ruin hours of work! By layering graphite gradually rather than all at once, artists achieve those subtle blends and crisp edges that make artwork look incredibly realistic.
It’s like watching magic happen right on the page!
Direction Influences Texture
Almost every experienced artist knows that pencil direction creates dramatic differences in texture across the drawing surface! The way graphite is applied can transform a flat sketch into a piece with incredible depth and character.
Artists who master directional shading reveal the secret to creating lifelike texture variation in their work.
- Follow the form – Align your strokes with the natural curves of your subject for realistic shading patterns
- Cross-hatch thoughtfully – Varying the angle of overlapping lines creates unique texture effects
- Maintain consistent hand position – This guarantees better control over your application direction
- Move from the arm – Drawing from your shoulder rather than wrist allows smoother, more confident strokes
Experimenting with different directional techniques isn’t just fun—it’s essential for developing your artistic vocabulary and creating drawings that pop with dimension!
Creating Depth With Cross-Hatching Methods
Cross-hatching transforms flat drawings into realistic, three-dimensional artwork through the strategic placement of intersecting lines at varying angles.
Artists can create rich textures and dramatic shadows by adjusting the pressure of their pencil, making some lines darker and others lighter as they build up layers.
Cross-Angles Create Dimension
The magic of dimension leaps off the page when artists master the technique of cross-angles in their drawings.
By layering lines at different angles, pencil artists create the illusion of depth that transforms flat sketches into vibrant, three-dimensional artwork.
Cross hatching techniques allow artists to control how light and shadow play across their subjects, making drawings pop with realism.
Want to create amazing dimensional effects? Try these shading variations:
- Use 45° angles for your first layer, then 135° for the second to create balanced texture
- Increase line density in shadow areas—the closer together, the darker it looks!
- Vary your pencil pressure—light touch for highlights, firm pressure for deep shadows
- Experiment with three or more crossing angles for super rich textures that look almost touchable
Varied Pressure Techniques
Every masterful pencil drawing comes alive through the artist’s careful control of pressure.
When cross-hatching, artists create magic by varying how hard they press their pencil against the paper.
This pressure dynamics allows for stunning contrasts between light and dark areas, giving drawings a three-dimensional feel that jumps off the page!
Layering For Texture
Mastering texture in pencil art requires thoughtful layering of lines that interact with one another to create stunning visual depth.
Cross-hatching stands out as one of the most effective layering techniques for texture enhancement, giving drawings that wow-factor that makes viewers want to reach out and touch the page!
When practicing cross-hatching, remember these key points:
- Vary the spacing between lines – tighter lines create darker values while wider spacing produces lighter areas
- Change the direction of your strokes for each new layer to build dimension
- Adjust your pencil pressure to control line darkness and weight
- Combine with other techniques like stippling to create complex, interesting surfaces
The magic happens when these layers overlap, transforming flat paper into surfaces that look fuzzy, rough, smooth, or shiny!
Blending Tools Beyond Fingertips
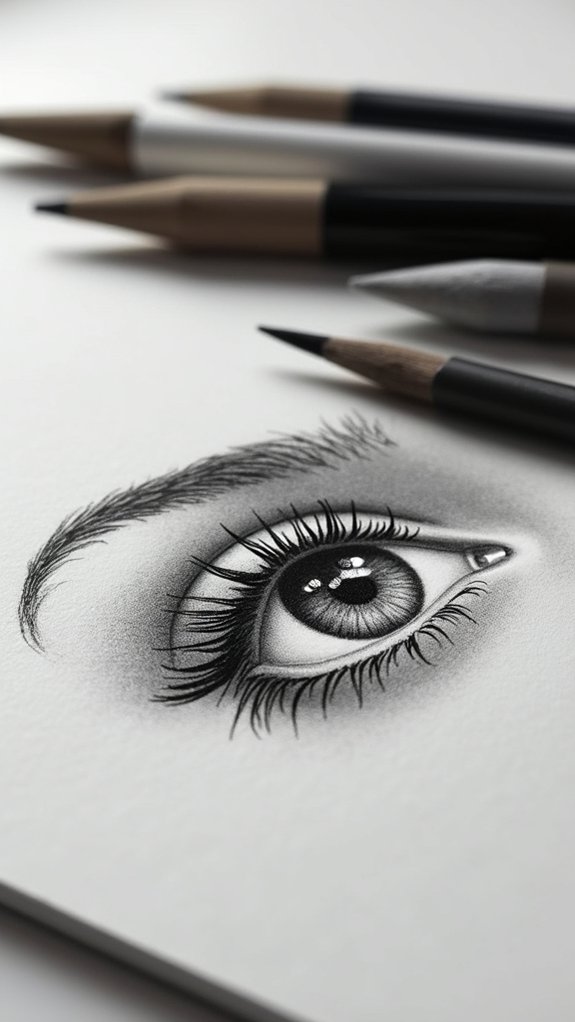
Many successful pencil artists eventually discover that their own fingertips aren’t actually the best blending tools in their artistic arsenal. Using fingers might seem convenient, but they transfer oils that can mess up your beautiful drawings! Smart artists reach for tortillons, blending stumps, and even cotton swabs instead.
Tortillon techniques can transform a flat sketch into something that looks almost 3D, while blending stump advantages include their firmness for creating super precise shadows. Wow!
| Tool Type | Best For | Texture | Skill Level |
|---|---|---|---|
| Tortillon | Smooth shifts | Soft | Beginner |
| Blending Stump | Precise details | Firm | Intermediate |
| Cotton Swab | Large areas | Very soft | Beginner |
| Paper Towel | Backgrounds | Textured | Advanced |
Layering Techniques for Dimensional Effects
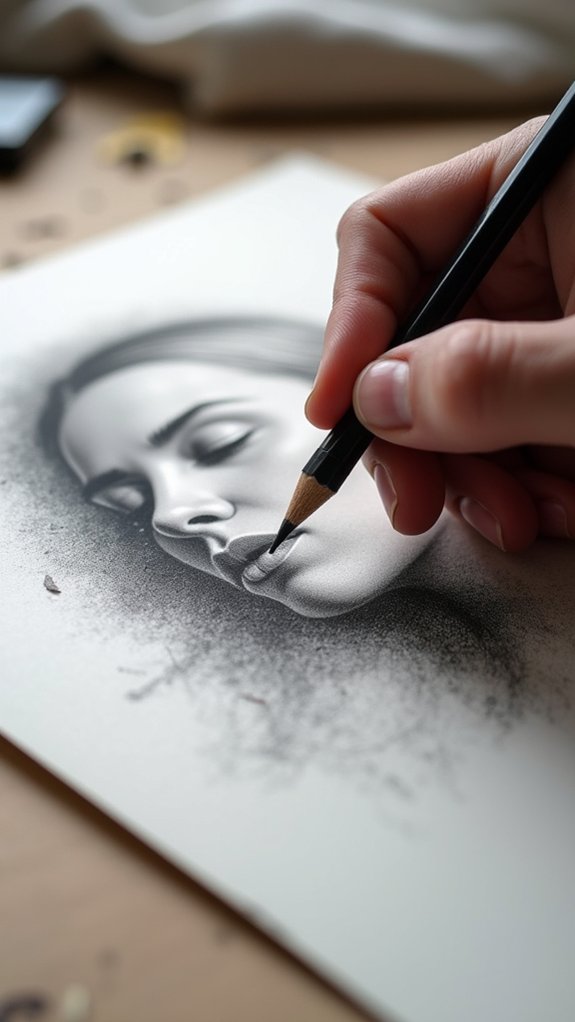
With blending tools mastered, talented pencil artists move on to the magic of layering—a technique that breathes life into flat drawings! This amazing approach builds depth and dimension by applying multiple graphite layers, transforming ordinary sketches into stunning, realistic masterpieces.
Successful layering strategies include:
- Changing hand positions and angles for different effects
- Blending carefully between layers to avoid harsh lines
- “Walking” the graphite down to create smooth shifts
- Using proper shading tools (not fingers!) to maintain control
Artists combine both black Prisma and graphite for a polished look that pops off the page.
The real secret to texture enhancement? Patience! Each layer adds richness and realism, building up shadows and highlights that trick the eye.
Who knew pencil drawings could look so three-dimensional?
Fading Edge Methods for Natural Contours
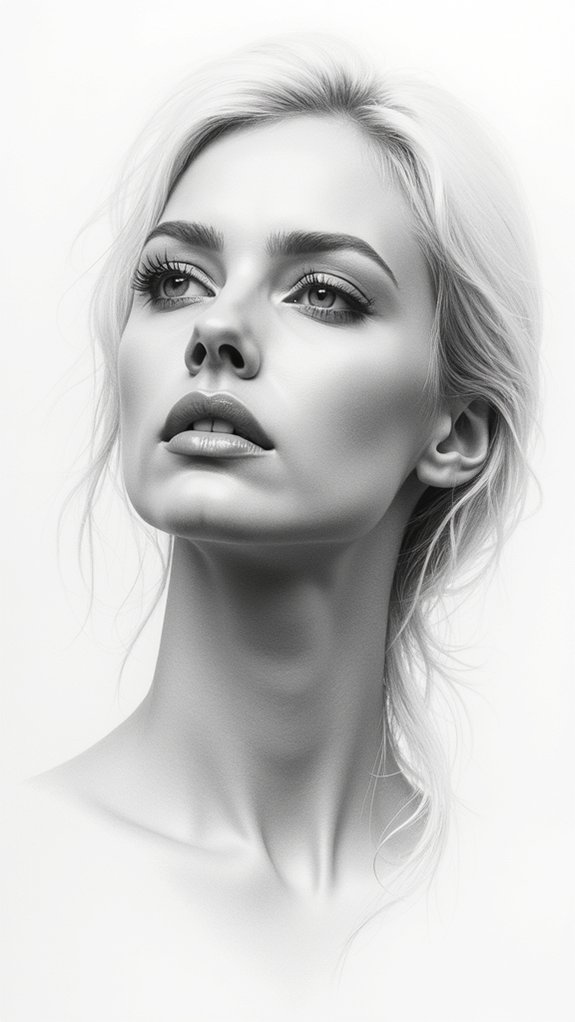
Creating natural-looking edges remains one of the most challenging aspects of pencil artistry, yet it’s absolutely essential for realistic drawings that truly captivate viewers! The secret lies in mastering fading edge techniques that eliminate harsh lines and create seamless shifts.
Artists achieve natural contouring through the “walking down” method, which gradually blends graphite with outlines. Instead of using fingers (which can create unwanted smudges!), proper tools help maintain precise control over the blending process.
Hand position matters tremendously – the way you hold your pencil affects the direction and depth of your shading.
Try layering graphite in progressive stages, building up tone gradually rather than all at once. This patient approach creates those soft, realistic edges that make drawings look professional instead of flat and cartoonish.
Understanding Light Sources for Realistic Shadows
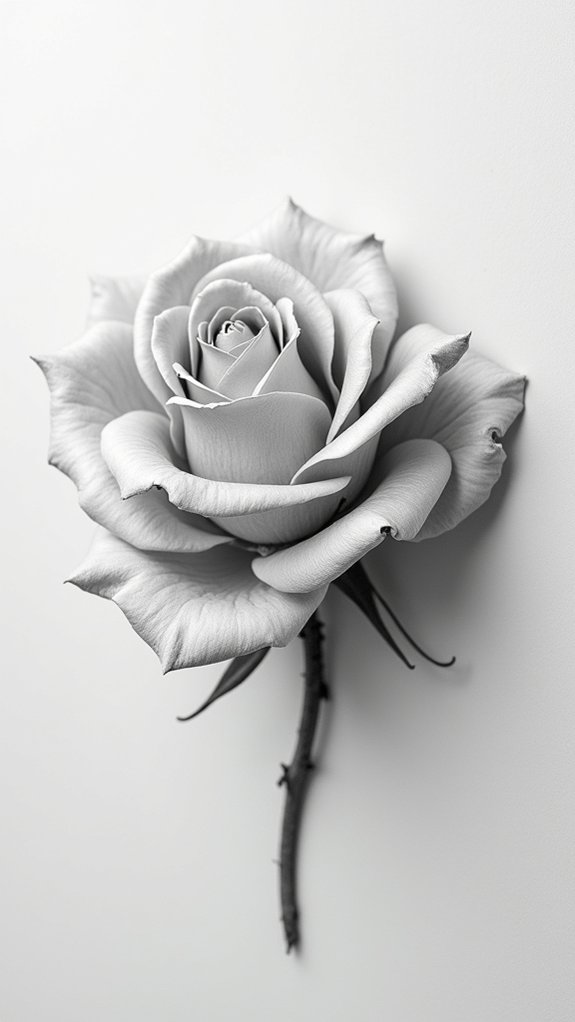
Every stunning pencil drawing begins with a single, essential decision: where is your light source coming from? This choice dictates everything about your shadows, creating the illusion of depth that makes flat paper come alive!
Understanding light angles helps artists place shadows correctly, making sketches pop with realism.
Light is the silent teacher that guides artists to place every shadow strategically, transforming flat sketches into vibrant reality.
When working with shadow gradients, remember these key points:
- Shadows are darkest right next to the object and get lighter as they stretch away.
- Direct light creates sharp shadow edges, while soft light makes fuzzy ones.
- Different surfaces reflect light uniquely – shiny things cast crisp shadows!
- Using one consistent light source keeps your whole drawing looking believable.
Practice observing real shadows in your room, and you’ll soon be shading like a pro!
Precision Hand Positioning for Texture Variety
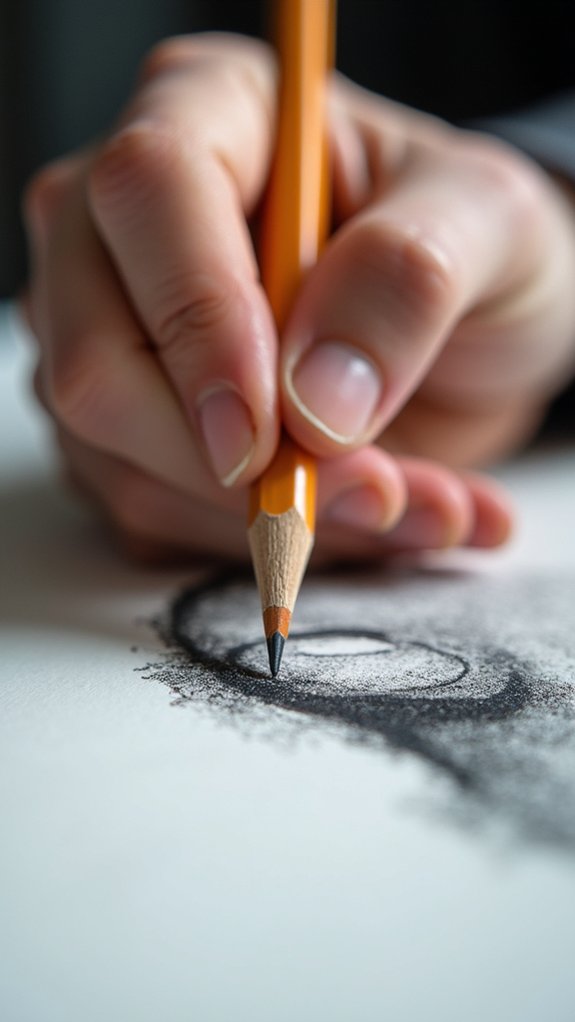
Most artists discover that proper hand positioning is the secret weapon for creating incredible texture variety in pencil drawings! By making small hand angle adjustments, artists can dramatically change how graphite gets deposited on paper. It’s like magic—just turn your wrist slightly, and suddenly your strokes look completely different!
| Hand Position | Effect | Pressure | Best For |
|---|---|---|---|
| Fingertip Grip | Fine detail | Light | Portraits |
| Side-of-Hand | Bold strokes | Medium | Scenery |
| Overhand Grip | Sweeping lines | Variable | Dynamic scenes |
| Underhand Hold | Shading blocks | Heavy | Dramatic shadows |
The coolest part? When artists maintain consistent grip while shifting arm position, they create stroke variation that looks super professional! This technique helps blend textures smoothly, turning boring flat drawings into artwork that practically jumps off the page!
Combining Black Prisma With Graphite Media
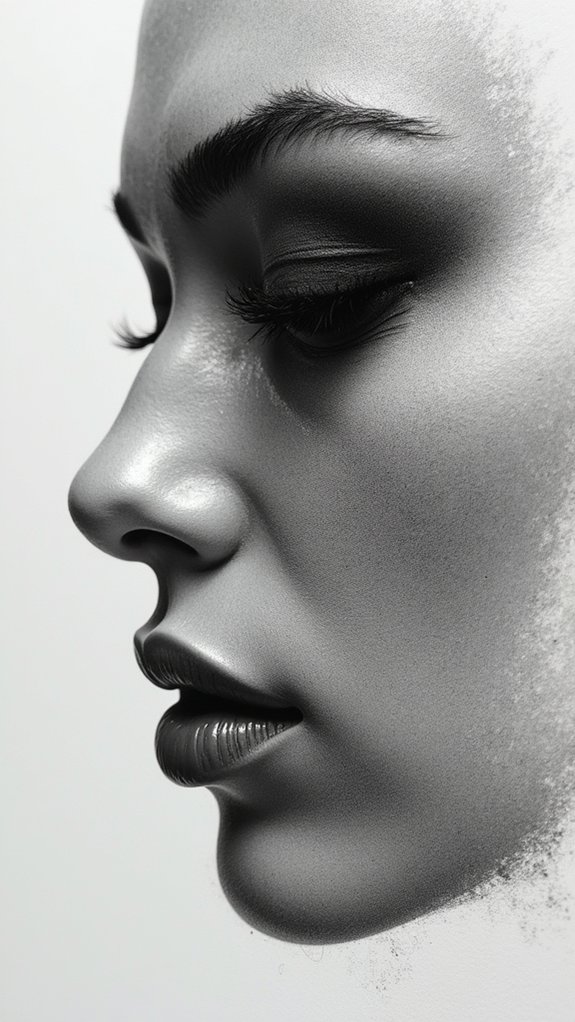
Artists reveal extraordinary depth in their drawings when they combine Black Prisma with graphite media! This magical pairing creates smoother shifts and amazing blending effects that make artwork pop with realism. The secret lies in how these two materials work together to create polished, professional-looking sketches.
Here are four awesome Prisma blending techniques to try:
- Layer graphite gradually over Black Prisma for a super smooth texture.
- Practice the “walking down” method with graphite to soften edges.
- Use proper hand positioning—never fingers!—for precise control.
- Apply graphite layering strategies that build depth without smudging.
When artists master these techniques, their drawings transform from flat to fab! The careful mixing of these media creates depth that seems almost three-dimensional, making viewers want to reach out and touch the artwork.
Directional Shading for Enhanced Realism
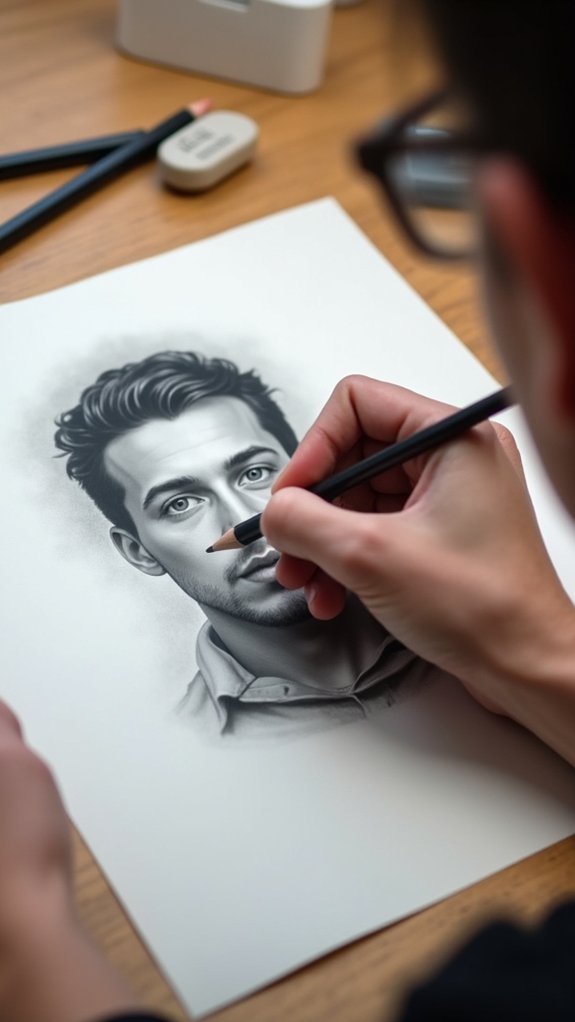
When pencil touches paper in directional shading, magic happens! This powerful technique requires artists to apply graphite following the natural contours of their subject, creating drawings that practically leap off the page. Contour mapping helps artists visualize these natural flows before shading begins.
Artists who vary their hand angles while applying graphite create amazing texture and depth in their shadows. Rather than smudging with fingers (which can make drawings look muddy), they build up graphite in gradual layers. This patient approach results in super-smooth changes between light and dark areas.
For those polished, lifelike sketches everyone admires, try “walking down” the graphite at edges to create soft fades. It’s like telling the viewer’s eye exactly where to look next!
Common Shading Pitfalls and Solutions
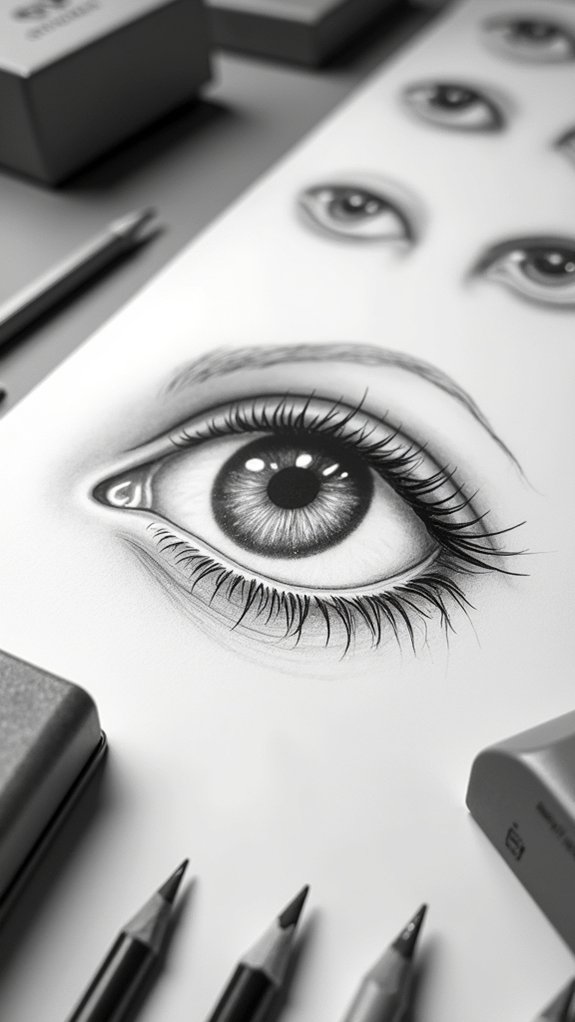
Many artists fall into the trap of using their fingers for shading, which leaves oily smudges and ruins the paper’s texture.
Pressing too hard with your pencil is another common mistake that creates deep indentations and makes erasing nearly impossible.
These pesky problems can transform a promising drawing into a smudgy mess, but don’t worry—they’re totally fixable with the right tools and techniques!
Finger Smudging Issues
Smudging graphite with fingers often leads to amateur-looking results that can ruin hours of careful drawing.
While tempting to use what’s readily available, finger smudging drawbacks include introducing oils and dirt that compromise the artwork’s quality.
Artists seeking professional results should explore smudging alternatives like blending stumps or brushes.
Finger smudging problems include:
- Loss of control – fingers create uneven pressure, resulting in patchy shading
- Oil transfer – natural skin oils can create permanent spots on paper
- Inconsistent texture – fingers can’t achieve the refined gradients that tools provide
- Paper damage – excessive finger pressure can damage delicate drawing surfaces
Excessive Pressure Problems
Because artists often get caught up in the creative process, excessive pressure when using graphite pencils ranks among the most common drawing mistakes. Pressing too hard creates those ugly, harsh lines that ruin your awesome artwork! Yikes!
Smart pressure management techniques include adjusting how you hold your pencil—try gripping it farther back for lighter strokes. Instead of mashing down on your paper like you’re squishing a bug, build up layers gradually. This creates super smooth shifts that look professional!
Shading consistency strategies also involve using proper tools, not just your fingers (which leave greasy smudges—gross!). A blending stump or tortillon helps maintain control while creating those beautiful shadows.
Creating Metallic and Reflective Surfaces
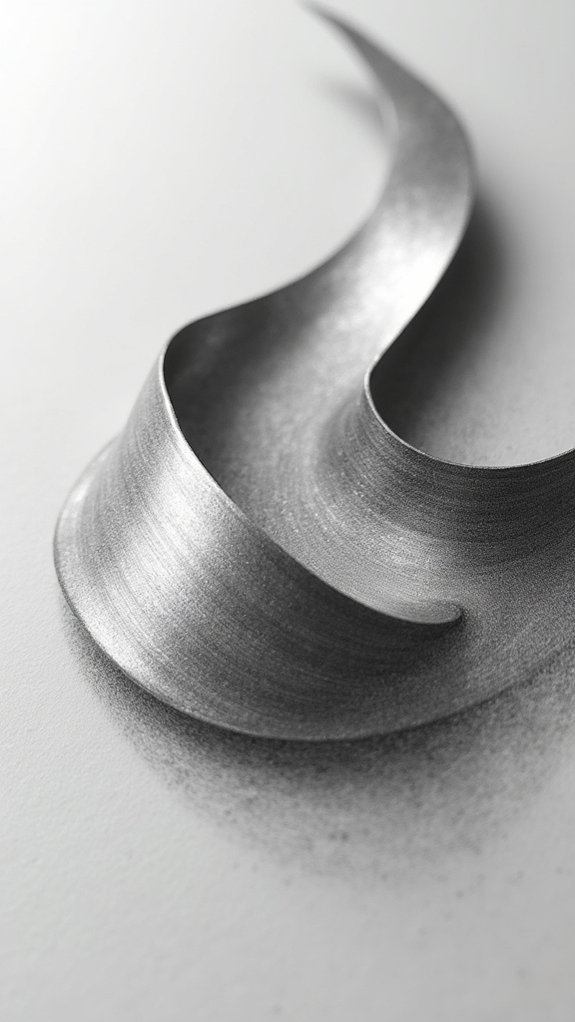
Capturing the sleek, glossy appearance of metallic surfaces can transform an ordinary pencil drawing into something truly spectacular. Achieving these metallic textures requires patience and attention to detail, but the results are worth it!
A solid foundation of black Prisma pencil creates depth, while carefully layered graphite builds that eye-catching shine.
Here’s how to nail those reflective highlights:
- Start with a solid black base layer as your foundation
- Apply graphite in thin, controlled layers to build reflective quality
- Change your hand position to create directional light patterns
- “Walk down” the graphite along edges to mimic how light curves around metal
Specialized Techniques for Portrait Shading
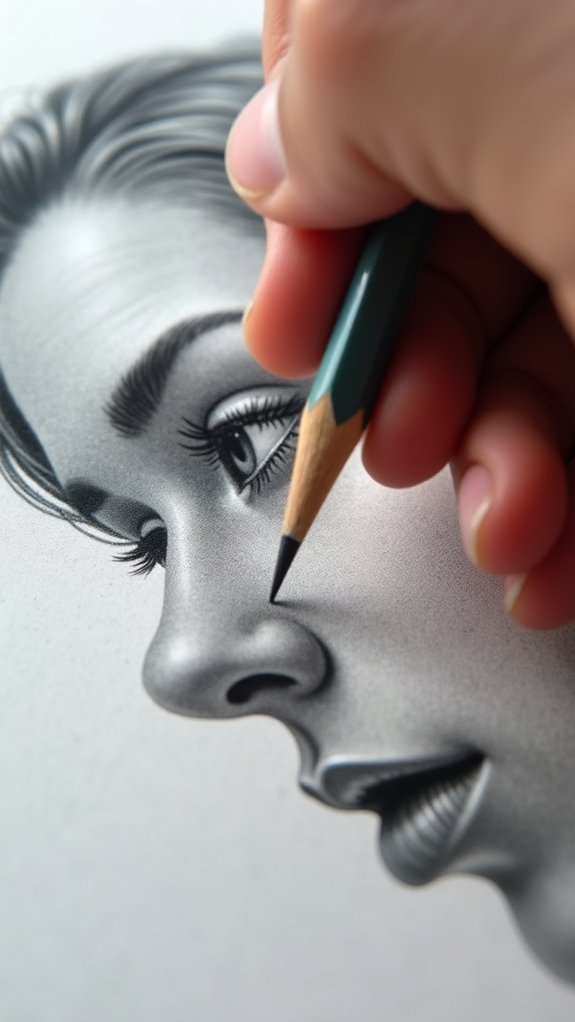
When artists plunge into portrait drawing, they need specialized shading techniques that bring human features to life. The magic happens when black Prisma color mingles with graphite, creating smooth shifts that make skin look real instead of flat. This combo adds incredible shading contrast to cheekbones, eye sockets, and jawlines!
Artists use the cool “walking down” method—a fancy way of saying they blend edges super carefully—which makes portrait texture pop without any harsh lines.
No fingers allowed for smudging, though! Proper tools keep everything clean and precise.
Achieving Soft Gradients in Landscape Drawings
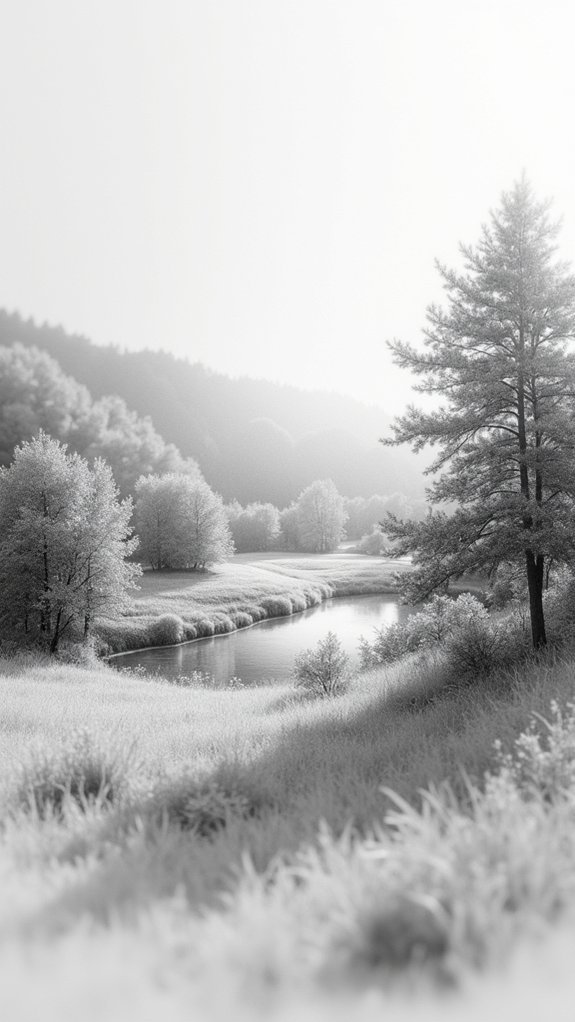
Soft gradients make all the difference in scenery drawings, transforming flat sketches into scenes with real depth and feeling.
When artists master gradient color theory, they can recreate the atmospheric perspective that makes distant mountains look hazy and dreamy!
Here’s how to nail those beautiful soft shifts:
- Layer graphite gradually with controlled strokes – don’t rush it or you’ll get patches instead of smoothness!
- Try the “walking down” technique to blend edges between light and dark areas like a pro.
- Mix black Prisma color with graphite for super rich textures that pop off the page.
- Change your hand position to direct your strokes differently – it’s like magic how this affects the whole look!
Tools and Materials for Professional-Quality Results
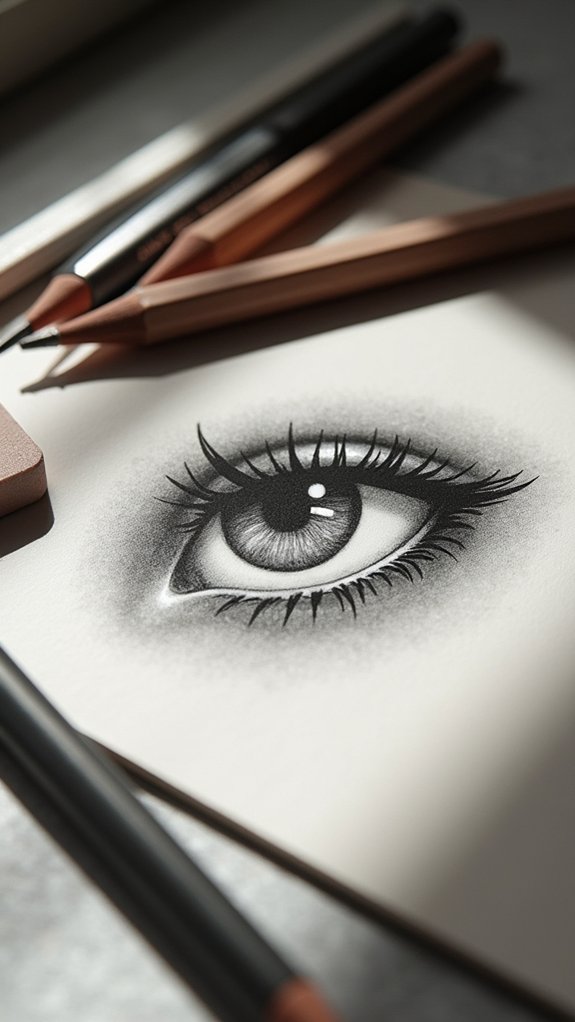
Artists who aim for professional-quality pencil drawings know that their tools and materials make a huge difference in the final result.
The right mix of pencils, from soft 8B graphite to vibrant Prisma colored pencils, can transform a simple sketch into a masterpiece with rich textures and depth. Quality paper provides the perfect foundation, while specialized blending tools like tortillons (those funny little rolled-paper sticks) help create the smooth changes that make drawings look almost magical!
Essential Pencil Selection Guide
Every spectacular pencil drawing begins with the right tools in your hand. The difference between an ordinary sketch and an eye-popping masterpiece often comes down to pencil choice!
Artists should understand pencil grades comparison to access different effects—H pencils create light, precise lines while B pencils deliver rich, dark tones that make drawings pop.
For fabulous results, remember these must-haves:
- Invest in high-quality brands like Prismacolor for smooth, rich color application
- Get a variety of graphite grades (2H to 6B) for amazing contrasts
- Add blending tools (tortillons) to create super-smooth shifts
- Choose proper paper that enhances texture and detail
Don’t forget proper pencil storage tips: keep them horizontal to prevent lead breakage and away from heat sources.
Your pencils will last longer and perform better!
Quality Paper Matters
While pencils form the backbone of your drawing toolkit, the paper you choose serves as the foundation for every masterpiece you’ll create! Artists know that high-quality paper—at least 200 gsm and acid-free—prevents yellowing and warping when you’re deep into shading.
Different paper types create different effects in your artwork. Check out these amazing options:
| Paper Type | Best For | Wow Factor! |
|---|---|---|
| Bristol | Super smooth blending | Makes graphite shine! |
| Watercolor | Rich textures | Pencil colors POP! |
| Sketching | Quick practice | Perfect for beginners |
| Toned | Dramatic highlights | Instant depth—amazing! |
| Perforated | Easy framing | No torn edges—so professional! |
Paper textures can take your drawing from “meh” to “magnificent!” Smoother surfaces allow for detailed work, while textured papers add character—though they’re trickier to master!
Blending Tools Comparison
Beyond the basic pencil itself, the right blending tools can transform ordinary sketches into breathtaking masterpieces!
Artists comparing blending techniques often discover that fingers, while convenient, simply can’t match the precision of proper tools for those silky-smooth shifts.
A tool effectiveness analysis reveals clear winners:
- Tortillons – These tightly-wound paper pointers offer pinpoint control for detailed areas, perfect for those tricky highlights!
- Blending stumps – Thicker than tortillons, these workhorses tackle larger areas with impressive consistency.
- Graphite pencils (HB-8B) – Not just for drawing! These can blend when applied with varying pressure.
- Prisma color + graphite combos – This dynamic duo creates richer blacks and more seamless shifts than either alone.
Frequently Asked Questions
How Do You Shade Realistic With a Pencil?
Artists achieve realistic pencil shading by varying pencil pressure to create depth and using proper shading tools like blending stumps rather than fingers for smooth, controlled shifts between values.
What Are the 4 Pencil Shading Techniques?
The four primary pencil shading techniques include hatching (parallel lines), cross hatching technique (intersecting lines), stippling (patterns of dots), and blending methods that create smooth changes between tones.
How to Make a Pencil Drawing Look Realistic?
Creating realistic pencil drawings demands proportional accuracy in subject representation and detail enhancement through varied shading techniques, careful value shifts, texture development, and understanding of light behavior on surfaces.
How to Get Realistic Shading?
Realistic shading requires identifying a consistent light source and building gradual tonal shifts. Artists create texture contrast through layering techniques, adjusting pressure, and careful edge blending for dimensional depth.
Conclusion
Mastering pencil art isn’t just about having the right tools—it’s about practice and patience! With these shading techniques in your artistic toolkit, your drawings will transform from flat sketches to living, breathing creations. Remember, even professional artists were beginners once. So grab your graphite pencils, try these methods, and watch your artwork pop off the page with amazing depth and detail. Your artistic journey is just beginning!

Leave a Reply