
Drawing flower doodles is way easier than you’d think, and the results are super cheerful! Anyone can sketch lovely anemones with their wavy petals, stylish lilies, playful succulents, or quirky gladiolus using just basic shapes and lines. Brighten up pages with phlox, dramatic black-eyed Susans, popping hydrangea clusters, and sunny daffodils—all with simple strokes and a splash of color. Even creating a bunch of flowers together looks stunning. Want to know the simple secrets? Keep going!
Key Takeaways
- Choose simple floral doodles like Anemone, Lily, Gladiolus, and Black-Eyed Susan for easy step-by-step drawing.
- Start with basic shapes such as circles, ovals, and triangles to build petal and flower outlines.
- Use layering, faint lines, and textured details to add depth and realism to your flower doodle art.
- Vibrant coloring and fine-line details brighten doodles and make each flower pop on journals or sketchbooks.
- Experiment with a variety—phlox, tulip, succulent, daffodil, and hydrangea—for cheerful, unique doodled flowers in your artwork.
How to Draw a Charming Anemone Doodle

Let’s jump right in—drawing a charming anemone doodle isn’t as hard as it looks, and it can actually be super fun.
To master these Easy Flower Doodles, begin by sketching two or three concentric circles for the center. From there, draw a flower by adding the petals around the circles, making sure each has its own unique size or curve to mimic nature’s different floral shapes.
Don’t worry if your petals look a bit wonky; that just adds character! Use faint lines or dotted connections between the center and petals for depth. Light pencil marks are perfect for adjustments before inking.
Add long, simple leaves to the stem, and splash on vibrant purples and pinks to make your anemone pop off the page!
Simple Steps for a Lovely Lily Flower Drawing
Drawing a lily might sound tricky, but breaking it down into basic shapes like lines and triangles makes it surprisingly fun—kind of like turning a math problem into art!
Starting with a clear stem and building up the bold, pointed petals sets the stage, and then it’s all about adding those graceful creases and the nature-inspired details that make your lily pop.
With these handy steps, anyone can sketch a lily that looks so elegant, your pencil might just start blushing.
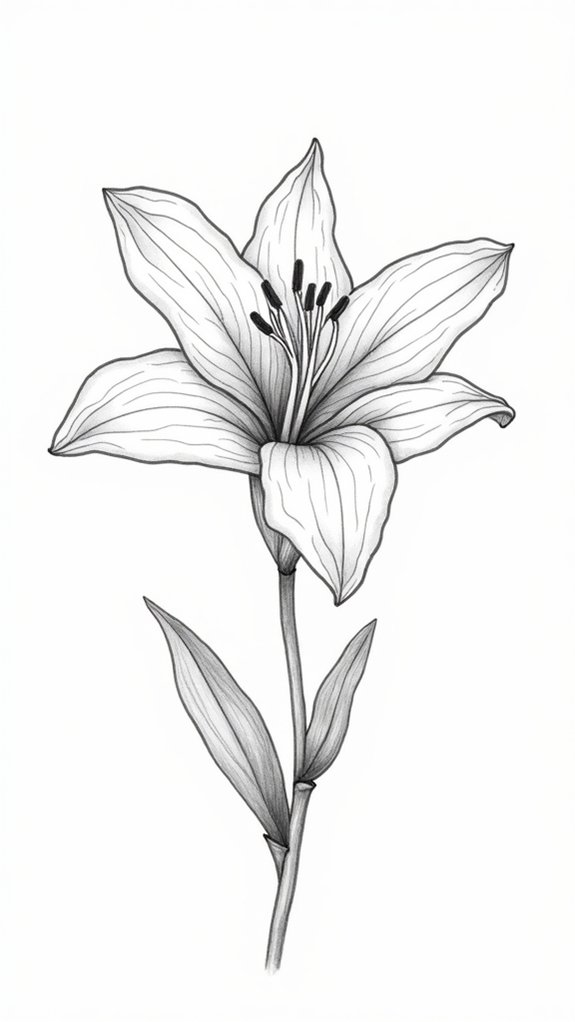
Basic Lily Shape Guide
Glorious lilies have a way of stealing the show in any garden doodle, and it turns out they’re not as tricky to draw as they seem!
When sketching a basic lily, begin with a bold, straight line for the stem—think of it as the backbone holding everything together. For the stems and leaves, gently curve your lines, letting them hug the stem for that real botanical vibe.
Doodle flowers come to life when you create that classic triangle-shaped petal right upfront, then add four more petals around it. Vary their size and shape—no two petals are twins!
If you want your lily to pop, layer petals a bit, hinting at dimension. Play around with curvy petals and funky-angled leaves for the liveliest lilies on the page!
Adding Elegant Petal Details
Anyone who’s ever stared at a real lily knows those petals aren’t just flat shapes—they’re full of little lines, wrinkles, and details that make them look magical up close.
Adding elegant petal details totally transforms these doodles to draw from basic to wow! Once the big petal shapes are sketched, bringing them to life means grabbing a fine liner and working in some thin lines.
Start each line near the base or middle of the petal, then flick outward—think of it as flower tutorials for realistic texture. Don’t forget a few extra squiggles for creases or even the delicate anthers poking out.
Mix and match how wavy, straight, thin, or thick those lines go to build your own unique blooming masterpiece!
Creating a Cute Succulent Doodle

Even though succulents might look a little tricky to draw at first, creating a cute succulent doodle is actually easier than it seems—and honestly, it can be pretty fun, too!
To capture that classic succulent style, start drawing the flowers by sketching overlapping triangles in a circle. This gives that cool, layered look everyone loves. Don’t forget to add some curved lines along the edges of your triangles—those details really pop and make your succulents look lifelike.
If you want extra flair, tuck in a few smaller triangles or oval shapes between the bigger leaves. Use a light pencil at first, then go over your lines with a fine liner for that bold finish.
Pop your succulent doodle into a pot, and voilà—simple flower magic!
Easy Gladiolus Flower Art for Beginners
Now it’s time to make your own gladiolus doodle, and yes, it’s way easier than spelling “gladiolus” without peeking.
Starting with basic tools like a pencil, eraser, and paper, beginners can sketch the tall stem, then stack the trumpet-shaped petals in a simple pattern, adding a few swooping leaves for that fancy touch.
With each line and detail, even first-timers can create a bold, blooming gladiolus that looks like it’s ready to leap right off the page—no green thumb required!
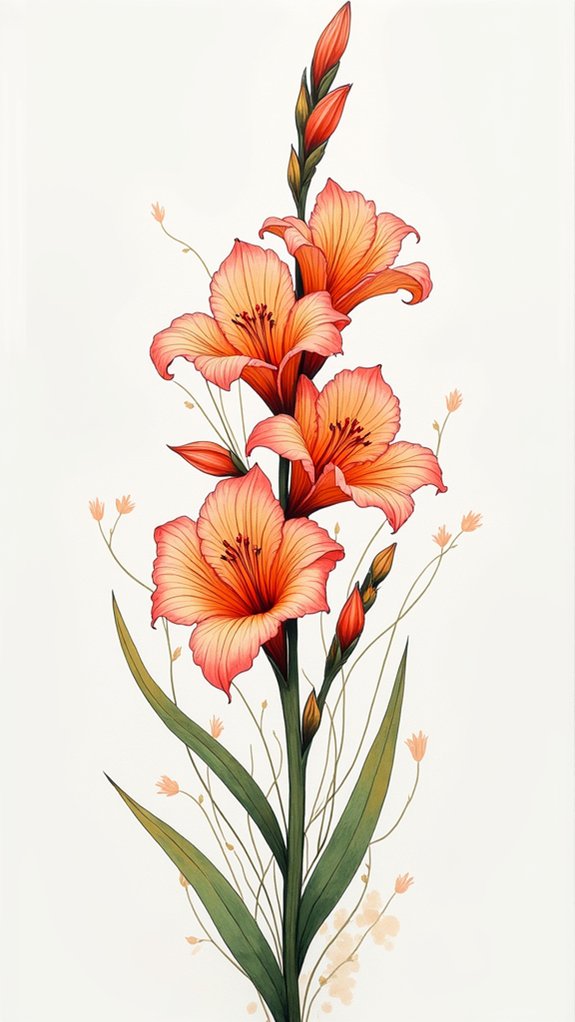
Simple Gladiolus Drawing Steps
Jump right into the world of doodle art by sketching a gladiolus—a flower that stands tall and looks way fancier than the effort it takes to draw.
To start, imagine a straight line in the middle of your page. That’s your gladiolus stem, ready for some magic!
Now, draw a stack of ovals or teardrop shapes along that line. These are your petals, and don’t worry if they overlap or look a bit wonky—that gives your doodle some real-life flair.
Add gentle curves and a few lines to each petal, making them look soft and textured.
Last step: draw those long, sword-shaped leaves shooting out from the base.
There you go—a bold gladiolus that’s simple, stylish, and seriously fun!
Essential Gladiolus Sketch Materials
Gladiolus doodles look amazing, but the secret sauce? The right sketch tools! For anyone just learning how to draw beautiful flowers, using a Draft/Matic drawing pencil is a game-changer. It lets you sketch those easy flower doodle outlines without all the eraser stress.
Next, switch to a 0.5mm Staedtler pigment liner—hello, crisp lines! This pen makes your simple doodle art pop and keeps your flower looking fresh, not messy.
To capture the unique gladiolus style, good materials help with stacking those petals neatly and layering them so your drawing really stands out.
And don’t forget, practicing from different angles with quality pens and pencils makes your gladiolus doodles way more dynamic (and fun). Amazing results begin with the right art gear!
Drawing a Playful Phlox Blossom
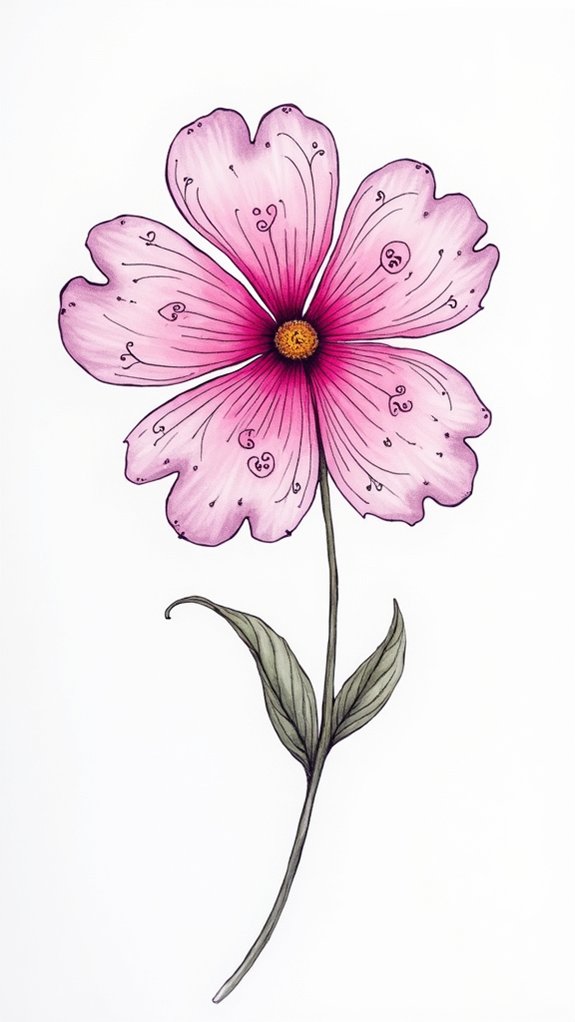
A splash of creativity bursts onto the page when someone tries their hand at a playful phlox blossom.
Starting this flower is easier than finding a lost sock—just sketch a tiny circle for the center, then build five overlapping petals with slightly wobbly edges to keep it fun. These floral doodles thrive on a less-than-perfect look! Angled lines from the middle help each petal pop in the right place, making the flower nice and full.
Plop in a few little circles or dots at the center to act as stamens (because every flower loves a bit of sparkle). A cute, curvy stem and a couple simple leaves finish things off.
Experiment with petal colors; phlox blossoms are rainbow-approved, making these cute flower doodles even more magical!
Effortless Tulip Doodle for Your Journal
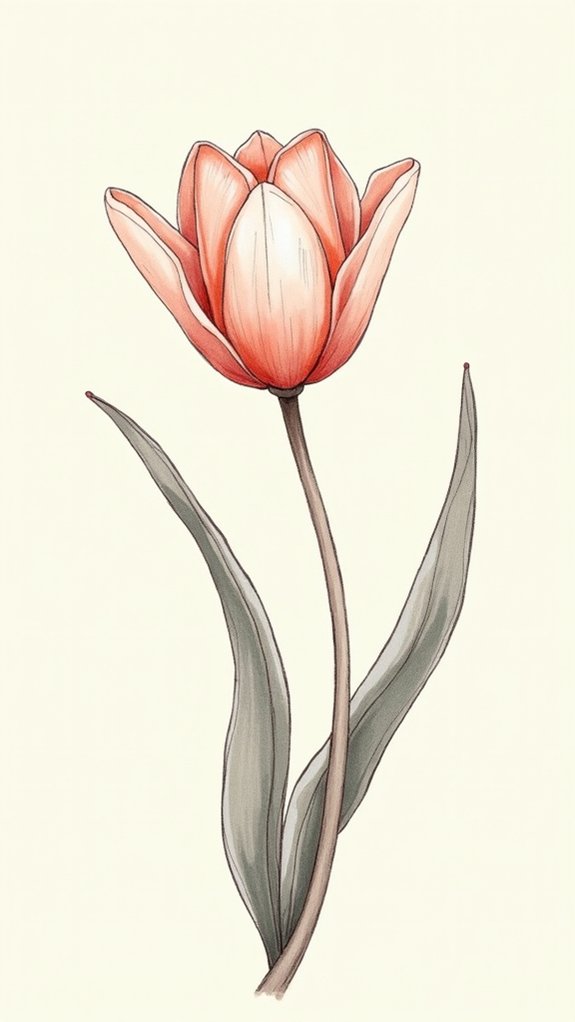
When someone wants to add a happy little burst of color to their journal, drawing a tulip doodle couldn’t be much easier—or more satisfying.
Start by drawing a gentle upward curved line for the stem, then draw a circle, or more like an oval, at the top to mark out the tulip’s main shape.
Here’s the fun part—sketch three or four petal shapes around that circle, making them a bit different in size or curve for a natural vibe.
Want more detail? Add tiny, skinny lines inside the petals to suggest texture.
Quickly finish the doodle by adding two simple, curved leaves near the stem.
That’s it! This tulip doodle fits perfectly into any bullet journaling spread, bringing vibrant, floral joy to any page.
Doodling a Radiant Black-Eyed Susan

Ready for a bold and sunny addition to your sketchbook? Drawing a radiant Black-eyed Susan is super fun—there’s a clever way to build it up step by step, give it pops of color and texture, and even use it to brighten your bullet journal in some surprising ways.
Grab a pen (and maybe a snack), because things are about to get vibrant and a little bit artsy!
Step-by-Step Drawing Guide
Even though drawing flowers might look tricky at first, getting started with a Black-Eyed Susan doodle is way easier than you’d think—it all begins with a simple circle smack in the middle, representing the flower’s bulb. From there, it’s totally a step by step process! Next, flower doodles really come alive when you add one elongated petal after another, radiating from that center circle. Don’t worry about making them perfectly even; the Black-Eyed Susan’s charm is in its slightly messy, natural look. Sprinkle in a few lines on each petal for texture, add a simple stem, and attach a couple of slinky leaves.
Here’s a handy table to keep you on track:
| Step | Action | Detail/Tip |
|---|---|---|
| 1 | Draw a circle | Flower’s central bulb |
| 2 | Add petals | Keep them irregular |
| 3 | Add texture lines | Show depth and shape |
| 4 | Draw stem + leaves | Simple, elongated forms |
Coloring and Detail Tips
A splash of color can take a simple Black-Eyed Susan doodle and make it look totally radiant—it’s like turning up the summer sunshine right on your sketchbook!
When it comes to coloring, bright yellows and hints of orange truly bring those long, floppy petals to life. The center? Think dark brown or even black for some dramatic pop—hello, instant contrast!
Don’t forget to add little detail touches by drawing tiny dots and fine lines inside the petals. This texture trick makes everything feel extra real, almost like you can pluck the doodle right off the page.
To finish the vibe, toss in some green leaves; they anchor your flower and show off all that petal brilliance. Light shading? That’s your ticket to serious three-dimensional magic!
Creative Bullet Journal Uses
With all those bright colors and sharp details in play, Black-Eyed Susan doodles don’t just look amazing—they totally light up any bullet journal page.
Imagine this: you’re flipping through your Bullet Journal and those bright yellow flowers with bold centers practically jump off the page, making everything look more cheerful.
The best part? These flowers are so easy to draw, no art degree required. Start with a simple circle, draw some long petals, and bam—instant doodles!
They’re perfect for decorating habit trackers, mood logs, or even outlining your favorite quotes. Add some dots in the middle, play around with petal shapes, and you’ll get extra style points.
Not only do these easy doodles look cool, but they also bring a little sunshine to everyday planning.
Quick Hydrangea Cluster Flower Sketch
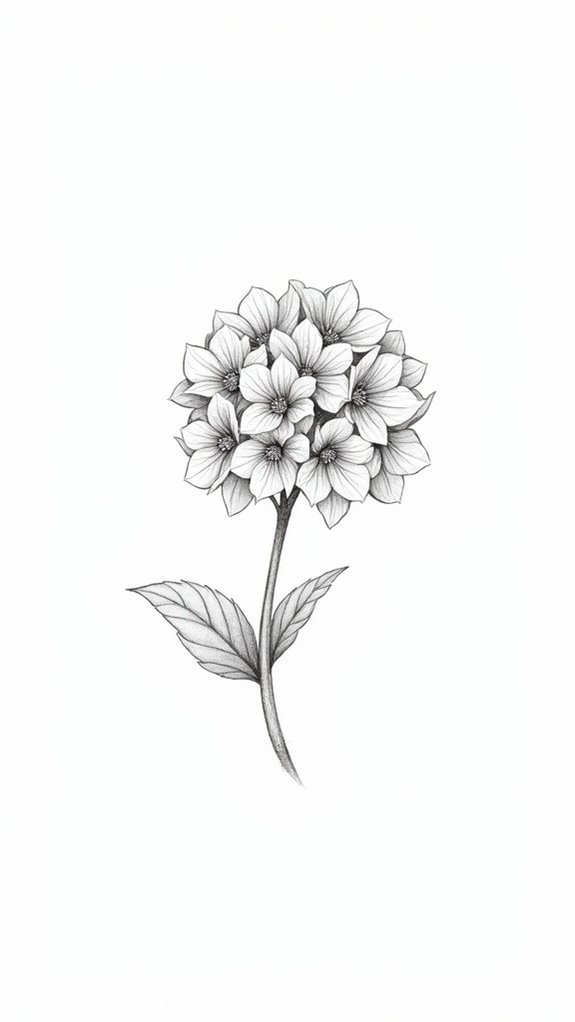
Hydrangeas can totally steal the show in any doodle, especially when sketched in a cluster that looks ready to burst off the page.
To nail a quick hydrangea cluster, just start with a bunch of overlapping circles—think bubbles at a party—showing each flower head popping forward. Fill in each cluster with small tear-drop petals, some tiny, some bigger, because flowers never do perfect math. Sneak in dots at the center of each flower to bring your flower doodles to life.
Stems are just a few squiggly lines reaching up, connecting the flowers and leaves. To wrap it all up, add simple oval leaves—leaf shape matters!—poking out and making everything look more real.
Seriously, flowers and leaves never looked so lively!
Cheerful Daffodil Doodles Anyone Can Make

Just when it seems like the hydrangeas have stolen the spotlight, another flower is ready to burst onto the page in all its bright and sunny glory—the daffodil!
Daffodil doodles are the ultimate cheerful addition to any floral journaling adventure. With their one-of-a-kind trumpet shape and splashy yellow color, these blooms can’t help but make you smile.
Even better, doodling a daffodil is a breeze. Start with that trumpet center, add six playful petals around it, and finish with a couple of slick, curvy leaves. Voilà! You’ve nailed the daffodil look.
These simple doodles are perfect for beginners and pros alike, brightening up your journals or any floral-themed project. Daffodils shout “springtime,” bringing renewal and fresh energy to every page!
Drawing Flowers in a Bunch for Stunning Compositions
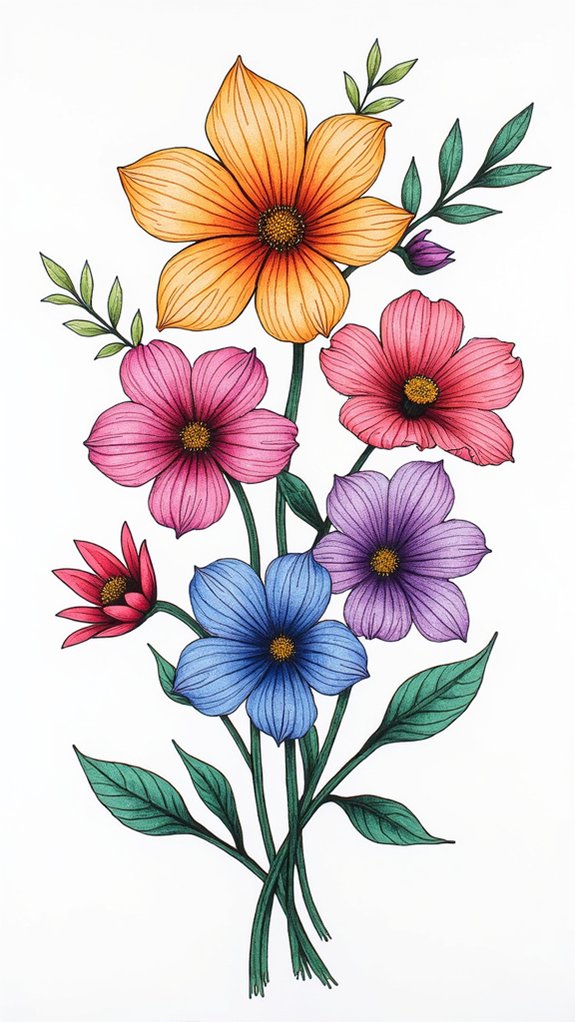
A whole bouquet of doodled flowers can turn an ordinary page into a work of art that feels bursting with life and color—like throwing a mini flower party in your journal!
To get started, pick your favorite flower doodles, then draw a central bloom facing out, which grabs all the attention. Sketch pencil guides to shape your bunch—maybe a circle or triangle—then fill the spaces with different types and sizes.
Mixing big, wild tulips with a little doodle daisy or two adds serious charm. Pay attention to the placement of the petals so each flower stands out without crowding its neighbors.
Don’t forget to doodle in stems and leaves, connecting everything for a lush, harmonious look. Personalize with colors and enjoy your masterpiece!
Frequently Asked Questions
How to Draw Simple Doodle Flowers?
When exploring how to draw simple doodle flowers, individuals can utilize flower doodle techniques, whimsical petal designs, and creative leaf patterns. Simple sketching tips such as starting with basic shapes can help make the process approachable and fun.
What Is the Easiest Flower to Draw?
When considering easy flower drawings, the daisy is frequently cited for its straightforward structure, making it ideal for beginner flower doodles. Simple floral designs like tulips and sunflowers also offer accessible, quick flower sketches suitable for novices.
How to Draw a Flower in 5 Minutes?
Answering how to draw a flower in 5 minutes, one can use quick sketching techniques by outlining basic flower shapes, applying doodle drawing tips, and relying on time-saving art methods, creating appealing results swiftly with minimal detailing.
How Do You Draw Aesthetic Flowers Easy?
To draw aesthetic flowers easily, one should use flower sketching principles, basic doodle techniques, and explore simple floral patterns. Artistic inspiration is enhanced by varying petal shapes, adding leaves, and applying gentle shading for dynamic, visually pleasing designs.
Conclusion
Drawing doodle flowers isn’t just about filling up a page—it’s a way to let your creativity bloom and maybe even surprise yourself. Whether it’s anemones, lilies, or even a wacky bunch of daisies, each step is like giving your pencil a dance party. And honestly, who doesn’t love a good squiggle? So grab a pencil, mess up a little, and keep trying. By the end, those pages will be filled with your own wild, wonderful garden.
Leave a Reply