
Drawing doodle Zentangle patterns is totally doable, even if you think you can barely doodle a stick figure. All you need is some paper, a good marker, and a comfortable spot with decent lighting. Start with simple shapes—circles, lines, squiggles—then fill each section with easy repeating patterns. Mix things up with weird shapes or textures, and try adding shading for a 3D look. Honestly, each Zentangle ends up looking wild in its own way—want to know how to make yours stand out?
Key Takeaways
- Gather basic supplies like coldpress watercolor paper, a black permanent marker, pencil, and eraser to start your Zentangle.
- Create simple base shapes—circles, squares, triangles, and curvy lines—to form the foundational structure of your doodle.
- Fill each section with repetitive patterns, combining geometric and organic marks for visual interest and unity.
- Add depth using shading, varying line weights, and texture techniques like hatching or aura lines for dimensionality.
- Work in a comfortable, well-lit space to maintain focus and nurture creativity throughout your Zentangle process.
Gathering Essential Materials

Supplies are the secret superheroes of doodling—without them, not even the coolest Zentangle pattern can make its big debut!
Think about it: on one side, you’ve got a blank piece of coldpress watercolor paper, thick and ready for anything, while on the other, a trusty black permanent marker waits to leap into action.
There’s so much excitement in choosing the perfect lines to make your artistic expression pop off the page! Not quite sure about where your designs are headed? No problem—a pencil and eraser squad have your back for every zig and zag.
Maybe you’ll add a splash of watercolor for bonus wow-factor. Keep it simple. Just gather these basic tools, and you’re good to doodle anytime inspiration strikes, no superhero cape required.
Setting Up Your Drawing Space

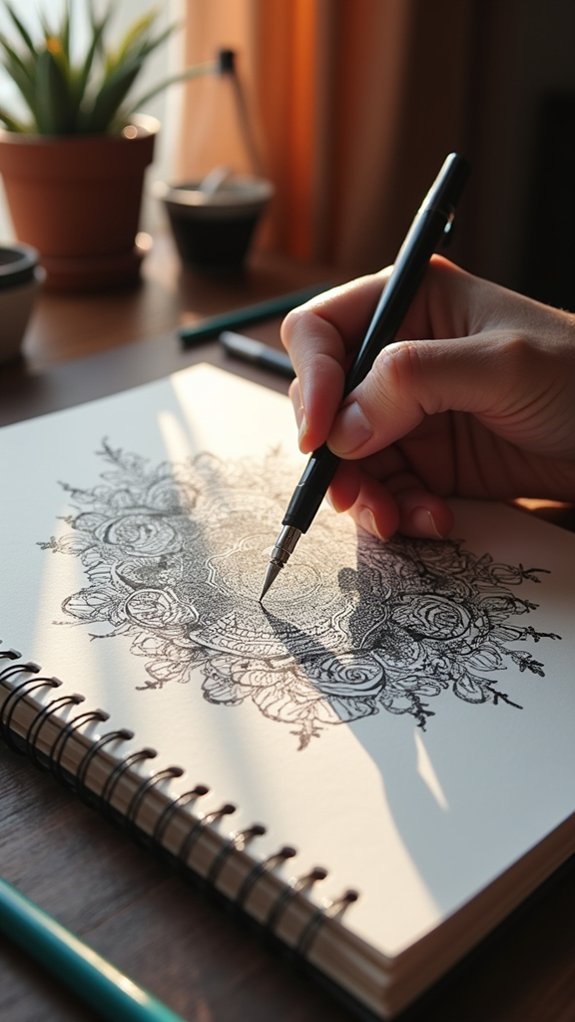
Every awesome doodle adventure needs a headquarters. Imagine a secret lab—except instead of bubbling beakers, you’ve got coldpress watercolor paper and a trusty, black permanent marker just waiting to turn a blank page into a black and white masterpiece.
Find a quiet, comfy spot where distractions can’t sneak up and steal your focus. Lighting is a big deal, too—lamps or sunlight keep the shadows away and help your eyes spot every detail.
Don’t forget: a flat, sturdy surface is your drawing command center; wobbly tables are a doodle’s arch-nemesis.
Before your marker meets the page, take a deep breath, clear your mind, and get ready to have fun. A relaxed brain is where wild patterns and creativity come from!
Creating the Base Shapes

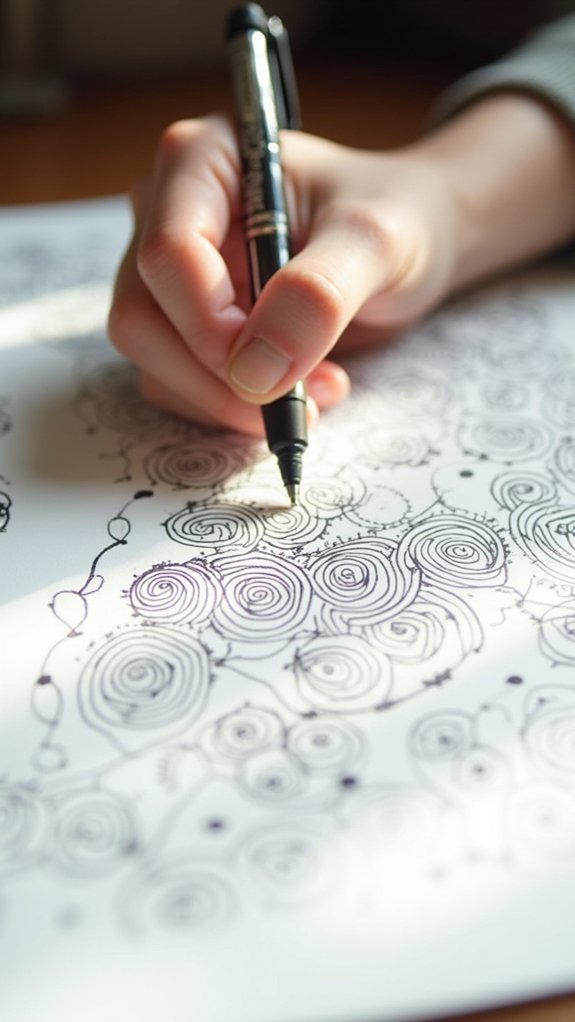
A blank page is like a secret map just waiting for hidden shapes to pop up—and in Zentangle doodling, those base shapes are the starting points for every wild adventure. Base shape selection is a big deal! Circles, squares, or even wobbly triangles, each one is like rolling the dice for where your unique pattern exploration will go next. Curvy line techniques bring energy; two parallel swirly lines can make stems that feel like magic beanstalks. Try stacking these shapes, using ovals or teardrops, and suddenly your drawing fills up with possibilities. Check this out:
| Shape Used | What Happens Next |
|---|---|
| Circle | Becomes a flower or spiral |
| Rectangle | Foundation for checkerboards |
| Curvy Line | Turns into flowing stems |
Play with space and see what grows!
Filling Sections With Repetitive Patterns
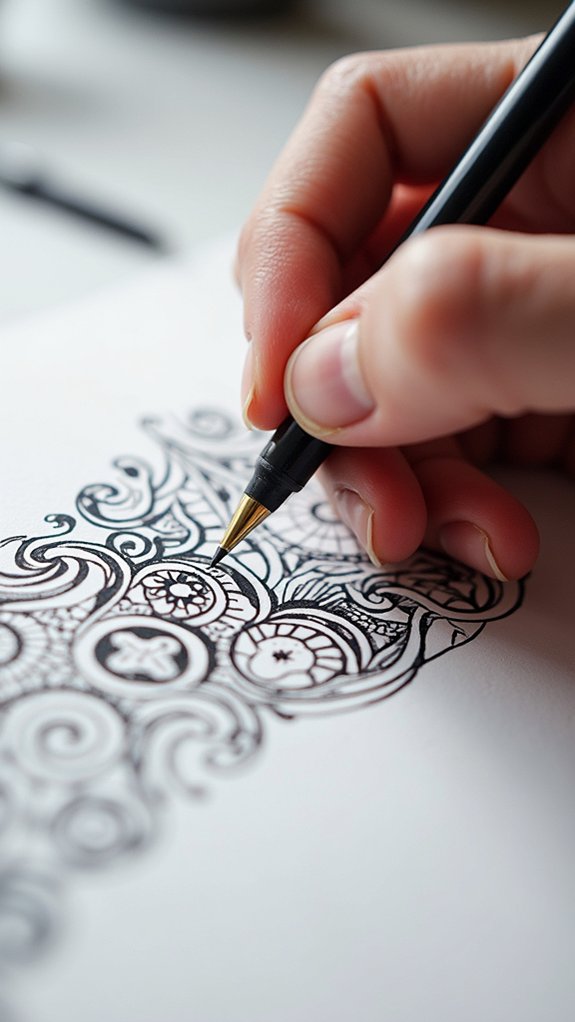
Now comes the really fun part—choosing which patterns you want in each section and seeing how they play together.
Mixing different types of repetitive marks, like triangles next to swirls, totally changes the vibe and can even make the drawing look like it has more layers or depth than it really does.
Don’t worry if your lines aren’t perfect—each repeat helps build the cool textures that make Zentangles pop, kind of like magic (but with pencils instead of wands).
Choosing Pattern Variations
Although it might look tricky at first, choosing pattern variations for filling Zentangle sections can actually be a ton of fun—almost like giving your doodles their own outfits!
Getting started is all about playing around with different pattern combinations and finding what feels right. Some sections might scream for geometric balance with tidy zigzags or repeating triangles, while others crave the flow of organic shapes, like swirling vines or bubbly clouds.
Don’t stress about perfection; it’s about embracing creative freedom and making each section pop with personality.
Here are some tips for picking awesome pattern variations:
- Start with simple shapes like circles or lines as your foundation
- Combine geometric and organic motifs for maximum flair
- Repeat patterns for unity and rhythm
- Vary size and orientation for extra interest
- Invent new patterns for personal flair
Enhancing Depth With Repetition
Dive right in, because repetition is like magic when it comes to filling Zentangle sections with serious wow-factor. Repeating simple shapes, like lines or dots, gives your doodle instant visual cohesion—the kind that makes people stare a second longer, trying to figure out how you made something so cool.
The trick? Dynamic repetition! Mix up the size, flip the direction, or tilt shapes to create pattern rhythm that’s never boring. Want to make your doodle pop off the page? Shade some of those repeating bits, and suddenly your flat drawing looks almost three-dimensional.
Try layering or using different textures too; each new repetition adds interest and complexity. Experiment, have fun, and remember: Zentangle loves a good pattern—so go wild!
Adding Depth With Shading and Texture
Depth isn’t just a word artists toss around to sound fancy—it’s actually the secret sauce that makes Zentangle patterns pop right off the page.
When someone starts adding depth with shading techniques or a bit of texture creation, Zentangles suddenly go from flat to fantastic. The difference it makes is wild—even a simple spiral feels way more interesting with just a bit of shadow and contrast tossed in!
Here are some fun ways to add serious visual interest:
- Shade one side darker to achieve that cool 3D effect.
- Try hatching and cross-hatching for extra texture.
- Draw auras: lines that hug your shapes for separation and depth.
- Vary line weights by pressing harder or lighter.
- Shade every other section for a powerful pop.
Personalizing and Enhancing Your Zentangle
Now that shadows and squiggly lines have kicked up the fun in Zentangle patterns, it’s time to take things even further by making each drawing totally your own.
Personalizing and enhancing your Zentangle means you can be as creative—or quirky—as you want! Try incorporating personal symbols, like your initials or tiny doodles that mean something special to you.
When choosing color palettes, think about your favorite shades or mix colors in wild ways—Zentangles don’t have to be black and white!
Experimenting with line thicknesses also changes things up, making certain parts pop while others chill in the background. Maybe give floral details thick, bold lines and let geometric shapes be thin and delicate.
There are no rules, just fun and imagination!
Frequently Asked Questions
How to Make Zentangle Doodle Art?
Creating zentangle doodle art involves applying Zentangle techniques, incorporating doodle inspiration from everyday shapes, and exploring pattern variations. The process emphasizes mindfulness and creativity by filling outlined sections with repetitive motifs, resulting in distinctive, meditative artwork.
How to Doodle Patterns Step by Step?
When exploring how to doodle patterns step by step, one begins with basic doodle techniques, draws inspiration from various patterns, and lets creative flow guide the process. Personalization and experimentation bring uniqueness and depth to each design.
What Are the 5 Easy Zentangle Patterns?
The current question explores five easy Zentangle patterns that serve as simple pattern examples: grid patterns, spirals, wavy lines, dotted borders, and curvy stems with leaves. These creative doodle techniques provide relaxing art benefits and visual variety.
What Is the Difference Between Zentangle and Doodle?
The difference lies in Zentangle techniques being structured and mindful, while Doodle styles are spontaneous and freeform. Artistic benefits of Zentangle include increased relaxation and focus, whereas doodling often encourages creativity and self-expression through casual, unstructured drawing.
What Are the 8 Steps of Zentangle?
The eight steps of zentangle techniques involve mindful preparation, establishing borders and strings, filling sections with tangles, and reflecting with gratitude. This process fosters creative mindfulness and offers drawing benefits such as relaxation, focus, and enhanced creativity.
Conclusion
So, that’s how anyone can plunge into doodle zentangle art without stressing! With just a handful of supplies and a little imagination, it’s easy to turn blank paper into a maze of wild, wiggly patterns. Mistakes? Totally part of the adventure—sometimes they make things even cooler. Whether someone is chilling after homework or doodling between classes, zentangle patterns bring creativity to life. Who knew a few lines and shapes could be so epic (and honestly, kind of addictive)?
Leave a Reply