
Drawing a simple doodle mandala is easier than it sounds; start with sturdy paper, a sharp pencil, and a steady hand—plus maybe a messy bun for extra creativity points. Mark a center dot, then use a compass or just eyeball some circles around it. Sketch swirly shapes or flower petals in layers, aiming for symmetry but not perfection—doodle mandalas love individuality! Once you’re happy, ink the lines and add bold colors. Curious about making your design pop and sharing it? Keep going!
Key Takeaways
- Start by marking the center of a piece of cardstock paper and drawing several evenly spaced concentric circles for structure.
- Use a pencil, compass, ruler, and protractor to sketch symmetrical sections and basic shapes like petals or triangles from the center outward.
- Lightly doodle simple patterns within each section, rotating the paper to keep shapes consistent and balanced.
- Trace over pencil lines with fineliners, varying line thickness, and add color using markers for a vibrant, eye-catching effect.
- Share your finished mandala on social media using hashtags, and credit any inspiration to encourage community engagement.
Understanding the Basics of Mandalas

Circles—simple shapes that seem kind of magical—are at the heart of every mandala. Mandalas aren’t just fancy doodles; they’re ancient symbols of unity, harmony, and, honestly, a little bit of mystery.
The word “mandala” actually comes from Sanskrit, where it simply means “circle,” and that’s the shape you see everywhere in these amazing designs. But it’s not just circles—you’ll spot all sorts of basic shapes, like petals, humps, and triangles, fitting together in mesmerizing patterns.
Artists start from the center, working outward one layer at a time, kind of like ripples in water. Tools like compasses and protractors help keep things neat and symmetrical, but the real magic comes from putting your own creative spin on those shapes. Isn’t that awesome?
Choosing the Right Art Supplies
Before diving headfirst into doodling mandalas, it totally pays off to get the right art supplies ready—think of them as your secret weapons in making art look crisp and cool instead of wobbly and weird.
Cardstock paper is a top pick because it’s tough and gives your pens a smooth ride, no rips or annoying smears. Start with a 2H pencil for sketches; it’s light and erases easily—no paper disasters here!
Don’t forget tools like a compass, protractor, and ruler if you actually want your circles and lines to look intentional (and not like a sleepy cat drew them).
Fineliners and Copic Sketch markers bring bold lines and rich colors, while kneaded erasers and blending markers help you fix oopsies and add wow-factor details.
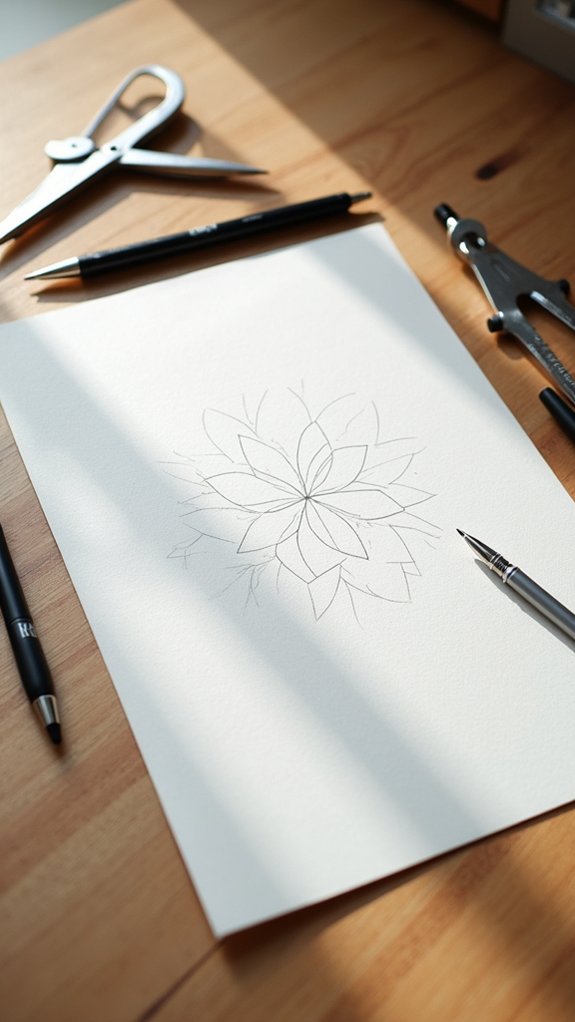
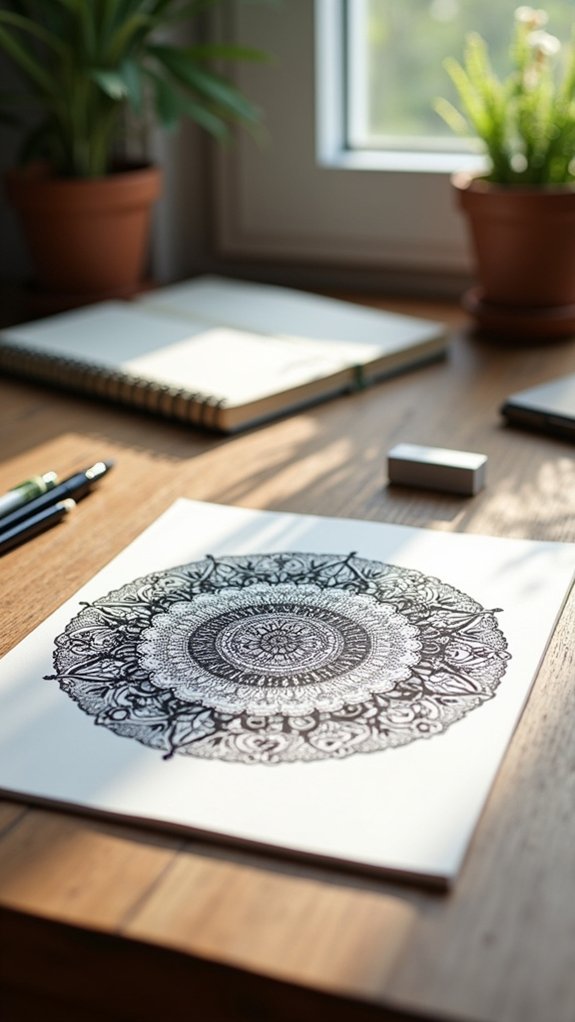
Preparing Your Workspace

Nothing kills the creative vibe faster than a messy, cramped desk or a broken marker that leaks all over your masterpiece.
So, before you even doodle a single line, let’s start by giving your workspace a little TLC. Pick a bright spot with a flat surface—this makes your drawing experience comfortable and helps you actually see what you’re doing.
Gather all your tools: grab pencils, erasers, a sturdy ruler, and don’t forget that trusty compass or protractor! Organize everything within arm’s reach so you don’t have to scramble later.
Here’s how to make prepping your space zero stress:
- Use cardstock for tough, marker-friendly paper
- Test all markers and pens for smooth flow
- Keep a clutter-free area for steady hands
Let’s start your mandala journey on the right foot!
Finding and Marking the Center Point
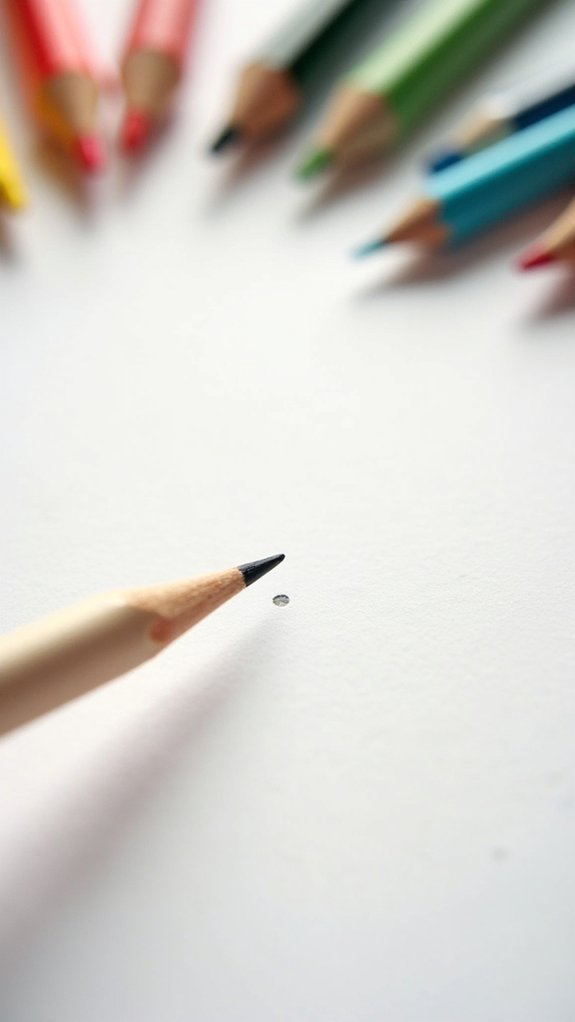
Now it’s time for the big moment—finding the center point, which is like the “X marks the spot” of your doodle treasure map!
Grab a ruler, measure the width and height of your paper, and mark the exact middle with a tiny pencil dot (no cheating—precision counts here).
That one little dot is going to be the star of the show, so mark it lightly but clearly, making sure it won’t escape your sight.
Using a Ruler
Grab that ruler—this is where the real magic begins! Using a ruler to find the center of your paper is like revealing secret mandala superpowers. No more guessing where the middle is or folding your page into a crinkly mess.
Instead, measure the paper’s width and height, then divide each number by two. Make sure your ruler lines up straight along the edges, because lopsided mandalas are only cool if that’s your vibe. When you’ve got those measurements, you’ll know where the exact center lives!
- Measure both the width and height of your paper with the ruler.
- Divide each measurement by two to locate the center point.
- Double-check your alignment to make sure your ruler isn’t crooked.
Precision now means better symmetry later!
Marking With a Dot
With the center spot measured out like a boss, here comes the satisfying part—making your mark! Marking with a dot isn’t just a tiny moment; it’s basically declaring, “This is where the magic starts.”
After folding the paper both ways, the creases give you a perfect crossroad. Now, grab your compass—or even just a sharp pencil—and place a small, almost secret dot exactly where the creases meet.
Tip: Go light, especially if you’re using a 2H pencil, so erasing later is easy-peasy—no angry paper holes here! Marking the center accurately is the heart of symmetry, and every cool pattern or swirl will bloom from this spot.
Once that dot’s down, you’re officially the ruler of your doodle universe.
Drawing Symmetrical Guidelines
- Mark the center carefully—everything depends on it!
- Draw several circles for structure.
- Use a protractor for perfect symmetry.
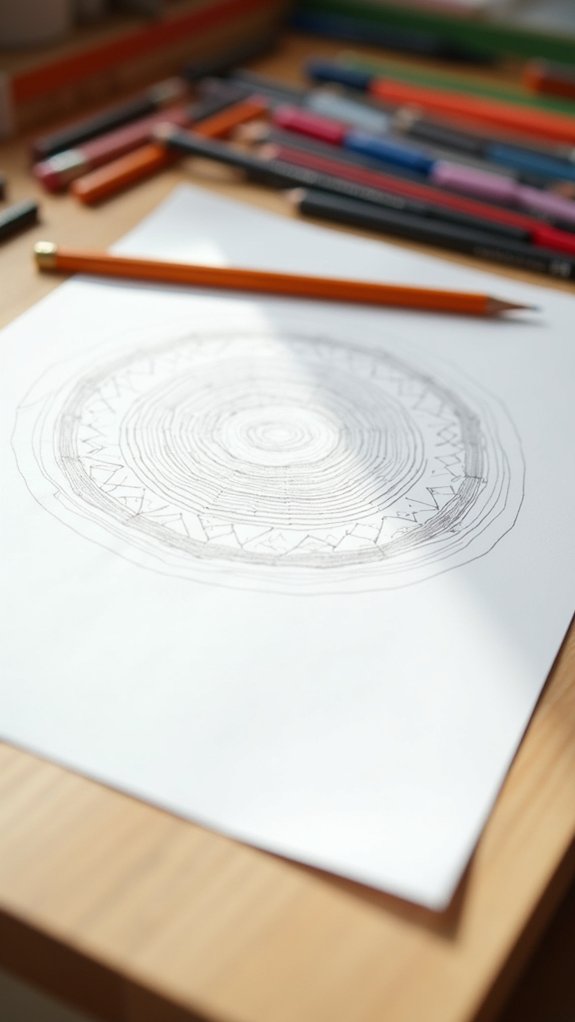
Creating Your First Layer of Shapes

Time to let the creativity loose—this is where the magic really begins! For anyone drawing a doodle mandala for the first time, this part totally feels like stepping into a secret world.
Start by finding the center of your paper and making a small circle—think of it as the “home base.” Grab your compass and make a few concentric circles, nice and even, so everything stays balanced.
Now, with a protractor, mark out some sections; it’s like slicing a perfect pizza! Inside each section, lightly sketch shapes—maybe some humps, petals, or playful circles—right from the center out.
Don’t worry about making things perfect the first time. Keep those lines sketchy, and definitely rotate your paper as you go. Symmetry superheroes, unite!
Building the Mandala Outward
Layer-by-layer magic kicks in once the basics are down—now the mandala really starts to bloom! Building the mandala outward is where creativity bursts to life, and that satisfying step by step process makes each layer more exciting.
Start sketching simple shapes—maybe circles, petals, or even bumpy “humps”—using a light 2H pencil. This way, if you mess up, no big deal! Measure from the center each time to keep it balanced, like a pro architect (but with way more fun).
Remember, rotating your paper helps create symmetry and keeps you from turning your head upside down!
- Change up shape sizes and styles for depth—don’t be shy!
- Rotate the paper often for cool, even patterns.
- Check symmetry with quick center measurements, like a mandala detective!
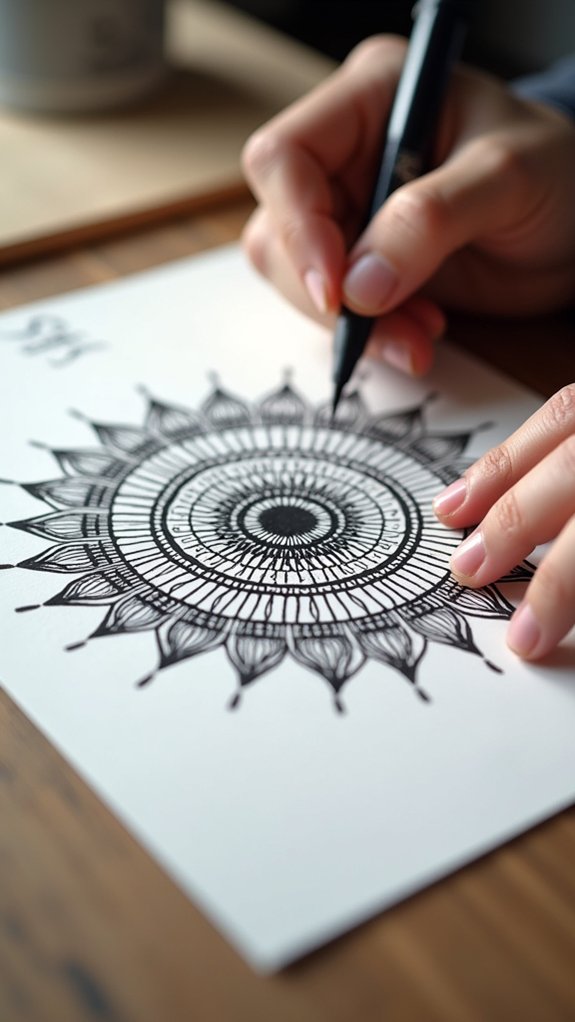
Inking and Outlining Your Design

With a deep breath and just a pinch of bravery, inking begins—the step where all those fuzzy pencil lines finally get the spotlight!
Inking is no joke; it takes a steady hand and maybe a bit of luck. Using a fine-tip pen, like a Staedtler Triplus Fineliner, the artist slowly traces over the design. Outlining each shape carefully is essential—one wild squiggle and that hard-earned symmetry could be toast!
To make things pop, mixing-up line thicknesses is fun: thick for the bold outer shapes, thin for those fancy inner details. Patience is key—don’t erase those pencil marks until the ink is completely dry, or risk turning your masterpiece into a smudge-fest.
Suddenly, the design looks sharp, bold, and totally original!
Adding Color and Details
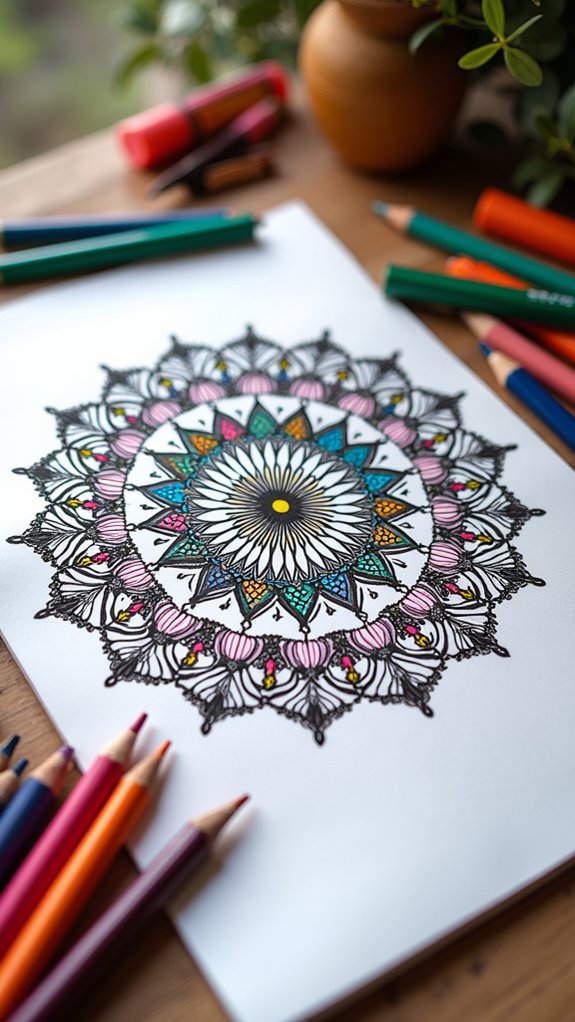
Color explosion incoming! This is where your mandala officially comes to life. Start with a color palette of eight warm, bright colors—think juicy oranges, punchy pinks, and electric yellows.
Grab those alcohol markers and work fast; the ink blends best while damp, creating awesome gradients and ombrés that just pop off the page. Watch as sections go from basic to basically mind-blowing!
- Add fun with details: Use thin lines on petals and dot in circles inside bigger shapes for a cool, 3D vibe.
- Balance things out: Thicken any uneven loops to keep your mandala looking sharp and symmetrical.
- Bring on the sparkle: Erase leftover pencil lines, then add white highlights with a Posca or gel pen for eye-catching contrast.
Sharing Your Mandala Artwork
There’s a next-level thrill in showing off a finished mandala to the world—think of it like releasing a burst of color and creativity that could inspire someone across the globe.
Sharing your mandala artwork is more than just posting a picture; you’re joining a community that thrives on engagement and inspiration. Whether you stick it on your fridge or post it on social media, don’t forget to use hashtags like #Mandalas or #DoodleArt to connect with other artists.
If your doodle was inspired by someone else, credit the original artist—a major show of respect in the art world. Jump into online challenges and groups for even more excitement, ideas, and feedback on your techniques.
Pretty soon, you’ll be sparking creativity everywhere!
Frequently Asked Questions
How to Draw a Mandala Easy Step by Step?
When seeking easy step-by-step guidance, one can find Doodle Inspiration by starting with concentric circles, dividing sections, and sketching simple shapes. Outlining, selective thickening of lines, vibrant coloring, and white highlights complete an accessible mandala drawing process.
What Is Mandala for Beginners?
A mandala for beginners is a form of meditative art, typically featuring simple, symmetrical patterns radiating from a central point. It allows novices to explore creativity, mindfulness, and relaxation while practicing basic drawing and coloring techniques.
What Is the Rule for Creating Mandalas?
The rule for creating mandalas centers on Symmetry Principles, requiring each element to be mirrored around a central point. Designs must maintain uniform patterns, balanced layers, and harmonious repetition, ensuring overall coherence and aesthetic appeal throughout the composition.
How Do You Draw a Mandala Freehand for Kids?
To draw a mandala freehand for kids, one starts at the center and uses doodle techniques like repeating simple shapes and patterns. Symmetry is maintained by dividing guidelines, while creativity is encouraged through playful lines and colorful designs.
Conclusion
Drawing a doodle mandala isn’t just about making a cool pattern—it’s like creating your own piece of happiness, one circle at a time. With some simple supplies, a dash of patience, and maybe a playlist of your favorite songs, anyone can jump in and try it out. Mistakes? Totally normal. That’s where the fun comes in! So, grab those pens, release your creativity, and let your mandala shine. Who knows? You might start a trend.
Leave a Reply