Acrylic markers offer endless creative possibilities for vibrant art. Try cosmic galaxy scenes with deep blues and layered stars, or botanical illustrations with stunning details. Create meditative mandalas, sunset vistas with seamless color blending, or geometric abstract patterns. These markers work beautifully on canvas, glass jars, rocks, sneakers, and even window decorations. The quick-drying, water-resistant nature makes them perfect for personalizing everyday objects into eye-catching masterpieces. Discover how these versatile tools can transform your artistic vision!
Key Takeaways
- Create galaxy scenes with layered marker techniques using deep blues and purples, stippling, and white highlights for stars.
- Achieve watercolor effects by applying markers to paper, spritzing with water, and blending with a brush for translucent looks.
- Design vibrant mandalas starting from the center and working outward with progressively darker colors for meditation art.
- Transform smooth stones into colorful mandalas or garden markers using acrylic markers and seal for durability.
- Upcycle glass jars and customize sneakers with patterns, geometric designs, or abstract splashes of vibrant colors.
Galaxy Scenes With Layered Marker Techniques
When exploring the vast possibilities of acrylic marker art, galaxy scenes offer some of the most breathtaking results that even beginners can achieve with a few simple techniques.
Start by creating your cosmic canvas with deep blues and purples, laying down a mysterious night sky backdrop that will make stars pop!
Next, add dimension with lighter colors using a stippling technique—just dab those pinks and whites to create distant stars and dreamy cosmic clouds.
While the colors are still wet, blend them gently to create those awesome, swirly galaxy vibes! For extra magic, add twinkling stars with white acrylic markers, and don’t forget to create silhouettes at the bottom—trees or mountains work great—to give your galaxy serious depth!
Botanical Illustrations on Mixed Media Surfaces
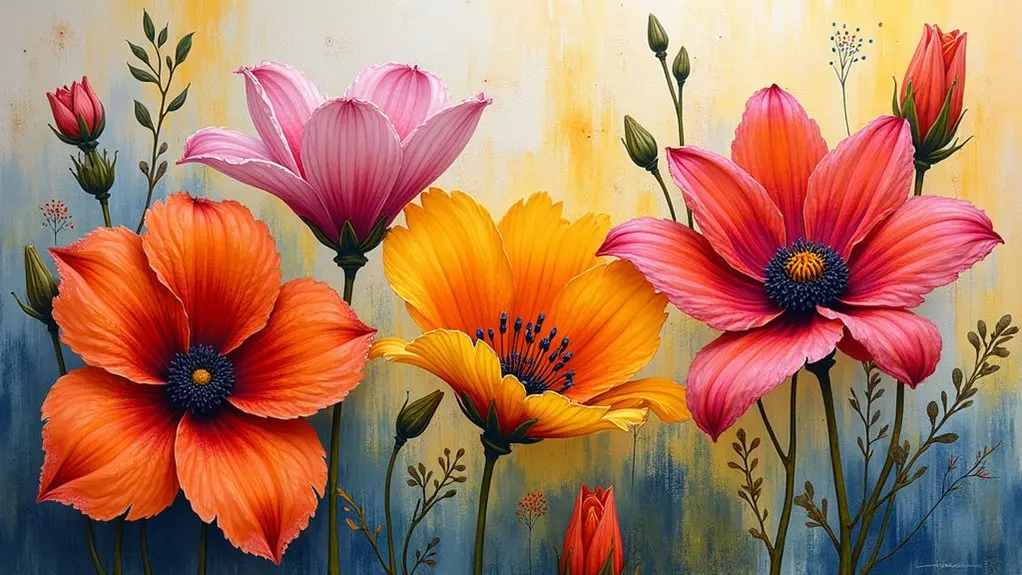
Creating botanical illustrations with acrylic markers brings plant life to vibrant, textured canvases that practically burst with natural beauty.
Artists can build stunning depth in their floral designs through careful layering techniques, making each petal and leaf pop with dimension that catches the eye.
Nature’s Textured Canvas
Botanical illustrations spring to life with extraordinary vibrance on textured surfaces, making mixed media the perfect playground for acrylic marker artists.
Rough watercolor paper grabs pigment differently than smooth wood or canvas, creating unique effects that showcase nature’s beauty in surprising ways. Artists love how acrylic markers can build layers, starting with light washes and gradually adding details that pop!
For an amazing leaf texture, try the running-out pen technique—let the marker run dry while dragging it across the surface. So cool!
Switching between thick and thin nibs helps capture everything from delicate veins to chunky tree bark. The real magic happens when artists mix their markers with watercolors or colored pencils, creating botanical masterpieces that seem to grow right off the page!
Layering Botanical Elements
The magic of layering transforms simple botanical sketches into dimensional masterpieces that practically leap off the page! Artists achieve this stunning effect by gradually building up colors and shapes with acrylic markers on mixed media surfaces.
Mixing watercolor backgrounds or textured paper with marker work creates pieces that pop with vibrant energy.
The real fun begins when experimenting with different techniques! Try glazing (laying transparent colors over dry layers) or stippling (using dots to create texture) to make your flowers and leaves look amazingly real.
Using both fine-tipped markers for delicate details and broad tips for bold shapes gives your botanical elements incredible depth. For extra wow-factor, play with contrasting colors—imagine bright orange flowers against deep blue-green leaves.
Suddenly, your plants aren’t just drawings—they’re alive with color and texture!
Mixed Media Leaf Techniques
When artists combine acrylic markers with other materials on mixed surfaces, magic happens in their leaf illustrations!
Unlike regular markers, acrylic markers are filled with vibrant colors that stick to almost any surface – from a Blank Canvas to wood or watercolor paper – making them perfect for mixed media botanical art.
Artists can create intricate patterns with fine tips while adding depth using everyday items like sponges or brushes.
Here are three step-by-step tips to create amazing leaf art:
- Start with a light watercolor wash background, then add detailed leaf veins with acrylic markers.
- Layer different colors of markers to build realistic leaf gradients.
- Use a damp brush to soften marker edges for a more natural, blended appearance.
Vibrant Mandala Designs for Meditation Art
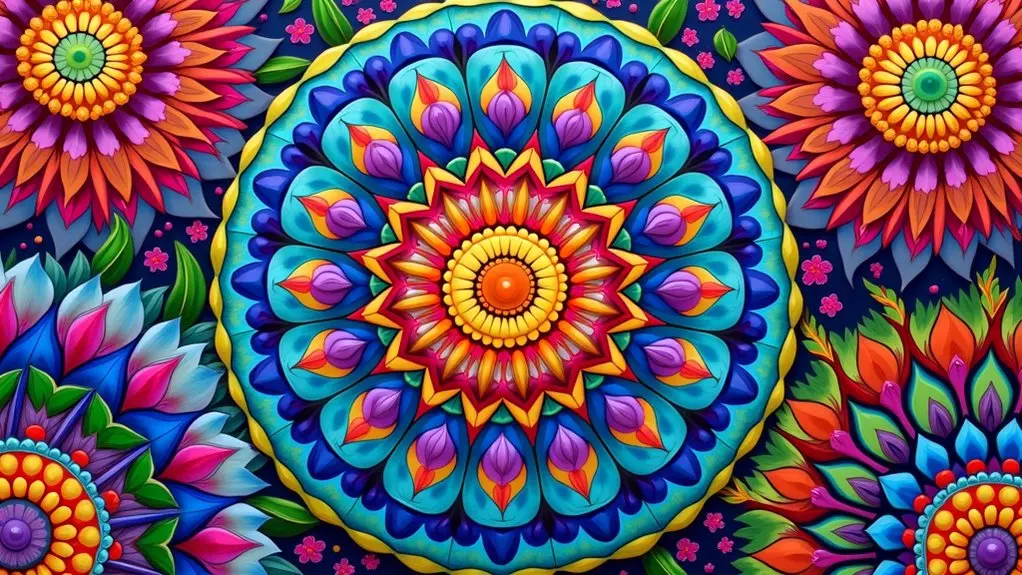
Creating vibrant mandala designs transforms ordinary art sessions into powerful meditation experiences that calm the mind while igniting creativity. Acrylic markers offer the perfect tool for this artistic journey, providing vibrant colors that dry quickly and allow for precise application on various surfaces.
Artists can build stunning depth by layering colors, starting with lighter shades and gradually adding darker tones to create dimension.
The secret to mesmerizing mandalas lies in their geometric shapes and perfect symmetry. Begin from the center and work outward, repeating patterns for a hypnotic effect that enhances focus.
Many artists report improved concentration after regular mandala practice – it’s like giving your brain a mini-vacation! Even beginners can create beautiful designs while experiencing the relaxing benefits of this ancient art form that’s as therapeutic as it is beautiful.
Gradient Color Blending for Sunset Landscapes
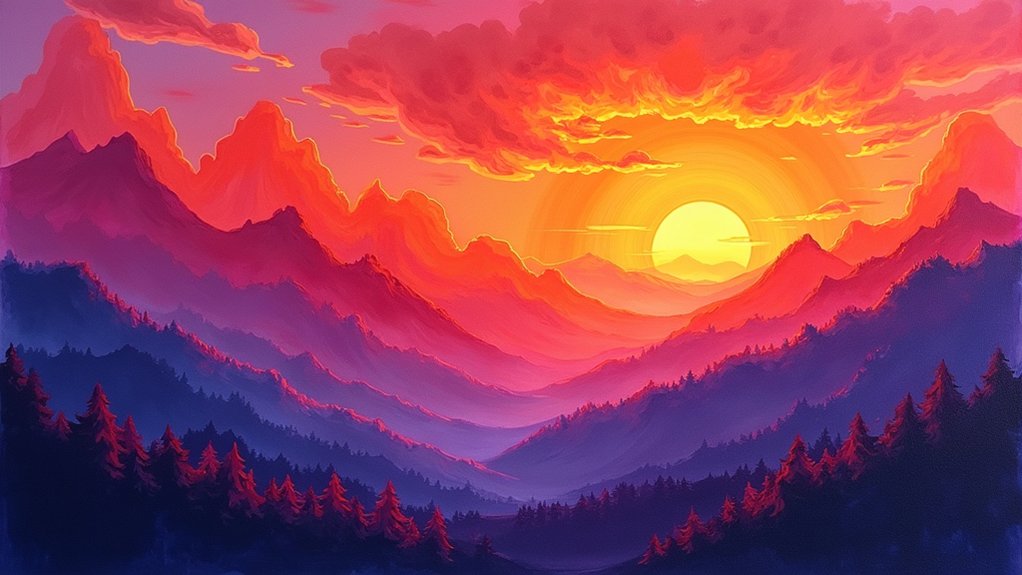
Capturing the breathtaking magic of a sunset requires skill in gradient color blending, a technique where acrylic markers truly shine.
Artists can create stunning Sunset Reflections by selecting warm yellows, oranges, pinks, and purples, then layering these colors while still wet to achieve that jaw-dropping sky effect. The secret lies in the seamless shift between hues!
- Start with lighter colors at the horizon (yellows and oranges) and gradually blend upward into deeper pinks and purples for that “wow” factor.
- Add darker blues or purples at the top to create the illusion of night approaching, making your sunset pop dramatically.
- Use gentle feathering motions with a blending tool where colors meet to avoid harsh lines—this creates that dreamy, cotton-candy look that makes sunsets so magical.
Abstract Pattern Making With Geometric Shapes
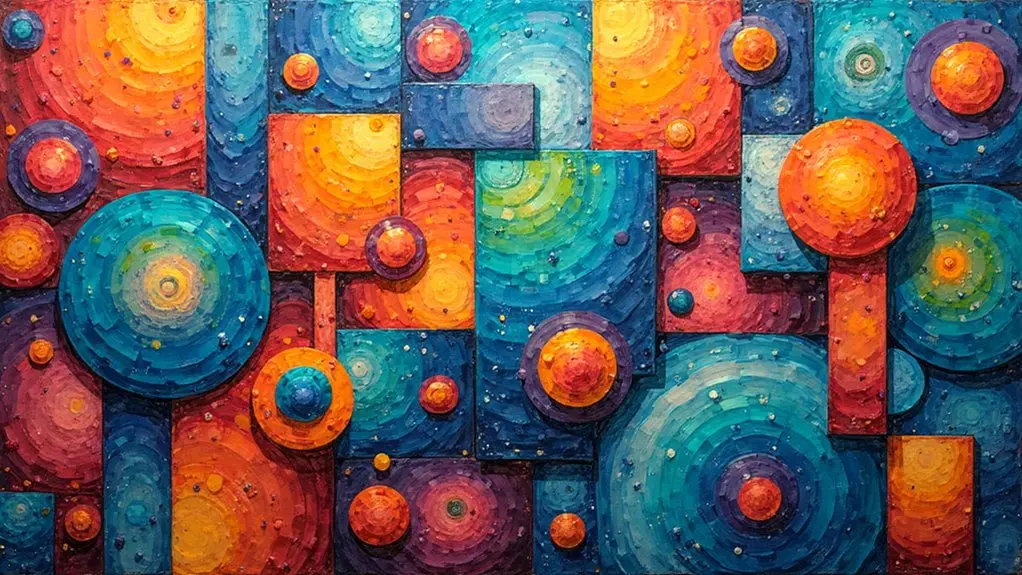
Abstract pattern making with geometric shapes offers artists an exciting way to explore creativity using acrylic markers.
Starting with bold geometric basics like triangles, circles, and squares creates the foundation, while layering these shapes with different colors and sizes adds depth and visual interest to the composition.
Artists can find colorful pattern inspiration everywhere—from city architecture to natural formations—which can spark unique ideas for creating vibrant, eye-catching geometric designs that truly pop off the page!
Bold Geometric Basics
The world of bold geometric art opens up endless possibilities for acrylic marker enthusiasts.
By combining circles, squares, and triangles in unexpected ways, artists can create stunning patterns that pop with visual energy. The key to geometric exploration lies in playing with contrasting colors, which makes designs leap off the page and grab attention.
- Layer three triangles in different sizes and colors (red, blue, yellow) overlapping at their centers to create a star-burst effect that radiates energy.
- Draw thick black outlines around colorful squares arranged in a spiral pattern, leaving negative space between them for a maze-like illusion.
- Create concentric circles with varying line weights, using complementary colors that vibrate against each other for an eye-catching, dynamic composition.
Layering Shapes Technique
Three magical dimensions emerge when artists master the layering shapes technique, transforming flat designs into rich, abstract wonderlands. By stacking circles, triangles, and squares of different sizes, artists create depth that seems to pop right off the page!
Color exploration becomes wildly exciting as acrylic markers blend and overlap. Just imagine: a yellow triangle peeking through a blue circle, creating a surprising green where they meet!
The trick is patience—let each colorful layer dry before adding the next one, or you’ll end up with muddy colors instead of vibrant ones.
For the coolest effects, try using contrasting colors (like purple and yellow) and experiment with opacity. Some shapes can be bold and solid, while others appear ghost-like and transparent. How awesome is that?
Colorful Pattern Inspiration
Diving into geometric wonder, artists discover endless pattern possibilities when combining simple shapes with vibrant acrylic marker colors!
Pattern Exploration opens up a world where triangles, circles, and hexagons dance together in mesmerizing arrangements. The smooth application of acrylic markers makes it super easy to create eye-popping designs that practically jump off the page!
- Overlap three different-sized circles with contrasting colors (think fiery orange, electric blue, and lime green) to create mysterious “bubble universes” where colors blend at intersections.
- Arrange triangles in a sunburst pattern, gradually changing colors from hot pink to pale yellow for a mind-blowing ombré effect.
- Create a honeycomb of hexagons, leaving some empty and filling others with intricate doodles or bold solid colors for an awesome textured look!
Watercolor Effects Using Acrylic Markers

While traditional watercolor painting might seem completely different from working with markers, acrylic markers offer a surprising way to achieve beautiful watercolor effects in your artwork.
Through acrylic blending techniques, artists can create dreamy, fluid compositions that mimic watercolors but with added vibrancy!
Discover the magic of acrylic blending—where dreamlike fluidity meets watercolor aesthetics with an extra pop of brilliant color!
To get started, simply apply your marker directly to paper, then quickly spritz with water and blend with a brush. The colors will dance and merge, creating gorgeous gradients.
For even more control, try mixing markers on a palette with water first.
Different papers dramatically change your results—watercolor paper works amazingly well for this technique!
Try layering colors before blending for a translucent look that’s absolutely stunning. The best part? You’ll get watercolor magic without the long drying time!
Personalized Gift Tags and Cards With Marker Art

Acrylic markers transform ordinary paper into memorable keepsake designs that recipients will treasure long after the gift is opened.
Crafters can create batches of celebration cards for birthdays, holidays, or thank-you notes in a fraction of the time it would take with traditional painting methods. The bright, permanent colors make personalized tags pop against wrapping paper, adding that extra touch that shows you really care about the presentation.
Memorable Keepsake Designs
Transforming ordinary gift-giving into a memorable experience starts with personalized tags and cards that speak volumes about your thoughtfulness.
Custom keepsakes created with acrylic markers add vibrant dimension to any present, making the wrapping almost as special as what’s inside!
Try these eye-catching ideas that recipients will treasure long after the gift is opened:
- Layer contrasting colors to create gradient effects that pop against simple backgrounds
- Blend complementary shades to form custom palettes that match the recipient’s favorite colors
- Add personalized motifs like tiny portraits, inside jokes, or symbols that represent shared memories
Batch-Making Celebration Cards
Creating a batch of celebration cards with acrylic markers isn’t just efficient—it’s incredibly fun! Card personalization becomes a breeze when using vibrant markers with different nib sizes for both detailed writing and splashy backgrounds.
Mix it up by making cards for birthdays, weddings, and holidays all in one creative session! The magic happens when you start layering colors and blending them to create unique backgrounds for each card.
Try adding hand-drawn illustrations or patterns—a simple flower here, a geometric design there—and watch your cards transform into treasured keepsakes. Blank cards and gift tags provide the perfect canvas for your artistic expression, ensuring no two cards are exactly alike.
With acrylic markers, even beginners can create professional-looking celebration cards that recipients will absolutely adore!
Rock Painting With Durable Acrylic Markers
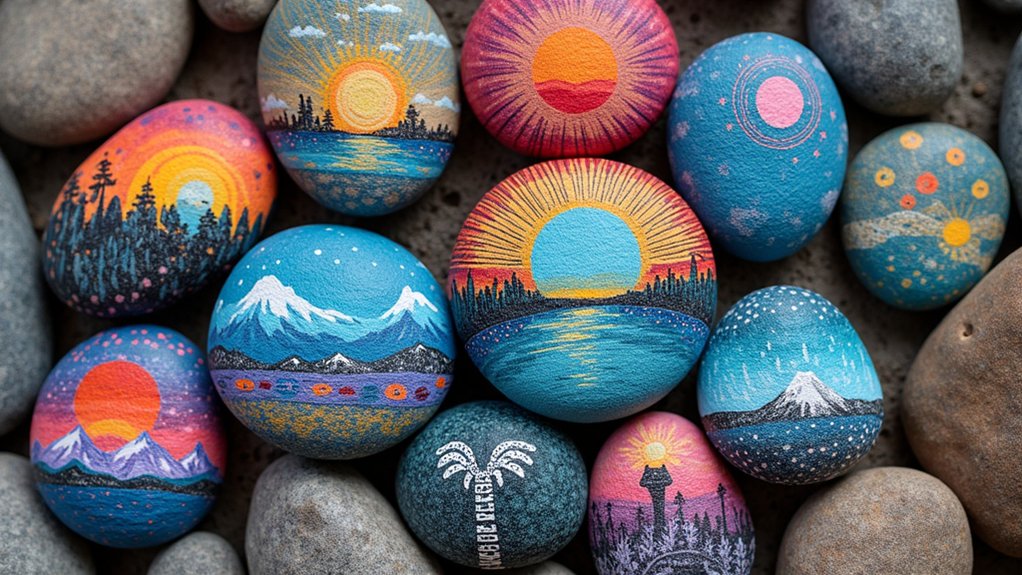
When smooth stones meet the vibrant strokes of acrylic markers, a world of artistic possibilities opens up! Rock painting has become wildly popular because these quick-drying markers adhere beautifully to stone surfaces, creating dazzling Rock Patterns that last.
Artists love how they can layer colors without smudging, achieving precise details that pop with personality.
- Beach pebbles transformed into colorful mandalas with swirling dots and intricate geometric designs
- Garden markers featuring vibrant flowers and cute critters that peek out from flowerbeds
- Inspirational word stones decorated with flowing script and botanical accents
Beginners can start with simple sketches before applying color, using different nib sizes for varied effects.
Once completed, a spray of clear acrylic sealer protects these little masterpieces from weather and sunshine, making them perfect for gifts or garden decorations!
Upcycling Glass Jars With Decorative Designs
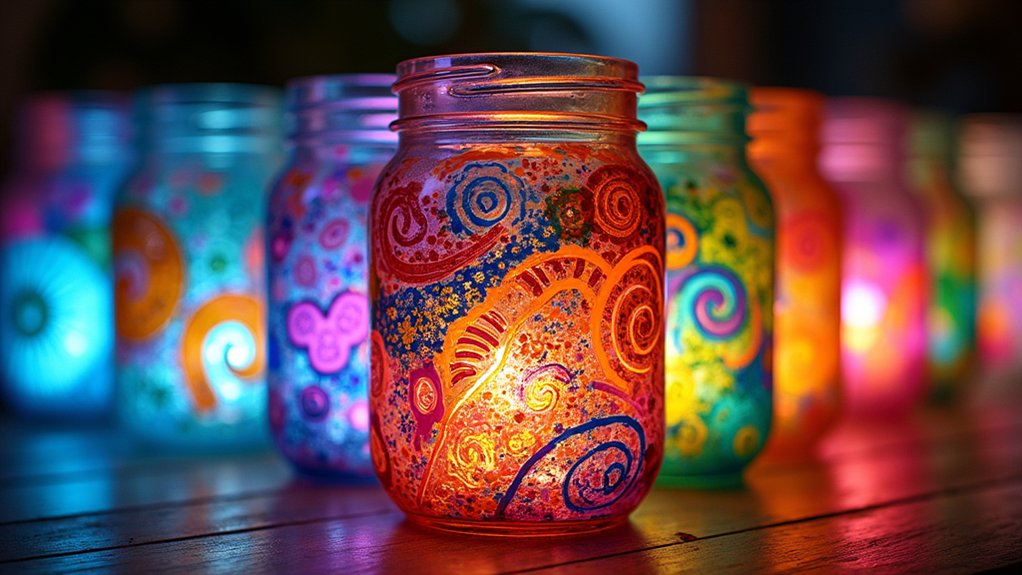
Glass jars destined for the recycling bin can find new life as stunning art pieces with the magic of acrylic markers! Before starting, make sure your glass surface is squeaky clean and completely dry—this helps those vibrant colors stick beautifully. For maximum Jar Organization success, experiment with fun patterns like dots, stripes, or even simple flowers.
| Design Type | Difficulty | Best Use |
|---|---|---|
| Polka Dots | Easy | Bathroom Storage |
| Geometric | Medium | Kitchen Organization |
| Floral | Medium | Flower Vase |
| Galaxy | Hard | Candle Holder |
| Ombré | Medium | Desk Organizer |
Once your masterpiece is complete, spray it with clear acrylic sealer to protect your awesome design from scratches and fading. These personalized jars aren’t just pretty—they keep stuff organized while helping the planet too!
Custom Sneaker Art for Wearable Expression
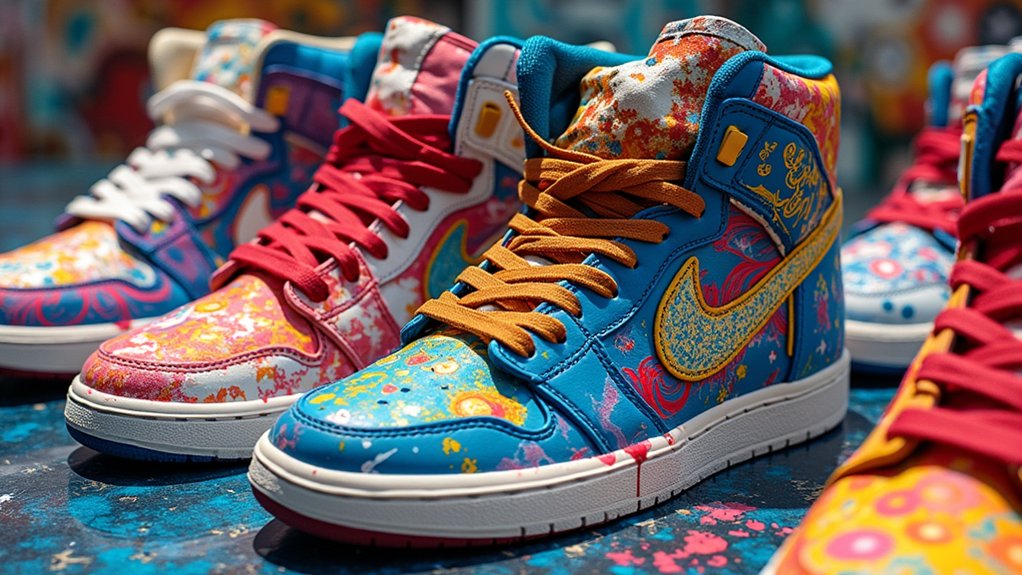
Custom sneaker art transforms ordinary footwear into wearable masterpieces through bold color blocking techniques that make even plain shoes pop with personality.
Artists can create personalized patterns using geometric shapes, favorite characters, or meaningful symbols that tell a story with every step.
After completing the design, weatherproofing sprays help protect the artwork from rain and daily wear, ensuring these one-of-a-kind creations stay vibrant for months of showing off.
Bold Color Blocking
Bold color blocking transforms ordinary sneakers into vibrant wearable art that demands attention everywhere you go. This technique creates eye-popping Color Contrast by placing bright, flat areas of color next to each other for maximum visual impact.
Before applying markers, make sure the sneaker surface is super clean and completely dry—this helps the colors stick better and prevents annoying peeling later on.
Try these awesome color blocking ideas:
- Use complementary colors (like blue/orange or purple/yellow) for designs that practically vibrate with energy.
- Create geometric shapes with painter’s tape for super-crisp color boundaries.
- Apply different colors to separate sneaker panels for a puzzle-piece effect that’s totally unique.
Don’t forget to seal your finished masterpiece with clear acrylic to keep your cool design looking fresh for ages!
Personalized Pattern Play
Releasing your creativity through personalized pattern play raises ordinary sneakers into walking billboards of your unique style and personality.
Using vibrant acrylic markers, sneaker enthusiasts can transform bland footwear into eye-catching masterpieces that speak volumes without saying a word! Pattern inspiration can come from anywhere—geometric shapes, favorite characters, or even abstract splashes of color.
The precision of acrylic markers makes them perfect for adding tiny details to your kicks, and since they stick to fabric so well, your awesome designs won’t fade away after a few wears.
Pro tip: build up layers of color to create designs with amazing depth and dimension. Just don’t forget to seal your finished artwork with a protective coating, or your hard work might literally walk away over time!
Quick Weatherproofing Tips
After creating stunning designs on your sneakers, protecting your wearable masterpieces from the elements becomes absolutely essential!
For proper Sneaker Care, apply a clear acrylic spray sealant once your paint dries completely. This invisible shield keeps moisture out and colors vibrant, even on rainy days!
Before wearing your custom kicks, give them a full 24-hour curing period. Patience pays off with longer-lasting artwork that won’t crack or fade at the first sign of adventure.
For maximum protection, try these quick weatherproofing tricks:
- Heat-set your designs with a hairdryer on low setting for 3-5 minutes
- Apply thin, even coats of sealant rather than one thick layer
- Keep a soft cloth handy for gentle cleaning after each wear
Textured Backgrounds Using Marker Stippling
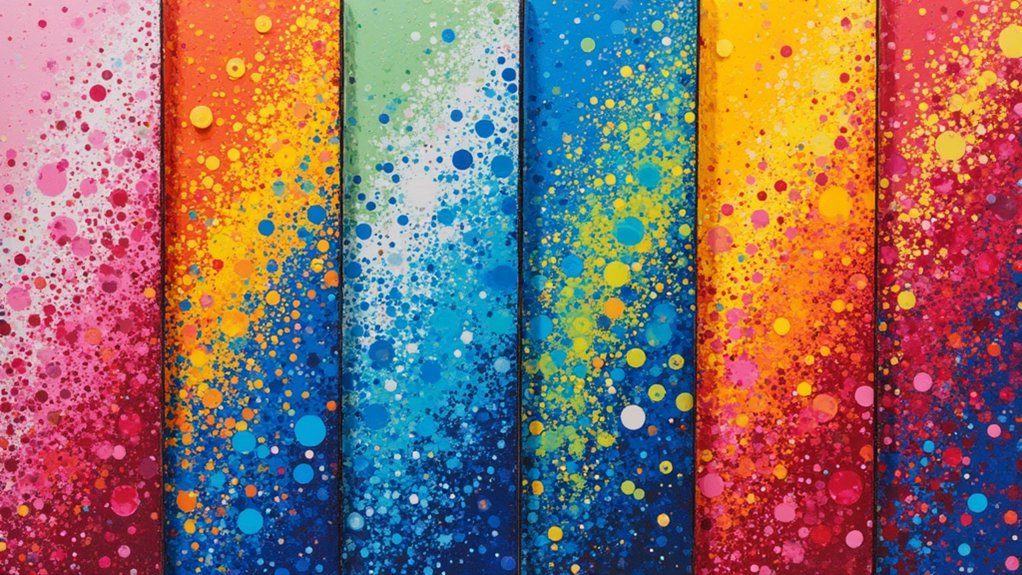
Plunge into the mesmerizing world of marker stippling to create textured backgrounds that will make your acrylic art pop with dimension. This amazing technique involves tapping your marker tip onto paper to create tiny dots that build up into gorgeous textures and gradients!
Stippling techniques vary based on your artistic vision. Try using different marker nib sizes—fine tips for delicate, cloud-like softness or broader tips for bold, dramatic effects. Dots placed close together create darker areas, while spacing them further apart produces lighter zones, perfect for that sunset sky you’ve been dreaming of creating!
Before diving into your masterpiece, practice on scrap paper first. Get a feel for how hard to press and how quickly to move.
Then, layer different colors for mind-blowing depth that’ll make everyone ask, “How did you do that?!”
Miniature Canvas Art for Home Décor
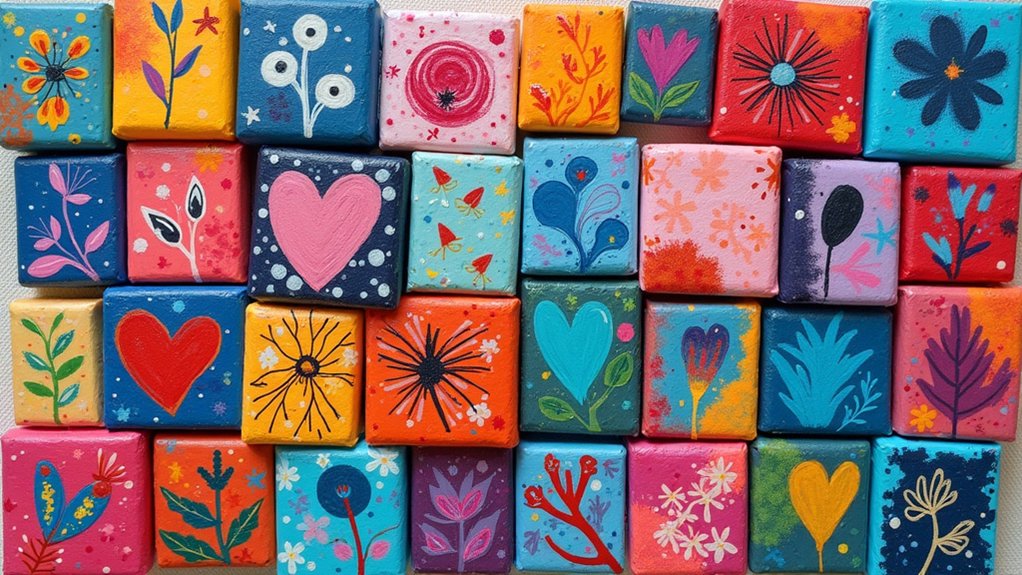
Tiny treasures for your home await in the world of miniature canvas art!
These small-scale masterpieces create an Artistic Fusion between functionality and self-expression, turning ordinary spaces into galleries of personal style.
Acrylic markers make these mini canvases pop with vibrant colors that dry quickly, allowing artists to layer and blend with ease.
- Create a series of mini scenery scenes that shift from dawn to dusk, perfect for arranging on a floating shelf.
- Design tiny geometric patterns in contrasting colors that can be grouped together as an eye-catching wall display.
- Paint miniature portraits of pets or family members, creating a heartwarming gallery that sparks conversation.
The best part? These pint-sized canvases are perfect for quick projects and make amazing personalized gifts too!
Wildlife Illustrations With Fine-Line Details
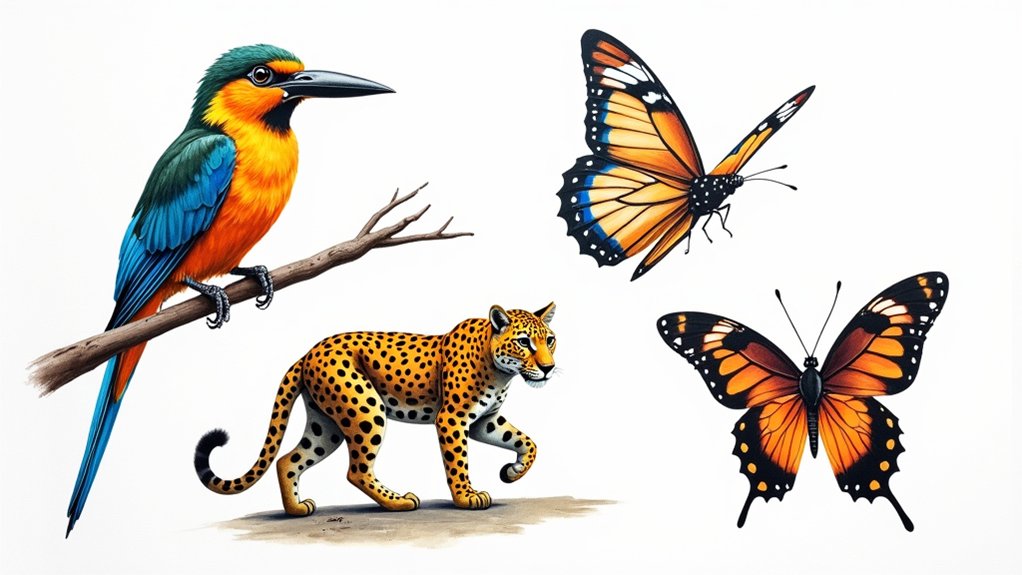
The enchanting world of wildlife illustration springs to life through the precision of acrylic markers!
Artists can capture every whisker, feather, and strand of textured fur with remarkable accuracy using various nib sizes.
From the tiniest details on a fox’s face to the complex patterns on a butterfly’s wings, these versatile tools make it possible to create stunningly realistic animals.
Stained Glass Inspired Window Decorations

Creating magical light displays becomes achievable when artists transform ordinary windows into dazzling works of art using acrylic markers. These vibrant tools offer a glossy finish that perfectly mimics traditional stained glass without the complicated techniques!
Window murals come alive when sunlight passes through the colorful designs, casting rainbow patterns across living spaces.
- Outline your design with black acrylic marker on a transparent surface, creating bold borders that pop against vibrant colors.
- Layer different colors where they meet to create stunning depth—watch how they blend into an authentic-looking masterpiece!
- Apply your finished artwork to windows, plastic sheets, or hang acrylic panels that catch the light from multiple angles.
Once dry, these decorations resist fading and smudging, letting your creativity shine through season after season!
Typography and Hand Lettering With Color Blending

Countless artists have discovered that acrylic markers bring spectacular life to typography and hand lettering projects, transforming ordinary words into vibrant works of art.
The magic happens when artists experiment with gradient blending techniques, creating smooth color shifts that give letters amazing depth and dimension.
Color contrast plays a vital role in making letters pop off the page, instantly grabbing viewers’ attention!
Frequently Asked Questions
What Can You Do With Acrylic Markers?
Acrylic markers offer diverse creative applications on surfaces including paper, canvas, wood, glass, and plastic. Artists can create custom designs, detailed illustrations, personalized home decor, and upcycled furniture projects.
How to Use Acrylic Markers Properly?
Proper acrylic marker techniques involve shaking before use, testing on scrap paper, applying on clean surfaces, layering colors with drying time between, and regular tip maintenance to prevent clogging.
What Can I Draw With Marker?
Artists can create intricate Marker Mandalas, floral compositions, whimsical scenery, animal illustrations, geometric abstracts, custom wrapping paper, and decorated pebbles. These projects showcase vibrant colors and layering techniques.
How Do You Seal Acrylic Paint Markers?
Sealing techniques for acrylic paint markers involve applying multiple thin coats of clear acrylic spray sealer to fully dried artwork, ensuring compatibility with the surface material and testing in an inconspicuous area first.
Conclusion
Acrylic markers open a world of endless creativity for young artists enthusiastic to explore color and design. From galaxy scenes that shimmer with possibility to botanical creations that pop with life, these versatile tools can transform ordinary surfaces into extraordinary art. Whether you’re doodling during class or creating weekend masterpieces, the techniques shared here will help your imagination soar. Grab your markers, release your ideas, and watch your artistic confidence bloom!

Leave a Reply