Acrylic paint markers offer a world of vibrant possibilities for artists of all levels. Try creating mandalas with precision dot work, blending gradients for cosmic scenes, or customizing fabric items with bold designs. Different nib sizes allow for varied strokes—from delicate details to dramatic sweeps. Experiment with techniques like stenciling, splatter effects, and mixed media journaling for eye-catching results. These versatile tools can transform ordinary surfaces into extraordinary art with just a few colorful strokes.
Key Takeaways
- Create cosmic galaxy art with dark backgrounds, layered purples and blues, and white dot highlights for stars.
- Design mandalas using fine-tipped markers for intricate details, working from center outward with contrasting colors.
- Customize fabric items like denim jackets, canvas shoes, and tote bags with vibrant, heat-set designs.
- Use stenciling techniques with different nib sizes for consistent, professional-looking patterns and designs.
- Experiment with typography by layering colors for shadows and blending techniques for ombré effects in lettering.
Dynamic Brushstroke Exercises for Expressive Mark-Making
When artists first pick up acrylic paint markers, they’re often amazed by the incredible range of brushstrokes these versatile tools can create!
Experimenting with different nib sizes is a game-changer for achieving dynamic brushstroke variations. Try broad chisel tips for bold, sweeping marks and fine tips for delicate details that pop!
Nib size matters! Chisel tips create dramatic strokes while fine points capture intricate details that bring your vision to life.
Want to create mind-blowing expressive designs? Practice quick, fluid movements to release spontaneity in your work. It’s like dancing with your markers across the page!
Don’t be afraid to layer colors (just let each dry first) to build amazing depth and complexity.
Canvas, wood, or paper—each surface creates a unique effect as acrylic markers interact differently with various textures.
The possibilities are endless, and sometimes the coolest effects happen when you least expect them!
Gradient Color Blending Techniques for Smooth Transitions
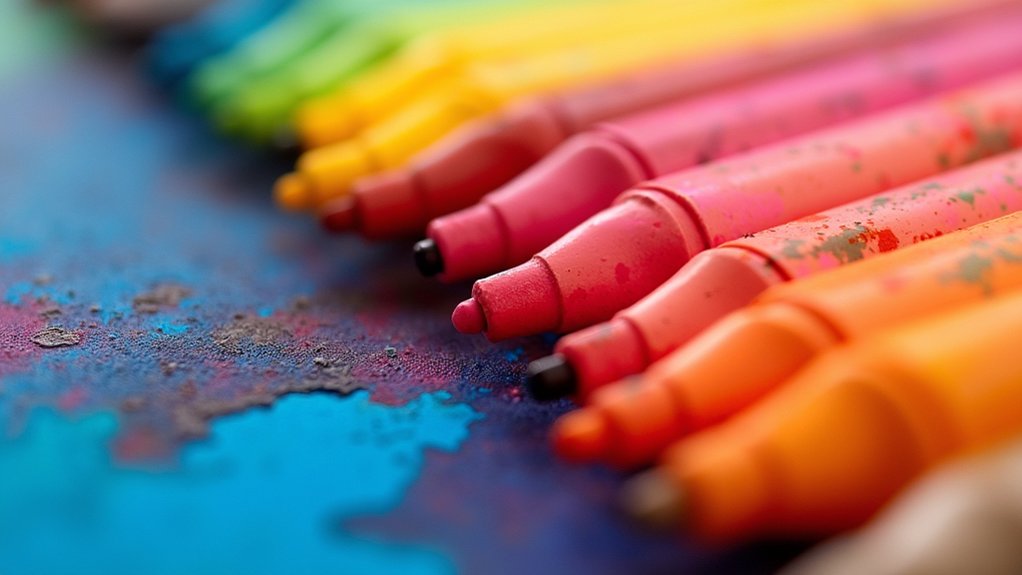
Mastering gradient color blending with acrylic paint markers opens up a whole new world of artistic possibilities! Artists can create dreamy skylines, magical underwater scenes, or even cosmic galaxies with the right techniques. The secret to those butter-smooth shifts lies in patience and layering colors gradually.
| Technique | Difficulty | Best For |
|---|---|---|
| Layering | Beginner | Large areas |
| Feathering | Intermediate | Soft edges |
| Direct blending | Advanced | Bold shifts |
Try experimenting with different nib sizes—fine tips work wonders for detailed areas while broad nibs rock those expansive color swathes! For extra pop, layer complementary colors to add depth that’ll make your art jump off the page. Remember, the key to gorgeous gradient color blending techniques is letting each layer dry before adding the next—no smudgy mess, just smooth shifts that’ll wow your friends!
Doodle Art Patterns Using Multiple Nib Sizes
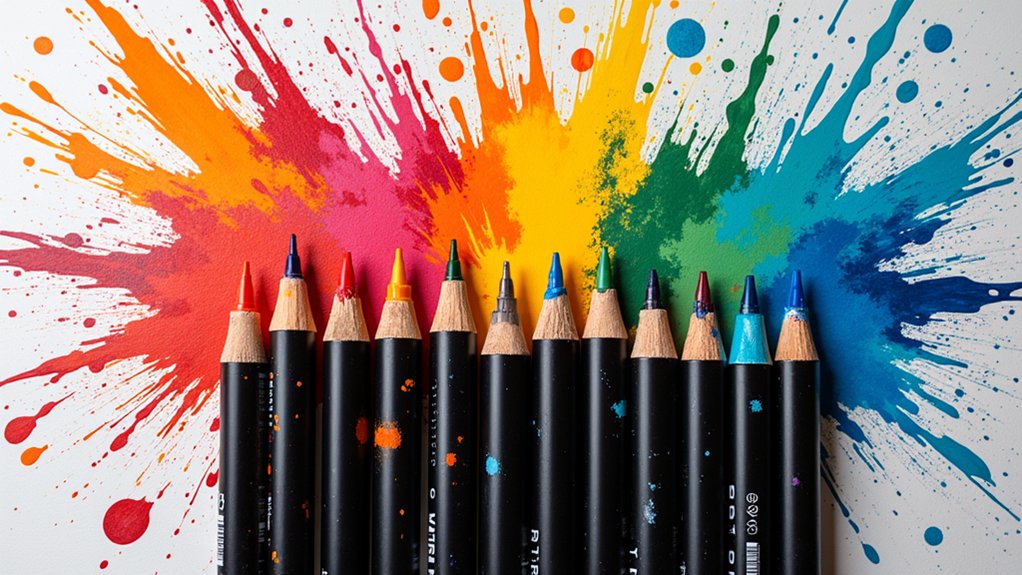
Doodle patterns come alive when artists mix different nib sizes, creating dynamic line weights that transform simple sketches into eye-catching designs.
Without relying on templates, creative doodlers can develop their own signature patterns by starting with fine-tipped outlines and gradually building unique motifs with medium and broad nibs.
The magic happens in the layering process, where precise control of each nib size allows artists to add depth and dimension, turning flat drawings into richly textured artwork that practically jumps off the page.
Nib Sizes for Dynamics
Medium nibs (1.0-2.5mm) are the versatile workhorses of doodle art, perfect for outlines and filling moderate spaces with bold strokes.
When artists need to cover large areas quickly, broad chisel tips (5-15mm) come to the rescue!
The magic happens when all three sizes work together, creating amazing depth and visual interest.
Who knew that simply switching between different nib sizes could add so much personality to doodle art?
Template-Free Pattern Creation
Breaking free from templates releases the true creativity in doodle art patterns! Artists find that Acrylic Paint Marker Pens offer incredible flexibility when creating freehand designs.
By combining different nib sizes—fine for intricate details, medium for defining shapes, and broad for bold backgrounds—anyone can develop unique, personalized artwork that truly reflects their artistic vision.
The quick-drying nature of these markers is perfect for spontaneous creation, allowing artists to layer colors without waiting or worrying about smudges. Imagine overlapping a fine yellow line with a broader blue stroke to create an unexpected green accent!
For detailed work, try building patterns organically: start with simple shapes, then add complexity by filling spaces with dots, swirls, or geometric elements. The beauty lies in the freedom—each doodle becomes a one-of-a-kind expression that couldn’t exist with templates!
Layering With Precision
Mastering the art of layering takes freehand doodle patterns to spectacular new heights! When artists combine different nib sizes of acrylic paint markers, they reveal a whole universe of creative possibilities.
Ultra-fine tips capture delicate details that make viewers say “Wow!” while broader nibs fill larger spaces with bold splashes of color.
The quick-drying ink formulation is a total game-changer for creating intricate designs without smudging disasters! Artists can build depth by stacking colors, creating mind-blowing textures that seem to pop right off the surface.
The coolest part? These markers work their magic on practically everything – paper, wood, and even fabric!
Switching between bold strokes and tiny details creates visual interest that keeps eyes glued to the artwork. Talk about making your doodles absolutely unforgettable!
Layered Transparency Effects on Mixed Media Surfaces
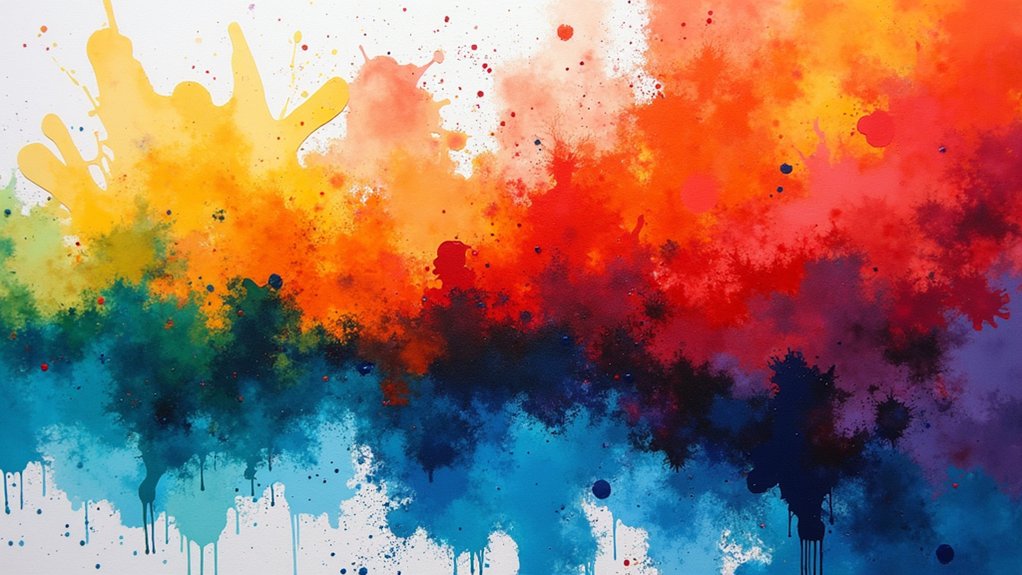
The magic of transparency unfolds when artists layer acrylic paint markers on mixed media surfaces, creating depth that draws viewers into the artwork. By applying thin coats and letting each dry completely, artists can build gorgeous, see-through effects where colors blend and shine through one another.
This technique works amazingly well across different surfaces—paper, canvas, wood, you name it!
- Use fine tips for delicate, transparent details that add complexity to your piece
- Try layering complementary colors while still wet for stunning gradient effects
- Alternate between broad and fine nibs to create varying opacity levels
- Build up layers gradually, allowing previous colors to peek through for dimension
The key to stunning layered transparency effects is patience—letting each layer dry before adding the next prevents smudging and keeps your colors crisp and vibrant.
Mandala Designs With Precision Line Work
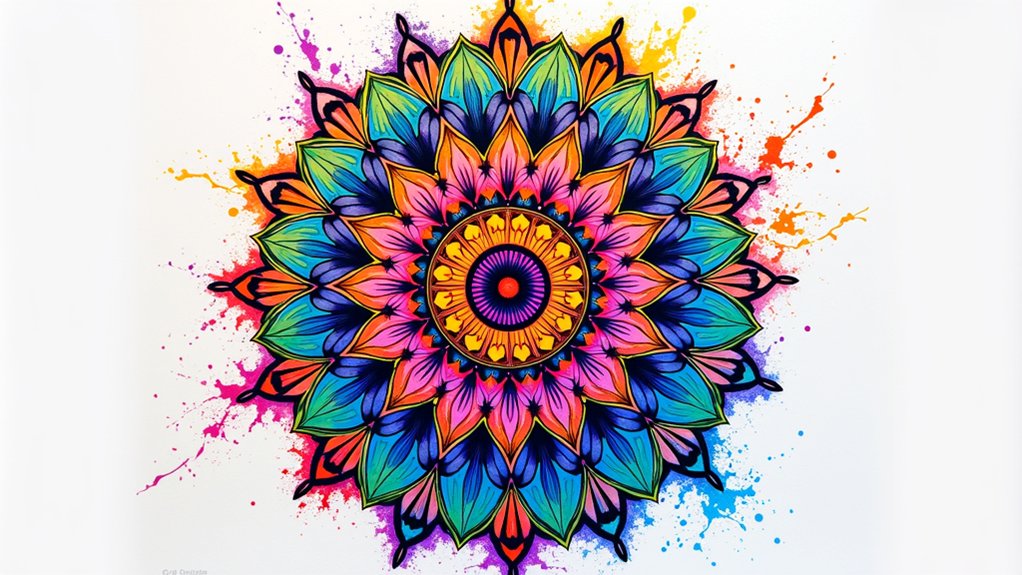
Acrylic markers shine when creating mandala designs, where intricate dot patterns build mesmerizing circular artwork with perfect symmetry.
Artists can achieve balanced symmetrical elements by working from the center outward, using fine-tipped markers to create delicate details that radiate with mathematical precision.
The magic truly happens when contrasting color combinations are introduced—pairing complementary colors like purple with yellow or cool blues with warm oranges makes each section of the mandala pop with eye-catching vibrancy.
Intricate Dot Patterns
When intricate dot patterns meet the precise world of mandala designs, magic happens on the page. Fine-tipped acrylic markers become essential tools for artists seeking stunning results with vibrant colors. These markers allow for intricate detailing that transforms simple circles into mesmerizing works of art.
The dot technique creates depth and dimension when layers of colors interact, pulling viewers into a three-dimensional experience.
Artists achieve professional results through:
- Alternating dot sizes to create visual rhythm and movement
- Building color gradients by layering dots from light to dark
- Placing dots closer together for shadows, farther apart for highlights
- Creating symmetrical patterns that radiate from a central point
Fast-drying, waterproof ink makes this technique accessible even to beginners, reducing frustration from smudging while ensuring the finished mandala remains brilliant for years to come.
Balanced Symmetrical Elements
Crafting perfectly balanced symmetrical elements stands at the heart of stunning mandala designs, especially when artists harness the power of precision line work. Acrylic markers with tips under 1mm create those jaw-dropping fine details that make mandalas pop with energy!
Artists can build incredible depth by layering colors that shift smoothly from one to another, creating dramatic visual effects that seem to pulse with life.
The best part? You can switch between different nib sizes to create varied line thicknesses—thin for delicate inner patterns and thicker for bold outer rings.
Since acrylic markers dry super-fast, you won’t smudge your masterpiece while working on it. Plus, these vibrant colors stay put forever, so your amazing symmetrical creation will look just as awesome years later as it did the day you finished it!
Contrasting Color Combinations
The magic of mandala designs truly comes alive through jaw-dropping contrasting color combinations that electrify every curve and line! Acrylic markers make these intricate patterns pop with their precise detailing capabilities, allowing artists to create mesmerizing visual effects that practically hypnotize viewers.
The blendable nature of these markers enables stunning color variations that add depth and dimension to even the simplest mandala.
- Try pairing complementary colors like purple/yellow or blue/orange for maximum visual impact
- Layer light colors over dark backgrounds to create glowing, ethereal effects
- Use varying nib sizes to achieve both bold outlines and delicate interior details
- Create ombré effects by blending similar hues while they’re still wet
The fast-drying properties of acrylic markers are perfect for building complex designs without smudging, making them a mandala artist’s best friend!
Textured Background Techniques for Dimensional Art
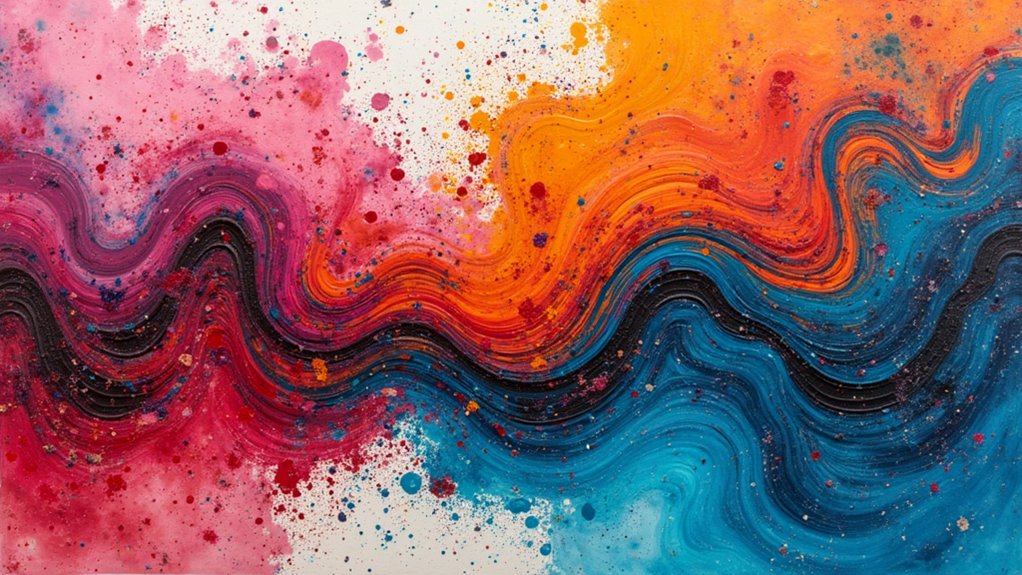
Backgrounds with depth and texture can transform a flat piece of artwork into something that practically jumps off the page!
Artists can create these amazing textured backgrounds by layering acrylic markers in different colors, letting each layer dry completely before adding the next. This simple technique adds incredible dimension to any project!
Try switching between broad tips for covering large areas and fine points for adding tiny details.
Experiment with fun techniques like stippling (making tiny dots) or cross-hatching (creating criss-cross lines) to make surfaces look rough or smooth.
For super cool effects, grab a sponge or palette knife to apply paint in unique ways.
Don’t be afraid to mix it up by combining acrylic markers with watercolors or pastels for mixed media backgrounds that’ll wow your friends!
Typography and Hand Lettering Projects
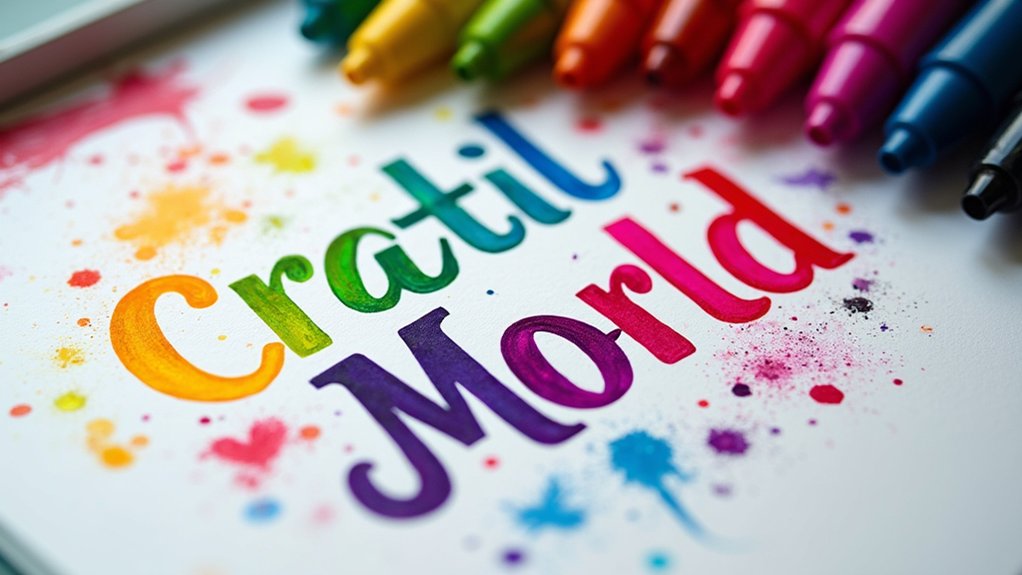
While backgrounds add depth to artwork, letters and words can tell stories all their own! Acrylic paint pens are perfect for typography enthusiasts looking to create eye-catching lettering that pops off the page. The vibrant colors and smooth flow make artistic expression through words both fun and impressive.
- Choose different nib sizes for varied letter styles – use fine tips for intricate details and broad tips for bold statements
- Layer colors to create shadows and dimension in your lettering
- Try blending techniques for unique ombré effects in your words
- Experiment with writing on unexpected surfaces like wood, fabric, or even stones
The quick-drying feature means less smudging and more creating! Even beginners can achieve professional-looking typography projects with these versatile markers.
Reverse Silhouette Art on Colored Backgrounds
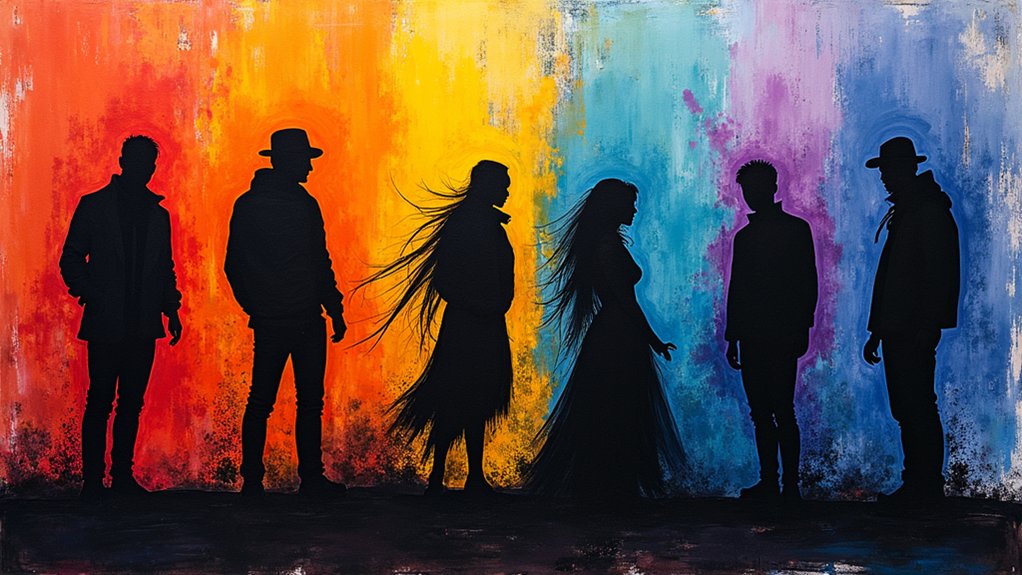
Reverse silhouette art creates a mesmerizing visual effect that captivates viewers with its bold contrast and striking design. This technique flips traditional silhouettes by using vibrant colors as backgrounds while the subject remains outlined or filled with acrylic markers. The result? A jaw-dropping piece that practically jumps off the canvas!
Artists can express their creativity by first painting a bold backdrop—think sunset oranges, electric blues, or neon pinks—then adding silhouettes with different sized marker nibs. Thinner tips work wonders for delicate details like tree branches or eyelashes, while chunkier nibs are perfect for bold statements and larger shapes.
The best part? Even beginners can nail this technique! Simply layer your acrylic painting, let it dry (thankfully, acrylic markers dry super-fast), and watch your reverse silhouettes come alive against that gorgeous color.
Stone and Rock Painting for Outdoor Displays
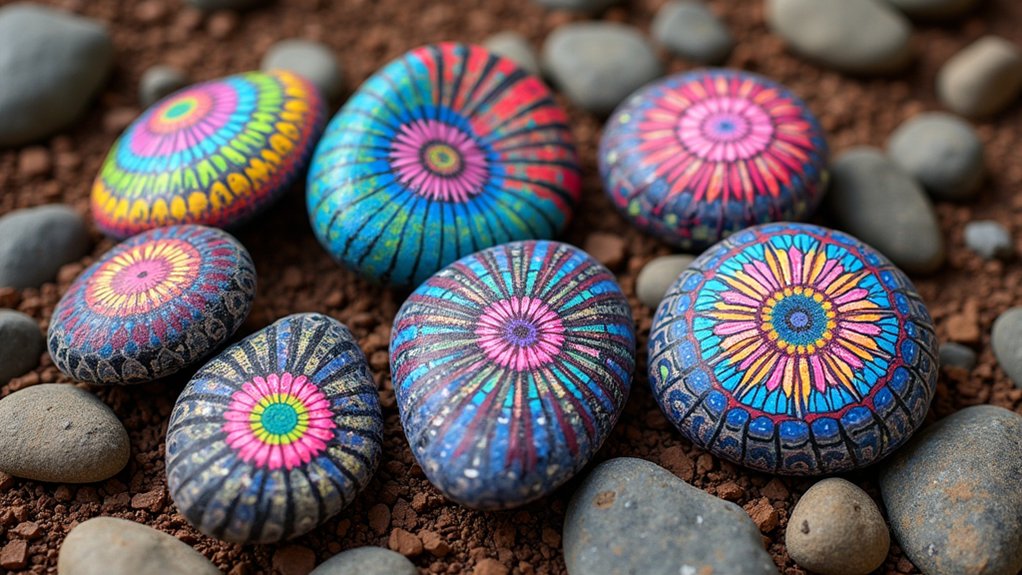
Nature’s canvases await transformation with acrylic paint markers! Stone painting has emerged as a wildly popular outdoor activity that combines creativity with durability.
Artists of all ages can turn ordinary rocks into extraordinary outdoor displays that withstand the elements thanks to the weather-resistant properties of acrylic markers.
- Choose smooth, flat stones for detailed designs, or irregularly shaped rocks for quirky character art
- Seal finished stone art with clear spray varnish for extra protection against rain and sun
- Create themed collections like ladybugs, monsters, or inspirational messages
- Join local “rock hunt” groups to hide and find painted treasures throughout your community
The beauty of stone painting lies in its accessibility—no brushes needed, minimal cleanup required, and instant artistic gratification.
These colorful creations add personality to gardens, pathways, and communal spaces, turning nature into an ever-changing art gallery!
Decorative Home Accessories With Custom Designs
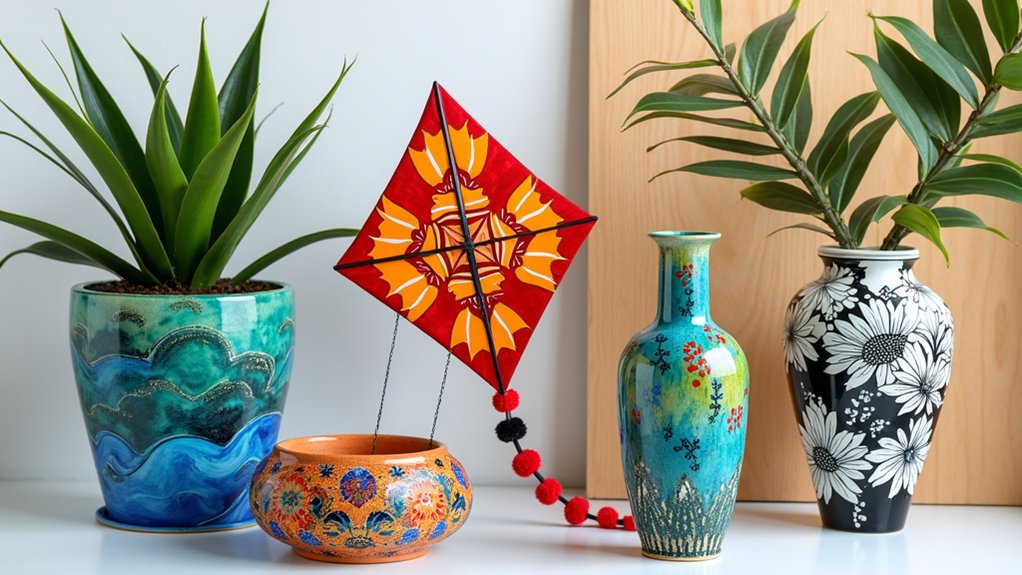
Bringing creativity indoors opens up a world of decorating possibilities with acrylic paint markers! Ordinary household items transform into personalized masterpieces with just a few strokes of high-quality acrylic paint.
Vases, picture frames, and coasters become canvases for self-expression, showcasing vibrant colors and quick-drying designs that match any décor style.
Transform everyday items into personal art statements that reflect your unique style and brighten any room.
The best part? These markers work on practically everything—glass, wood, ceramic—without primer! Create detailed patterns with fine tips or bold statements with thicker nibs.
The waterproof, fade-resistant formula guarantees decorative home accessories maintain their beauty even in sunny spots or busy areas.
Try blending colors for eye-catching gradients that will make guests ask, “Where did you buy that?!” Your proud answer: “I made it myself!”
These simple projects deliver professional-looking results that instantly enhance your living space.
Galaxy and Cosmic Art With Blending Techniques
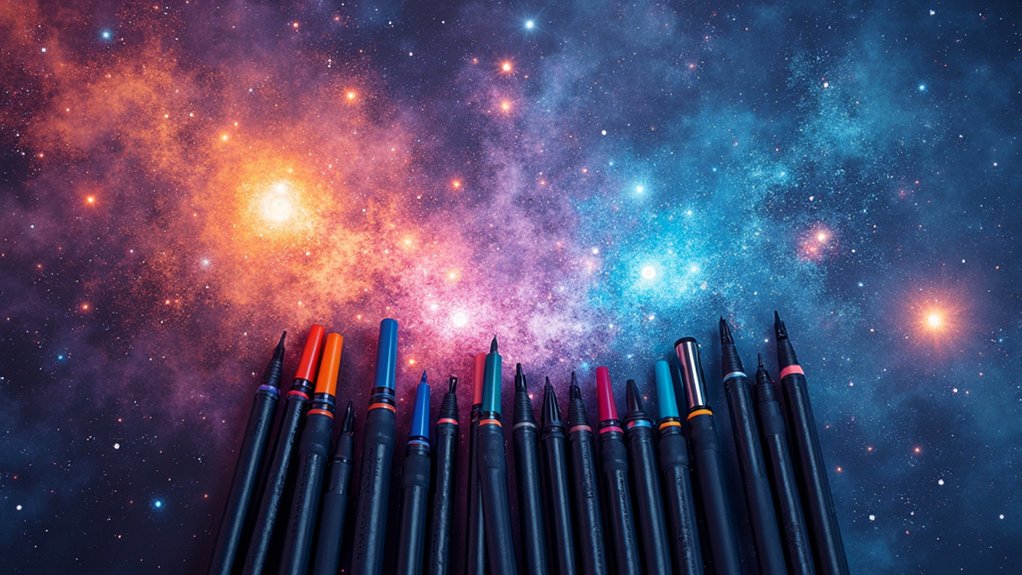
Creating cosmic masterpieces requires mastering the swirling technique, where acrylic markers dance across the paper in circular motions to form mysterious nebulae and spinning galaxies.
Artists can build depth by layering, starting with dark backgrounds and gradually adding lighter colors to form glowing celestial bodies like planets, stars, and moons.
The magic happens when white paint markers are dotted and streaked across the finished piece, creating twinkling stars and shooting comets that make the cosmic scene come alive!
Cosmic Swirls Technique
The magic of outer space comes alive through the enchanting Cosmic Swirls technique. Artists can transform blank surfaces into mesmerizing galaxies by layering vibrant colors with acrylic markers. The fast-drying properties make this cosmic art method perfect for impatient creators who can’t wait to see their universe unfold!
- Use different nib sizes – thin tips for twinkling stars, thick tips for sweeping nebulae clouds
- Start with dark backgrounds, then gradually add lighter colors for that deep-space dimension
- Create movement by swirling colors in circular motions while they’re still slightly wet
- Add white dots and splatters last for realistic star clusters that pop against your cosmic background
This versatile technique works beautifully on canvas and acrylic paper, giving artists flexibility to craft stellar masterpieces wherever inspiration strikes.
Layering Celestial Bodies
Galaxies emerge from the canvas when artists master the art of layering celestial bodies with acrylic paint markers. The cosmic magic begins with dark foundation colors—navy blues and blacks—creating the mysterious depth of space.
Artists then build dimension by adding lighter purples, pinks, and blues in swirling patterns that mimic actual nebulae and star clusters.
Blending techniques are vital when working with acrylic markers! By gently feathering colors together while they’re still wet, artists create those jaw-dropping color shifts that make viewers say “Wow!”
The final touch? Sprinkling white dots and highlights across the artwork to represent twinkling stars and distant planets. Some artists even use metallic markers to add extra sparkle—seriously cool!
Remember to let each cosmic layer dry completely before adding the next, or you’ll end up with a muddy universe instead of a stellar masterpiece!
Splatter and Drip Techniques for Abstract Expression
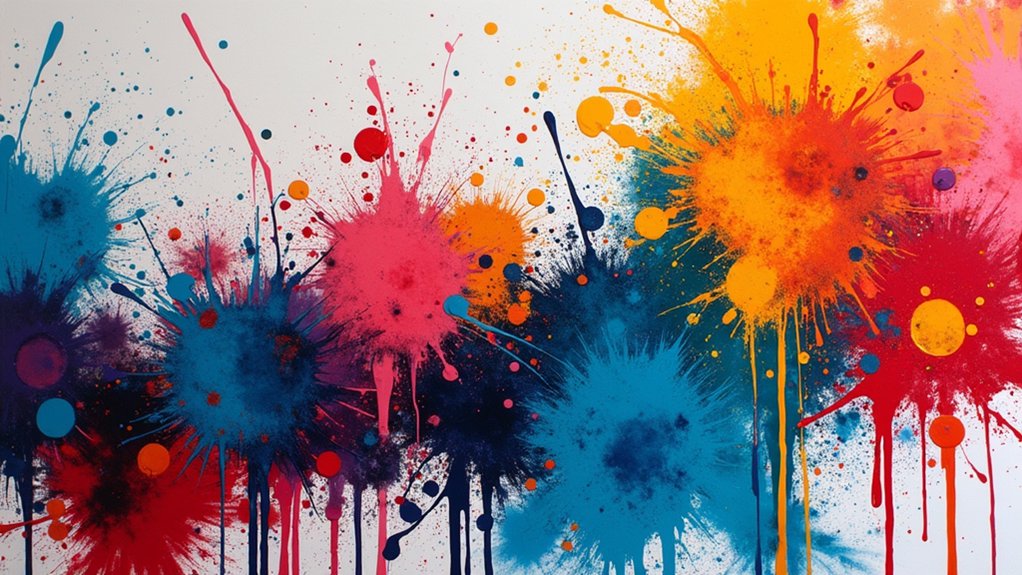
Release your artistic freedom with splatter and drip techniques that transform ordinary acrylic marker art into expressive abstract masterpieces!
These dynamic methods create eye-catching random patterns that practically dance across your canvas. The quick-drying properties of acrylic markers make them perfect for building layers of splatters without muddy mixing, letting artistic effects shine in all their glory.
Watch as spectacular color explosions and controlled chaos create a visual symphony that only acrylic marker splatters can deliver.
- Flick markers with varying pressure to create everything from tiny specks to bold splashes
- Tilt your surface and let gravity work its magic, creating unpredictable dribbly lines
- Mix colors mid-splatter for unexpected color blends that wow viewers
- Try different nib sizes for a variety of splatter textures—fat nibs make dramatic drops!
Customizing Apparel and Fabric Items
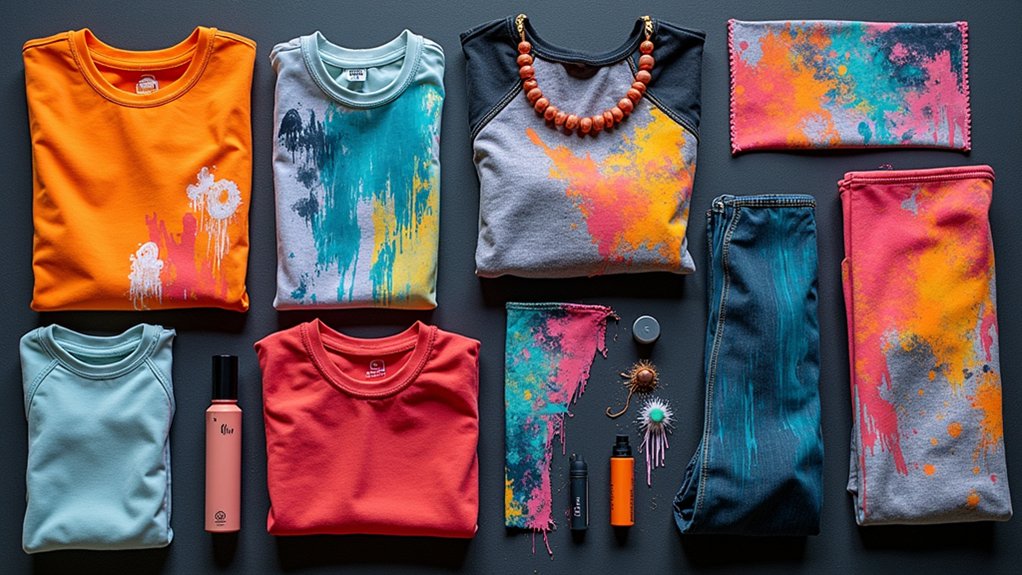
Transforming ordinary fabric items into wearable art is simple with acrylic paint markers that offer techniques like denim reimagination, where faded jeans become personalized masterpieces.
Artists can experiment with reversible color blocking on tote bags and t-shirts, creating bold geometric patterns that make a statement without requiring professional skills.
Canvas shoes and hats truly shine when decorated with vibrant designs that, once heat-set properly, remain bright and crack-free through countless washes and everyday wear.
Denim Reimagination Techniques
The humble denim jacket or pair of jeans can become a canvas for personal expression with acrylic paint markers. These versatile tools transform ordinary garments into wearable art that truly stands out!
Denim’s sturdy texture accepts acrylic markers beautifully, requiring no primer and minimal prep work, so artistic expression can flow freely.
- Create galaxy-inspired backgrounds by blending blues and purples, then add white dots for stars
- Design vibrant floral patterns along jacket cuffs and pockets for a subtle pop of color
- Draw bold geometric shapes that wrap around pant legs for an eye-catching effect
- Personalize back panels with quotes or song lyrics that speak to your personality
With different nib sizes available, artists can switch between detailed line work and broad color blocking, making every denim piece uniquely awesome!
Reversible Color Blocking
Diving into the world of fabric customization, reversible color blocking stands out as a game-changing technique for anyone looking to create multi-functional apparel.
Using acrylic markers, artists can divide fabric into bold, contrasting sections that pop with vibrant color and personality!
The beauty of this approach lies in its flexibility—flip your creation inside out, and voilà, a completely different look emerges!
These customizable designs allow fashion enthusiasts to express themselves in multiple ways with just one piece. After applying your design, remember to heat-set your creation with an iron to guarantee those gorgeous colors stay put through washing.
Wearable art doesn’t have to be permanent or one-dimensional.
With reversible color blocking, your jackets, bags, or hats transform based on your mood or outfit, making each piece twice as valuable!
Heat-Set Canvas Designs
Release your creativity onto fabric with heat-set canvas designs that transform ordinary clothing into wearable masterpieces! Acrylic markers offer vibrant, opaque colors perfect for customizing everything from tote bags to denim jackets.
The secret to making these designs last? Heat-setting at 350°F for 5-10 minutes locks in your artwork, making it washing-machine tough!
- Pre-wash fabrics without fabric softener for the best paint adhesion
- Create intricate details like flowers, geometric patterns, or fun lettering
- Test your design on scrap fabric before tackling your favorite t-shirt
- Layer colors after each application dries for dimensional effects
Once heat-set, these personalized creations stay flexible and comfy for everyday wear.
Who needs store-bought when you can rock your own one-of-a-kind style?
Stenciling Methods for Consistent Design Reproduction
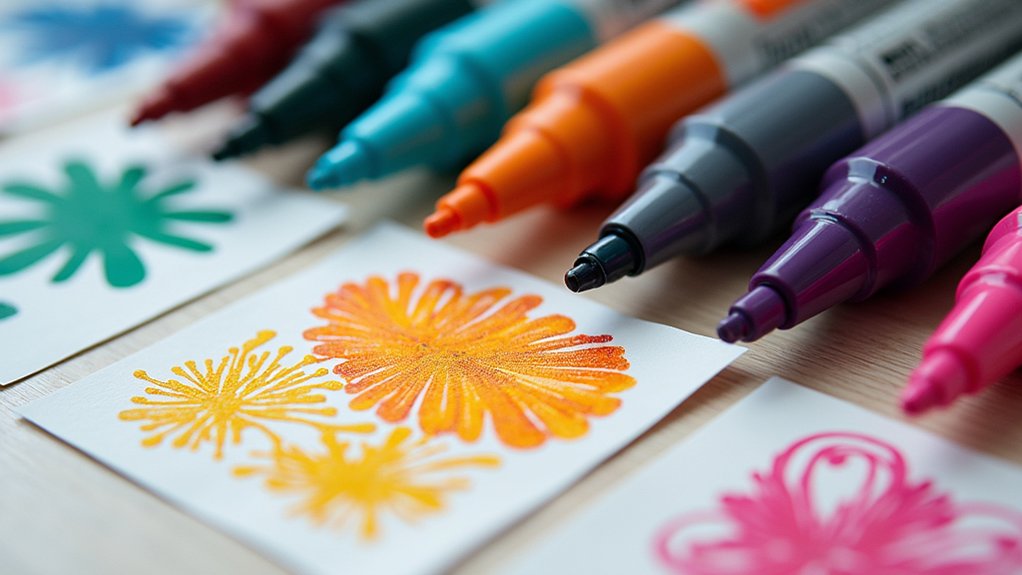
Mastering stencils with acrylic paint markers opens a world of perfectly repeatable designs, transforming ordinary projects into professional-looking artwork. The secret to successful stenciling lies in proper preparation—secure that stencil firmly with tape or adhesive spray to prevent those frustrating bleeds and smudges!
When working with detailed patterns, reach for fine-tipped acrylic markers that can navigate intricate corners and tiny spaces. For larger areas, switch to broader tips and watch how quickly your design takes shape!
Different stencil materials create unique effects too—plastic offers crisp edges, while cardstock might give a softer, more artistic finish.
Ready to level up? Try layering! Let each color dry completely before adding the next, and soon you’ll create multi-dimensional masterpieces that look impossibly complex but were actually super simple!
Mixed Media Journaling With Acrylic Marker Accents
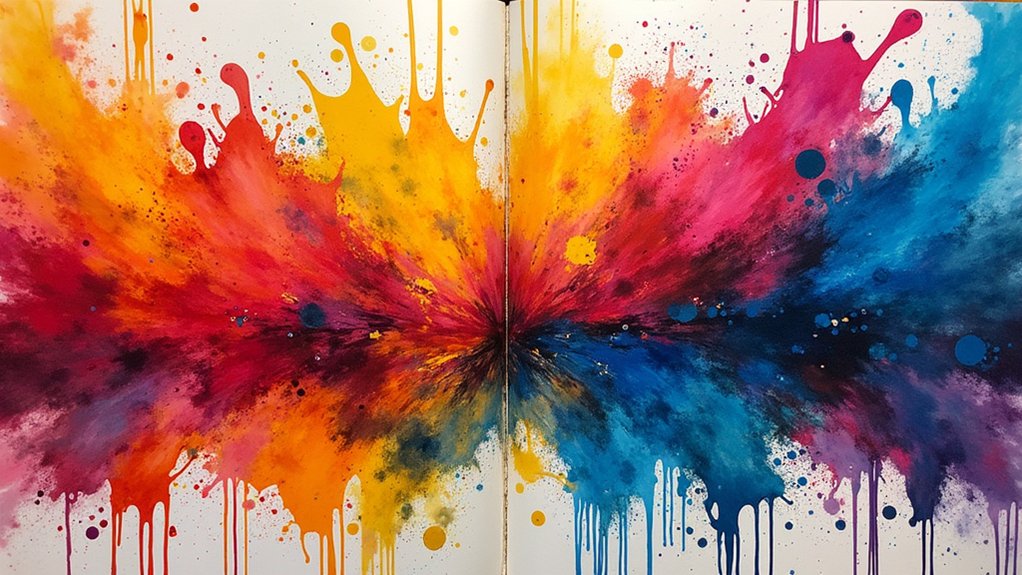
While stencils create perfect repeatability, mixed media journaling beckons artists into a world where rules bend and creativity flows freely!
Acrylic markers have become essential art supplies for journal enthusiasts who want to add vibrant accents to their pages. These versatile tools glide smoothly across paper and fabric, allowing for personalized expression that truly pops off the page.
- Combine fine-tip markers for detailed illustrations and broad tips for bold background elements
- Layer marker colors to create depth and dimension that catches the eye
- Add quick-drying accents over watercolor, collage, or photographs without worry of smudging
- Use non-toxic markers for family journaling sessions where everyone can safely participate
The permanent, fade-resistant quality of acrylic markers guarantees journal creations remain vibrant for years, preserving memories in living color!
Frequently Asked Questions
What Is the Best Marker to Write on Acrylic?
The best acrylic markers featuring permanent ink options are Uni Posca, Montana, and Liquitex. A marker brands comparison shows water-resistant formulations with fine tips deliver superior results on acrylic surfaces.
Why Do Artists Choose Not to Use Acrylic Paint?
Artists opt for acrylic paint alternatives due to medium limitations like fast drying times, difficulty with blending, and water resistance when dry. Artist preferences often favor slower-drying mediums allowing greater manipulation.
How to Create Effects With Acrylic Paint?
Artists create effects with acrylic paint through various texture techniques, including stippling and cross-hatching. Layering methods build depth when each coat dries completely. Blending styles using wet brushes produce smooth color shifts and gradients.
How to Activate Acrylic Paint Markers?
Marker activation techniques for acrylic paint applications involve vigorously shaking with cap on, pressing the nib repeatedly on scrap paper, and allowing brief settling time. Proper activation guarantees ideal blending methods exploration.
Conclusion
Acrylic paint markers open up a world of creative possibilities that anyone can explore. From bold brushstrokes to delicate mandalas, these versatile tools bring artwork to life on almost any surface. Whether you’re a beginner or experienced artist, these fifteen ideas are just the starting point. So grab your markers, let your imagination run wild, and watch as your unique artistic voice emerges through every colorful stroke!

Leave a Reply