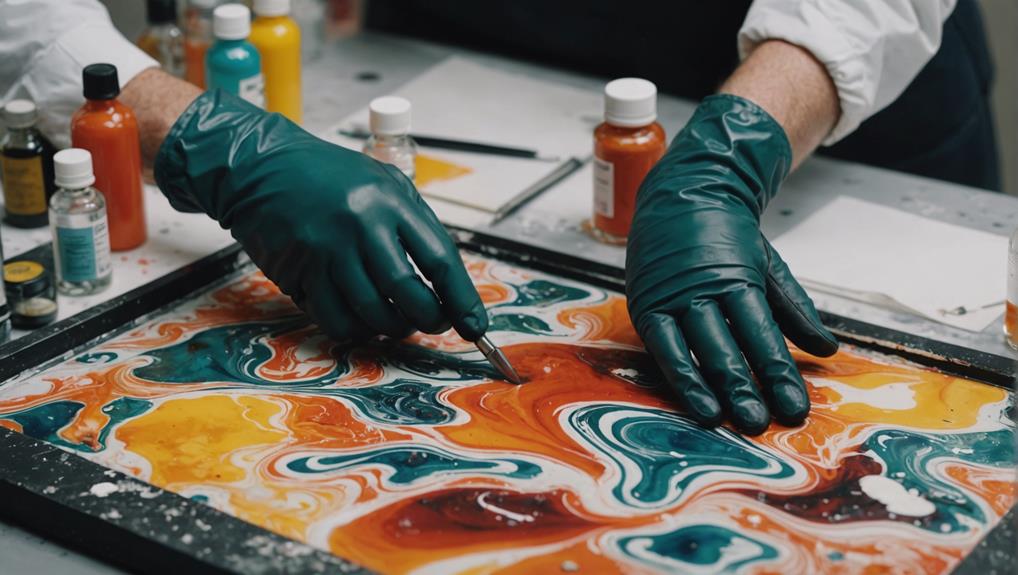
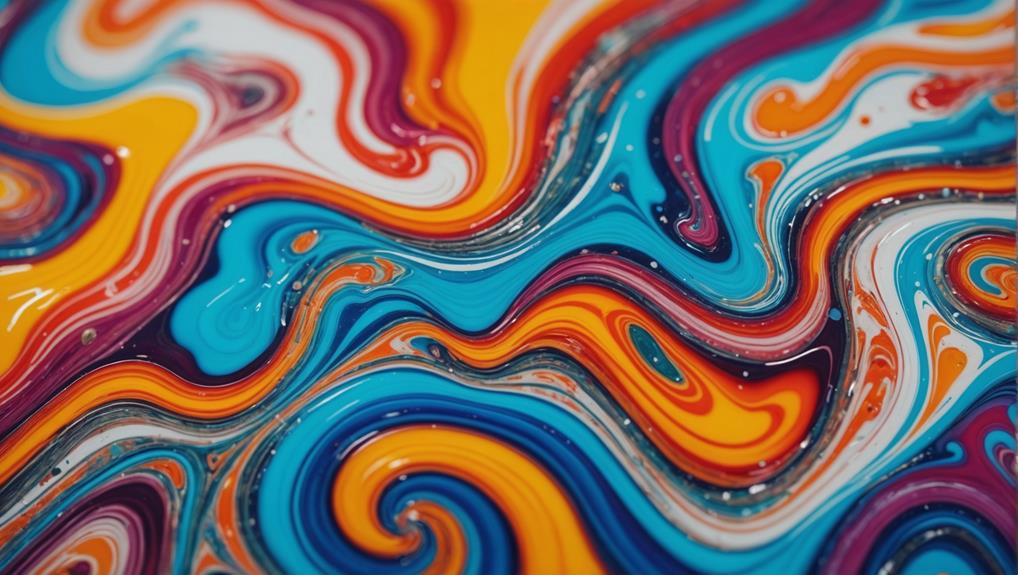
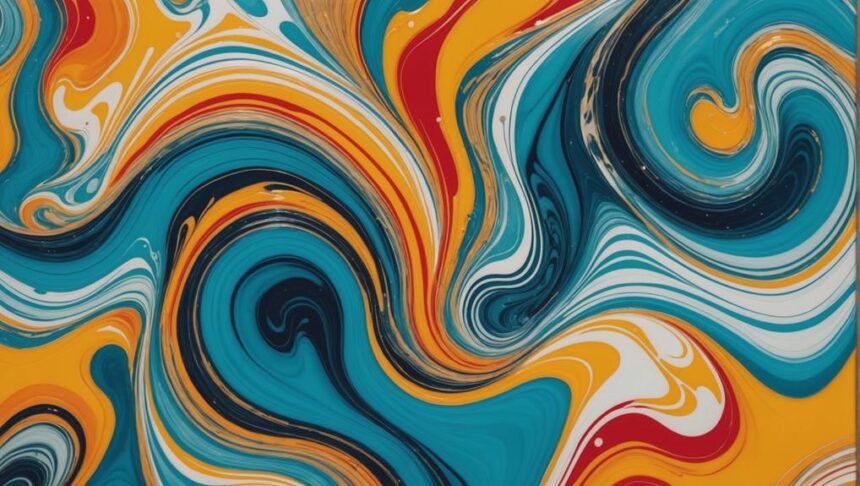
Advanced resin techniques like marbling and layering transform ordinary crafts into incredible works of art. Picture swirls of vibrant colors dancing together, creating mesmerizing, marble-like patterns—this is marbling! By mixing contrasting colors and using heat guns or stirring sticks, you can achieve dynamic designs. On the other hand, layering takes patience but adds breathtaking depth. Each resin layer cures (that’s the hardening process) for 24 to 72 hours, allowing different colors and additives to build up a multi-dimensional effect. It’s like creating art in 3D! With the right tools and a bit of practice, your projects can truly shine. Keep going to uncover more secrets!
Key Takeaways
- Use contrasting colors and swirling techniques to create dynamic, marble-like patterns in resin.
- Implement layering with varied colors and additives for visual depth and dimension.
- Ensure each resin layer fully cures (24 to 72 hours) before adding the next for stability.
- Utilize a heat gun to eliminate bubbles and achieve smooth transitions between layers.
Understanding Resin Chemistry
Understanding resin chemistry is fundamental to mastering advanced resin techniques, as it dictates the behavior and outcome of the material when combined with a hardener.
At the heart of resin art lies the process of resin curing, which is basically a chemical reaction that transforms liquid resin into a solid masterpiece. Getting the mix just right is essential—a common ratio is 1:1 or 2:1, and trust me, precision matters. If you don’t measure correctly, you might end up with a sticky mess instead of a beautiful creation.
One thing to note is the exothermic reaction that happens during curing. This reaction releases heat, and if the temperature gets too high, it can cause bubbles and surface imperfections. No one wants that!
Different types of resin, like epoxy, polyurethane, and acrylic, have their own quirks. They vary in viscosity, curing times, and the final finish they produce.
And let’s not forget the fun part—additives! Adding pigments and glitter can change how the resin behaves, affecting its transparency, color depth, and overall look. So, it’s like a science experiment, but way cooler and much prettier!
Essential Tools and Materials
To achieve professional-quality resin art, a selection of fundamental tools and materials is indispensable.
Key instruments include a heat gun for eliminating bubbles, guaranteeing a smooth finish, and a digital scale for precise measurements of resin and hardener. Accurate mixing is paramount for maintaining resin safety and achieving the ideal 2:1 ratio, essential for marbling techniques.
High-quality epoxy resin is critical for a clear, durable finish. Pigments and dyes, specifically designed for resin, are necessary to create vibrant, enchanting colors. Understanding color theory can help artists blend hues harmoniously, enhancing the visual appeal of their pieces. Additives like metallic powders can add a touch of shimmer and depth, making layered artworks truly stand out.
Silicone molds are perfect for pouring resin, allowing easy removal of the finished piece and guaranteeing clean edges. Tools such as spatulas, stir sticks, and brushes are fundamental for manipulating the resin during the pouring process, helping artists achieve the desired marbled effects.
Incorporating these tools and materials into your workflow will not only enhance the quality of your resin art but also guarantee a safer and more enjoyable creative process.
Mastering Marbling Techniques
Creating stunning marble patterns in resin art involves a few key techniques that can raise your work to the next level.
By mixing two contrasting colors of resin and pouring them together, you can generate dynamic swirls that catch the eye.
Additionally, understanding how to balance your color mixing and utilize tools like heat guns effectively will guarantee your marbled designs are both vibrant and intricate.
Achieving Marble Patterns
Mastering marbling techniques involves precise measurements, innovative use of pigments, and strategic layering to achieve stunning marble patterns.
Ensuring color harmony is key, as the interplay of shades can make or break your design. The use of pattern variations adds a dynamic element to your creations, making each piece unique and enchanting.
To achieve these mesmerizing marble effects, follow these steps:
- Mixing and Pouring: Start by mixing two-part epoxy resin in a 2:1 ratio for ideal curing. Add colored pigments and metallic powders to create depth. Pour the mixed resin onto your base layer.
- Swirling and Layering: Utilize tools like a stirring stick or a heat gun to swirl the colors together, mimicking the natural flow of marble veins. Allow the initial layer to partially cure before adding more colors to maintain distinct layers.
- Experimenting with Techniques: Try different pouring methods, such as the ‘dirty pour’ technique, to achieve unexpected pattern variations. This approach involves combining multiple colors in one cup and then pouring them together, resulting in dynamic, unpredictable designs.
Color Mixing Essentials
Understanding the fundamentals of color mixing is vital for achieving harmonious and visually enchanting marbled resin designs. To master marbling techniques, it’s important to immerse yourself in color theory and get a grip on pigment properties. The color wheel is your best friend here—knowing how complementary colors can create striking contrasts or how analogous colors produce subtle blends can make your designs pop or soothe, depending on what you’re aiming for.
Experimenting with different ratios of resin to color pigments can be a game-changer. You can achieve a myriad of shades and opacities, making your marbled effects uniquely yours. Clear or transparent pigments are particularly magical, adding depth and dimension when layered with opaque colors.
Want to jazz things up even more? Additives like metallic powders or glitter can bring dynamic visual elements that catch the light, making your pieces shimmer and shine.
And let’s not forget the ‘dirty pouring‘ technique! This involves pouring multiple colors into one container before applying them to your surface. The result? Unpredictable, organic marbled patterns that guarantee each piece is one-of-a-kind.
Layering for Depth and Dimension
Layering in resin art greatly enhances the depth and dimension of a piece by incorporating multiple cured layers, each contributing to the overall complexity and visual intrigue. Through advanced layering techniques, artists can achieve remarkable depth perception, making the artwork appear almost three-dimensional.
To create these stunning effects, artists typically follow a few key steps:
- Cure Time: Each resin layer must be fully cured before the next is applied, usually taking 24 to 72 hours, depending on the resin type and environmental conditions. This guarantees each layer is solid and stable.
- Color and Additives: Different colors and additives can be used in each layer, creating a dynamic interplay of hues and textures. This variation adds to the visual appeal and complexity of the piece.
- Heat Gun: Using a heat gun between layers eliminates bubbles and guarantees a smooth change, preventing imperfections in the final artwork.
Maintaining proper temperature control during the curing process is essential, as fluctuations can affect the clarity and adhesion of layers, leading to potential separation or cloudiness.
With patience and precision, layering transforms resin art into a fascinating, multi-dimensional masterpiece.
Troubleshooting Common Issues

Addressing common issues in resin art involves a methodical approach to identifying and resolving problems such as bubbles, yellowing, and surface imperfections.
Bubble prevention is vital for a smooth finish; using a heat gun or torch to gently pass over the resin surface can help release trapped air. This step is essential to avoid those pesky bubbles that can ruin an otherwise perfect piece.
Yellowing, another common issue, can be combated by choosing UV-resistant resin formulations. These are specifically designed as discoloration solutions to minimize yellowing over time, keeping your artwork vibrant and pristine. Be sure to check the resin label for UV protection features before starting your project.
Surface imperfections like bumps and dents can be frustrating. To fix these, wait for the resin to fully cure, then gently sand the affected areas. After sanding, apply a clear coat to restore the gloss and offer extra protection.
Also, maintaining a stable environment—a consistent temperature and a dust-free workspace—can prevent many surface issues from occurring in the first place.
Tips for a Perfect Finish
Achieving a flawless resin finish involves meticulous techniques and attention to detail, ensuring each layer cures completely before adding the next to prevent unwanted color mixing. This approach is essential for creating a seamless and professional-looking piece.
Finishing techniques play an important role in the final appearance of your resin art. Here are some essential tips:
- Surface Preparation: Before you start, make sure your workspace is clean and dust-free. Any debris can mar the surface of your resin, making it look unprofessional.
- Bubble Elimination: Use a heat gun to carefully remove bubbles from the resin’s surface before it cures. This step is critical for maintaining a crystal-clear finish.
- Smooth Edges: Once your resin is fully cured, sand the edges and surfaces to achieve a smooth finish. Follow this by applying a clear top coat to add gloss and protect against scratches.
Inspiring Project Ideas

Now that you’ve mastered the basics, let’s explore some inspiring project ideas that will truly showcase your advanced resin techniques.
Imagine creating nature-inspired pieces like ocean-themed coasters or geode wall art.
You could also venture into abstract art compositions with marbled serving trays.
Additionally, try your hand at functional decor, such as layered tabletops and photo frames, each project offering a unique way to blend creativity with practical use.
Nature-Inspired Resin Projects
Nature-inspired resin projects offer artists a unique opportunity to encapsulate the ephemeral beauty of the natural world in enduring, visually striking creations. By incorporating real leaves, flowers, and small branches, artists can achieve a realistic encapsulation that celebrates nature’s intricate details. These natural elements not only add authenticity but also create a sense of timeless beauty within the resin.
Utilizing advanced techniques like marbling, artists can mimic the mesmerizing patterns of natural stones, adding a layer of visual complexity to their pieces. Additionally, layering resin allows different natural elements to be suspended at various heights, creating a sense of depth and dimension that captivates viewers.
Here are three inspiring project ideas:
- Botanical Coasters: Encapsulate real leaves and flowers in resin coasters, preserving their beauty while creating functional art pieces.
- Oceanic Pendants: Use pigments in oceanic blues and greens to create pendants that evoke the serene beauty of the sea, adding tiny shells and sand for extra realism.
- Forest Keychains: Capture the essence of a forest by embedding small branches and moss in resin keychains, offering a miniature, portable piece of nature.
Incorporating UV-resistant resins guarantees that these creations remain vibrant and clear over time, protecting them from yellowing and preserving their natural beauty.
Abstract Art Compositions
Creating abstract art compositions with resin allows artists to explore dynamic and visually stimulating techniques that result in enchanting and unique pieces.
By experimenting with pouring techniques, such as the ‘dirty pour,’ artists can create unpredictable marbling effects that capture the viewer’s eye and evoke a range of emotions. Color psychology plays an essential role in these compositions, with different hues eliciting various emotional responses. For instance, blues can evoke calmness, while reds might inspire excitement or passion.
A 2:1 resin mixture helps in creating smooth shifts between colors, vital for effective layering. Each layer must be fully cured before adding the next to maintain clarity and separation, preventing accidental color mixing.
Additives like metallic pigments or glitters can enhance visual impact and add depth, making the artwork even more engaging.
Using a heat gun is another valuable technique. It allows artists to manipulate resin, creating intricate patterns and eliminating bubbles that might form during pouring. This method adds an element of emotional expression to the piece, as the artist’s movements directly influence the final outcome.
Abstract resin art, consequently, becomes a fascinating blend of technique and personal expression.
Functional Resin Decor
Building on the artistic versatility of resin explored in abstract art compositions, functional resin decor offers a range of inspiring project ideas that merge creativity with practicality. These projects not only beautify your space but also serve useful purposes, making them perfect for any home. Let’s explore three fantastic ideas that showcase the decorative functionality of resin.
- Unique Coasters: Create stunning coasters by layering resin with marbling techniques. Incorporate color pigments to achieve eye-catching patterns. Remember, resin safety is essential—ensure each layer cures completely before adding the next. These coasters will protect your surfaces while adding a splash of color to your decor.
- Functional Wall Art: Design pieces that are both beautiful and practical by embedding hooks or shelves within resin layers. This way, you can hang keys, jewelry, or small plants. It’s a perfect blend of aesthetics and functionality, transforming any wall into a piece of art.
- Resin Trays: Experiment with pouring multiple colors using the dirty pour technique to create vibrant, swirling designs. These trays can serve as decorative items or functional pieces for serving food or organizing items, adding a unique touch to any room.
Frequently Asked Questions
How to Get a Marble Effect in Resin?
To achieve a marble effect in resin, use precise color combinations and mixing techniques. Pour contrasting colors simultaneously, then swirl gently. Allow partial curing before layering additional colors to maintain distinct patterns, enhancing depth and visual interest.
How to Do Multiple Layers of Resin?
To execute multiple layers of resin, guarantee each layer is fully cured before adding the next. Employ proper color mixing and technique variations, such as using a heat gun and maintaining stable temperatures, to achieve ideal results.
How to Layer Resin Without Lines?
To layer resin without lines, guarantee resin consistency by thorough mixing and pour each subsequent layer when the previous one is tacky. Use a heat gun and incorporate color blending techniques to achieve a seamless finish.
How Long to Wait Between Resin Layers?
For ideal resin curing and adhesion, wait until the first layer is tack-free, typically 4 to 6 hours, before applying the next. Adhere to specific drying times provided by the manufacturer and environmental conditions.
Conclusion
Mastering advanced resin techniques such as marbling and layering enhances the visual appeal and structural integrity of resin projects.
A thorough understanding of resin chemistry, combined with the right tools and materials, facilitates the creation of intricate designs.
Techniques like layering add depth, while marbling introduces dynamic patterns.
Addressing common issues and employing finishing tips guarantees a professional outcome.
These skills, when applied creatively, enable the execution of inspiring and innovative resin art projects.


Leave a Reply