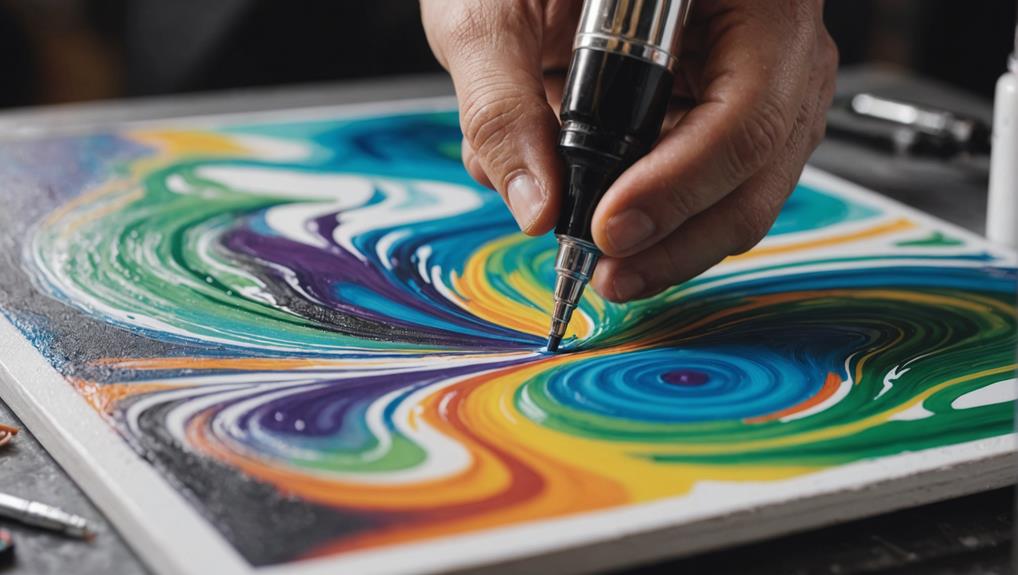
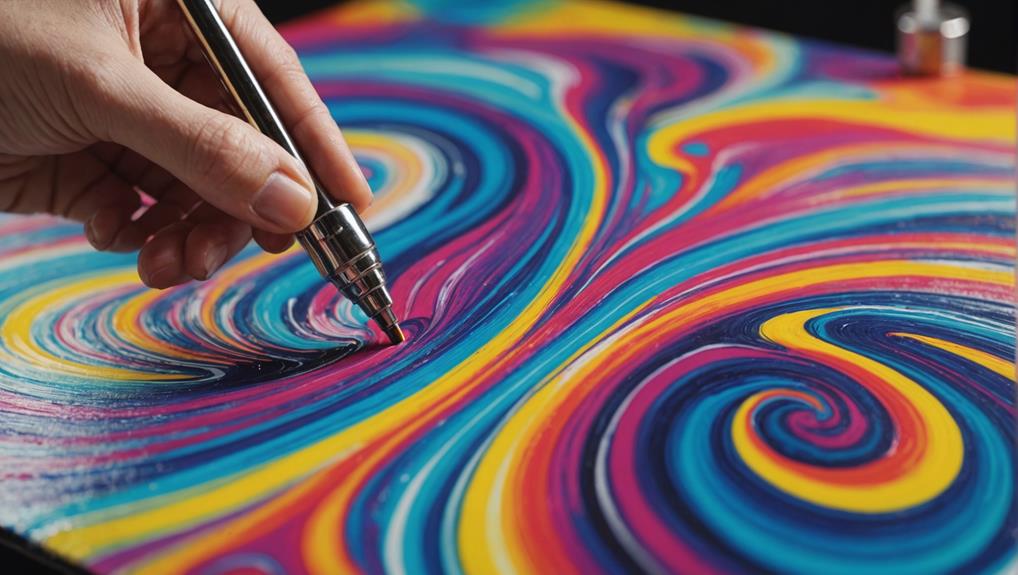
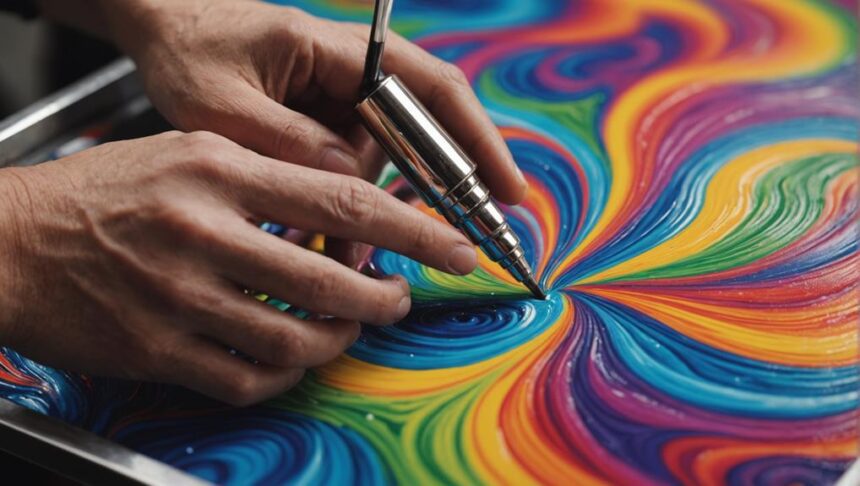
Using airbrushes in fluid art to achieve fine details is like using magic to add a sprinkle of sparkle to a piece. With a trusty airbrush like the Iwata HPC S Eclipse, you can finesse tiny lines and detailed designs with ease. Thinning your acrylic paint to a consistency similar to skim milk and adjusting your air pressure to around 15-25 psi are essential steps. Don’t forget to clean your airbrush regularly, or you might end up with a clogged disaster. A little patience, some practice, and the right tools can transform your artwork into a masterpiece. Want to reveal more secrets? Keep going!
Key Takeaways
- Select a gravity feed airbrush with a fine needle size (e.g., 0.23mm) for intricate detail work.
- Use acrylic or specialty airbrush paints to prevent clogging and achieve smooth flow.
- Thin paints to a consistency similar to skim milk for optimal sprayability and precision.
- Maintain lower air pressure (10-30 psi) to enhance control and achieve finer lines.
Selecting the Right Airbrush
Choosing the appropriate airbrush is essential for achieving desired effects in fluid art techniques. The airbrush selection criteria include factors like model type, needle size, and operating pressure.
Gravity feed models, such as the Iwata HPC S Eclipse and the CMC Plus, offer distinct advantages. The HPC S Eclipse, with its versatile 0.35mm needle, excels in broader coverage, making it suitable for a variety of applications. On the other hand, the CMC Plus, featuring a finer 0.23mm needle, is ideal for intricate details, vital for more delicate work.
The importance of needle size cannot be overstated. A finer needle, like the 0.23mm in the CMC Plus, allows for precise control, enabling artists to create fine lines and intricate patterns. Conversely, a slightly larger needle, such as the 0.35mm in the HPC S Eclipse, provides a balance between detail and coverage, operating effectively at higher pressures.
Understanding and experimenting with different airbrush models can greatly enhance an artist’s versatility. Regular maintenance, including cleaning the needle and ensuring the air cap is secure, is essential to prevent clogging and maintain performance, ensuring consistent and smooth application in fluid art.
Types of Airbrush Paints
When choosing paints for airbrushing in fluid art, it’s important to understand the variety of options available.
From fast-drying acrylic paints to specially formulated airbrush paints that prevent clogging, each type brings unique benefits to your artwork.
Additionally, specialty paints like candy colors, fabric paints, and enamel paints offer distinctive effects that can enhance your creations to new levels.
Acrylic Paint Properties
Acrylic paints, renowned for their versatility and rapid drying times, are a staple in fluid art, especially when used with airbrushes due to their finely ground pigments and specialized formulations. These paints, made from pigments suspended in an acrylic polymer emulsion, flow smoothly through airbrushes, making them perfect for detailed work.
Understanding acrylic color theory is essential for artists aiming to create vibrant and harmonious designs. With acrylics, you can mix colors to achieve a wide range of shades, allowing for endless creativity.
However, the paint’s viscosity, or thickness, often needs adjustments. For airbrushing, achieving a consistency similar to skim milk is ideal, ensuring that the paint sprays evenly without clogging the airbrush. This is particularly important for white pigments and metallic acrylic paints, which often require thinning to perform effectively.
Layering is another key aspect. Multiple coats of acrylic paint help build up opacity and depth, which is vital for achieving those fine details in fluid art. Knowing how to manipulate the quick-drying nature of acrylics, while ensuring flexibility, allows artists to create seamless blends and intricate designs that stand out.
Airbrush Paint Features
Understanding the unique features of different airbrush paints is essential for artists aiming to achieve high-quality results in fluid art. Each type of airbrush paint offers distinct properties that cater to specific applications, allowing artists to select the best medium for their creative needs.
| Type of Paint | Key Properties | Best Applications |
|---|---|---|
| Acrylic Paint | Fast-drying, safe, polymer-based | Quick layering, vibrant colors |
| Airbrush Paint | Fine pigments, enhanced sprayability | Fine details, smooth flow |
| Fabric Paint | Dyes and binders for textiles | Intricate fabric designs |
| Enamel Paint | Oil-based, glossy finish | Durable, detailed work |
| Candy Colors | Transparent dyes | Depth and vibrancy in layers |
Acrylic paint is popular for its quick drying time and safety, making it perfect for fluid art applications that need rapid layering. Airbrush paint, specifically designed for airbrush use, features finely ground pigments and additives to enhance sprayability and flow, making it ideal for fine details. Fabric paint utilizes dyes and binding agents that adhere well to natural fibers, allowing for intricate designs on textiles. Enamel paint, with its oil-based composition, offers a hard, glossy finish that is durable and suitable for detailed work when properly thinned. Finally, candy colors consist of transparent dyes that enhance underlying colors without obscuring them, adding depth and vibrancy to fluid art projects.
Specialty Paint Variants
Specialty paint variants in airbrushing include a diverse range of formulations, each tailored to meet the specific demands of various artistic applications in fluid art. Let’s explore some of these specialty paints.
First up, acrylic paint is a superstar in the fluid art world. It’s fast-drying and made from pigments in an acrylic polymer emulsion, so it’s perfect for all sorts of creative projects.
Next, we have airbrush paint, which is specially formulated for airbrushes. This paint has finely ground pigments and additives to make sure it flows smoothly and doesn’t clog, perfect for those intricate details.
Then, there’s fabric paint, designed for textiles. It contains dyes and binding agents that make colors pop and last on natural fibers, making it ideal for fluid art on clothing and fabrics.
Enamel paint, on the other hand, is oil-based and dries to a hard, glossy finish. It needs proper thinning for airbrush use but creates smooth, durable layers.
Lastly, candy colors bring their own magic. These transparent dyes are usually layered over other paints, adding depth and luminosity to your fluid art, making your creations come to life with vibrant, eye-catching effects.
Preparing Your Paint
Achieving the perfect consistency for your paint is vital to guarantee smooth application and prevent clogging during airbrush use. When preparing your paint, aim for a viscosity similar to skim milk. This guarantees that the paint flows effortlessly through the airbrush without causing blockages.
Thinning is often necessary, especially for white pigments and metallics, which tend to be thicker. Utilizing a reducer or airbrush medium can greatly enhance paint fluidity without excessively diluting the pigment concentration.
Mixing techniques play an important role in achieving the desired consistency. Thoroughly mixing your paint before use helps avoid phase separation, guaranteeing a uniform application.
It’s a good practice to conduct a spray test on a scrap surface to check your paint’s sprayability. This allows you to adjust the mixture if needed, particularly for fine detail work.
Essential Airbrush Techniques
Mastering essential airbrush techniques is important for creating intricate and fascinating fluid art pieces. These techniques not only enhance precision but also improve the overall aesthetic of the artwork. Here are some key techniques to ponder:
- Close Proximity Control: Maintain a close distance, around 1-2 inches from the surface, to achieve fine detail and precision in paint application. This proximity allows for better control over where the paint lands, giving you the ability to create intricate designs.
- Adjusting Air Pressure: The air pressure should be tailored to the desired effect. For detailed work, use a lower pressure (10-25 psi) to guarantee a controlled and delicate paint flow. For broader coverage, increase the pressure up to 50 psi.
- Optimal Paint Flow: Use a mix of airbrush mediums and reducers to achieve the right paint consistency. A typical ratio for detailed work is 3.5 parts paint to 1 part reducer. This balance guarantees smooth application without clogging the airbrush.
- Regular Cleaning: Keeping the airbrush needle and tip clean is essential to prevent clogging and maintain smooth paint flow. Regular cleaning is necessary for maintaining the quality of fine lines and details in your art.
These essential airbrush techniques form the foundation of creating engaging fluid art.
Layering for Depth

Building on the foundation of essential airbrush techniques, layering for depth involves the strategic application of multiple transparent or semi-transparent coats to create dimension and richness in fluid art. This process demands patience, as achieving the desired opacity and dimension typically requires 3 to 5 layers, with each layer needing ample time to dry thoroughly before the next is added.
Utilizing layering techniques allows artists to blend colors seamlessly, enhancing the overall visual impact of the piece. By incorporating different paint types, such as candy colors or transparent dyes, one can achieve a luminous quality that adds an enchanting depth to the artwork. It’s vital to thin paints to a consistency similar to skim milk for smooth application, avoiding clogs in the airbrush.
Experimenting with color blending through various air pressures can also play a significant role in layering. Lower pressure settings (around 10-20 psi) are great for creating soft blends, while higher pressures (30 psi and above) can produce more defined lines and shapes. This careful calibration guarantees that each layer contributes to a cohesive and vibrant visual narrative, making the artwork truly stand out.
Controlling Air Pressure
Controlling air pressure is a fundamental aspect of airbrushing that greatly influences the precision and quality of your fluid art.
To achieve the best results, understanding how to adjust and maintain pressure consistency is vital. Here are some key points to take into account:
- Fine Detailing: For fine lines and intricate details, lower air pressure (around 10-30 psi) is ideal. Specifically, a setting of 25 psi works well with a CMC Plus airbrush, allowing for precise application without excessive overspray.
- Broader Coverage: When aiming for broader coverage or misting effects, higher air pressure (50-60 psi) is more appropriate. This range helps in achieving a smooth, even spread over larger areas.
- Paint Viscosity: The thickness of the paint also affects air pressure adjustments. Thicker paints or a 1:1 paint ratio may require increased pressure to atomize the paint effectively, ensuring a consistent application.
- Pressure Consistency: Maintaining consistent air pressure is essential to avoid issues like inconsistent paint flow or splattering. Regular checks and adjustments based on the specific paint viscosity and desired effect are necessary to keep your artwork flawless.
Choosing the Right Surface

Selecting the appropriate surface is essential for achieving ideal results in fluid art with airbrush techniques. The choice of surface considerably impacts surface texture and paint adhesion, key factors for successful artwork. Non-porous surfaces like acrylic panels or treated wood are highly recommended to guarantee proper paint adhesion, preventing unwanted absorption that can affect the final outcome.
Smooth surfaces such as canvas or heavy-weight paper offer better control over paint flow, aiding in fine detailing without the interference of texture. Metallic or glossy surfaces can further enhance visual effects, especially when using transparent or candy colors, creating a luminous finish that captivates viewers.
To aid in selecting the right surface, consider the following:
| Surface Type | Benefits |
|---|---|
| Acrylic Panels | Non-porous, excellent paint adhesion |
| Treated Wood | Non-porous, prevents paint absorption |
| Heavy-weight Paper | Smooth texture, fine detailing |
Guarantee the chosen surface is clean and free of dust or oils to prevent defects, achieving a smooth application. It is also beneficial to test different surfaces with your airbrush paint to determine compatibility, as some materials may yield better results, influencing the final appearance of your fluid art.
Thinning Paints Correctly
Achieving the correct paint consistency is vital for successful airbrush application in fluid art. Ensuring the right paint viscosity allows for smooth atomization, enabling artists to create intricate details with ease. The ideal consistency is often likened to skim milk, which strikes the perfect balance between fluidity and opacity.
The recommended thinning ratio generally starts at 1 part paint to 1 part thinner or reducer. However, this can vary based on the paint brand and the specific effects you aim to achieve.
Here are some essential tips for thinning paints correctly:
- Use the Right Thinner: While water can thin acrylic paints, an airbrush medium often provides better flow and reduces clogging.
- Experiment with Ratios: Different paints and airbrushes may necessitate adjustments in thinning ratios, so don’t hesitate to experiment.
- Check Manufacturer Guidelines: Always refer to the paint brand’s specific recommendations for thinning, as formulations can differ.
- Consider Glossiness and Transparency: Thinning can affect the glossiness and transparency of the paint, which can be significant for detailed designs.
Finding the right balance with thinning mediums is essential for achieving the desired results in your fluid art projects.
Avoiding Common Issues

Mastering paint thinning techniques is just one aspect of airbrushing fluid art; avoiding common issues is also vital to achieving professional results. Maintaining consistent air pressure, typically around 25 psi, prevents inconsistent lines and guarantees smooth application. Using the correct paint thinning ratio—3.5 parts paint to 1 part reducer—enhances flow and minimizes clogging. Regularly cleaning the airbrush needle and tip is essential to avoid tip dry and paint buildup, which can interrupt spraying and lead to uneven application.
Confirming proper distance from the painting surface is another key point. Painting closer allows for finer details, while adjusting the distance can change paint density and layering effects. Additionally, paying attention to drying times between layers is critical to prevent unwanted blending or lifting of previous colors.
Below is a quick reference table to help avoid common pitfalls and apply effective troubleshooting techniques:
| Issue | Troubleshooting Technique |
|---|---|
| Inconsistent lines | Maintain 25 psi air pressure |
| Clogged airbrush | Use 3.5:1 paint to reducer |
| Tip dry/paint buildup | Clean needle and tip regularly |
| Uneven application | Adjust distance from surface |
| Unwanted blending | Allow proper drying time |
Cleaning and Maintenance
Proper cleaning and maintenance of your airbrush are vital to guarantee consistent performance and longevity of the equipment. Using effective airbrush cleaning techniques can prevent clogs and guarantee smooth operation. Here are some important steps to keep your airbrush in top shape:
- Flush Immediately After Use: After every session, flush your airbrush with an appropriate cleaner, like Medea Airbrush Cleaner for water-soluble paints. This minimizes paint buildup and clogging, making sure that your airbrush remains ready for the next use.
- Regular Disassembly: Periodically disassemble your airbrush to clean the needle and nozzle thoroughly. This prevents paint residue from affecting future applications and maintains peak performance.
- Use Gloves: When handling your airbrush, wear gloves to prevent oils from your skin from contaminating the paint and surfaces. This simple step can lead to more consistent application and better results in your fluid art projects.
- Proper Storage: Store your airbrush in a protective case or holder when not in use. This helps avoid accidental damage and keeps the equipment in good working condition.
Advanced Detailing Tips
When it comes to adding those jaw-dropping details in fluid art, thinning your paint for precision is key.
By using a fine needle airbrush and keeping the right distance, you can achieve incredible control over your lines.
Additionally, layering thin coats instead of one thick layer can really bring out the depth, making your artwork pop with intricate details.
Thinning for Precision
Achieving precision in fluid art with an airbrush requires meticulous thinning of acrylic paint to a consistency akin to skim milk. This specific consistency is essential for guaranteeing smooth, clog-free application and achieving those fine details that make your artwork stand out.
When working on advanced detailing, combining color mixing with careful viscosity testing can help you maintain control and achieve the perfect flow.
Here are some key steps to follow for thinning your paint for precision:
- Thinning Ratio: Start with a recommended thinning ratio of 3.5 parts paint to 1 part reducer. This ratio typically provides a good balance for fine lines and intricate designs.
- Airbrush Medium: Incorporating an airbrush medium can enhance sprayability and transparency, making it easier to apply controlled, detailed layers without compromising paint quality.
- Air Pressure: Adjust your air pressure between 15 to 30 psi, depending on the thickness of your thinned paint. This helps you achieve finer lines and a more controlled application.
- Viscosity Testing: Always test your paint’s viscosity on a scrap surface before applying it to your final artwork. This guarantees that the paint flows smoothly and meets your precision requirements.
Layering for Depth
Building on the precision achieved through meticulous thinning, mastering layering techniques is essential for creating depth and complexity in fluid art.
By applying multiple transparent or semi-transparent coats, artists can gradually build up color intensity and richness. This approach not only enhances the visual depth but also brings out vibrant color gradients that make the artwork pop.
To prevent muddy colors and maintain clarity, it is vital to let each layer dry completely before adding the next. Start by using lighter colors as the base layers, then gradually introduce darker shades to create dimension and contrast.
Adjusting the airbrush pressure and distance from the surface can help you achieve varying opacity; lower pressure is great for fine details, while higher pressure covers broader areas more efficiently.
Experimentation with drying times can also yield unique textures and effects. Faster-drying layers help maintain sharp lines for detailed work, whereas slower-drying layers allow for more blending, adding another layer of complexity to your piece.
Recommended Brands and Products
For fluid artists seeking high-quality supplies, Createx Wicked Colors and GOLDEN High Flow Acrylics stand out for their exceptional performance and vibrant results. When it comes to airbrush brands, these two products are often highlighted in product comparisons for their ability to enhance fluid art techniques.
Createx Wicked Colors: Known for their vibrant pigmentation and smooth application, these paints are perfect for a variety of surfaces. They allow artists to achieve rich, bold colors effortlessly.
GOLDEN High Flow Acrylics: These acrylics are celebrated for their unique formulation, which provides seamless blending and fine detail work. They also offer excellent flow and quick drying times, making them ideal for fluid art.
Iwata Airbrushes: Models like the HPC S Eclipse and CMC Plus are favored for their exceptional atomization and precision. These airbrushes help artists achieve intricate details in their fluid art projects.
Medea Airbrush Cleaner: Essential for maintaining your airbrush, this cleaner effectively removes water-soluble paints and minimizes clogging. Keeping your equipment in top shape guarantees consistent, high-quality results.
Frequently Asked Questions
Can You Paint Fine Details With an Airbrush?
Yes, fine details can be achieved with an airbrush through careful technique exploration and appropriate nozzle selection. Utilizing a smaller needle, lower air pressure, and maintaining proximity to the surface guarantees precision and control in intricate designs.
How to Be Precise With an Airbrush?
To achieve precision with an airbrush, employ technique tips such as maintaining a consistent distance, using lower air pressure settings, and selecting appropriate nozzle sizes. Regular cleaning and incorporating stencils or masking can further enhance accuracy and detail.
What Pressure Do You Airbrush Fine Lines?
To airbrush fine lines, an airbrush pressure of 10 to 25 psi is recommended. This range allows for precise control of line thickness, ensuring detailed work without overspray. Adjust pressure and proximity for best results.
Do I Need to Dilute Acrylic Paint for an Airbrush?
Yes, diluting acrylic paint is often necessary to achieve ideal paint viscosity, ensuring smooth flow through the airbrush and preventing clogging. Proper dilution is essential for effective airbrush maintenance and achieving high-quality results.
Conclusion
Mastering the art of using airbrushes in fluid art for fine details requires careful selection of tools and materials, rigorous preparation, and a thorough understanding of essential techniques.
Layering can create depth, and common issues must be avoided with proper maintenance.
Advanced detailing techniques can significantly enhance the artwork.
By adhering to these guidelines and utilizing recommended brands, exceptional results are achievable, elevating fluid art to new levels of intricacy and sophistication.


Leave a Reply