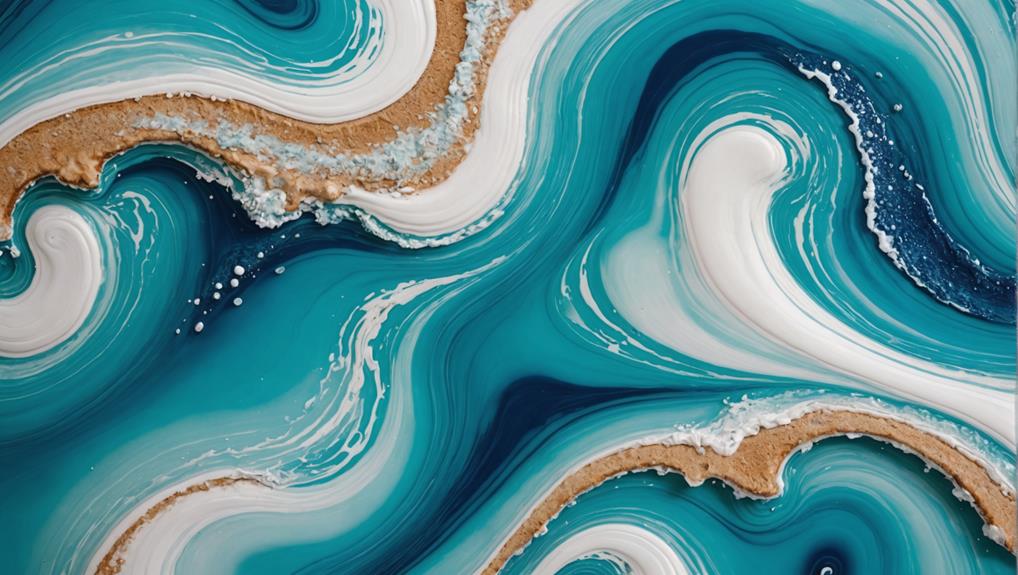
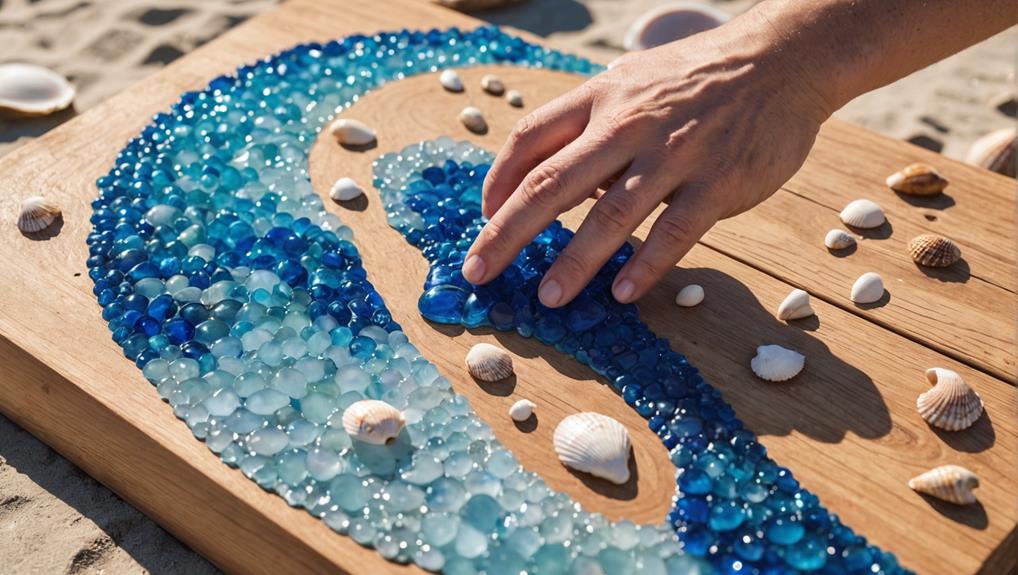
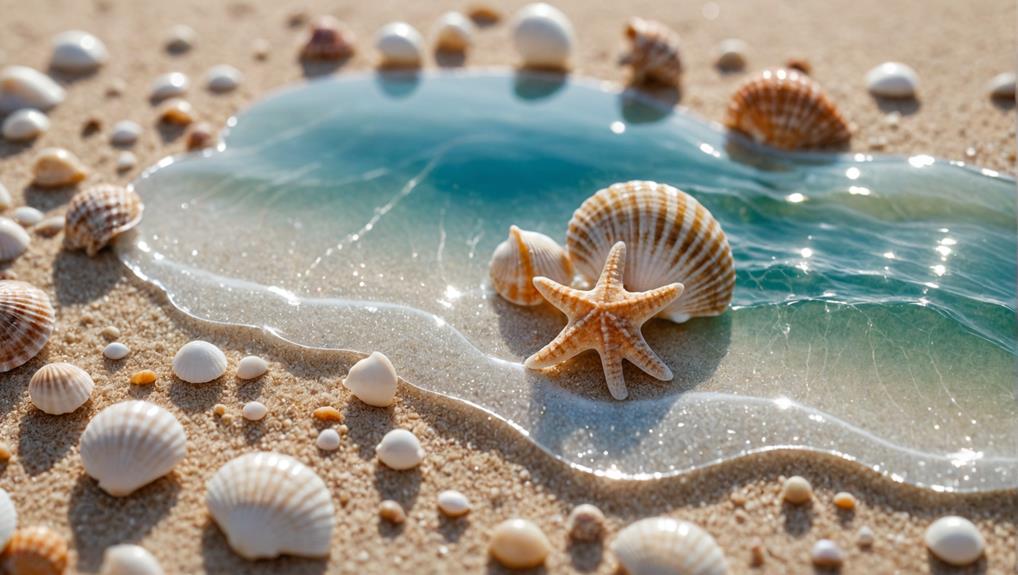
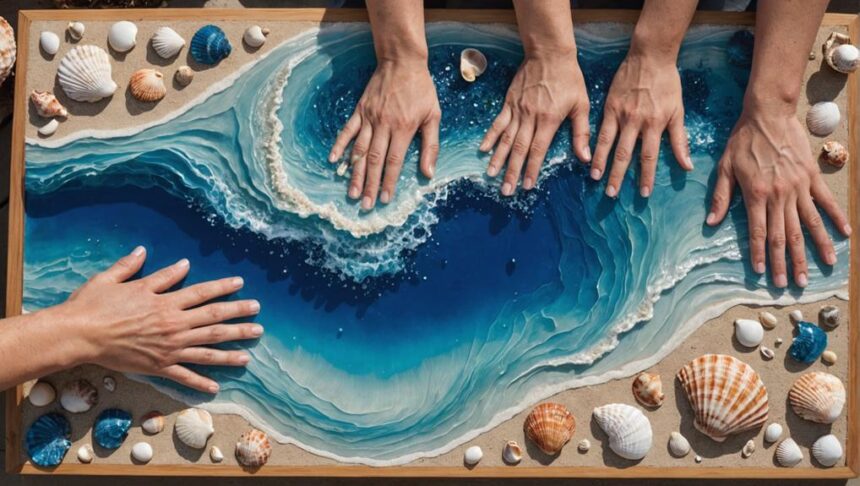
Creating stunning beach sand resin art starts with gathering your supplies: epoxy resin, hardener, mixing tools, heat tools, and beach treasures like shells and sand. First, measure and mix the resin accurately, then add vibrant colors for that perfect ocean look. Pour and layer the resin, using a heat gun for wave effects and bubble removal. Don’t forget to add tiny beach details like shells and stones for a realistic touch. Let your masterpiece cure in a dust-free, well-ventilated area. If you’re keen for more detailed steps on making your beach scene beautiful, stick around for the complete guide!
Key Takeaways
- Gather essential materials: epoxy resin, hardener, mixing tools, heat gun, and clean beach treasures like shells and sand.
- Ensure accurate measurement and thorough mixing of resin and hardener for at least three minutes to eliminate bubbles.
- Apply and shape waves using a heat gun or hairdryer within 40 minutes of mixing the resin.
- Create ocean effects with blue and white pigments, layering darker shades first for depth and lighter ones for gradient.
Gather Your Materials
Gathering your materials is the essential first step in creating beach sand resin art, ensuring that you have all the necessary tools and supplies for a successful project. Imagine your creation coming to life with sparkling waves and sandy shores!
To start, you’ll need epoxy resin and hardener, which are the main ingredients. Mixing cups and popsicle sticks help you blend these together smoothly. A heat gun is vital too, as it helps you pop those pesky bubbles that can ruin your artwork.
Next, think about what makes the beach so special to you. Is it the shells, the sand, or the tiny stones? Collect these treasures, but make sure they’re clean and dry so they won’t mess up your resin.
Now, to get those perfect ocean colors, grab some acrylic paints or pigment powders in shades of blue, white, and tan. These will bring your beach inspiration to life.
Don’t forget about resin safety! Gloves, a mask, and goggles are must-haves to protect yourself from fumes and sticky messes. Safety first, fun second!
With your materials ready, you’re all set to create a masterpiece that captures the magic of the beach.
Prepare Your Workspace
Before you start creating your beach sand resin art, it’s super important to get your workspace ready.
Make sure your area is clean and well-ventilated to keep out dust and fumes, and cover your table with a dust cover to keep debris away.
Gather all your tools and materials upfront, and tape off the edges of your work surface with painter’s tape to keep everything neat and tidy.
Gather Essential Supplies
To guarantee a smooth workflow during the resin art process, start by collecting essential materials including epoxy resin, hardener, mixing cups, and tools such as spatulas and heat guns.
Choosing the right resin type is vital; different types of resin have various properties, affecting the final look and durability of your artwork. For beach sand resin art, an epoxy resin is often ideal due to its clarity and ease of use.
Next, consider your pigment choices. Pigments come in many forms like liquid dyes, powder pigments, and even mica flakes. Each adds a unique touch to your beach scene, giving the sand and water their vibrant colors.
Make sure your workspace is clean and organized. Cover surfaces with silicone mats or plastic sheeting to protect against spills. This makes cleanup a breeze! Keep a dust cover handy to shield your work from unwanted debris. Having all materials within reach, including pigments and additives, saves time and keeps you focused.
Lastly, don’t forget about safety. Wear gloves, goggles, and a respirator mask to protect yourself from resin fumes and spills.
With everything prepared, you’re ready to plunge into creating your stunning beach sand resin masterpiece!
Protect Work Area
A clean and organized workspace is essential for maintaining the integrity of your beach sand resin art. Imagine working so hard on your masterpiece, only to have it ruined by dust or debris. Not fun, right?
Workspace organization is key to keeping everything running smoothly. Make sure your area is spotless before you start. Use a dust cover to keep pesky particles from messing up your resin’s clarity.
To protect your workspace and your art, tape off the edges of your panel with painter’s tape. This helps avoid unwanted resin splashes, giving you those crisp, clean lines that make your art pop.
And don’t forget to prop your panel up! Painter’s pyramids, plastic cups, or even LEGO blocks work great. This step allows for resin runoff and helps with proper curing.
Oh, and let’s talk safety. Set up in a well-ventilated area to avoid inhaling any nasty fumes. Trust me, your lungs will thank you.
Following these steps isn’t just about contamination prevention—it’s about creating a safe, efficient, and enjoyable workspace. So, get organized, stay clean, and let your creativity flow!
Mix Resin Components
To start mixing your resin, you’ll need to measure equal parts of resin (Part A) and hardener (Part B) carefully, following the instructions on the package.
Stir the mixture for at least three minutes to get rid of any bubbles and make sure it’s smooth.
Once mixed, divide it into small cups to add different colors, creating your beach sand masterpiece!
Measure Resin Accurately
Accurate measurement of resin and hardener is essential to guarantee proper curing and consistency in your beach sand resin art. By following precise resin measurement techniques and adhering to accurate volume guidelines, you can verify your artwork turns out beautifully every time.
First, you need to measure equal volumes of resin (Part A) and hardener (Part B) as per the manufacturer’s instructions. This is super important because if the amounts are off, the resin might not cure properly, leaving you with a sticky mess instead of a gorgeous beach scene. For a 30 cm diameter art board, approximately 150-170 grams of resin mixture is typically sufficient. However, you might need to adjust this depending on the size of your project.
Using small plastic cups can help you divide the mixed resin for adding colors. But remember, don’t go wild with the tints—keep the concentration below 6% of the total resin volume. This way, your resin will cure effectively, and you’ll avoid any unwanted surprises.
In short, measuring correctly is like setting the stage for your beach masterpiece. Get it right, and you’re on your way to creating stunning art!
Combine Resin Thoroughly
Combining resin components thoroughly is vital for achieving a smooth, well-cured finish in your beach sand resin art. First, measure equal parts of resin components A and B as per the manufacturer’s instructions. Accurate ratios are important for proper curing. Mixing techniques are key here; use a craft stick to stir the resin for at least three minutes. Be certain to scrape the sides and bottom of the mixing cup to avoid any unmixed areas. This helps prevent soft or sticky spots in your finished piece.
Once mixed, let the resin sit for 15 minutes after adding any tints. This thickening process aids in creating better wave effects. Dividing your mixed resin into small cups for each color guarantees uniformity and consistency in your artwork. Maintaining a clean and organized workspace is another important curing tip. This prevents contamination that could ruin the look and curing process of your beach sand resin art.
Here’s a quick reference table for these steps:
| Step | Action | Purpose |
|---|---|---|
| 1 | Measure equal parts | Guarantee proper curing |
| 2 | Stir for 3 minutes | Avoid unmixed areas |
| 3 | Let sit for 15 minutes | Achieve better wave effects |
| 4 | Divide into cups | Guarantee uniformity |
| 5 | Clean workspace | Prevent contamination |
Follow these tips for a stunning, well-cured beach sand resin masterpiece!
Test Resin Consistency
Begin by scooping a small amount of resin with a spatula to observe its flow, making sure it moves back slowly to indicate proper consistency. This step is essential for achieving the desired effects in your beach sand resin art.
Proper resin viscosity is important, especially for creating wave formations. Employing the right testing techniques can help guarantee your resin is ready for use.
To test resin consistency, follow these steps:
- Scoop a Small Amount: Use a spatula to scoop a small amount of resin. Observe how it flows back into the container. It should move slowly and uniformly.
- Wait for Thickening: Allow the resin to sit for 30-35 minutes if using Art Pro Deluxe resin. This waiting period helps achieve the necessary thickness.
- Check for Gel-like Texture: Before proceeding, verify the resin has a gel-like texture. This consistency is crucial for forming waves that hold their shape.
- Avoid Thin Resin: If your initial wave appearance fades, it might be due to using thin resin. Always opt for a thicker consistency to prevent this issue.
Color the Resin

Coloring the resin is where the magic begins, turning your project into a vibrant masterpiece.
Start by selecting the right tints for your ocean effects and beach sands, mixing them in small cups to guarantee even distribution.
Don’t forget to experiment with different dye techniques and gradients to create stunning, lifelike transformations in your beach scene.
Resin Tint Selection
Selecting the appropriate resin tints is vital for achieving the vibrant and realistic ocean effects desired in beach sand resin art. When choosing tints, it’s important to understand resin color theory and how different colors interact. Tint intensity plays a major role in creating depth and realism.
Here are some key tips for selecting your resin tints:
- Use Epoxy-Specific Tints: Always choose tints designed for epoxy resin. Water-based dyes won’t give you the vibrant ocean effects you want.
- Limit Tint Concentration: Keep the tint concentration below 6% of the total resin volume. This helps guarantee the resin cures properly and avoids any nasty chemical reactions.
- Shake Well Before Use: Shake your ResinTint bottles before using them. This guarantees the color pigments are evenly distributed, giving you the ideal tint intensity.
- Create Realistic Sand Colors: For a sandy beach look, mix light beige or tan tints with a tiny bit of white. This creates a realistic sand color that contrasts beautifully with ocean blues.
Experiment with layering different shades of blue, turquoise, and white to create depth and motion in your ocean scenes. Adjust the tint concentration according to your desired opacity. Happy tinting!
Mixing Dye Techniques
Mastering the art of mixing dyes is pivotal for creating the stunning, multi-layered effects that bring beach sand resin art to life. Imagine the thrill of seeing vibrant ocean blues and sandy beiges transform before your eyes!
To start, use a few drops of special resin dye, but make sure it’s not water-based. Mix thoroughly in small cups to get that perfect shade. Remember, keep the tint concentration below 6% of the total resin volume—too much dye can mess with the curing process and weaken the resin.
Next, patience is key. Let the tinted resin sit for 15 minutes after mixing. This allows it to thicken, which helps in achieving those defined layers and prevents the colors from bleeding into each other. Want to make wave effects? Mix a small amount of white pigment paste with resin, adjusting for the desired opacity.
Experiment with different dye combinations and layering techniques. Pour darker shades first, then lighter ones. It’s like painting with liquid glass! By layering, you create depth and motion, making your beach sand resin art look truly dynamic.
Have fun and let your creativity flow like the tide!
Achieving Color Gradients
Achieving smooth and enchanting color gradients in beach sand resin art requires meticulous layering and blending of pigments. By understanding color theory and using gradient techniques, you can create stunning ocean scenes. Here’s a simple guide to help you achieve those beautiful changes:
- Mixing Pigments: Start by mixing blue and white pigments using Mica Powders. This will give you a vibrant ocean color gradient. Begin with deeper shades of blue and gradually add lighter tones for a smooth change.
- Layering Resin: Pour the darker blue resin first to represent the deepest parts of the ocean. Next, layer lighter blue and finally white resin. This gradual layering creates a natural gradient effect, making your artwork look more realistic.
- Using a Heat Gun: During the pouring process, use a heat gun to blend the colors. This technique not only enhances the gradient but also adds movement and depth to your ocean scene.
- Timing and Thickness: Let the resin thicken slightly before pouring. This helps maintain wave shapes and clarity in the gradient. By doing so, you make sure the colors remain distinct and vibrant, adding to the overall beauty of your piece.
Experiment with these tips, and watch your beach sand resin art come to life!
Create the Background
To create the background for your beach sand resin art, begin by pouring a base layer of clear resin to establish a smooth, even surface. This initial layer will act as a foundation for all the magical details to come.
Now, let’s immerse ourselves in the color blending and texture techniques that will bring your beach scene to life.
Start by mixing sand-colored resin and spreading it over the edges of your piece using a popsicle stick or plastic knife. This will mimic the natural shoreline, giving it a realistic look.
Next, mix various shades of blue and white pigments in small cups. Begin layering the ocean colors by pouring dark turquoise resin in the deeper areas. Gradually blend this with lighter turquoise to create a beautiful gradient effect that looks just like the sea.
Make sure to maintain a clear separation between the sand and ocean colors to prevent them from mixing and becoming muddy. Allow the sand layer to set slightly before introducing the ocean hues.
This careful layering will help achieve a clean, stunning background that sets the stage for the waves and additional details to come.
Form Initial Waves

With the background set, it’s time to introduce the dynamic movement of water by forming the initial waves. This step adds life and motion to your beach sand resin art, capturing the essence of wave dynamics.
Follow these artistic techniques to create stunning waves:
- Apply Resin Stripe: Start by applying a thin stripe of resin near the beach area or the lightest color section. This stripe will be the foundation for your waves.
- Blow the Resin: Use a heat gun or hairdryer at a 30-degree angle to blow the resin, shaping the waves from the beach into the sea. This technique helps create a natural wave motion.
- Work Within 40 Minutes: It’s essential to complete the wave formation within 40 minutes of mixing the resin. This guarantees the resin remains workable and maintains its consistency.
- Layer Additional Waves: For added depth and dimension, layer more waves further from the beach using the same blowing technique. This will make your artwork look more realistic and dynamic.
Quickly going over the formed waves with a heat gun can enhance the effects, making them more visually appealing. This step is all about capturing the movement and energy of the ocean.
Apply Heat for Bubbles
Applying heat to the resin surface is essential for eliminating air bubbles that can mar the final appearance of your beach sand resin art. A heat application method using a heat gun is highly effective for bubble prevention. After you pour the resin, gently pass the heat gun over the surface. This helps to remove any pesky air bubbles that may have formed during the mixing and pouring process.
Keep the heat gun about 6 to 12 inches away from your resin surface. If you get too close, you might overheat the resin, causing it to bubble up even more or distort the surface. Move the heat gun in a sweeping motion, like you’re painting with invisible strokes. Staying in one spot too long can create hotspots, which isn’t good for your artwork.
It’s also a good idea to let the resin thicken a bit before you use the heat gun. This way, you can remove bubbles without messing up the cool wave shapes you’ve already made. Make sure to do this within the first 15-20 minutes after pouring the resin. That’s when bubbles are most likely to rise to the surface, and you’ll achieve the most favorable results.
Layer Additional Waves
After successfully eliminating air bubbles, the next step is to layer additional waves to enhance the complexity of your beach sand resin art. This process is crucial for creating depth and a realistic ocean effect. Here are some steps to guide you through these wave layering techniques:
- Apply a Thin Stripe of Resin: Start by applying a thin stripe of resin further from the beach area using the same color as the initial wave mixture. This stripe will form the base of your additional waves.
- Use a Heat Gun: Hold a heat gun at a 30-degree angle and carefully blow the resin into the desired wave shape. Verify this technique is completed within 40 minutes of mixing the resin for best results.
- Maintain Consistency: Maintain a consistent layer of liquid resin beneath the wave mixture. This helps support the formation of the waves and prevents them from fading or disappearing.
- Enhance Wave Color: If the initial waves appear too pale, gradually add more Wave Pro powder to the resin mixture. Aim for a rich white color to enhance the resin wave effects.
Add Beach Details
To create realistic beach details in your resin art, begin by applying a sand-colored resin layer at the edge of your panel, ensuring it smoothly shifts into ocean colors without mixing. This creates a seamless alteration that’s key to achieving perfect beach aesthetics.
Next, sprinkle in some natural elements like tiny shells and small stones once the sand layer starts to cure. This trick helps them get partially embedded, adding a touch of authenticity to your scene.
Now, for the fun part! Use a heat gun to manipulate the resin’s surface. By carefully directing the heat, you can create movements that look just like waves gently lapping against the shore. It’s like having a mini ocean on your panel!
For even more depth, layer different shades of sand-colored resin. This gradient effect is super cool and makes the beach area pop with visual interest.
Another pro tip: mix fine sand with resin to pour a base layer. This mix will capture the texture of real beach sand, making your artwork look incredibly lifelike.
Adding these beachy details not only enhances the realism but also makes your resin art a stunning masterpiece. So, go ahead, let your creativity flow like the ocean waves!
Cure and Finish

Guaranteeing your resin art cures properly is essential for achieving a flawless and durable finish. To make certain your beach sand resin art turns out perfect, you’ll need to pay attention to the cure duration and finish techniques. Here’s a step-by-step guide to help you out:
- Cure Duration: Let your resin art cure for at least 24-72 hours in a dust-free, well-ventilated area. This helps it harden properly and achieve maximum clarity. Trust us, patience here is key!
- Monitor Conditions: Keep an eye on temperature and humidity levels. Ideally, you want the temperature between 70°F and 75°F and humidity between 40% and 60%. This guarantees the resin cures evenly and reduces the risk of imperfections.
- Inspect and Sand: Once cured, inspect your artwork. If you find any imperfections, don’t panic! Sand them down with fine-grit sandpaper to create a smooth surface. This step might feel tedious, but it’s worth it for a polished look.
- Top Coat: For that extra wow factor, consider adding a clear top coat of resin. This not only adds depth but also protects your masterpiece from UV damage. Plus, it makes your art super shiny!
After finishing, store your art in a cool, dry place to keep it looking vibrant. Avoid direct sunlight to prevent color fading. Happy crafting!
Frequently Asked Questions
How to Make Epoxy Look Like a Beach?
To make epoxy resemble a beach, use resin layering techniques by starting with sand-colored resin. Implement beach color blending with dark and light turquoise resins for ocean depths, and add white resin for wave effects, enhancing realism.
Can You Put Beach Sand in Resin?
Yes, you can incorporate beach sand into resin. Make certain the beach sand types used are clean and dry for ideal resin safety. Applying it as a base layer or between resin layers yields the best aesthetic results.
How Do You Make Resin Ocean Effect?
To create a resin ocean effect, employ resin techniques by pouring a clear base layer and adding blue and white pigments. Use a heat gun to manipulate the resin, forming natural ocean colors and wave effects.
Can You Mix Epoxy Resin With Sand?
Yes, epoxy resin can be mixed with sand. This combination leverages the epoxy properties for strong adhesion and creates a realistic sand texture. Make certain clean, dry sand is used and thoroughly blend to achieve uniform distribution.
Conclusion
Creating stunning beach sand resin art involves a series of careful steps, from gathering materials to curing and finishing.
By meticulously preparing the workspace and mixing resin components, one guarantees a smooth process.
Testing consistency and applying heat prevent bubbles, while layering waves and adding beach details enhance realism.
Ultimately, patience and precision culminate in a fascinating piece that encapsulates the beauty of the beach, offering a rewarding experience and a visually striking result.


Leave a Reply