Creating stunning clear resin art is like releasing your inner magician! Start by mixing epoxy resin with a hardener in a 1:1 ratio, using disposable cups and sticks for accuracy. Keep your workspace clean and cover surfaces to avoid messy spills. Wear gloves and a mask—safety first! Pour the resin carefully into molds, adding fun stuff like dried flowers or glitter. Each pour should be slow and steady to avoid bubbles. Let your masterpiece cure on a level surface for up to 24 hours. Ready to transform simple resin into magical art? There’s so much more to discover!
Key Takeaways
- Always mix resin and hardener in a precise 1:1 ratio to ensure proper curing.
- Use a well-ventilated workspace and proper PPE, including gloves and a mask, for safety.
- Pour resin slowly down the side of the mold to minimize air bubbles.
- Allow each resin layer to partially cure before adding the next for clarity and depth.
What Is Resin Art?
Resin art, frequently celebrated in DIY and crafting communities, involves the artistic use of epoxy resin to create decorative and functional items. The history of resin art is fascinating, starting with its use in ancient times as a natural adhesive and preservative.
Today, artists use epoxy resin, a two-part mixture of liquid resin and hardener, which cures into a strong, glossy finish. This transformation is like magic, turning liquid into a solid, shiny piece of art.
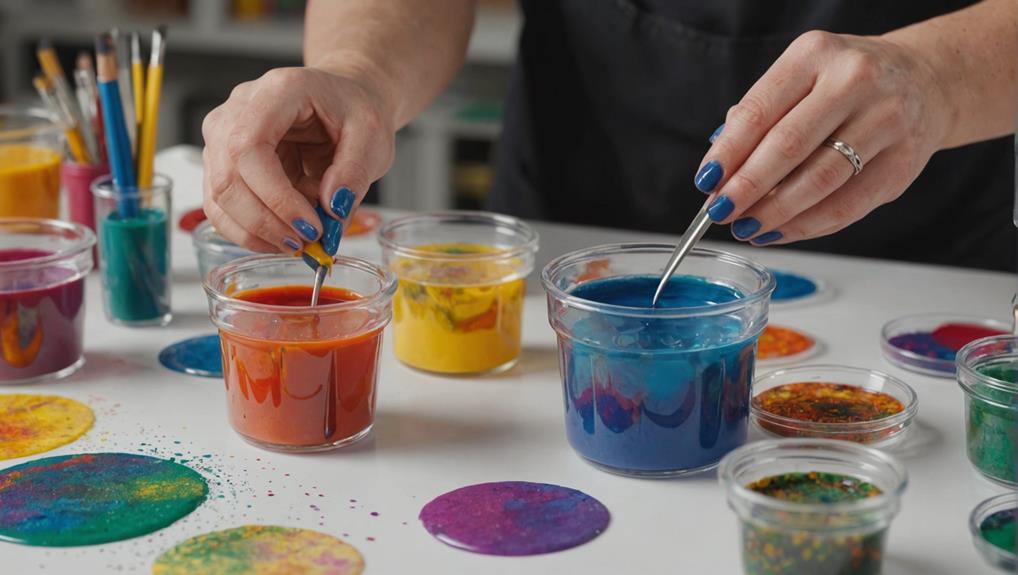
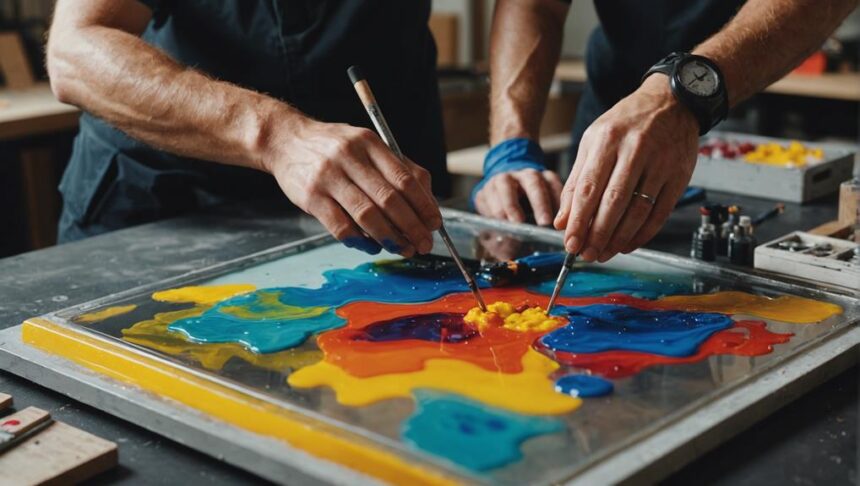
Artistic techniques in resin art are diverse and endlessly creative. You can mix in pigments to add color, or include dried flowers and glitter for extra sparkle. Some artists pour resin into molds to make coasters or jewelry, while others create larger pieces like wall art or home decor. The best part? Each resin art piece is unique, so if you make a resin coaster, no one else in the world will have one exactly like it!
To get started, you don’t need to be a pro. Resin art’s versatility makes it perfect for beginners. Just remember, safety first! Always wear gloves and work in a well-ventilated area to avoid health risks.
Essential Tools and Supplies
To create stunning clear resin art, having the right tools and supplies is essential for achieving professional results.
First off, you’ll need an epoxy resin crystal clear kit. This kit includes both the resin and hardener, which are vital for the curing process. Mixing these two components in the correct 1:1 ratio is imperative, so disposable measuring cups and stir sticks are a must-have for accurate measurement and mixing.
Next, think about the shapes and forms you want to create. Silicone molds are fantastic because they’re flexible, reusable, and come in all sorts of shapes. Don’t forget the mold release, which helps you pop your masterpiece out of the mold without any hassle.
Adding some flair to your resin art? Grab some resin colorants and decorative elements like pigments, glitter, and tiny objects. These can transform your clear resin into a stunning, colorful piece of art.
And hey, safety first! Always wear personal protective equipment (PPE) like nitrile gloves and a ventilated mask. This will keep you safe from any harmful fumes.
With these tools and supplies, you’re well on your way to creating beautiful resin art!
Safety Tips and Precautions
When creating clear resin art, it’s super important to stay safe while having fun.
Always wear nitrile gloves and a ventilated mask to protect yourself from harmful chemicals and fumes.
Make sure your workspace is well-ventilated, clean, and organized to keep yourself and others safe from accidents.
Personal Protective Equipment
Proper use of personal protective equipment (PPE) is essential to guarantee safety while working with epoxy resin. When creating resin art, it’s vital to protect yourself from potential hazards.
First, let’s talk about glove types. Always wear nitrile gloves instead of latex or vinyl because nitrile offers better protection against the chemicals in epoxy resin. It’s like having a strong, invisible shield for your hands!
Next, let’s explore mask options. Inhaling resin fumes is a big no-no, so wearing a ventilated mask or a respirator is a must. These masks help filter out harmful particles and fumes, especially when you’re mixing or sanding the resin. Trust me, your lungs will thank you.
Lastly, don’t forget about your eyes. Resin can splash, and you don’t want any of it getting into your eyes. Safety goggles are your best friend here. They keep your eyes safe from splashes and dust, making sure you can see your masterpiece clearly.
Here’s a quick recap to keep you safe and sound:
- Wear nitrile gloves to protect your skin.
- Use a ventilated mask or respirator to avoid inhaling fumes.
- Put on safety goggles to guard your eyes from splashes.
Stay safe and happy creating!
Ventilation and Workspace Setup
Beyond personal protective equipment, establishing a well-ventilated and organized workspace is fundamental for safe and efficient resin art creation.
When working with resin, it’s essential to guarantee good air circulation. Open windows or use exhaust fans to let out those sneaky fumes that can escape during mixing and curing. Trust me, your lungs will thank you!
Next, think about your workspace organization. A flat, stable surface is your new best friend. It prevents spills and guarantees your resin cures evenly. Ever tried balancing a bowl of soup on a trampoline? Yeah, let’s avoid that mess here.
Silicone mats or protective plastic sheets are lifesavers for your work surface. They make cleanup a breeze and keep resin spills from becoming permanent fixtures of your table. Plus, who wants to scrape dried resin off their desk? Not me!
Keeping your workspace organized and clutter-free isn’t just about looking neat. It makes your life easier and your projects smoother. When your materials and tools are easy to find, you can focus on creating that stunning art without hunting for a missing brush.
Prepping Your Workspace
To guarantee a safe and efficient workflow while creating clear resin art, it is essential to prepare your workspace meticulously. This stage is vital for both the quality of your art and your safety. Imagine working in a chaotic space with resin dripping everywhere—not fun, right? Let’s explore how to set up your workspace effectively.
First, workspace organization is key. Gather all your supplies—measuring cups, stir sticks, molds, and decorative elements—and arrange them neatly. This will keep you from frantically searching for items mid-project, saving you time and stress.
Next, think about surface protection. Resin can be messy, and you definitely don’t want it ruining your beautiful table. Cover your work area with plastic sheeting or silicone mats. These materials are easy to clean and will protect your surfaces from spills and stains.
Finally, verify you have a level working surface. Resin flows like water, and an uneven surface can cause it to pool in unwanted areas, making your art look sloppy. Use a spirit level to check your table’s evenness before you start.
Here’s a quick checklist to get you started:
- Organize all supplies for easy access.
- Protect surfaces with plastic sheeting or silicone mats.
- Verify your working surface is level.
Mixing and Measuring Resin

When it comes to resin art, getting the right mix and measurements is essential for a perfect finish.
Always follow the manufacturer’s instructions for the resin and hardener ratio, usually 1:1, and use disposable measuring cups for accuracy.
Stir gently but thoroughly to avoid air bubbles and guarantee a smooth, clear result.
Accurate Resin Ratios
Assuring accurate resin ratios is essential for achieving a properly cured and flawless resin art piece. Resin chemistry relies on precision, so even a tiny mistake can ruin your masterpiece.
Mixing techniques are vital here, starting with the correct ratio of resin to hardener, usually 1:1. This is where things can get tricky, but don’t worry—we’ve got you covered.
To nail those perfect ratios, follow these steps:
- Use Disposable Measuring Cups: Reusable ones can have residue from previous projects, messing up your mix. Disposable cups are clean, assuring accuracy. Measure both resin and hardener carefully, right down to the last drop!
- Thorough Mixing: Pour your resin and hardener into a mixing container. Stir slowly and thoroughly for at least 3-5 minutes. Scrape the sides and bottom of the container to make sure everything blends together. This assures the resin cures properly and avoids sticky spots.
- Avoiding Bubbles: Pour the resin down the side of the cup or mold to minimize air bubbles. Stir gently—vigorous mixing introduces bubbles, which can be tricky to remove. For extra assurance, use a heat gun or blowtorch briefly to pop any bubbles on the resin surface.
Preventing Common Mistakes
Avoiding common mistakes in mixing and measuring resin is essential for achieving a flawless and durable resin art piece.
First, always measure the epoxy resin and hardener in an exact 1:1 ratio. Messing up these proportions can leave you with a sticky, uncured disaster instead of a shiny masterpiece. Use disposable measuring cups to keep things precise and clean—mixing different resin brands or types is a no-go.
Now, onto the mixing part. Stir the resin and hardener together thoroughly for at least 3-5 minutes. Scrape the sides and bottom of your container as you go, making sure everything is well-blended. But be gentle! Stirring too aggressively can introduce tons of air bubbles, and nobody wants that.
After mixing, let the resin sit for a few minutes. This gives any pesky bubbles a chance to rise to the surface. Trust me, it makes for a much clearer finish.
And if you’re diving into color mixing or texture techniques, follow these steps for a smooth start.
Pouring and Layering Techniques
Mastering the art of pouring and layering resin is essential for creating visually stunning and structurally sound resin art pieces. Layering techniques and pouring methods play a vital role in achieving the desired effects and ensuring the longevity of your artwork.
To get started, always pour a thin layer of resin first. This stable base is key to placing decorative elements later on. Plus, it helps prevent those elements from floating around. When you pour resin, try to pour it down the side of your mold. This simple trick minimizes bubbles and gives your piece a smooth, clear surface.
Next, to create eye-catching layers, let each layer of resin partially cure before adding the next. This way, the layers bond well without mixing into a cloudy mess. Waiting might test your patience, but the results are worth it. Also, don’t forget to use a heat gun or small torch after pouring each layer. This will pop any pesky bubbles and keep your resin crystal clear.
Here’s a quick recap:
- Start with a thin base layer to stabilize and place objects.
- Pour down the side of the mold to reduce bubbles and smooth the surface.
- Allow layers to partially cure before adding another to avoid mixing.
Happy pouring!
Adding Decorative Elements

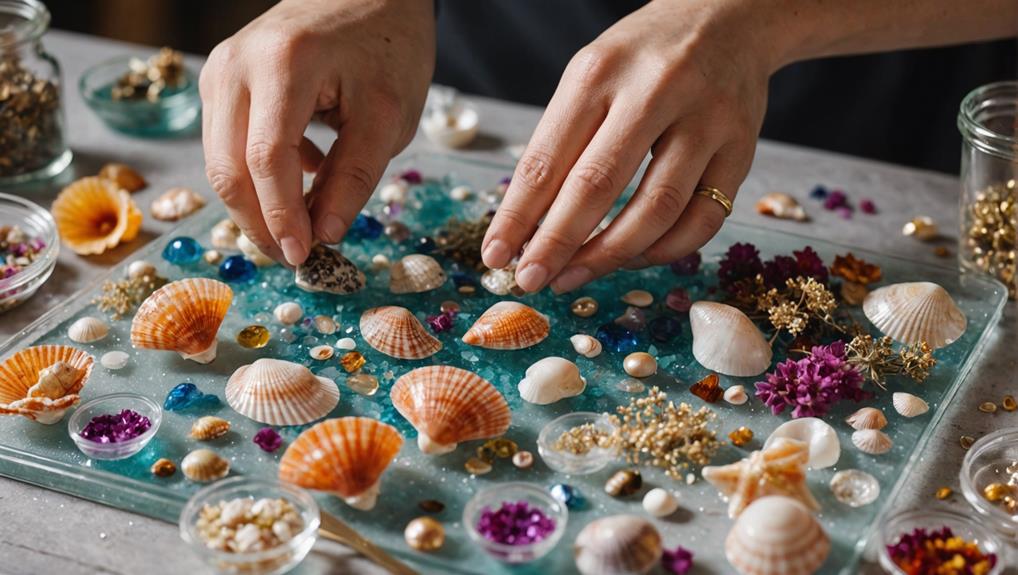
Integrating decorative elements such as dried flowers, glitter, and pigments can greatly enhance the visual appeal and uniqueness of your resin art. Imagine your artwork bursting with colors, textures, and sparkles, making each piece truly one-of-a-kind. Whether it’s the delicate beauty of dried flowers or the eye-catching glitter effects, these elements can transform your resin project into a stunning masterpiece.
Before you start, make sure all your decorative items are completely dry. Moisture can cause mold or discoloration, and nobody wants a funky surprise in their resin art! You can use toothpicks or stir sticks to carefully position dried flowers and other decorations exactly where you want them. This way, you can be as creative and precise as your heart desires.
Layering is another fun technique to try. Pour a thin layer of resin, add your decorations, then pour another layer of resin on top. This creates incredible depth and makes the elements appear as if they’re floating. Be mindful of the size and weight of your decorations—lighter items work best to keep everything balanced and looking perfect.
Curing and Finishing
After incorporating your chosen decorative elements, the next step involves allowing the resin to cure properly to achieve a flawless finish. Curing techniques are essential for ensuring your artwork looks its best. Typically, epoxy resin takes between 10 to 24 hours to cure, but complete hardness may take several days.
Here’s a quick guide to help you through this process:
- Level Surface: Make sure your resin is poured onto a level surface. An uneven surface can lead to uneven curing, which can mess up your design and make it less durable.
- Temperature and Humidity: Keep an eye on the temperature and humidity in your workspace. High humidity or low temperatures can cause the resin to cure poorly, leading to sticky or cloudy finishes.
- Test Samples: Always conduct a test on a small sample piece. This helps you understand how curing times and finishing techniques will work with your specific resin and project.
Once your resin is fully cured, it’s time to think about finishing options. Sanding the edges can make them smooth, while polishing with a resin-safe polish can give your piece a beautiful shine.
For extra protection and gloss, consider applying a topcoat. These finishing touches will enhance your resin art to the next level!
Common Mistakes to Avoid
Common pitfalls in resin art can greatly impact the quality and durability of your final piece. One of the most frequent mistakes is inaccurate mixing of epoxy resin and hardener. Always guarantee a precise 1:1 ratio to avoid incomplete curing that leaves a sticky finish. Another common error is failing to thoroughly mix the resin, which can cause cloudiness and bubbles due to inadequate chemical reactions.
Pouring the resin too quickly or from too high can also introduce air bubbles. Instead, pour slowly and close to the mold’s surface. This helps maintain clarity and quality. Additionally, not allowing sufficient curing time, typically between 10-24 hours, can result in fragile pieces that may warp or break easily.
Skipping safety precautions is another major concern. Always wear gloves and a ventilated mask to avoid health risks from inhaling fumes and skin irritation.
Here’s a quick summary of common mistakes:
| Mistake | Consequence |
|---|---|
| Inaccurate mixing | Sticky, incomplete curing |
| Inadequate stirring | Cloudiness, bubbles |
| Pouring too quickly | Air bubbles |
Understanding these pitfalls and how to avoid them is essential for creating stunning clear resin art. By paying attention to resin types and proper color mixing, you can achieve beautiful, durable pieces.
Frequently Asked Questions
How Do You Get Perfectly Clear Resin?
To achieve perfectly clear resin, employ resin clarity techniques such as using high-quality two-part epoxy resin and mixing thoroughly. Implement bubble removal methods like a heat gun or blowtorch and cure in a stable, dust-free environment.
How to Start Resin Art Step by Step?
To start resin art step by step, gather essential supplies, select appropriate molds, and guarantee a well-ventilated workspace. Follow precise resin mixing instructions, pour into molds, and use tools to eliminate air bubbles. Allow curing before demolding.
How Do You Make Resin Crafts Like a Glass Clear?
To achieve glass-clear resin crafts, use high-quality epoxy resin, follow resin safety guidelines, and mix color pigments sparingly. Eliminate bubbles with a heat gun, maintain a dust-free workspace, and allow the resin to cure undisturbed.
What Is the Best Artresin for Beginners?
For beginners, the best resin types are two-part epoxy resins such as ArtResin, known for its clarity, minimal odor, and safe formulation. Beginner tips include selecting resins with generous working times and designed for shallow pours to prevent issues.
Conclusion
Creating stunning clear resin art is a rewarding endeavor that combines creativity with a bit of science. By understanding the basics, gathering the right tools, and following safety guidelines, the process becomes manageable and enjoyable.
Proper workspace preparation, accurate resin mixing, and skilled pouring techniques are essential for success. Adding decorative elements enhances the artwork, while careful curing and finishing guarantee durability.
Avoiding common mistakes will lead to beautiful, lasting pieces of art that reflect individual creativity.


Leave a Reply