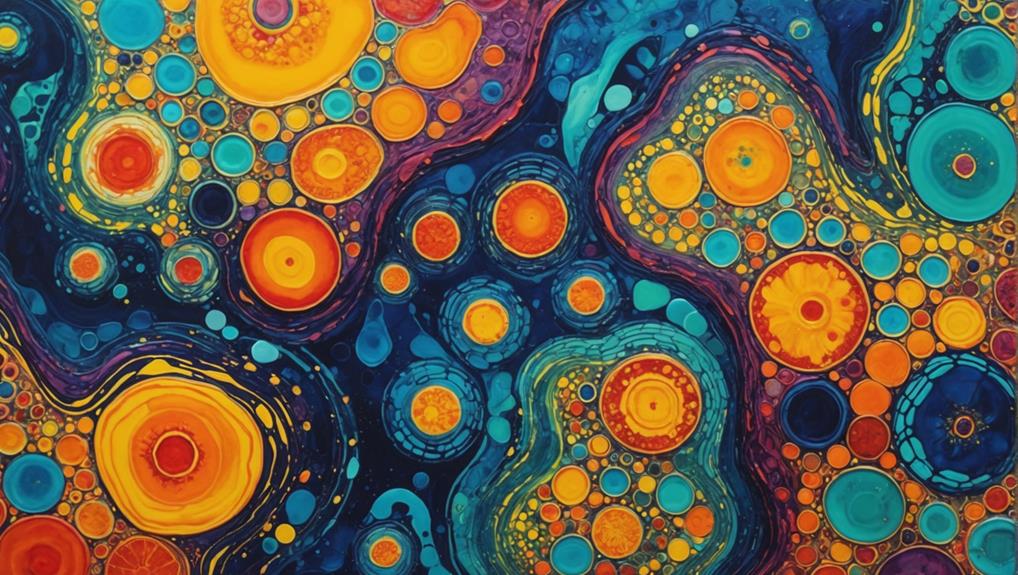
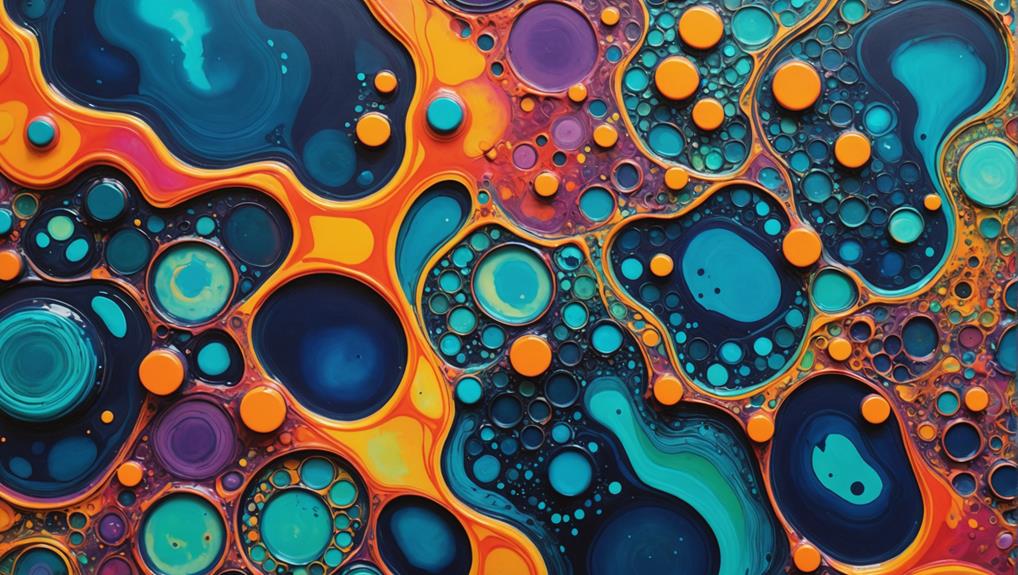
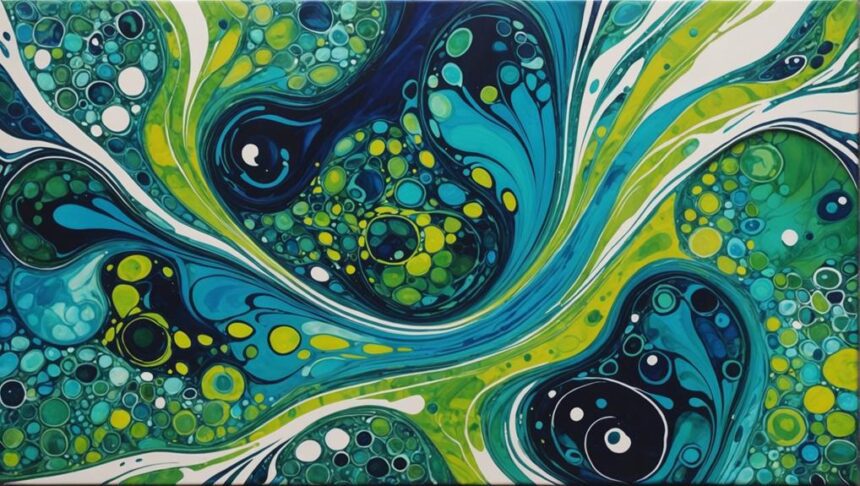
Creating cells in acrylic pour paintings is like a magical chemistry experiment! It involves mastering paint densities and fluid movements. Start by using light and heavy paints together—they’ll dance and swirl beautifully. Add a few drops of silicone oil to the mix, and you’ll see those cells pop like magic. Techniques like the Dirty Pour or Flip Cup Pour create mesmerizing patterns. Remember, heat guns or torches can help enlarge the cells for that stunning look. Keep experiments safe, wear gloves, and have fun with it! Curious about more tricks? There’s plenty more exciting stuff to explore!
Key Takeaways
- Use silicone oil (2-3 drops per 15ml of paint) to enhance cell formation in acrylic pours.
- Master techniques like Dirty Pour, Flip Cup Pour, and Swipe Pour to promote cell creation.
- Maintain a 1:1 ratio of paint to pouring medium for optimal paint consistency and cell formation.
- Applying heat with a torch or heat gun after pouring can significantly enhance cell visibility and size.
Understanding Cell Formation
Understanding the formation of cells in acrylic pouring involves comprehending the interplay between paint density variations and fluid dynamics. When different paints, each with unique densities, interact on the canvas, they create fascinating patterns known as cells.
Fundamentally, lighter, less dense paints tend to rise above the denser ones, leading to the vibrant and organic cell structures that are so enchanting in acrylic pour paintings.
Cell dynamics are further enhanced by the use of silicone oil, which acts like a magical ingredient. When added to the mix, silicone oil creates tiny oil-like components that separate from the water-based paint, allowing distinct cell shapes to emerge.
The greater the difference in paint densities, the larger and more numerous the cells become, making the artwork even more intriguing.
Fluid mechanics play an essential role in this process. Understanding concepts like Rayleigh-Taylor instability helps artists manipulate cell creation.
This instability occurs when a denser fluid pushes into a less dense fluid, creating complex and beautiful patterns. By mastering the principles of fluid mechanics, artists can predict and control the formation of cells, adding a touch of science to their artistic endeavors.
Essential Pouring Techniques
In the world of acrylic pour painting, mastering various pouring techniques is essential for achieving stunning results and consistent cell formation.
Methods like the Dirty Pour, Flip Cup Pour, and Strainer/Colander Pour each offer unique ways to mix and disperse colors, enhancing the chance of creating beautiful cells.
Popular Pouring Methods
Artists frequently employ various pouring methods to create visually engaging cells in acrylic pour paintings. These techniques leverage the interaction of paints and the use of specific pouring tools to achieve mesmerizing results.
Here are some popular methods:
- Dirty Pour: This involves color layering by adding different paints into a single cup before pouring. The density differences cause the paints to interact, forming organic cells on the canvas.
- Flip Cup Pour: A cup filled with layered paint is flipped onto the canvas. As it spreads, the base color mixes with the other paints, enhancing cell creation.
- Strainer/Colander Pour: Utilizing a strainer or colander disperses the paint uniquely. The varied flow from these tools increases the likelihood of cell formation and creates intricate patterns.
- Swipe Pour: This method involves dragging a contrasting color across the surface with a tool. It creates webbing effects and highlights the cells formed beneath the paint.
Each technique offers its unique way to manipulate paint, creating diverse and stunning visual effects.
Achieving Consistent Results
Achieving consistent results in acrylic pour paintings requires a systematic approach to the preparation and execution of essential pouring techniques.
Start by mastering your color mixing—stick to a standard recipe of equal parts acrylic paint and pouring medium, with just a splash of water to get that perfect, pourable consistency. This consistency is key for creating those mesmerizing cells.
When it comes to layering techniques, always pour your colors from light to dark if you’re doing a dirty pour. Lighter colors tend to rise to the top, creating dynamic and eye-catching cell structures.
Don’t be afraid to experiment with different pouring techniques like the flip cup or swipe pour. These methods can drastically change the size and quantity of cells, giving each piece its own unique flair.
A small amount of silicone oil—just 2-3 drops per 2-3 ounces of paint—can work wonders for cell creation. Mix it in carefully to avoid overworking the paint.
Lastly, use a torch or heat gun shortly after pouring to promote cell growth and eliminate pesky air bubbles. This heat application can make a world of difference in achieving those beautiful, consistent results you’re aiming for.
Paint Consistency and Ratios
Achieving the perfect consistency in your acrylic pour mixture is essential for getting those beautiful cells.
Generally, a 1:1 ratio of paint to pouring medium, with just a touch of water, works well. However, some artists prefer a different balance, like 1/2 cup of paint to 1 cup of medium.
The key is to make sure the mixture is pourable yet thick enough to form a small mound that disappears within 10-15 seconds. This ensures vibrant colors and stunning cell formations.
Achieving Ideal Consistency
How can one achieve the perfect consistency for acrylic pour paintings, guaranteeing ideal flow and cell formation? Achieving the ideal paint consistency is vital for effective color mixing and layering techniques. The right balance allows your paints to flow smoothly and form beautiful cells.
Here’s a step-by-step guide:
- Standard Recipe: Begin with a 1:1 ratio of acrylic paint to pouring medium. This creates a base consistency similar to heavy cream, perfect for achieving that lovely flow and cell formation.
- Using Floetrol: If you opt for Floetrol as your pouring medium, mix 2 parts Floetrol to 1 part paint. This ratio is known to enhance flow and cell creation, offering a smoother pour.
- Adding Water: To fine-tune the consistency, add water sparingly. Your goal is a pourable mixture where the paint forms a small mound that quickly disappears.
- Silicone Oil: For extra cell magic, add 2-3 drops of silicone oil per 15ml of paint. Mix it gently to avoid overly disrupting the paint’s consistency.
Avoid using too much water, as it can dilute your paint, diminishing the visual effects and cell formation. Following these steps guarantees your paint is just right for your acrylic pour masterpieces!
Balancing Paint Ratios
Balancing paint ratios is essential for attaining the perfect fluidity and density needed for successful acrylic pour paintings. Imagine you’re a scientist in a colorful lab, experimenting with different mixes to get that ideal acrylic saturation.
One popular pouring strategy is to mix 1 part acrylic paint with 1.5 parts pouring medium. This gives your paint the right consistency, making it pourable but still dense enough to create those beautiful cells.
A handy recipe you can try is combining half paint, half pouring medium, and just a dash of water. But be careful! Adding too much water can dilute your masterpiece, making it lose its vibrancy. The perfect paint mix should flow smoothly off a stir stick, forming a little mound that disappears in seconds when dripped onto the canvas.
Some artists swear by a 2:1 ratio of Floetrol to paint. This can help your paint flow like magic and make cell creation easier.
And don’t forget about silicone oil! Just 2-3 drops per 15ml of paint can work wonders. It’s like adding a secret ingredient that makes your cells pop without overwhelming the mix.
Experiment, have fun, and watch your art come to life!
Using Silicone and Alternatives
In acrylic pour paintings, silicone oil and its alternatives play an essential role in the formation of cells, adding dynamic visual interest to the artwork. Silicone oil is a popular choice, with just 2-3 drops per 15ml of paint often being enough to produce stunning results.
But, let’s explore some exciting silicone alternatives that can help you achieve similar effects.
- Floetrol: This paint conditioner can mimic the cell-making prowess of silicone oil, ensuring your artwork remains archival-safe.
- Hair Oils with Dimethicone: Surprisingly, certain hair oils contain Dimethicone, which can create beautiful cells without the archival concerns associated with silicone.
- Isopropyl Alcohol: Available in 70% or 91% concentrations, spritzing this onto your canvas or paint cups before pouring can activate silicone oil, resulting in more pronounced cells.
- Varied Silicone Oil Types: Experimenting with different types and amounts of silicone oil can lead to unique cell formations, emphasizing the importance of testing to perfect your technique.
Manipulating Cell Characteristics

Frequently, the characteristics of cells in acrylic pour paintings can be manipulated through various techniques to achieve desired visual effects.
For instance, applying heat slowly and at a distance facilitates cell expansion by allowing the oil in the paint to grow larger without disrupting the overall cell structure. This method is ideal for those looking to create larger, more pronounced cells.
Conversely, quick torching immediately after pouring encourages the formation of smaller cells. The rapid application of heat activates the silicone oil, promoting separation and resulting in a more intricate cell structure. If you desire more regular cell shapes, consider introducing additives after stretching the paint rather than mixing them in beforehand. This technique guarantees a more uniform appearance.
Additionally, manipulating the paint beneath the cells can produce oblong shapes. This stretching process alters their natural circular form, adding a dynamic element to your artwork.
For those seeking unique patterns, caterpillar cells can be achieved through specific pouring techniques that incorporate silicone. These techniques result in distinct, elongated cell patterns that traverse the canvas, creating an eye-catching effect.
Safety Precautions in Acrylic Pouring
When engaging in the creative process of manipulating cell characteristics, it is equally important to prioritize safety precautions to guarantee a secure and hazard-free acrylic pouring experience. Ensuring workspace safety and wearing the right protective gear can prevent accidents and health issues.
First, always work in a well-ventilated area. Good airflow helps you avoid inhaling harmful fumes from acrylic paints and additives, keeping your lungs happy and healthy.
Second, if you’re using a butane torch or heat gun to create those stunning cells, remember to maintain a safe distance of 5-6 inches from the canvas. This prevents overheating and keeps your artwork—and you—safe.
Next, keep flammable materials far away from your workspace, especially when you’re wielding a torch. Fire hazards are no joke, and a little precaution can save you a lot of trouble.
Finally, wear vinyl gloves to protect your skin from paint stains and irritation. If there’s a chance of splattering, it’s wise to don protective eyewear too.
Here’s a quick recap:
- Work in a well-ventilated area.
- Maintain a safe distance with heat tools.
- Keep flammable materials away.
- Wear vinyl gloves and protective eyewear.
Stay safe and pour on!
Community Tips and Feedback

Engaging with acrylic pouring communities can greatly enhance an artist’s ability to create cells through shared experiences and expert feedback. Community forums are a treasure trove of insights, where artists swap stories about their cell creation techniques, offering valuable tips and strategies. Many suggest documenting each pour to keep track of the techniques and materials used, which can help refine methods over time.
Peer support is another fantastic aspect of these communities. Fellow artists often highlight the importance of experimenting with different pouring mediums and silicone alternatives to achieve those mesmerizing cell effects. They frequently share their preferred ratios for paint, pouring medium, and additives, emphasizing consistency as key to ideal cell formation.
Online tutorials and workshops are also popular within these groups, fostering a supportive learning environment. These sessions encourage experimentation and growth, helping artists to push the boundaries of their skills.
Whether it’s through community feedback on a recent pour or advice on trying new materials, the camaraderie found in these spaces is invaluable. So, immerse yourself, share your experiences, and soak up the wealth of knowledge from your fellow pourers. You’ll be amazed at how much you can learn and improve!
Troubleshooting Common Issues
Addressing common issues in acrylic pour paintings is vital for achieving consistent and visually appealing results.
One common problem is muddy pours, which happen when colors mix too much, creating an unappealing look. To avoid this, make certain each layer of paint is the right thickness and consistency. If the layers are too thin, they mix more easily and ruin your color mixing efforts.
Another issue is not getting the cell structure you want. Sometimes, using less likely cell-creating pouring mediums like Glue-All can help you focus on your desired cell effects. Temperature also plays a significant role. If your paint is colder than 50°F, it can separate and give inconsistent results. Keeping your workspace warm can make a big difference.
Here’s a quick troubleshooting guide:
- Muddy Pours: Ensure correct paint thickness and consistency in your layering techniques.
- Unwanted Cells: Try using Glue-All to control cell creation better.
- Paint Separation: Keep your paint and workspace above 50°F.
- Inconsistent Results: Experiment with different additives like silicone oil and isopropyl alcohol.
Lastly, document each attempt. Tracking what works and what doesn’t will help you improve and create stunning acrylic pour paintings.
Frequently Asked Questions
How to Get the Best Cells in Acrylic Pouring?
To achieve ideal cells in acrylic pouring, use silicone oil, experiment with color combinations and paint densities, employ dirty pour techniques, and apply heat gently. Maintain appropriate paint consistency to facilitate effective cell formation.
How to Make Cell Activator for Paint Pouring?
To make a cell activator for paint pouring, mix equal parts of a pouring medium and acrylic paint. Enhance cell creation by incorporating silicone oil and isopropyl alcohol. Utilize gentle mixing techniques to avoid air bubbles.
Does Rubbing Alcohol Create Cells in Acrylic Paint?
Yes, rubbing alcohol can create cells in acrylic paint by affecting paint viscosity. The interaction between rubbing alcohol and silicone oil enhances cell formation, making it a valuable additive for achieving desired effects in fluid art.
How to Make Cells in Pour Painting Without Silicone?
To create cells in pour painting without silicone, adjust paint viscosity using Floetrol or other mediums. Experiment with color combinations and incorporate small amounts of isopropyl alcohol or hydrophobic substances to enhance cell formation effectively.
Conclusion
At the end of the day, mastering cell creation in acrylic pour paintings involves understanding the principles of cell formation, employing essential pouring techniques, and maintaining precise paint consistency.
Utilizing silicone and other alternatives, manipulating cell characteristics, and adhering to safety precautions further enhance the process.
Engaging with community tips and addressing common issues guarantee continuous improvement and artistic growth.
By integrating these elements, artists can achieve dynamic and striking acrylic pour paintings.
Creating cells in acrylic pour paintings can be super fun, like mixing a magical potion!


Leave a Reply