Creating stunning crystal resin art is an exciting process that starts with understanding epoxy resin—it’s a two-part system that, when mixed, creates a durable, glossy finish. First, gather high-quality resin, vibrant pigments like mica powders, and make certain you have essential safety gear like gloves and masks. Prep your workspace so it’s well-ventilated and protected from spills. When mixing, follow precise ratios and pour slowly to avoid bubbles. Experiment with different pouring techniques, like the ‘dirty pour,’ to create amazing effects. Finally, inspect and fine-tune your piece for that perfect finish. Ready to release your creativity even more?
Key Takeaways
- Choose high-quality epoxy resin and vibrant pigments like mica powders for a durable and visually stunning finish.
- Always wear safety gear, including nitrile gloves, safety goggles, and respirator masks, and ensure proper ventilation.
- Use precise resin and hardener ratios and stir slowly to minimize bubbles, allowing the mixture to sit briefly before use.
- Experiment with different pouring techniques and use silicone molds to create dynamic patterns and precise shapes.
Understanding Epoxy Resin
Epoxy resin, a two-part system consisting of a resin and a hardener, undergoes a chemical reaction when mixed, resulting in a solid, durable material. This is like a magic trick turning liquid into a hard, glassy surface!
One of the coolest things about epoxy resin is its properties. It’s super clear and gives a glossy finish, making it perfect for art, jewelry, and home décor. Imagine creating a shiny, crystal-clear piece of art that looks like it belongs in a gallery!
But, here’s the catch: you’ve got about 30-60 minutes to work with it before it starts to set. This is your window to pour, mix colors, and get creative. Think of it as a race against time, but in a fun way!
The curing process of epoxy resin is like baking a cake – factors like temperature and humidity play a big role. If it’s too cold or too hot, your masterpiece might not turn out as expected. So, make sure your workspace is just right.
And remember, safety first! Wear gloves, masks, and keep the area well-ventilated to avoid any health risks. Now, let’s get ready to create some stunning crystal resin art!
Selecting Materials
When starting your crystal resin art project, picking the right materials is essential.
You’ll need high-quality epoxy resin for a glossy finish, vibrant pigments for stunning colors, and important safety gear to protect yourself.
Don’t forget to gather your tools and choose a stable surface to work on, ensuring your masterpiece turns out perfect.
Choosing Quality Resin
Selecting the right materials is vital for creating stunning crystal resin art, and a high-quality two-part epoxy resin is indispensable for achieving a smooth, durable finish. The resin durability you achieve with such epoxy types cannot be overstated. These resins result in a hard, glass-like surface that protects your artwork while enhancing its beauty.
When sifting through epoxy types, avoid UV resin. Though it might seem convenient, UV resin often falls short in clarity and strength. You want your art to last, right? That’s why hard-curing properties are significant. They guarantee your masterpiece stands the test of time, resisting scratches and other damage.
Remember, not all colorants play nicely with resin. For vibrant, eye-catching effects, choose mica powders or alcohol inks designed specifically for resin art. These colorants blend well and add sparkle or depth to your creations.
It’s also vital to follow the manufacturer’s instructions to a tee. Mixing ratios and curing times can make or break your project. An accurate mix guarantees that your resin cures properly, giving you that flawless, durable finish every artist dreams of.
Essential Safety Gear
Guaranteeing your safety while working with high-quality resin materials is just as important as choosing the right products for your crystal resin art. Taking proper safety precautions can prevent injuries and guarantee a smooth creative process. Let’s explore the essential safety gear recommendations to keep you protected.
First, always wear nitrile gloves. These gloves protect your skin from irritation and harmful chemicals in the epoxy resin and pigments. Next, don a pair of safety goggles. They shield your eyes from splashes during the mixing and pouring process, preventing potential eye injuries. Additionally, wearing a respirator mask is vital. This mask keeps you from inhaling dangerous fumes released during the curing process, especially if your workspace isn’t well-ventilated.
Moreover, confirm you’re wearing protective clothing or an apron. This gear adds an extra barrier between your skin and the resin, protecting your clothes from stains. Finally, make sure your workspace has good ventilation. Open windows or use exhaust fans to disperse harmful fumes effectively.
Here’s a quick reference table summarizing these essential safety gear items:
| Safety Gear | Purpose | Recommendation |
|---|---|---|
| Nitrile Gloves | Protects skin from chemicals | Always wear during handling |
| Safety Goggles | Shields eyes from splashes | Essential during mixing/pouring |
| Respirator Mask | Prevents inhalation of fumes | Vital in poorly ventilated areas |
Ideal Pigments Selection
Choosing the right pigments is essential for achieving the desired visual effects and guaranteeing the quality of your crystal resin art. You’ll want to pick high-quality pigment types like mica powders or alcohol inks. These pigments are fantastic for getting those vibrant colors and cool effects that make your artwork pop.
Transparent pigments can give your piece a luminous look, almost like it’s glowing from within. On the other hand, opaque pigments are great for adding depth and coverage.
When it comes to color mixing, always follow the manufacturer’s recommended pigment-to-resin ratio. This guarantees your resin cures properly and that you get the color intensity you’re aiming for. Want to add some sparkle? Try metallic pigments! They can make your art shimmer and shine, mimicking the glimmer of real crystals.
Before you plunge in, make sure to conduct a small test mix with any new pigments. This helps you see how they’ll interact with your epoxy resin and what they’ll look like once cured. It’s a bit like a sneak peek, guaranteeing you won’t be disappointed with the final result.
Preparing Your Workspace

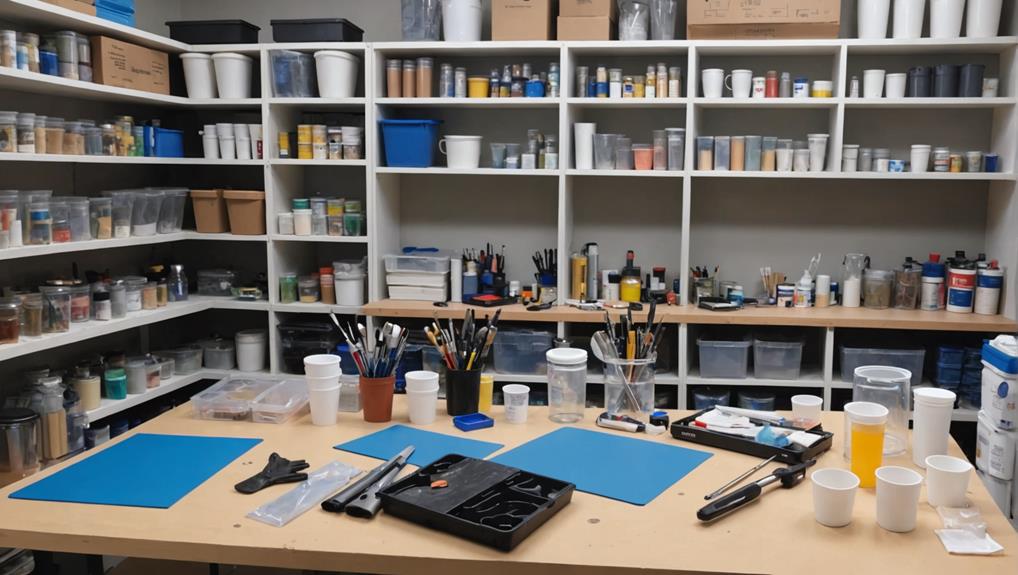
Before you start creating your crystal resin art, it’s super important to set up your workspace properly.
Make sure you’re in a well-ventilated area to stay safe from any nasty fumes, and cover your work surface with a plastic sheet to catch spills.
Gather all your tools and materials, like resin, mixing containers, and protective gear, so everything is ready and you can focus on making amazing art.
Organize Essential Tools
Creating an efficient workspace for crystal resin art begins by setting up in a well-ventilated area to guarantee the safe dispersion of fumes during the resin mixing and pouring process.
First, cover your working surface with a disposable plastic sheet. This not only protects from inevitable spills and drips but also makes cleanup a breeze. Imagine not worrying about the mess; it’s a game-changer!
Next, gather all essential tools. This includes mixing containers, stirring sticks, gloves, safety goggles, and resin pigments. Think of it like assembling your superhero toolkit.
Ensuring all your tools are clean and dust-free is vital. Tool maintenance might sound boring, but it’s key to preventing contamination, which can ruin your masterpiece. Creative organization can also be fun! Arrange your tools in a way that sparks joy and keeps everything within arm’s reach.
Good lighting is a must. It’s like the spotlight on a stage, making sure you can see every detail as you create intricate designs. So, grab a lamp or open those curtains wide.
Your workspace shouldn’t just be functional; it should inspire creativity. Happy crafting!
Ensure Proper Ventilation
Ensuring proper ventilation is essential for maintaining a safe and healthy workspace when working with epoxy resin. The ventilation importance can’t be overstressed, as resin releases fumes during mixing and curing that can be harmful. So, let’s talk about how to keep that air quality excellent.
First, set up your workspace in a well-ventilated area. This could mean opening windows or using exhaust fans. Fresh air is your best friend here. If you’re working indoors and can’t get enough airflow, consider using an air purifier with an activated carbon filter. These gadgets help remove lingering odors and improve air quality, making your workspace more pleasant and safer.
Working in an enclosed space without proper ventilation is a big no-no. Stagnant air can lead to a buildup of harmful vapors, and nobody wants that.
Also, try to keep your environment temperature-controlled. Extreme temperatures can mess with the resin’s curing process and even your safety.
Protect Work Surface
Maintaining a well-ventilated workspace is fundamental, but equally important is protecting your work surface to guarantee a smooth and successful resin art project. Cover your work surface with a disposable plastic sheet or drop cloth to catch any drips and protect the underlying area from resin spills. This step is essential to keep your workspace neat and prevent unwanted messes.
To secure your protective covering, use painter’s tape around the edges. This will keep the covering in place, making sure it doesn’t shift while you’re hard at work. A clean work area is significant; confirm it is free of dust to prevent contamination, which could ruin the final look of your resin art.
Set up your materials and tools within easy reach on the protected surface. This organization will make your workflow more efficient and enjoyable. Remember, a well-prepared workspace sets the stage for a successful project.
| Task | Material Needed | Purpose |
|---|---|---|
| Cover Work Surface | Disposable plastic sheet | Catch drips, protect surface |
| Secure Protective Covering | Painter’s tape | Prevent shifting during work |
| Clean Work Area | Cleaning supplies | Avoid dust contamination |
A clean, organized, and protected workspace not only makes the process smoother but also guarantees the best results for your stunning crystal resin art.
Mixing and Measuring
Accurate mixing and measuring are critical steps in achieving high-quality crystal resin art. To make certain your art turns out stunning, you need to follow some key mixing techniques and maintain measuring accuracy. Always follow the manufacturer’s instructions for the correct ratio of resin to hardener. This ratio is usually between 1:1 and 2:1, depending on the product.
Using the right container matters too. Grab a clean, dust-free plastic or silicone mixing container. You don’t want any pesky dust ruining your masterpiece!
Stir the resin and hardener thoroughly for about 2-3 minutes. But, here’s a tip: stir slowly. This helps minimize air bubbles, which can mess up that crystal-clear look you’re aiming for.
Next up, measuring! Use a resin volume calculator to measure the resin accurately. This is super important because the right proportions guarantee that the resin cures properly.
After mixing, let it sit for a few minutes. This allows any trapped bubbles to rise to the surface. Trust me, patience here pays off big time.
Pouring Techniques

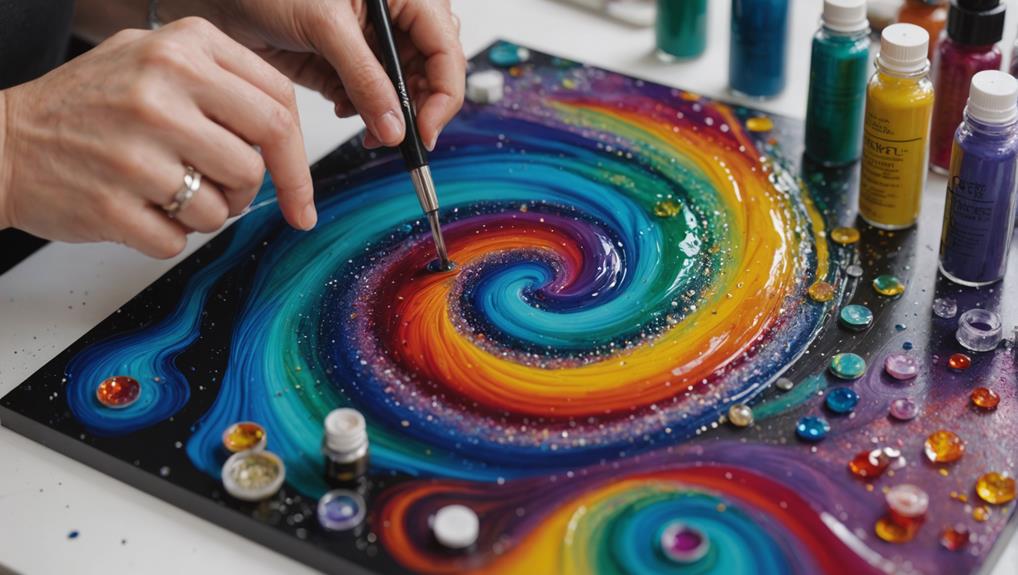
Mastering various pouring techniques is crucial for creating visually engaging and intricate crystal resin art. One popular method is the ‘dirty pour.’ To do this, layer different colored resins in a single cup before pouring them onto your surface. This technique helps to create stunning effects and depth, making your art truly pop!
Before you start, verify your pouring surface is level. If it’s not, the resin can shift, creating uneven layers or patterns as it cures.
Also, don’t be afraid to experiment with your pouring height. Pouring from a higher position can create more dynamic flow patterns, while pouring from close up gives you more control over the design.
Using silicone molds is another great tip. They help you shape your resin art precisely and facilitate easy removal once the resin has cured.
And remember, bubbles are your enemy! Right after you pour, use a heat gun or torch to pop any bubbles that might have formed. This not only smooths things out but can also create cool effects like cells or ripples in the resin.
These techniques will help you create beautiful and unique crystal resin art pieces that everyone will admire!
Coloring and Pigmentation
Achieving the perfect balance of color and pigmentation in crystal resin art requires a careful selection of pigments and an understanding of their interaction with the resin. This is where color theory and pigment mixing come into play. Transparent and opaque colorants, like mica powders, offer vibrant effects and shimmer. However, it’s essential not to over-pigment the resin; too much can mess up the curing process, leaving your project tacky and incomplete.
The 60-30-10 Rule is a handy guide for color distribution. It suggests using 60% of a dominant color, 30% of a secondary color, and 10% of an accent color for a balanced look. Want to experiment? Mixing different pigments can create custom shades. Just remember to test small batches first to avoid surprises.
Here’s a quick reference table for coloring tips:
| Tip | Description | Why It Matters |
|---|---|---|
| Avoid Over-Pigmenting | Use pigments sparingly to guarantee proper curing. | Prevents tacky or improperly set resin. |
| 60-30-10 Rule | Distribute colors as 60% dominant, 30% secondary, and 10% accent. | Achieves a balanced and appealing design. |
| Test Small Batches | Mix a little first to see the result before a large pour. | Guarantees you get the desired shade and effect. |
Using heat tools like a heat gun or torch can help create cool effects by making pigments blend or separate during pouring.
Finishing Touches
Once you’ve mastered the art of coloring and pigmentation, the next step is to perfect the finishing touches that will enhance your crystal resin art to a professional level.
First, after your resin art has fully cured, it’s essential to conduct a thorough surface inspection. Look closely for any imperfections, like bubbles or rough areas. If you find any, don’t worry! Simply sand these spots with fine-grit sandpaper until the surface is smooth as glass.
Next, it’s time for gloss enhancement. To make your piece shine and to add an extra layer of protection, apply a clear resin sealant or varnish. Make sure to spread it evenly and follow the manufacturer’s instructions for curing time. This will give your artwork that glossy, professional finish.
After sealing, use a lint-free cloth to gently clean the surface, removing any dust or residue that might have settled.
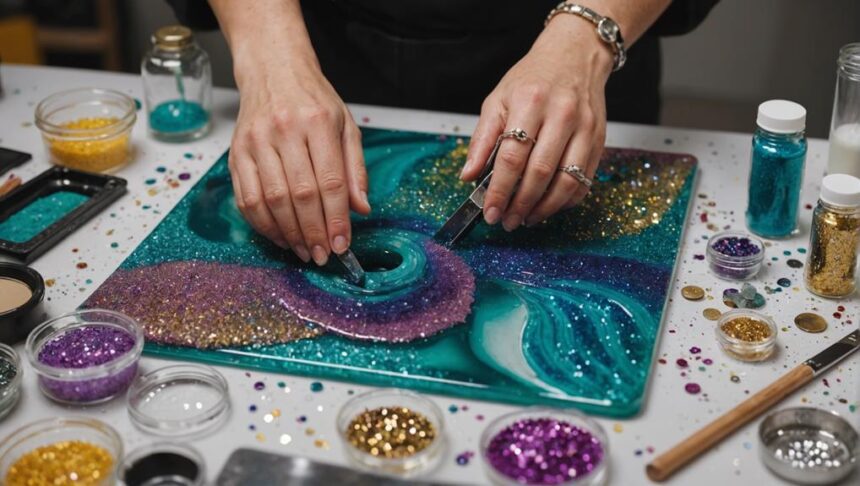
For an extra touch of magic, consider adding metallic or shimmering pigments. It will make your art pop!
Frequently Asked Questions
How to Start Resin Art Step by Step?
To start resin art, prepare a well-ventilated workspace, prioritize resin safety with gloves and masks, and gather materials. Measure and mix resin, practice color mixing, pour onto a suitable surface, and allow curing in a dust-free environment.
How Do You Make Crystals With Resin?
To make crystals with resin, select appropriate resin types and mix according to instructions. Add pigments, pour into crystal molds, manipulate shapes with a stirring stick, and cure using a heat gun for texture and bubbles.
How to Make Resin Look Like a Geode?
To make resin look like a geode, employ geode techniques such as using high-viscosity epoxy resin mixed with mica powders for vibrant resin colors. Apply the 60-30-10 Rule and use silicone molds, heat guns, and metallic highlights for depth and realism.
How to Create Depth in Resin Art?
To create depth in resin art, employ layering techniques by pouring multiple thin layers, allowing partial curing between each pour. Enhance visual interest through color blending using various pigments and additives, such as alcohol inks or mica powders.
Conclusion
Creating stunning crystal resin art requires a thorough understanding of epoxy resin, careful selection of materials, and meticulous preparation of the workspace.
Precision in mixing and measuring, mastery of pouring techniques, and skillful use of colors and pigments are essential.
Finishing touches complete the artwork, adding polish and professionalism.
By following these steps, one can transform raw materials into mesmerizing, crystal-like masterpieces that showcase creativity and craftsmanship.


Leave a Reply