Engage in creating your own DIY resin wall art in just seven easy steps! First, prep your workspace—clean, cover, and gear up with gloves and goggles. Gather all essential materials—resin, pigments, mixing tools, and a suitable canvas. Mixing resin and adding vibrant colors is next; stir slowly to avoid bubbles. Pour the mixture carefully and pop those pesky bubbles with a heat gun. Let your masterpiece cure in a dust-free spot, and finish with a clear topcoat for extra shine. Finally, get your creation ready for display, ensuring it’s securely hung to transform any room. Ready to start your artistic journey?
Key Takeaways
- Prepare your workspace with drop cloths and protective gear for a clean, safe environment.
- Mix equal parts of high-quality epoxy resin and hardener, then add pigments for desired colors.
- Pour resin onto a clean surface, use a heat gun to eliminate bubbles, and allow it to cure.
- Ensure a dust-free area for curing and avoid moving the artwork during this period.
Workspace Preparation and Safety
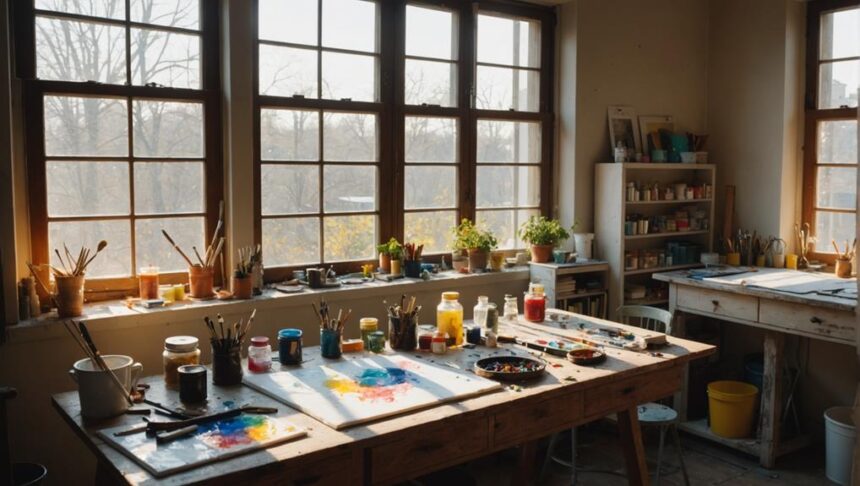
Ensuring a safe and organized workspace is paramount when starting on a DIY resin wall art project. First off, make sure your workspace is clean and free of clutter. Dust and debris can ruin your resin art, so a tidy environment is essential.
Cover your working surface with drop cloths or plastic sheets; resin spills can be a nightmare to clean up, and you don’t want to damage your table or floor.
Safety is super important when working with resin. Always wear gloves to protect your hands and goggles to shield your eyes. Resin can be irritating, and you definitely don’t want it on your skin or in your eyes.
Don’t forget a mask, either. Resin fumes can be harmful, so working in a well-ventilated area is a must. If you can’t get enough airflow, a respirator is a good idea.
Keep all your tools and materials within easy reach. You don’t want to be scrambling around looking for something while your resin is curing. This is where workspace organization really pays off. A well-prepared workspace makes the whole process smoother and safer.
Materials Gathering
Before diving into your DIY resin wall art project, it is crucial to gather all the necessary materials to secure a seamless and efficient workflow.
First, choose high-quality epoxy resin and a hardener that follow a 1:1 mixing ratio. This guarantees they work well together and your project turns out great.
Next, grab some mixing cups and stir sticks. It’s best to use disposable ones, so you can keep everything clean and accurate.
You’ll also need to select a suitable surface for your artwork. A clean piece of wood, canvas, or even a silicone mold can work wonders. Just make sure it’s free from dust and debris—no one wants a dusty masterpiece!
When it comes to adding color, pigment selection is key. Consider using concentrated resin pigments or alcohol inks. Typically, 8-10 drops of pigment per 5 oz. of resin will give your art vibrant, eye-catching colors.
Lastly, safety first! Don some protective gear like gloves and goggles. Resin can be pretty harsh on your skin, and you definitely don’t want it in your eyes.
With all these materials at hand, you’re ready for the next exciting steps in your resin art journey.
Mixing and Adding Colour
Accurate measurement and thorough mixing of the epoxy resin and hardener form the backbone of any successful resin wall art project. Start by measuring equal parts of resin and hardener, following a 1:1 ratio. This accuracy is essential for your artwork to cure properly and achieve the right consistency. Mix the two components slowly for at least 3-5 minutes, scraping the sides and bottom of the container. This minimizes air bubbles and guarantees a clear finish.
Now, let’s talk color! Understanding basic color theory can make your art pop. Use concentrated epoxy pigments or alcohol inks, adding about 8-10 drops per 5 oz. of resin. This gives you vibrant, eye-catching hues. Want to try something different? Mix in some acrylic paints or layer different colors during the pouring process for unique effects.
Here’s a quick table to keep things simple:
| Step | Details |
|---|---|
| Measure Resin | Equal parts of resin and hardener (1:1 ratio) |
| Mix Thoroughly | Stir for 3-5 minutes, scrape sides and bottom |
| Add Pigments | 8-10 drops per 5 oz. of resin |
| Experiment with Colors | Try acrylic paints or layering colors |
| Avoid Air Bubbles | Mix slowly and thoroughly |
Now you’re ready to create a masterpiece!
Pouring and Surface Preparation
When starting your resin wall art, it’s essential to make certain your surface is spotless and free of dust.
Raise your canvas with small blocks to keep the resin from pooling and to guarantee it spreads evenly.
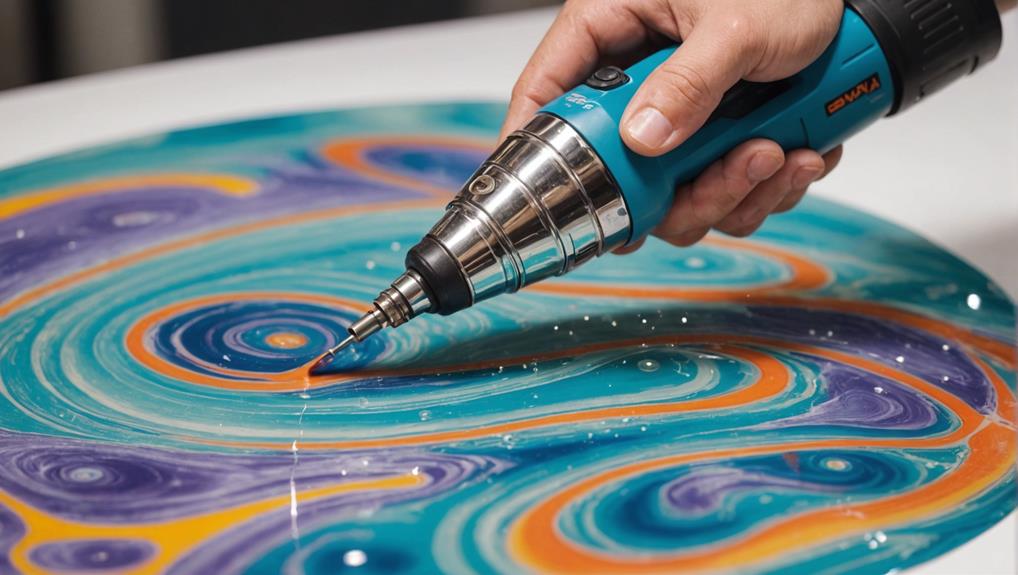
Begin pouring the resin in the center and use a heat gun to pop any bubbles for a smooth, flawless finish.
Surface Cleaning Essentials
Guaranteeing a clean and well-prepared surface is vital for achieving a flawless finish in resin wall art. Different surface types require specific cleaning products and techniques to get the best results. Whether you’re using wood, canvas, or another material, it’s essential to eliminate dust and debris to prevent imperfections.
For wood surfaces, sanding is key. It smooths out any rough patches and helps the resin stick better. After sanding, wipe down the wood with a damp cloth to remove any remaining dust. On the other hand, stretched canvases need a bit more care. It’s a good idea to add a center support to keep the canvas from warping when you pour the resin. Elevating your canvas slightly can also prevent resin pooling and guarantee an even finish.
| Surface Type | Cleaning Product |
|---|---|
| Wood | Sandpaper and Damp Cloth |
| Canvas | Mild Soap and Water |
| Glass | Glass Cleaner |
| Metal | Isopropyl Alcohol |
Before you start pouring, seal the surface with a thin resin layer. This step not only minimizes air bubbles but also makes the colors pop more vibrantly in your final piece. By following these tips, you’ll set yourself up for resin art success!
Pouring Resin Techniques
Proper pouring techniques and meticulous surface preparation are essential for achieving a flawless resin wall art piece.
First, you need to pick the right resin type. Epoxy resin is great for beginners because it’s easy to work with and gives a glossy finish.
Now, make sure your surface is clean and dust-free. Even a tiny speck can ruin your masterpiece, so give it a good wipe-down.
When it comes to pouring methods, start by pouring your resin mixture right in the center of the surface. Let it naturally spread towards the edges. This helps in getting an even layer, but you have to keep an eye on the thickness. Too thick or too thin can mess up your art.
Use a heat gun or torch right after pouring to zap those pesky air bubbles that sneak in during mixing.
If you’re working on a canvas, raise it a bit. This prevents the resin from pooling underneath and keeps it level while curing.
Remember, patience is key! Watch over it as it cures to catch any imbalances early.
With these tips, your resin art will be nothing short of amazing!
Air Bubble Removal

Removing air bubbles from your resin project is essential for a smooth, professional finish.
One effective method is using a heat gun or butane torch to gently burst bubbles as they rise.
Additionally, mixing the resin slowly helps minimize bubble formation right from the start.
Effective Heat Application
Applying heat correctly is vital for effectively removing air bubbles from resin during the curing process. Using heat tools like a heat gun or torch, you can burst bubbles that rise to the surface, guaranteeing a smooth, flawless finish. Understanding bubble dynamics is important—bubbles are most active within the first 15-30 minutes after pouring, making this the ideal time for heat application.
Gently and evenly apply heat, keeping the tool 6-12 inches from the resin surface to avoid scorching. A micro butane torch is perfect for smaller areas, giving you precise control.
| Step | Action |
|---|---|
| 1 | Plug in your heat gun or torch. |
| 2 | Hold the tool 6-12 inches from the resin surface. |
| 3 | Gently move the tool in a sweeping motion. |
| 4 | Focus on areas with visible bubbles. |
Safety is paramount! Make sure your workspace is well-ventilated to avoid inhaling fumes released during heating. This not only protects your health but also keeps your creativity flowing without interruptions.
Slow Mixing Techniques
While effective heat application is essential for eliminating air bubbles during curing, the prevention of these bubbles begins with slow and careful mixing techniques.
The key to bubble prevention lies in how you mix your resin and hardener. Using the right mixing tools, such as a sturdy mixing stick, helps scrape the sides and bottom of your container, ensuring a thorough blend without adding extra air.
Stir slowly and patiently. It may feel like you’re moving at a snail’s pace, but trust me, it’s worth it! When you mix too quickly, you trap air, which leads to bubbles. Once you’ve mixed thoroughly, let the resin rest for a few minutes. This allows larger bubbles to rise to the surface and pop on their own.
For those stubborn bubbles that don’t go away, gently blow on the resin’s surface with a straw or use a heat gun on a low setting. This encourages the bubbles to escape without disturbing your mixture.
Mixing in smaller batches can also grant you better control, reducing the chances of bubble formation in larger volumes. Remember, patience and the right tools are your best friends in bubble prevention!
Curing Process and Finishing
Guaranteeing a dust-free environment, allow your resin artwork to cure for at least 24 hours, with full curing potentially taking up to 2-3 weeks depending on the specific resin used.
The curing time is essential for achieving that perfect, glossy finish. During this period, monitor the temperature and humidity as ideal conditions can enhance the final result and reduce imperfections.
To keep you on track, here’s a handy checklist:
- Avoid Moving: Make sure the mold or artwork stays put. Moving it can distort your design.
- Monitor Conditions: Keep an eye on temperature and humidity. Too hot or too cold can mess things up.
- Sanding Edges: Once cured, demold the artwork and sand any rough edges. This gives your piece a smooth, professional look.
- Apply Topcoat: For added shine and protection, consider applying a clear topcoat. This also makes the colors pop!
After the initial curing period, carefully demold your resin art. This is where the finishing touches come in.
Sanding any rough edges can make a world of difference, and applying a topcoat not only adds shine but also protects your masterpiece. Following these steps guarantees your DIY resin wall art is ready to impress.
Display and Care

After perfecting your DIY resin wall art with finishing touches, it is essential to evaluate the best methods for displaying and caring for your masterpiece. Let’s make sure it looks amazing on your wall and stays that way for a long time!
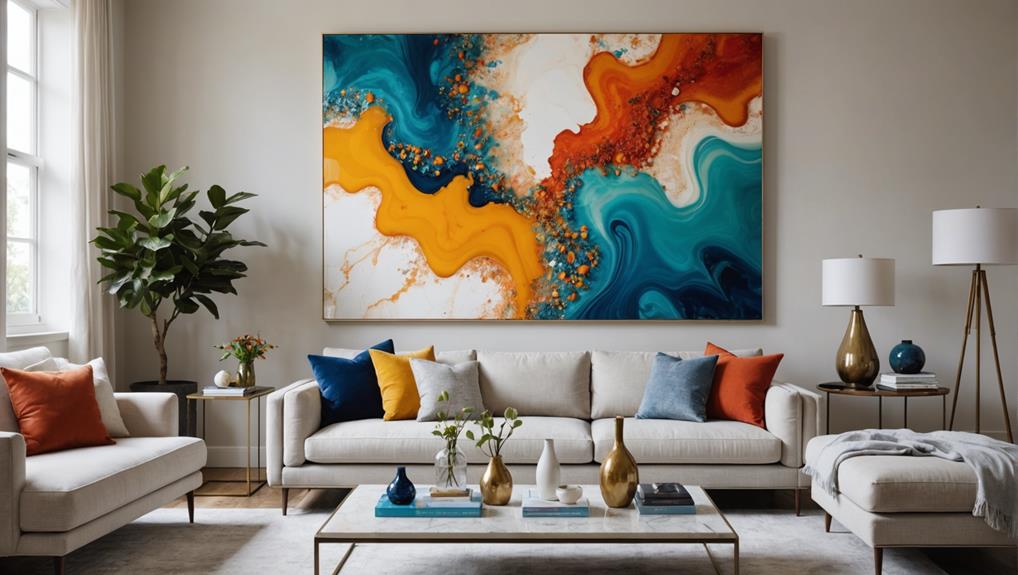
First, think about hanging techniques. Use picture frame hanging hardware, and attach it securely to the top center of your art piece. Resin can be heavy, so stability is key. For an even fancier look, frame your art with painted wood strips. Nail these through the sides for extra support and a polished finish.
Next, let’s explore maintenance tips. Keep your resin art in a cool, dry place to avoid warping or damage from humidity. Dust it regularly with a soft cloth to keep it looking fresh and clean. Remember, no harsh chemicals—those can mess up the surface!
If your art is going to bask in direct sunlight, consider adding a clear topcoat. This extra layer will keep the colors from fading and add a shiny touch.
With these tips, your DIY resin wall art will not only dazzle on display but also stand the test of time. Happy crafting!
Frequently Asked Questions
How to Do Pour Your Own Resin Wall Art?
To pour your own resin wall art, prepare your workspace, mix epoxy resin and hardener, and pour. Enhance your design with color mixing and texture techniques. Use a heat gun to remove bubbles and allow curing.
How Do You Make Resin Art Steps?
To create resin art, prepare a clean, organized space. Conduct thorough resin mixing with hardener, add desired color combinations, pour onto the surface, and let cure. Guarantee proper ventilation and follow curing guidelines to achieve ideal results.
What Is Needed to Start Resin Art?
To start resin art, essential resin supplies include high-quality epoxy resin, hardener, mixing cups, and stir sticks. Adhering to safety precautions, such as wearing gloves and goggles, guarantees a safe and effective creative process.
How to Make a Large Resin Painting?
To create a large resin painting, start with a primed surface, mix resin thoroughly, and pour a base layer. Employ color mixing and texture techniques to enhance your design, and eliminate air bubbles with a heat gun for a smooth finish.
Conclusion
Creating your own DIY resin wall art can be a rewarding and enjoyable experience. By following these seven simple steps, a unique and personalized piece of art can be produced.
Ensuring proper workspace preparation and safety, gathering the necessary materials, and meticulously following each step from mixing to curing guarantees a successful project.
Displaying and caring for the finished piece will preserve its beauty and longevity.
This creative endeavor offers an opportunity for artistic expression and satisfaction.


Leave a Reply