Doodling transforms simple marks into intriguing art anyone can create. Try hypnotic spiral op-art with wavy lines, dimensional flowers with overlapping petals, or mountain ranges with textured peaks. Keith Haring-inspired squiggles, Mehndi mandalas, and playful cow print blobs offer endless creative options. Zentangle patterns provide meditative benefits while drip effects and clover fields create eye-catching illusions. These twelve techniques require minimal supplies but deliver maximum artistic satisfaction. The journey from basic doodle to masterpiece awaits!
Key Takeaways
- Spiral doodles create captivating visual effects by starting with a small center dot and adding wavy lines extending outward.
- Zentangle patterns encourage mindfulness through repetitive geometric designs using simple lines and contrasting black and white.
- Floral doodles gain dimension by using varied line thickness and overlapping petals arranged around a central point.
- Abstract designs inspired by Keith Haring use bold shapes with squiggly connecting lines to create spontaneous, expressive art.
- Nature-themed doodles like mountain ranges use internal wavy lines and shading techniques to add texture and depth.
Spiral Op-Art: Creating Hypnotic Circular Patterns
Have you ever found yourself mesmerized by those mind-bending circular patterns that seem to swirl endlessly before your eyes?
There’s something almost hypnotic about spiral patterns that draw you in and captivate your imagination completely.
Spiral Op-Art designs make great doodles when you’re looking to create something both simple and impressive!
To create your own hypnotic spiral, start with a small dot in the center of your paper. From there, draw wavy lines extending outward, creating a spiraling effect.
In each section between the waves, add upside-down “u” shapes that follow the curves of your lines. These “u” shapes are the secret to creating that amazing 3D effect!
Try playing with different line thicknesses or spacing between your “u” shapes. Before you know it, you’ll have a mind-bending spiral that pulls viewers into your artistic vortex!
Clover Field Op-Art: Layered Teardrop Designs
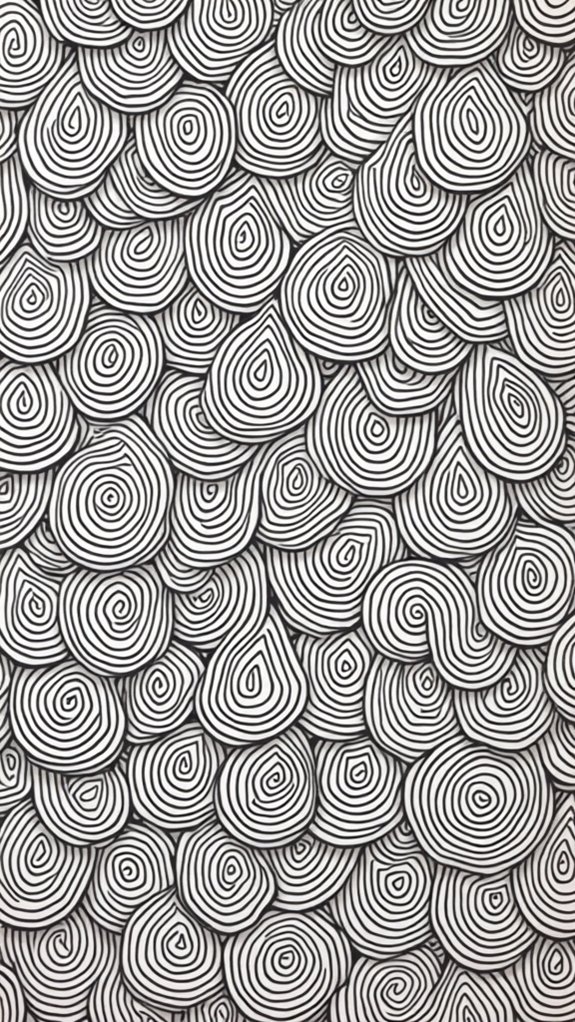
The Clover Field Op-Art technique transforms simple teardrops into mesmerizing optical illusions that seem to pop off the page.
Artists stack teardrop shapes inside and outside the initial clover formation, creating layers that trick the eye into perceiving movement and depth.
What starts as basic shapes quickly becomes a fascinating field of clovers that appears to shift and dance as you look at different parts of the design!
Teardrop Stacking Techniques
Creating mesmerizing optical art with teardrops might sound complex, but it’s actually quite approachable when broken down into simple steps. Start with three or four teardrop shapes connected at their tips, forming a clover-like base. These teardrop shapes become the foundation of your entire design!
Next, nest smaller teardrops inside each petal to create instant depth and dimension. Cool, right?
Then, build outward by surrounding each petal with additional teardrops, varying their sizes and angles for visual interest.
Don’t leave the background empty! Fill it with more teardrops to create the illusion of a vast clover field.
The magic happens when teardrops overlap and stack—suddenly, what began as simple shapes transforms into an eye-catching optical illusion that seems to pulse with energy!
Optical Illusion Effects
Now that you’ve mastered the teardrop stacking technique, let’s explore how these simple shapes can transform into mind-bending optical illusions!
The Clover Field Op-Art technique creates amazing optical illusion effects with just a few teardrop shapes. Start by drawing three or four teardrops that connect in the middle, forming clover petals.
Then, add more teardrops inside and outside each petal—this layering trick makes your doodle pop off the page! The brain gets totally confused (in a cool way) about which parts are coming forward and which are going back.
Try filling your clover design with different patterns or colors to make the illusion even wilder. Play around with the size of your teardrops too!
This simple technique looks super impressive but is actually easy enough for anyone to master.
Abstract Keith Haring Style Squiggles
Vibrant and energetic, abstract Keith Haring style squiggles burst with personality on the page. These playful doodles feature bold shapes—circles, triangles, and squares—that dance together in rhythmic patterns.
The squiggly lines weave around these shapes like tiny mazes, creating depth that pulls your eye across the paper. What makes these abstract squiggles so fun is their spontaneous nature. You don’t need perfect lines; just grab some markers and let your hand move freely!
The bolder the colors and thicker the outlines, the more your doodle will pop with Haring-inspired energy. Try adding little figures or symbols nestled among your squiggles to tell a story or share a message.
Dimensional Flower Doodles for Visual Impact
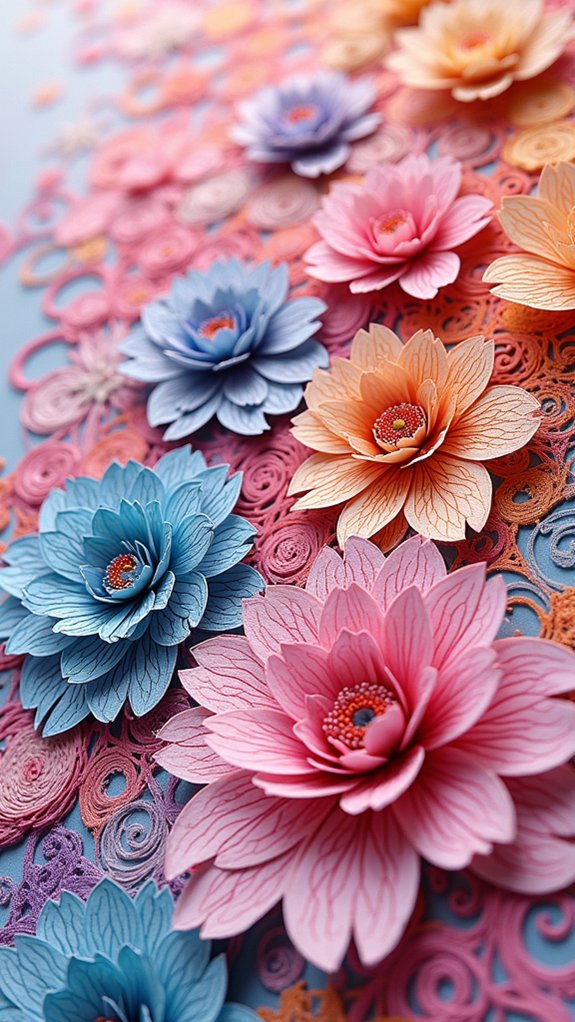
Creating dimensional flower doodles takes ordinary floral sketches to new heights through the clever layering of petals in different sizes.
Artists can enhance this three-dimensional effect by adding simple shading techniques, like drawing closely-spaced lines on one side of each petal, which makes the flowers seem to pop off the page.
Exploring visual textures by mixing thick marker outlines with finer detail work creates an eye-catching contrast that transforms basic flower doodles into impressive artwork that wows friends and classmates.
Layered Petal Techniques
Delightful dimensional flower doodles burst to life through layered petal techniques, adding impressive depth to your artwork.
Begin with a simple circular center, then build outward by adding progressively larger petals that slightly overlap. This natural overlapping creates an amazing 3D effect that practically jumps off the page!
For extra punch, try varying your line thickness as you move from inner to outer petals. Some artists love adding patterns inside each petal—like swirls, dots, or tiny lines—which makes flowers look super detailed without being too complicated.
Shading one side of your petals with hatching or stippling really makes them pop! For the ultimate wow factor, color each layer differently. Start with lighter colors in the center and use darker shades for outer petals. Your flowers will look absolutely incredible!
Depth Through Shading
Every dimensional flower doodle transforms into a stunning masterpiece when proper shading techniques are applied. Artists create amazing depth by pressing harder or lighter with their markers, making the petals pop right off the page! Start with a simple outline, then add shadows where petals overlap—it’s like magic watching flat flowers come to life.
| Shading Technique | Effect | Difficulty | Best For |
|---|---|---|---|
| Hatching | Creates texture | Easy | Rose petals |
| Cross-hatching | Deep shadows | Medium | Dense flowers |
| Gradient shading | Smooth changes | Hard | Realistic looks |
| Dot shading | Subtle texture | Medium | Delicate flowers |
Try using a dark-to-light approach, which makes flowers look super 3D. Practice on different flower types—daisies are easier than roses—and watch how shading transforms your doodles from boring to wow!
Visual Texture Exploration
While simple flower outlines can be charming, dimensional flower doodles truly captivate the eye when artists play with visual texture!
By layering different petal shapes and using varied marker thicknesses, anyone can create flowers that seem to pop right off the page. The secret? Start with a thick outline for your flower, then add thinner lines inside for details.
Visual texture exploration is super fun when you add patterns to each petal—try stripes, dots, or swirls!
For an extra wow-factor, shade the edges of petals and leaves with a fine-tipped pen. This creates shadows that trick the eye into seeing depth. Color gradients work magic too, making petals look curved and realistic.
Before you know it, your flat doodles transform into a garden that looks almost touchable!
Mountain Range Patterns With Depth and Texture
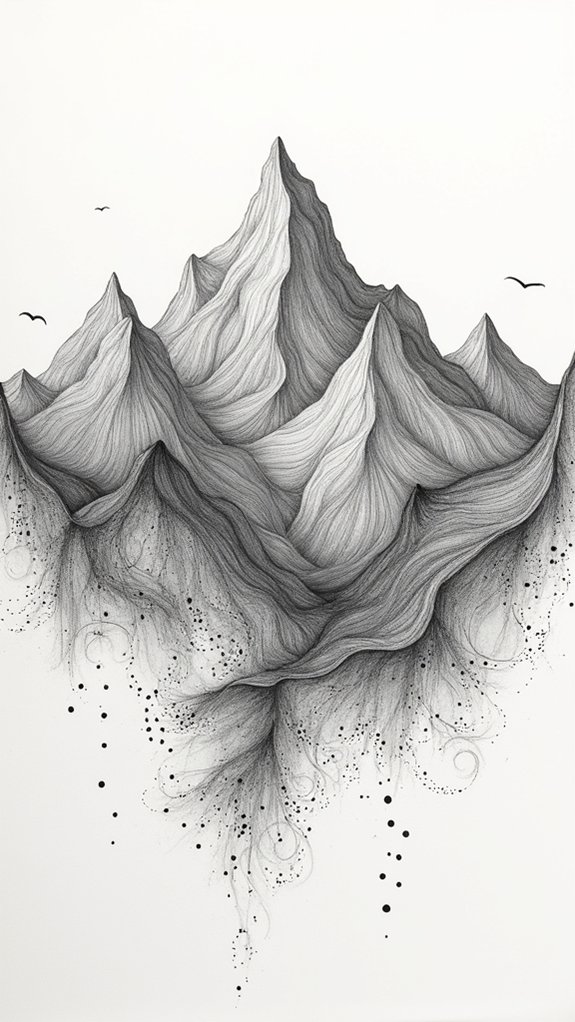
Mountain peaks come alive on paper when you master the art of creating depth and texture in your doodles. These majestic vistas can transform a blank page into a mini adventure, with just a few strategic marks!
Make sure to vary the heights of your wavy triangle shapes, creating a dynamic skyline that pulls the viewer in.
A dynamic mountain range begins with varied peaks—the secret to capturing nature’s rhythm in your sketch.
To create realistic mountain ranges that pop off the page:
- Start with uneven wavy triangles for diverse peak heights
- Add internal wavy lines to create rocky textures
- Use thicker lines for outlines, thinner ones for details
- Create shadows with closely-spaced lines on one side
Try adding tiny trees at the base or fluffy clouds floating above—these small touches bring your mountain doodle to life!
Stylized Rose Formations Using Simple Shapes
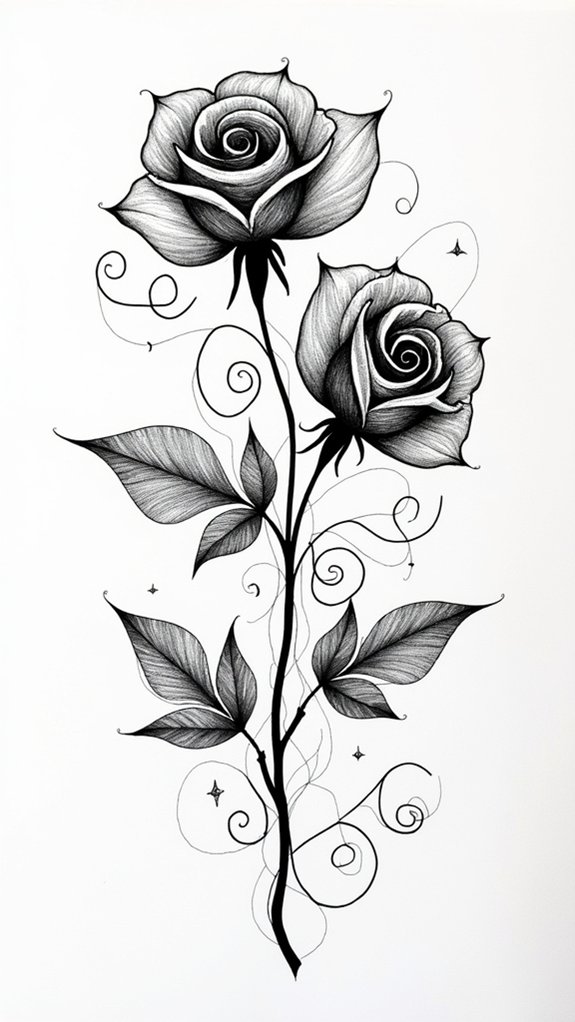
Creating beautiful stylized roses starts with understanding how to place petals in overlapping layers around a central point, mimicking nature’s spiral growth pattern.
Artists can transform the complexity of real roses into simple teardrop or rounded shapes, making these flowers accessible even for beginner doodlers.
Texture lines and shading within each petal bring these simplified flowers to life, turning basic shapes into expressive blooms that fill sketchbooks with personality.
Rose Petal Placement Techniques
Stylized roses often become the centerpiece of any doodle art composition, making proper petal placement techniques essential for artists of all skill levels.
When arranging rose petals in a doodle, artists should focus on creating natural-looking layers that build outward from the center. The heart of any rose drawing begins with that tiny circle at the middle, which serves as the anchor for all the petals that follow.
- Start with tiny, tight petals near the center, overlapping them slightly for a realistic bud appearance.
- Gradually increase petal size as you work outward, creating at least 3-4 layers for depth.
- Vary the curve and angle of each petal—no two should look exactly alike!
- Add small imperfections or slight asymmetry to make your rose look more natural and less mechanical.
Spiral Growth Patterns
The beauty of spiral growth patterns lies in their mathematical elegance and natural symmetry, making them perfect for creating stunning rose formations in doodle art.
Artists begin with a simple circle at the center, then add overlapping petals in a swirling motion that mimics nature’s own design. It’s like watching a flower bloom right on your page!
Each petal can become a playground for creativity – add dots, stripes, or wavy lines to give your rose texture and personality.
Try experimenting with teardrops instead of circles for a different effect! Color gradients take these spiral formations to the next level, transforming simple shapes into vibrant blooms that practically jump off the page.
For a truly mesmerizing doodle, surround your roses with complementary spirals that dance across the paper.
Simplifying Complex Shapes
When beginners face the intimidating task of drawing roses, breaking down these complex flowers into simple shapes can be a game-changer!
By starting with a small circle as the center and gradually adding teardrops or rounded triangles around it, anyone can create beautiful stylized roses. Vary those petal sizes for extra wow-factor!
- Begin with a tiny circle in the middle (the heart of your rose!)
- Add overlapping petal shapes around the center, making some bigger than others
- Layer petals strategically, with larger ones behind smaller ones for awesome dimension
- Draw swooshy lines inside each petal for texture and detail
Want to learn more techniques? Don’t forget to read our Privacy Policy for access to our premium tutorials!
Drip Effect Designs: Flowing Organic Lines
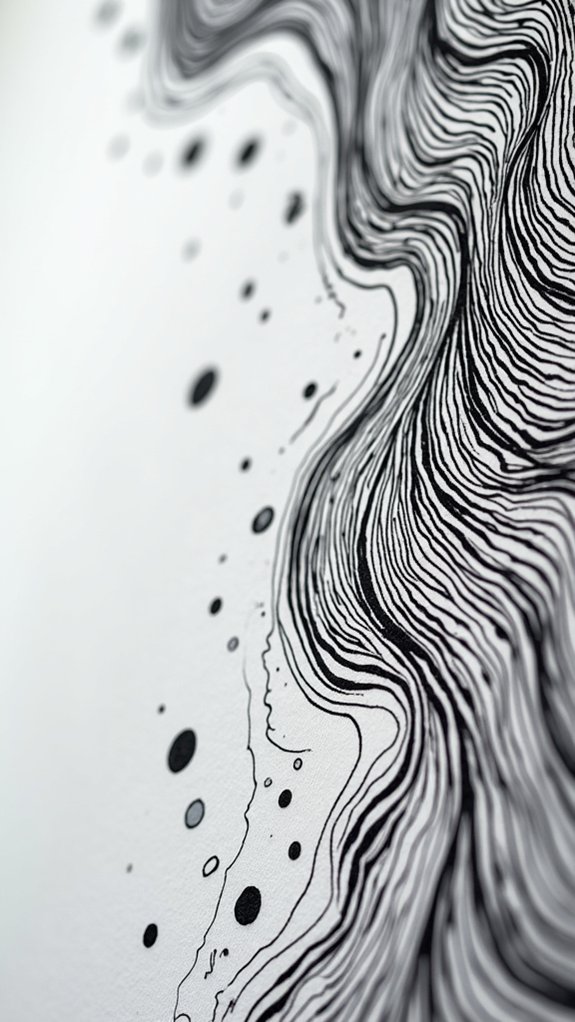
Liquid inspiration flows through drip effect designs, creating mesmerizing organic lines that breathe life into your doodles. These flowing patterns mimic actual dripping liquid, adding a super cool, dynamic feel to your artwork that practically moves on the page!
To create awesome drip effects, start with curvy, wavy lines, then add smaller inner lines for amazing depth. Try using different marker sizes—thick ones for the main drips and skinny ones for details—to make your design pop!
The best part? This technique works everywhere: notebooks, paintings, and even digital art.
Want to level up your drips? Add color gradients or funky patterns inside them! Your friends will be totally amazed at how something so simple can look so incredible.
Rainbow Waves: Colorful Undulating Patterns
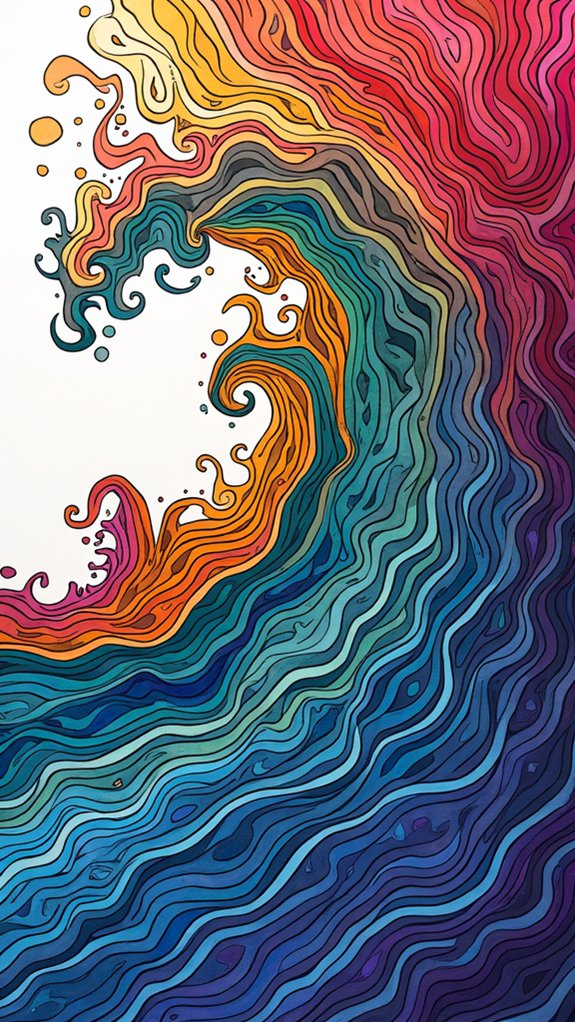
Vibrant energy radiates from Rainbow Waves doodles, transforming ordinary pages into colorful seas of motion and joy.
These undulating patterns capture the eye and pull viewers into a world of flowing color that seems almost alive on the page! Artists of any skill level can create these mesmerizing rainbow waves by drawing horizontal wavy lines across their paper, then filling each section with alternating vibrant hues.
Mesmerizing rainbow waves invite creators to surf oceans of color, turning blank paper into living, breathing artwork.
- Draw wavy lines with varying amplitudes – some tall, some short – to create dynamic movement across your page.
- Fill each section between waves with different rainbow colors in sequence.
- Try both continuous waves and interrupted ones that stop partway across the page.
- Add upside-down rainbows within some sections for an unexpected twist that adds visual interest.
Wagon Wheel Motifs: Radial Geometric Designs
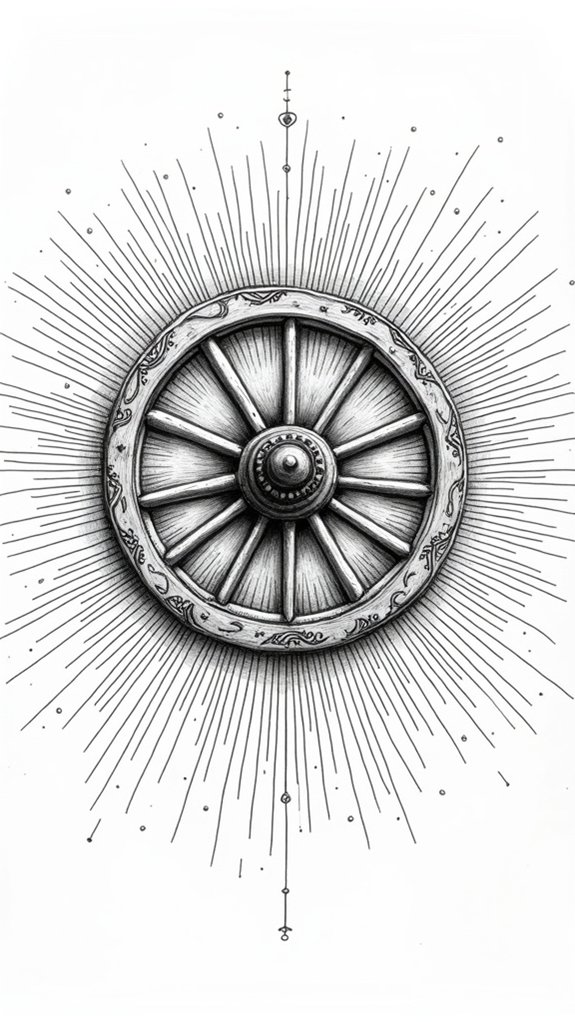
Symmetry takes center stage in Wagon Wheel Motifs, enchanting artists with their perfectly balanced spokes and circular forms! These radial designs start with a simple dot at the center, then grow outward with concentric circles connected by evenly-spaced lines. The result? A super-cool pattern that looks complicated but is actually easy to create!
Artists can jazz up their wagon wheels by varying spoke thickness or adding fun details between the lines. Just like Pinterests Terms of Service protect creative content, these structured patterns protect your doodle page from boring emptiness!
Try drawing wheels in different sizes scattered across your paper, or color in the sections between spokes for extra pop. The awesome thing about wagon wheel doodles is how they can be simple or detailed—perfect for when you’re bored in class or creating serious artwork!
Cow Print Blobs: Playful Abstract Patterns
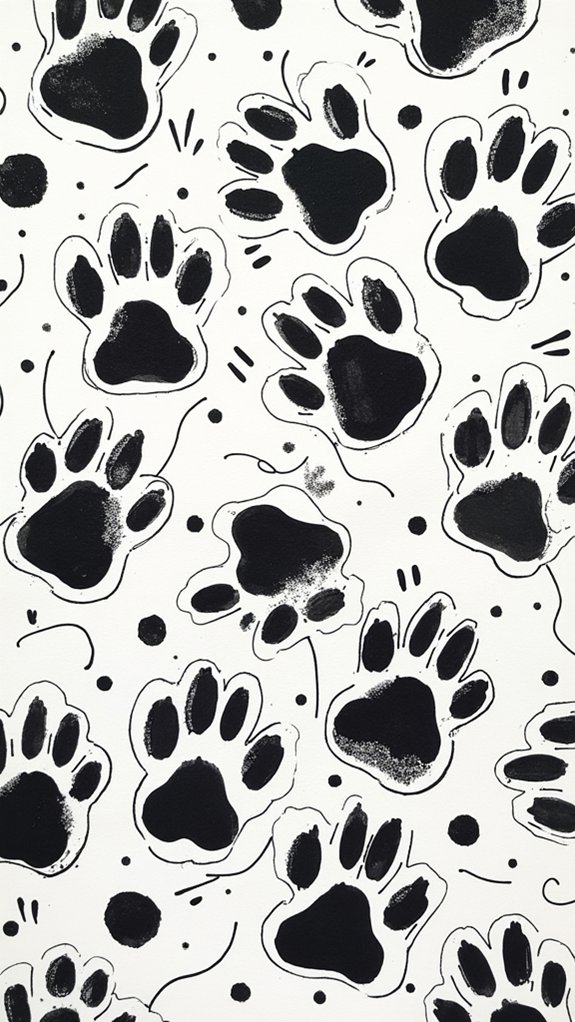
Creativity runs wild with cow print blobs, where random, irregular shapes transform ordinary pages into exciting abstract masterpieces! These playful patterns mimic the organic shapes found in animal prints but with a unique artistic twist.
Artists can let their imagination flow as they create irregularly shaped blobs across the page, filling each with smaller similar shapes for added depth.
- Draw several large, random blobs scattered across your page
- Fill each blob with smaller interior blobs to create a layered effect
- Color the background with a contrasting shade to make your cow print blobs pop
- Experiment with different sized blobs for visual interest
This approachable doodle style works for everyone, from beginners to advanced artists. The cow print blobs technique offers a fun gateway into abstract art concepts without requiring perfect lines or measurements!
Mehndi-Inspired Mandalas: Intricate Circular Designs
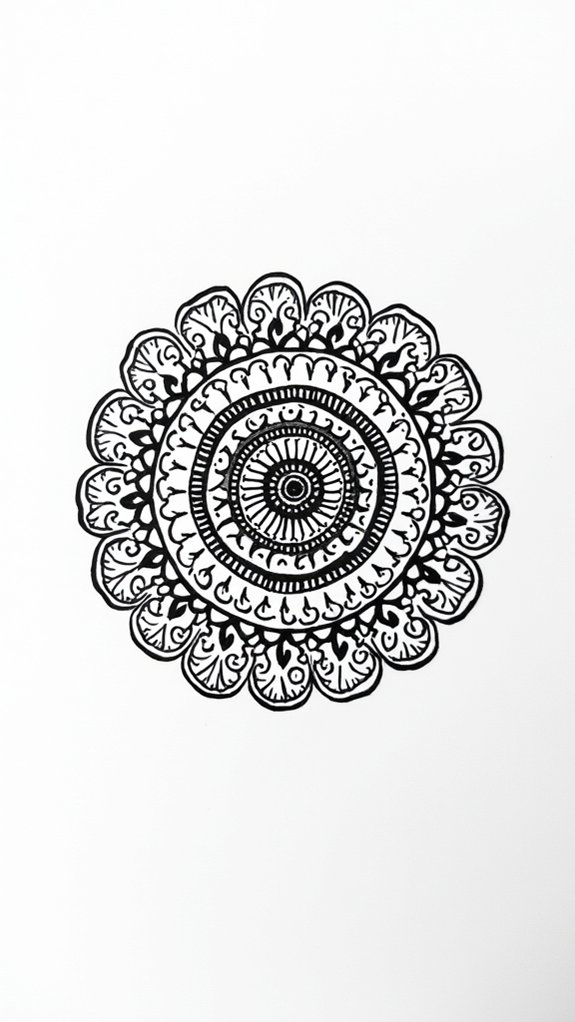
The ancient art of mehndi transforms into stunning circular masterpieces when applied to mandala designs! These intricate patterns begin at a central point and radiate outward in perfect symmetry, creating mesmerizing designs that capture the eye.
Artists acknowledge you’ve read when they incorporate traditional elements like paisley swirls, delicate petals, and geometric shapes that dance around the circle.
Creating these detailed doodles isn’t just fun—it’s also super relaxing! Many people find that drawing mandalas helps clear their mind and focus their thoughts.
Try experimenting with different line weights, making some strokes thick and others whisper-thin. Add depth by incorporating simple shading techniques that make your design pop off the page.
The beauty of mehndi-inspired mandalas is how they combine cultural tradition with your personal creative touch!
Zentangle Techniques for Meditative Drawing
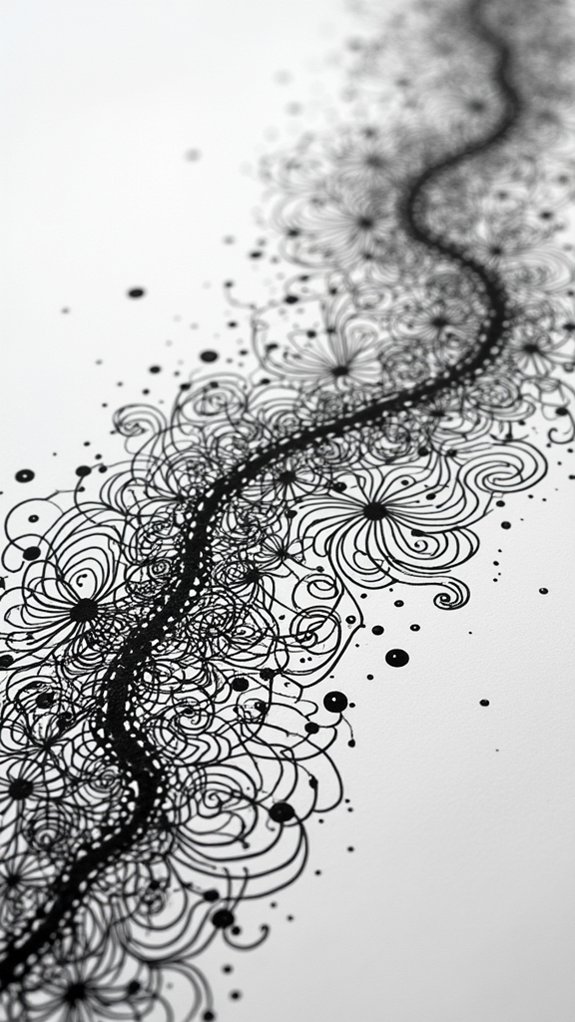
While mandalas celebrate symmetry and cultural patterns, Zentangle offers a different path to artistic mindfulness! This drawing technique transforms simple black lines on white paper into amazing abstract designs that can help reduce stress and increase focus.
When creating Zentangle art, artists divide their paper into sections and fill each with repetitive patterns, completely immersing themselves in the creative process.
- Start with basic geometric shapes (squares, triangles, circles) as your framework.
- Use a black permanent marker for bold, confident lines that pop against the white paper.
- Build complexity gradually by adding patterns like flowers, spirals, and scales.
- Consider adding color to finished pieces for extra personality and expression.
Beginners can easily jump into Zentangle—no artistic talent required! The real magic happens when you lose yourself in the meditative process of drawing line by line.
Frequently Asked Questions
How Do You Doodle Patterns for Beginners?
Beginners can start pattern exploration by creating repetitive designs with basic shapes. Using graph paper maintains spacing while zentangle techniques allow for complexity without advanced skills.
What Are the 4 Types of Doodle Art?
Doodle Variations encompass four main types: graph paper doodle art utilizing grids, stylo art with fluid lines, flowers mandala arranged circularly, and zentangle flowers combining intricate patterns with floral elements.
How to Make Doodle Art for Beginners?
Beginners should start doodle art with basic shapes, simple patterns, and light pencil sketches. Practicing various doodle techniques regularly in a sketchbook develops skills and personal style while keeping the process relaxing.
How Do You Doodle Lines?
Line techniques for doodling include experimenting with straight lines at various angles, creating gentle curves, developing repetitive patterns like zigzags, varying thickness through pressure control, and combining with basic shapes.
Conclusion
Doodle art isn’t just about killing time—it’s a doorway to your imagination! Whether you’re swirling hypnotic spirals, creating Keith Haring-inspired squiggles, or finding zen with Zentangle patterns, these simple marks can transform blank paper into something amazing. The best part? There are no mistakes in doodling, just happy accidents. So grab a pen, let your hand wander, and watch your creativity bloom in unexpected ways!

Leave a Reply