
Looking for fun doodle ideas? Try drawing wild spirals, clover fields, or trippy op-art patterns that can hypnotize your eyeballs! Mix it up with mountain scenery, wavy lines, emojis making silly faces, or even “dripping paint” blobs for a cool 3D look. Go abstract with Keith Haring-inspired characters, sketch cute animals, desserts, or clouds. Layer textures, stack patterns, and see what happens with random shapes. There’s a world of easy, playful doodles waiting just ahead!
Key Takeaways
- Draw simple spirals, op-art patterns, or wagon wheel designs for playful, hypnotic effects that are beginner-friendly.
- Sketch basic mountain landscapes or scatter flower doodles for easy, relaxing nature-inspired artwork.
- Try continuous line drawings and abstract Keith Haring-style patterns for bold, creative expression.
- Doodle cute animals, desserts, or cow print blobs to create whimsical, fun designs with lots of personality.
- Layer textures, experiment with repeating patterns, and add dripping paint or natural drip effects for unique visual interest.
Doodling Spirals and Op-Art Patterns

Spirals and mind-bending patterns are like a rollercoaster ride for your pencil. For anyone searching for wild and fun doodle ideas, spirals and op-art patterns are a must-try.
Imagine this: you start with wavy lines radiating from a central point, then fill those spaces with upside down “u” shapes. Suddenly, your plain paper pops into a 3D masterpiece. It almost feels like your lines are jumping right off the page!
Want more? Try sketching wagon wheels by placing a dot in the middle of a circle, then draw spokes reaching out. These lines create funky, hypnotic effects that invite you to doodle even more.
No matter your skill, these doodle ideas are playful, bold, and totally eye-catching.
Creating Clover Field Op-Art Designs
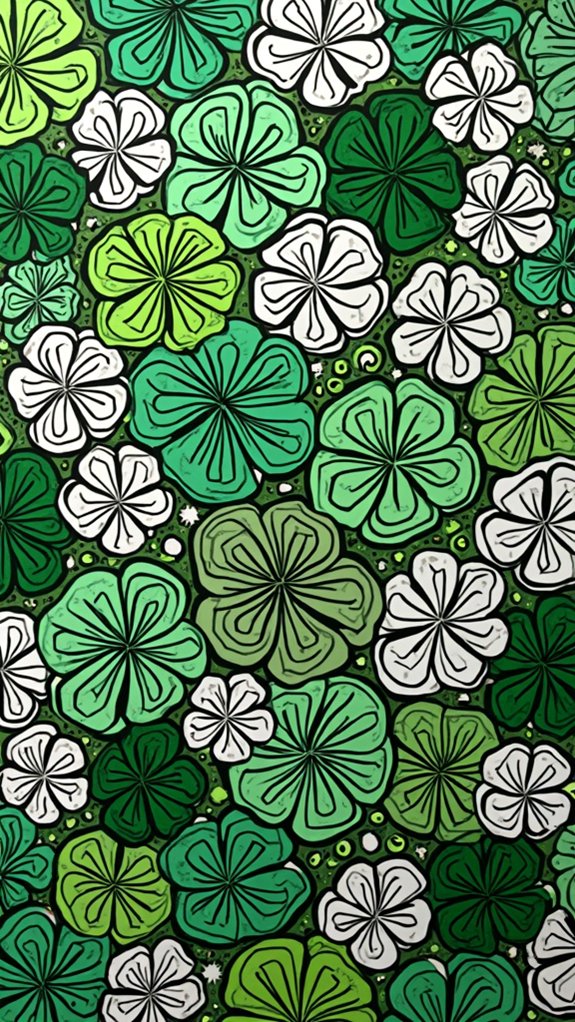
Even though drawing clovers might sound simple at first, turning them into an op-art masterpiece makes for a surprisingly wild adventure.
Start by drawing three or four teardrop shapes that connect at the pointy end—bam, you’ve got the petals for your clover flower design! To really pump up the wow-factor, sneak in a smaller teardrop inside each petal, making your drawing flowers look kind of magical and extra dimensional.
You’ll want to keep the momentum going—expand your doodle by adding more teardrop shapes around the first clover, filling out those white spaces like a boss. Play with the size and direction of your teardrops, mixing things up for maximum visual excitement.
Suddenly, you aren’t just doodling—you’re creating a clover field optical illusion!
Drawing Abstract Keith Haring Style Doodles

Loads of people think you need fancy skills to make art that looks like it belongs in a museum, but drawing abstract Keith Haring style doodles totally proves them wrong. Anyone can jump in! Start by spreading random circles, triangles, and squares all over your page—don’t overthink placement. Pull out your best squiggly line, weaving it like a lazy snake around those shapes, but whatever you do, don’t let it cross them. This randomness is the secret sauce. Now, whip out your brightest markers or colored pencils, go wild with colors! Keith drew inspiration from graffiti and city vibes, and you can too. If you mix up your shapes’ sizes and directions, they’ll really pop.
| Shapes | Lines | Color Ideas |
|---|---|---|
| Circles | Long squiggle maze | Neon yellow |
| Triangles | Bold edge outlines | Hot pink |
| Squares | Never intersecting | Lime green |
| Big + small | Zig-zag accents | Electric blue |
| Tilted | Wavy connectors | Vibrant red |
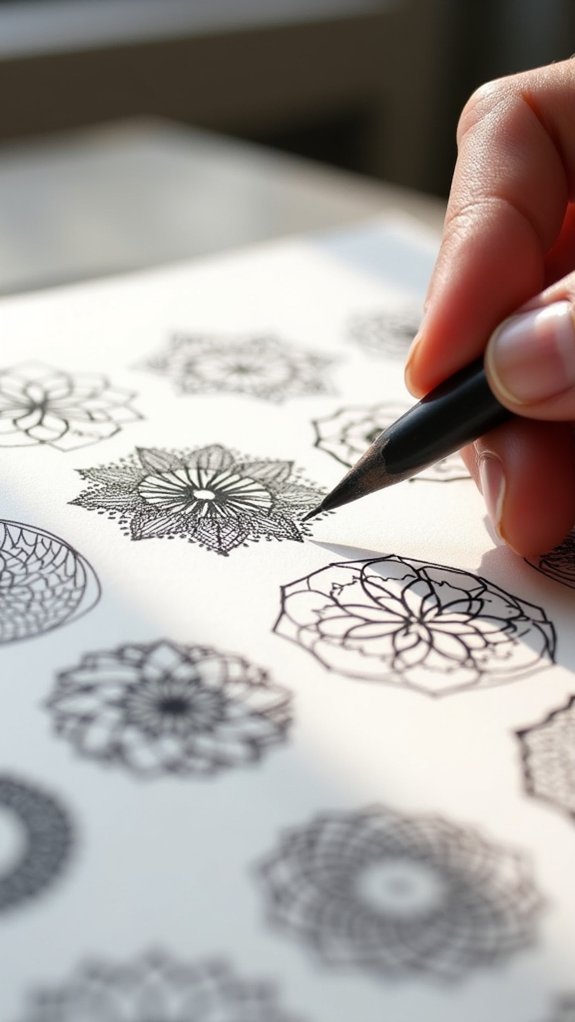
How to Draw Simple Flower Doodles
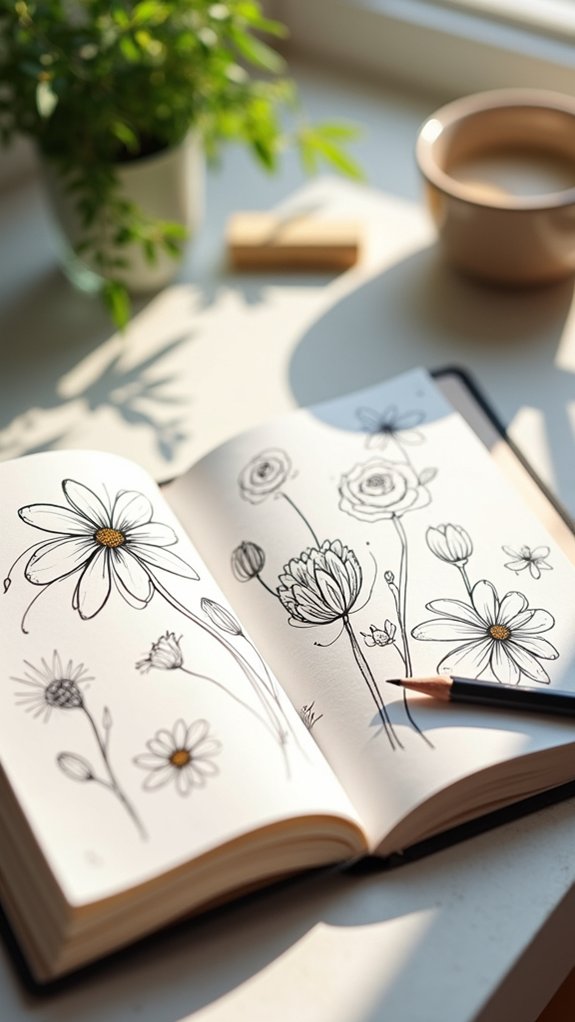
If someone thinks drawing flowers is tricky, they’re about to get pleasantly surprised! Simple flower doodles are probably some of the most rewarding—and easy—designs to learn from drawing tutorials.
It all starts with a tiny circle in the center; that’s the heart of your flower. Around it, sketch 5 or 6 big petals using a bold marker, letting each petal flow out like little sun rays. For more “wow,” add extra layers of petals, making them larger as you work your way out.
Using a thin pen, fill petals with cool lines or swirls, creating texture like raindrops or tiny vines. For the grand finale, scatter different flowers around the page. The result? A playful field of blooms, all from a few simple drawing tutorials!
Easy Mountain Landscapes to Sketch
Drawing mountain vistas starts with super simple triangle shapes—just make them a little wavy and switch up their heights so they don’t look like a row of pointy birthday hats.
Shading one side of each peak gives your doodle real depth, kind of like that dramatic lighting in a superhero movie, while layering more mountains in the back makes it seem like you could just keep hiking forever.
Don’t worry if they aren’t perfect triangles; a little unevenness just makes your sketch more interesting (and way less stressful).
Simple Triangular Mountain Shapes
Anyone looking for a chill and satisfying doodle should totally try sketching some triangular mountain shapes. It’s a fun doodle drawing idea that looks awesome, even if you’re just starting out.
Begin with slightly wavy triangles—don’t stress about making them perfect, nature isn’t! Using a thick marker, play around with triangle sizes for an interesting mountain scene. Divide each triangle with a wavy line, and suddenly they look like real, rugged peaks.
For extra fun, mix in simple details like fluffy clouds or tiny trees at the base. Here are a few ways to make your mountain doodle extra cool:
- Use triangles of different sizes for a more natural scenery
- Add wavy dividing lines to suggest snow or shadows
- Sketch simple clouds or trees below for extra flair
Shading for Depth
One big secret to making mountain doodles leap off the page is all about adding the right shading for depth—seriously, it’s like magic for your sketch.
First, outlining your mountains with a thick marker and making those triangle shapes a little wavy gives everything a solid start.
But here’s where it gets awesome: use wavy lines to split each mountain into lighter and darker halves. Pick one side (any side!) to be the shadowy part, and immerse yourself in shading techniques.
Try cross-hatching or even stippling for texture—don’t be shy! Filling in the dark side with closely spaced lines, and using more spaced-out lines on the light side, creates a cool illusion of sunlight.
Switch up your mountains’ sizes and shapes for extra wow!
Layering Peaks and Valleys
Imagine this: rows and rows of wavy triangle peaks, stacked like a giant game of doodle Tetris across the page, each mountain bumping up against its neighbors. That’s the magic behind layering peaks and valleys, a drawing trick that makes easy mountain scenes pop with personality.
Start by sketching wobbly triangles of different sizes—some tall and pointy, others short and squat. Give those shapes a bold outline with a thick marker, then draw wavy dividing lines down each peak. Shade one side dark using close-together lines and keep the other side light with spaced-out marks.
For bonus fun, throw in tiny trees or fluffy clouds at the base!
Try these tips for epic mountain drawing adventures:
- Vary triangle sizes for depth
- Shade for cool 3D effects
- Decorate with trees or clouds
Drawing Modern Roses With Overlapping Petals
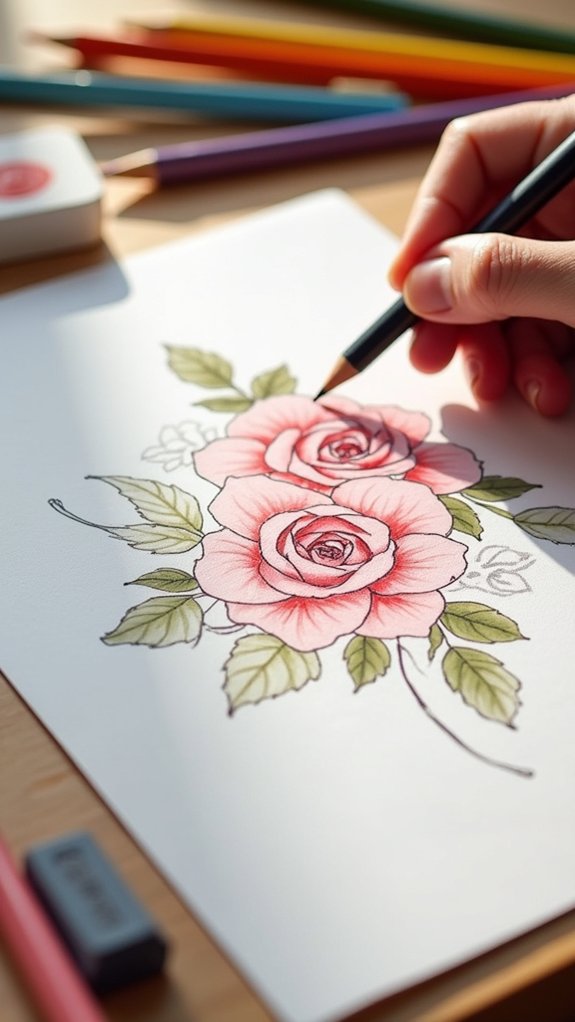
There’s something super cool about drawing modern roses, especially when those petals start to overlap like a pile of fluffy pancakes. To start these little doodles, just draw a tiny circle for the core, and then go wild adding petal shapes around it—make some big, some curvy, and let them overlap! That’s where the magic happens. Grab a thick marker and outline the petals to make your rose pop, then switch to a thinner pen to sneak in a few lines inside each petal for texture. Try mixing up the shapes and size for extra style. Here’s a helpful table for rose doodle steps:
| Step | Tool Used | Purpose |
|---|---|---|
| Draw center circle | Pencil/Pen | Start the flower core |
| Add petals | Pen | Shape and overlap petals |
| Bold outline | Thick marker | Add rose structure |
| Add texture lines | Thin pen | Show petal texture |
Making Dripping Paint Effect Doodles
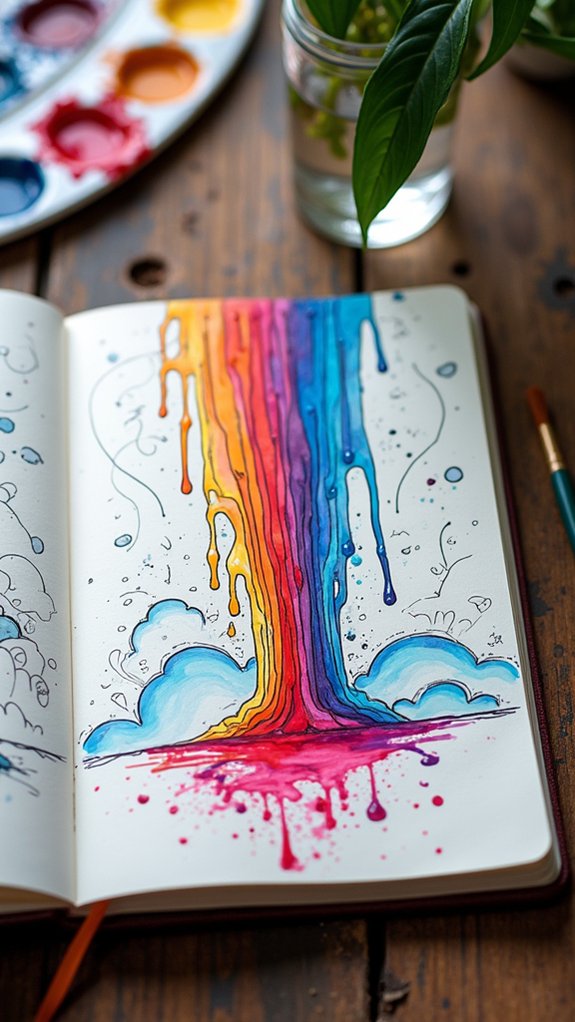
When it comes to making dripping paint effect doodles, choosing the right markers and pens is everything—a fat marker makes bold drips, while a thin one is perfect for those skinny streaks and tiny details.
Sketching out natural-looking drip shapes is key, so don’t be afraid to let those lines wobble and zigzag a little (real paint is messy, after all).
For extra wow-factor, adding some highlights or shadows gives the drips a 3D look that might make someone want to wipe the page!
Choosing Markers and Pens
Choosing the right markers and pens can totally change the game if you want to make those awesome dripping paint effect doodles. Seriously, not all markers are created equal!
Start with a wider marker to lay down those thick, curvy lines—think of it as your paint gushing down the page. Then grab a thin marker for the tiny, sneaky drips inside the big ones, which makes your art pop with crazy depth.
Keep the lines flowing by drawing without letting your pen leave the page—trust the process, it’s worth it! Also, don’t be scared to mix things up with bold colors and wild shades.
- Use wide markers for thick, paint-like lines
- Thin markers add tiny details and depth
- Try contrasting marker colors for extra wow factor
Sketching Natural Drip Shapes
Dive right in and imagine a world where gravity grabs the paint and pulls it down the page—because that’s what sketching natural drip shapes is all about!
This doodling trick starts with a wider marker. Draw wobbly, curvy, elongated lines, like melted popsicles racing each other down a sunny sidewalk. Keep those lines uneven—let them vary in thickness and length. That’s how you get those random shapes looking all natural and totally cool.
Now take a thinner marker and pop in some smaller drips, crazy little teardrops hiding inside the big ones. Try spacing and curving your drips in unexpected ways. Each drip should dance a little differently down your page!
Drip doodles work on their own or pop off your favorite backgrounds. Versatility wins!
Adding Dimensional Highlights
Magic happens the second highlights get added to any drip doodle—suddenly, those paint blobs don’t look flat anymore, they look ready to slide right off the page!
When creating the dripping paint effect, it’s all about tricking the eye. Start by laying down curvy main drips with a wide marker—these are the stars of your design. Then, sneak in some skinny, twisty lines inside those big drips, making it seem like puddles and smaller drops are hanging out.
For maximum pop, try these drawing ideas:
- Add sharp white highlights to one side of each drip to catch the light.
- Scatter a few shadows along the bottom edge.
- Mix up drip sizes so each droplet feels unpredictable and wild.
Ta-da! Instant ooze-tastic dimensional magic.
Drawing Rainbow Waves and Colorful Sections
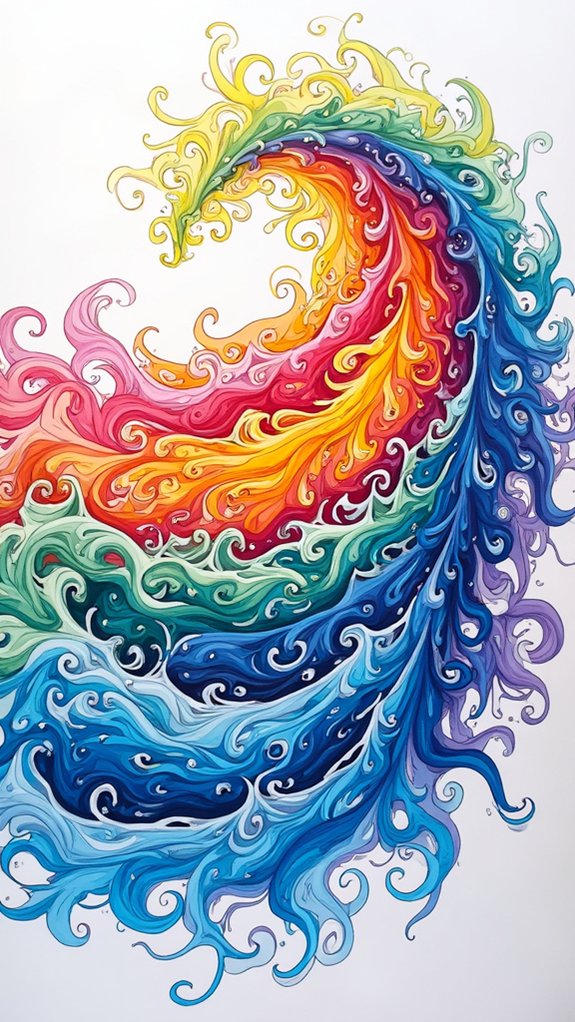
Every colorful doodle collection could use a burst of rainbow waves, and honestly, they’re way more fun to draw than you might guess. The process starts out as simple doodles—just some wavy horizontal lines across your page. But here’s where the magic kicks in: play with where the lines overlap or change direction, and suddenly, you’ve got dynamic sections ready to explode with color! Fill each area with vibrant hues, or use gradients for even more wow-factor. Try making some lines thick and others thin for extra contrast, or jazz up certain sections with patterns or textures. Before you know it, your page looks ready to dance off the table. Ready to compare doodling techniques? Check out the handy chart below:
| Technique | Visual Effect |
|---|---|
| Gradient Coloring | Soft, blended shifts |
| Varied Line Widths | Dramatic contrast |
| Added Textures | Rich, tactile appearance |
Wagon Wheel Pattern Doodles
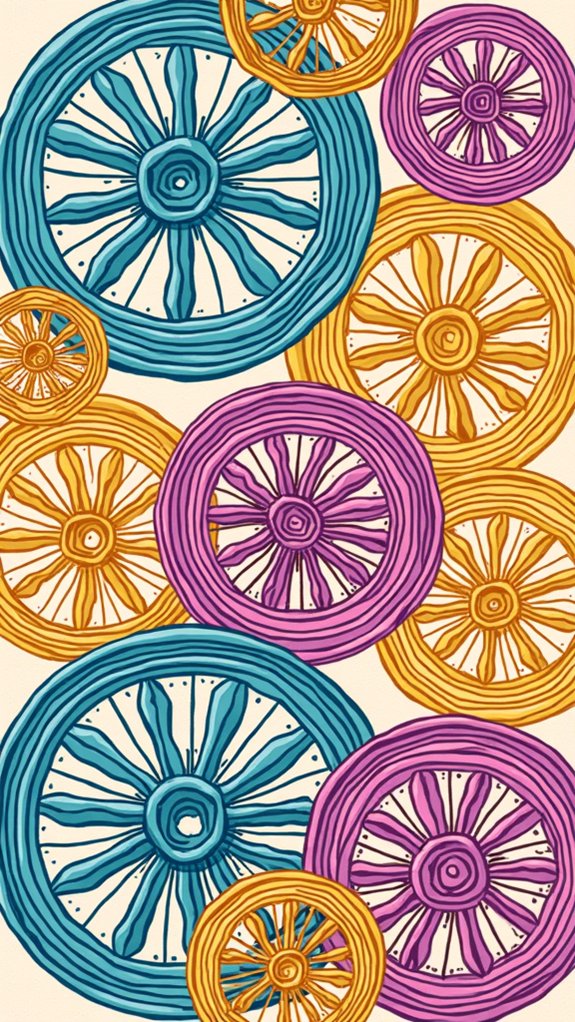
If rainbow waves get the page bouncing, wagon wheel pattern doodles crank it up another notch with their cool, circular design.
To start, just draw a circle right in the middle of your paper—this will be your wagon wheel’s rim. Then, place a dot in the center and draw straight lines radiating out, making it look like spokes on a real wheel.
Feeling fancy? Add smaller circles inside or outside your main wheel, layering it up and stacking more spokes for extra wow factor. Each little section between the spokes becomes a mini blank canvas to play with—maybe some stripes, stars, or even polka dots.
- Try different sizes of wheels for a wild, rolling effect
- Color or fill the sections with patterns for more pop
- Challenge yourself to keep the spacing super even
Fun Cow Print Blob Patterns
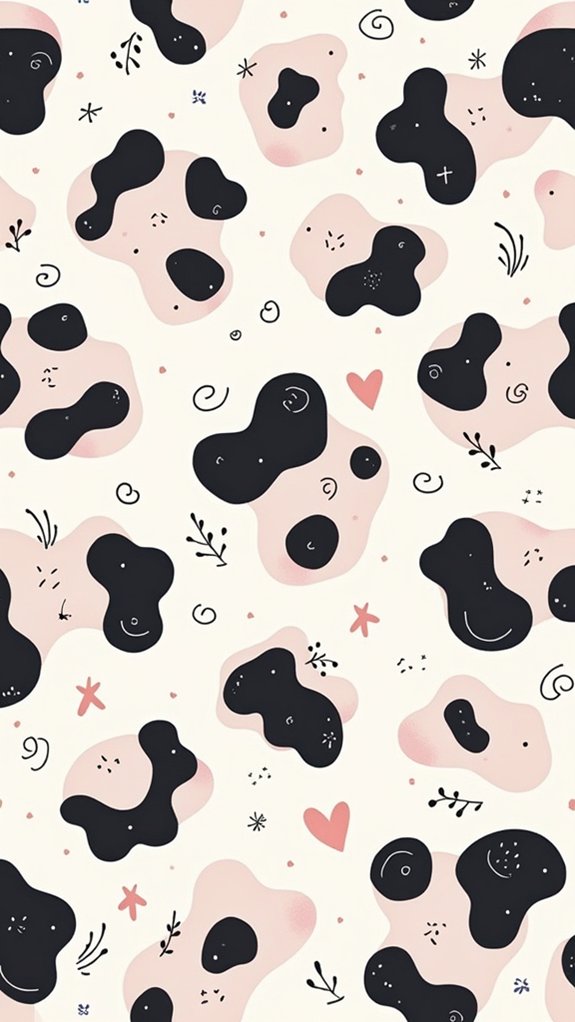
Cow print blob patterns are where things get really fun—just start by sketching out some wobbly, funky shapes scattered all over the page, like playful blobs with serious personality.
Fill each one with tiny, matching shapes or lines, and don’t be afraid to make them squish together or overlap for even more excitement!
For a bold twist, use a bright background color to really make your cow print blobs pop, and suddenly your doodle feels like a splashy, eye-catching work of art.
Creating Playful Blob Shapes
Blobs can be way more exciting than they sound—just try drawing a bunch of them across a blank page, and suddenly things get wild!
To create playful blob shapes, make sure to mix up the sizes and angles so your doodle feels loose and energetic, not stiff or boring. Go for that classic cow print vibe: uneven, organic, kind of splotchy.
The real trick is to fill in each larger blob with smaller shapes that echo the first, giving the whole page some fun movement. For extra pop, add a bold, contrasting background so the blobs really stand out.
Want to keep the fun going? Try:
- Overlapping some blobs for extra depth
- Making certain parts more crowded
- Spacing out blobs for playful contrast
Filling Blobs With Patterns
Pattern power takes center stage when it’s time to fill those wiggly shapes with even more eye-catching designs! Imagine randomly sketched blobs all over your page—big, small, sideways, upside-down.
Now the real fun begins: filling blobs with patterns. For maximum whimsy, try a wide variety of smaller, cow-print-like shapes inside each blob. There’s no “right” way! Play around with the placement or how close together the little shapes are.
Some can be packed in tight, others spaced far apart like sunbathers on a huge beach. Don’t worry about making every shape perfect; little oopsies just add to the charm.
With each unique cow print blob pattern, your page transforms into a vibrant stampede of creativity—without the barnyard smell!
Adding Colorful Contrasts
There’s something genuinely eye-popping about mixing unexpected colors into these funky, cow print blob patterns. Instead of sticking to classic black and white, trying out different colors totally transforms the look—imagine neon pink blobs on a lime green background!
First, artists draw random blobs of all sizes, then fill each one with smaller “cow spots.” Contrast is key, so making blobs and backgrounds with totally different colors cranks up the drama. Using a thicker marker for the main shape and a thin pen for details gives the doodle even more pop.
Want to make it even more fun? Try these ideas:
- Test wild color combos for blobs and backgrounds
- Make some blobs giant and others tiny
- Layer more blobs for cool 3D illusions
Practicing Cross Hatching for Relaxing Patterns
Even though cross hatching might sound like something only “serious” artists do, it’s actually a fun and totally chill way to add cool textures and shadows to your doodles.
People who love drawing will find cross hatching super satisfying—just grab a pen, pick a shape (like a circle or a square), and start layering those parallel lines in different directions. The closer your lines are, the darker and more intense the area looks.
Try mixing line thickness too; skinny lines feel subtle, but chunky ones really pop! Cross hatching turns any plain doodle into something eye-catching and full of depth.
Best part? It’s calm and relaxing—focusing on those repeated lines can almost put you in a doodly trance.
Continuous Line Drawing Exercises
If you’ve ever played that game where you can’t pick up your pencil, then you already get the idea behind continuous line drawing—except this time, it’s on purpose.
Continuous line drawing exercises challenge your hand and eye to work together, moving in sync like a dance you didn’t know you could do. This simple idea—drawing an entire object with one, never-ending line—pushes artists to really observe shapes, not just details.
It’s kind of like drawing blindfolded, only you’re watching your masterpiece unfold in real time. Most people start with something easy like a mug or a houseplant.
To enjoy continuous line drawing exercises even more, try these:
- Draw with your non-dominant hand for a giggle
- Use colored markers for a bold look
- Time yourself for extra thrill
Sketching Quick Gestural Figures
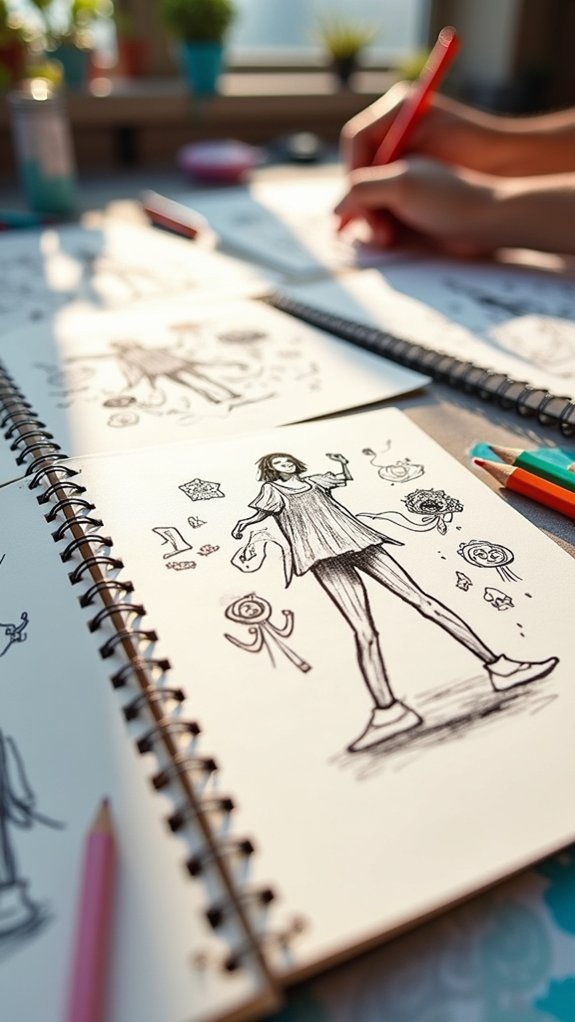
Toss perfection out the window and loosen up—quick gestural figure sketching is all about catching the wild energy of a pose before it slips away.
Grab your pencil, set a timer from 30 seconds to two minutes, and keep going—no pausing to stress about details! Start with those weird stick figures or blobs to show where arms and legs go, focusing on the big movement, not tiny fingers.
Use bold, continuous lines so your hand doesn’t leave the page, making your drawing look alive and energetic. Try sketching from photos or video clips—anything with movement is fair game.
Why bother? You’ll build hand-eye coordination, boost creativity, and learn to capture emotion faster.
Remember: be brave, be messy, but, most importantly, just keep going!
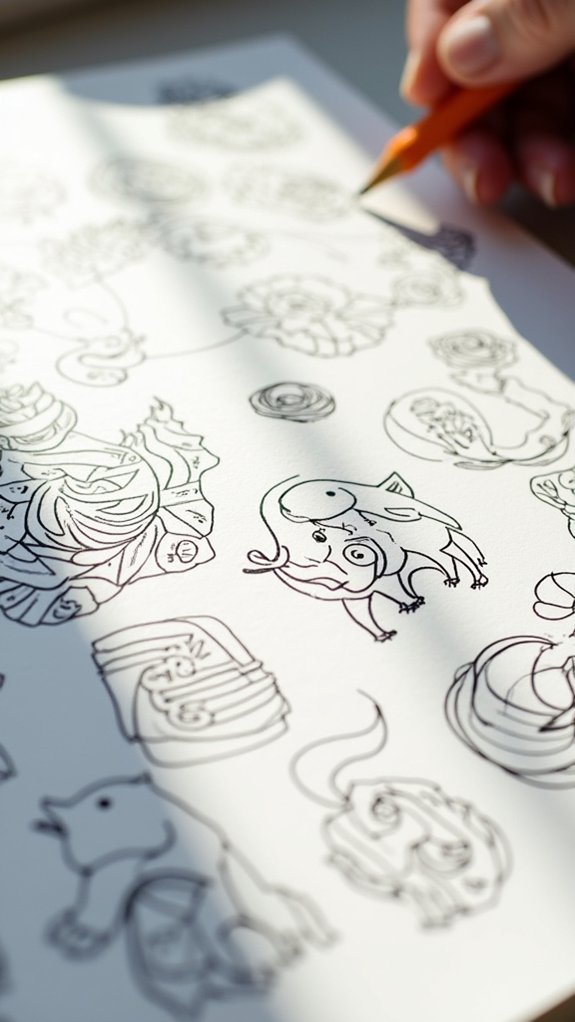
Doodling Cute Animal Expressions

Expressions are the secret sauce that make animal doodles totally irresistible—one little twist of a mouth or a wide-eyed stare, and suddenly a simple circle turns into a puppy who just spotted a treat or a cat plotting its next big adventure.
When doodling cute animal expressions, starting with a circle for the head makes it super easy to sketch something lovable right off the bat. Change up the ears—give them pointy ends for cats or floppy sides for dogs—and play with different eye shapes to match the animal’s mood.
It really helps to practice quick sketches with silly accessories to boost their personality!
- Mix and match ear shapes and positions for different animals.
- Try drawing round eyes or playful mouths for varied expressions.
- Accessorize with hats or bows for added charm.
Drawing the Sun in Different Creative Styles
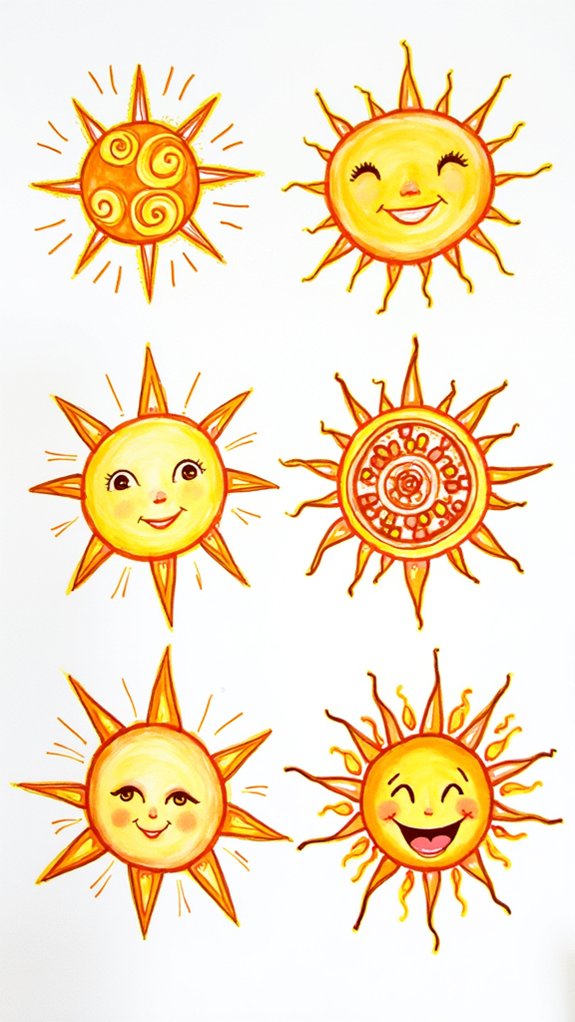
Drawing the sun doesn’t have to be boring—it can look wild or totally hilarious if you shake up the basic shape and experiment with unusual rays, like zigzags, triangles, or even little mustaches (why not?).
Switching up the sun’s features, like giving it giant cartoon eyes or a goofy grin, instantly makes your doodle feel full of personality.
With just a few creative tweaks, every sun you draw can have its own quirks and mood, ready to shine in your sketchbook.
Exploring Unique Sun Shapes
Even though most people sketch the sun as a plain circle with some straight lines for rays, there’s actually a whole universe of ways to make your sun doodles stand out.
Sun designs can be made way more interesting just by switching up the shapes—imagine a sun with a diamond core or triangles instead of a boring circle! Rays can be squiggly, zigzagged, or long and short like spaghetti noodles at a wild dinner party.
Even the sun’s center can pop with color gradients or funky patterns, making your doodle look extra vibrant. Want to turn a plain sheet of paper into a party? Check this out:
- Experiment with circles, diamonds, and triangles for creative sun shapes.
- Play with wavy, zigzag, or multi-length rays.
- Fill the sun’s body with colorful patterns.
Adding Expressive Sun Features
Sunshine with a personality—now that’s something anyone can get behind! Adding expressive features to your sun doodles is way more exciting than drawing a plain ball.
Start by sketching a simple circle for the core, then go wild with the rays: try straight, wavy, or even zigzag lines for a fresh vibe each time. Mix up the shapes, too—who said sun rays can’t be hearts or stars?
Give your art journal some drama by adding sunglasses, winking eyes, or quirky mouths to show moods like surprise or grumpiness. Don’t forget about color! Bright yellows, fiery oranges, and glowing reds can make each sun pop.
Feeling extra creative? Look at suns from folk art or mythology for wild, new ideas!
Heart and Love-Themed Doodles
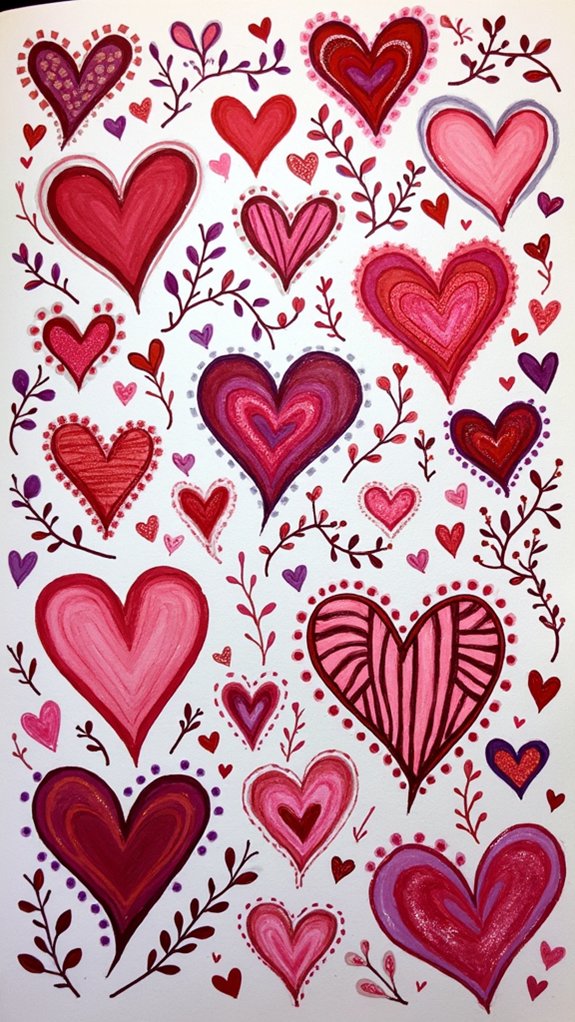
Whenever someone wants to fill their notebook with a burst of positive energy, heart and love-themed doodles are the way to go. These simple shapes can light up a page, and the best part is, there are so many ways to make each heart unique!
Try mixing it up with big and tiny hearts, tilting them in different directions, or sprinkling in sparkle using stars or dots. Even adding arrows or little flowers can turn basic hearts into masterpieces, full of personality and fun.
To really make your heart and love-themed doodles pop, grab some colored markers and experiment with wild patterns or ombre effects.
- Play with different heart styles, from broken to 3D.
- Use hearts as petals or part of larger patterns.
- Download a FREE PRINTABLE for extra inspiration!
Drawing Simple Emojis With Expressive Faces
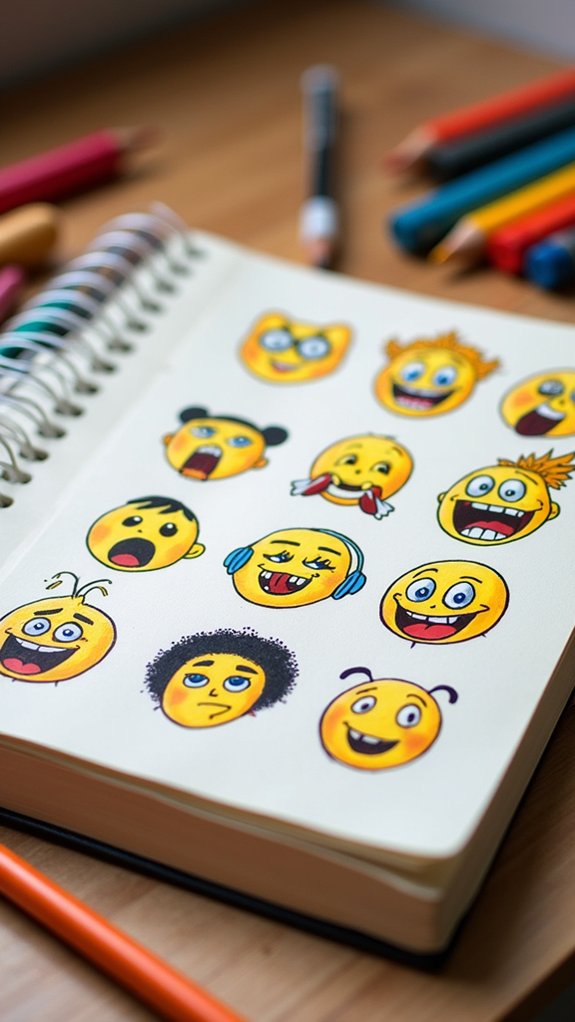
Why do some doodles seem to jump right off the page with personality? It’s all about those expressive faces!
Creating simple emoji doodles starts with a basic, almost perfect circle—just like the foundation for classic emojis. From there, it’s all about the expressions: two dots for eyes and a curved or squiggly mouth can say so much.
Try a huge grin, a look of surprise, or a single tear if you’re feeling dramatic. Want to crank up the fun? Accessories like cool sunglasses, funky hats, or sparkly bows can totally change the vibe.
Don’t forget color! Yellow screams classic smiley, while a red blush can add tons of emotion. Practice drawing joy, anger, and love for a collection packed with feelings.
Sky, Moon, and Cloud Doodles
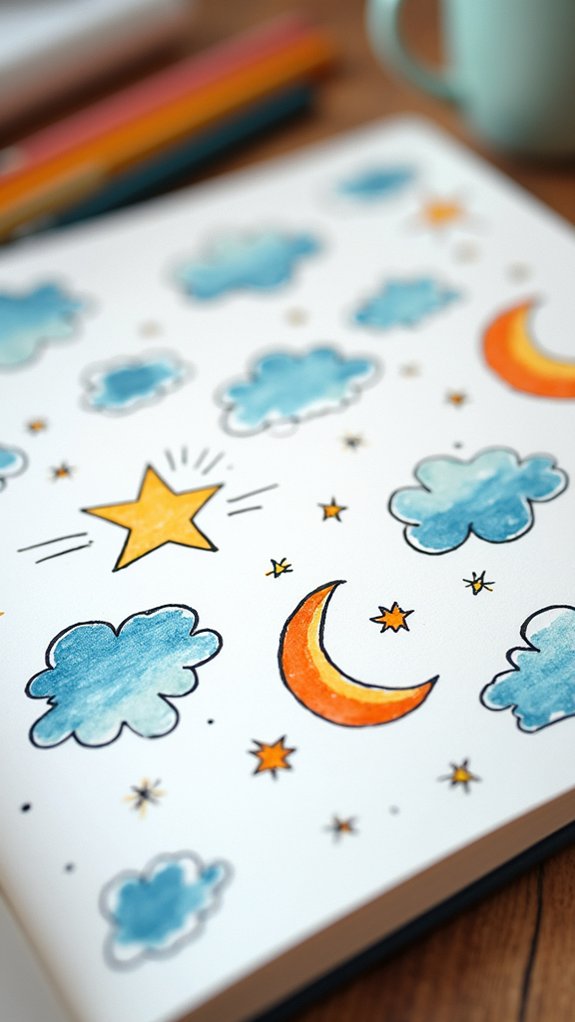
Even though a plain piece of paper might look boring at first, adding sky, moon, and cloud doodles can make it totally magical—like you’ve opened a secret portal into dreamland.
With just a pencil and a bit of imagination, the possibilities seem endless. Sun shapes, puffy clouds, and twinkling stars give your sketches a fun, whimsy vibe.
Don’t forget to try different versions: craters on a full moon, half-moon smiles, or chubby clouds layered for extra fluffiness. Want more drama? Throw in some shadow with cross-hatching or stippling—the shading takes your sky, moon, and cloud doodles from flat to fantastic!
- Experiment with cute faces on moons or clouds
- Layer clouds for super fluffy effects
- Add sparkling stars using basic shapes
Suddenly, the sky’s not even the limit!
Fun Dessert and Sweet Treat Sketches
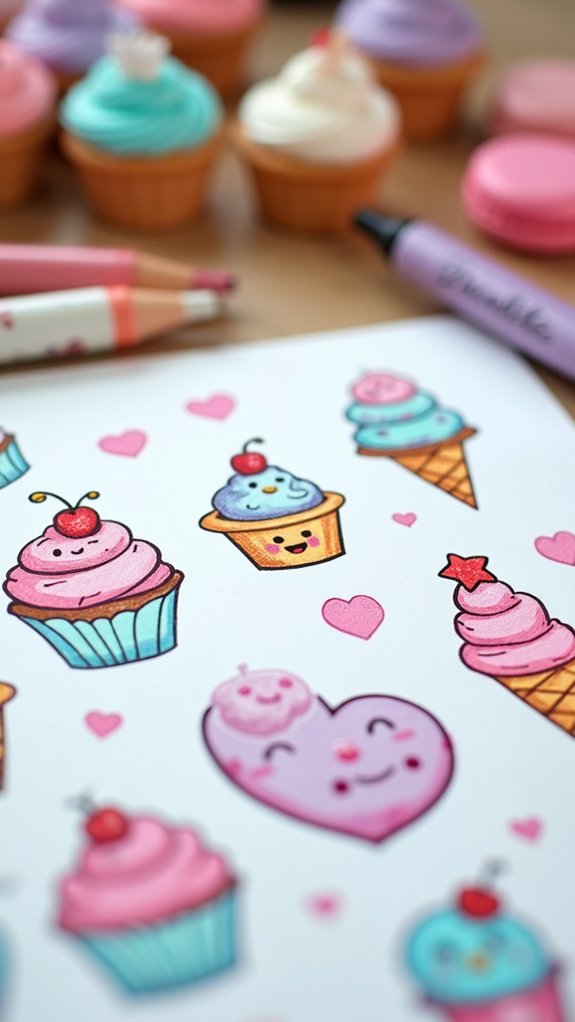
Although a doodle may start as just a squiggle on the page, dessert and sweet treat sketches have a way of stealing the spotlight—and, honestly, who can blame them? Fun dessert sketches like cupcakes, donuts, and towering ice cream cones nearly leap off the paper when built from simple shapes—circles for donut holes or cupcake tops, triangles for crispy cones.
Adding cool details, like cheeky cherries, swirly frosting, or a shower of colorful sprinkles, ramps up the personality. Want your doodles to look good enough to eat? Grab your brightest markers, because bold colors basically scream “delicious.”
Try mixing different desserts together in one scene—a cupcake chilling beside a donut, maybe—to make an irresistibly fun dessert sketch collection. It’s pure, playful creativity!
Experimenting With Random Shapes and Textures
Jump right in and let shapes take over the page—doodling isn’t just about drawing what you see; it’s about seeing what you can create from random squiggles and unexpected combos.
Starting with a simple circle or square, suddenly a page fills with wild patterns and weird mashups. Want to make things more exciting? Play with big shapes hugging tiny ones or try layering different textures, like zigzags, dots, or crosshatching, inside your doodles. It actually looks pretty cool!
The best part is, even repeating the same shapes can turn your doodle into a masterpiece. If you want to keep your doodling fresh, try:
- Combining shapes to make new creatures or objects
- Mixing textures like polka dots, stripes, or crosshatching
- Repeating patterns for a fun, hypnotic effect
Frequently Asked Questions
How to Doodle When Bored?
When considering how to doodle when bored, one can explore various doodle techniques, such as repetitive patterns, spirals, and simple objects nearby. These methods effectively engage creativity, encourage relaxation, and offer a productive outlet for idle moments.
What Should a 12 Year Old Draw When Bored?
When considering what a 12-year-old should draw when bored, creative inspiration can come from sketching simple animals, playful food items, or scenes from nature. Observing nearby objects or imagining space adventures also stimulates artistic expression and enjoyment.
How to Draw an Easy Doodle?
When considering how to draw an easy doodle, one can apply basic Doodle Techniques such as starting with simple shapes, using fluid arm movements, experimenting with line thickness, adding repetitive patterns, and embracing continuous, uninterrupted drawing for creative results.
What Is Something Cool but Easy to Draw?
When considering something cool yet easy to draw, many individuals explore creative outlets through simple designs. Examples include drawing wavy rainbow patterns, minimalistic animal faces, or abstract shapes, all of which allow for expressive, visually interesting compositions with minimal effort.
Conclusion
After checking out all these doodle ideas, it’s almost impossible not to grab a pen. Anyone can start with a spiral or a funny emoji and end up with a page that looks wild and cool. Some doodles might get weird (looking at you, melting dessert!), but that’s part of the fun. So, go ahead—let your pencil go wild, experiment without fear, and watch your sketchbook become a playground of amazing, silly, and creative art.
Leave a Reply