
Drawing doodle eyes is super simple and a blast! Start by grabbing a sharp pencil and sketching a circle for the eyeball, then add curved lines above and below for eyelids. Pop in the iris and the pupil—don’t forget a shiny highlight to make them sparkle! Try tossing in zany eyelashes or wild patterns in the iris for extra fun. A little shading and maybe some bold outlines add drama. Want to make your doodle eyes even cooler?
Key Takeaways
- Start by sketching a light circle as the eye’s base shape, then add top and bottom eyelids around it.
- Draw the iris and pupil, placing highlights and using curves for realistic and expressive effects.
- Enhance depth with shading around the iris and eyelids, blending shadows for dimension.
- Personalize your doodle eyes with creative iris patterns, colorful palettes, and unique eyelash styles.
- Add final touches like reflections, line thickness variation, and small details to convey mood and character.
Gathering Your Drawing Tools

Before jumping into the fun world of doodle eyes, there’s a bit of important business to handle—gathering your drawing tools!
Choosing materials can actually be pretty exciting, almost like preparing for a top-secret doodle mission. Start with a mechanical pencil with HB lead for sharp lines and easy erasing. A 4B pencil adds some serious shading power, bringing your doodle eyes to life with dark, dramatic tones.
Tool organization is key—nobody wants to hunt for an eraser when inspiration strikes! An electric eraser can clean up mistakes super fast, but even a regular eraser will do the trick. If you’ve got blending stumps, throw them in too for extra-smooth shadows.
No need for fancy gear—all you really need is curiosity and good vibes!
Sketching the Basic Eye Shape
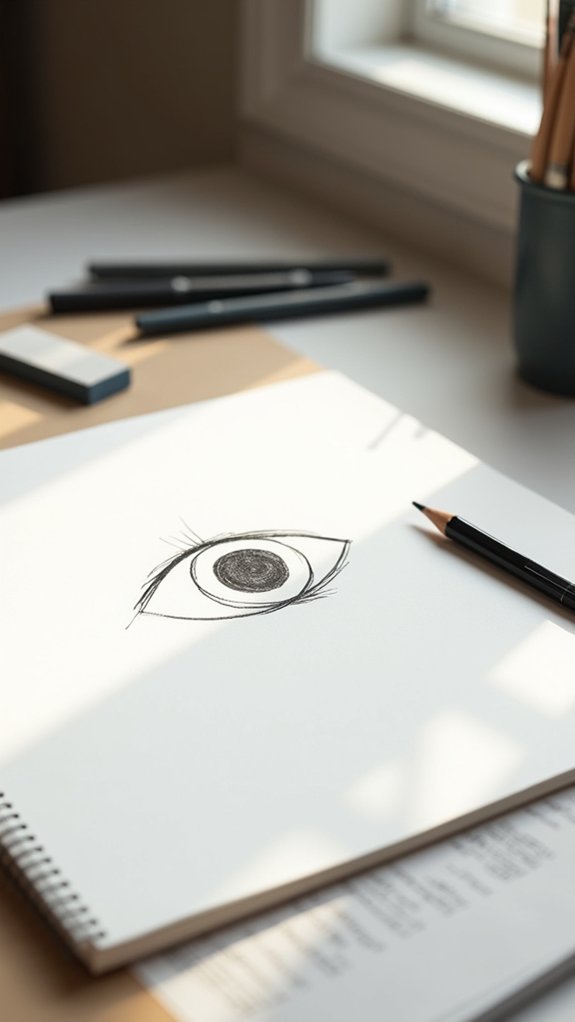
Even though the tools are ready and spirits are high, actually sketching the basic eye shape is where things start to get real. First, lightly draw a circle—don’t press too hard! This helps you nail down the initial basic shapes and lets you tweak things if you get a little wild with your lines.
Next, think about eye proportions and use a straight edge or ruler to keep your eye shape from going totally lopsided. Draw the top and bottom eyelids around the circle, and don’t forget to include a sharp corner where the tear duct goes—it’s all about balance!
Add an upper eyelid crease and curve it naturally. To finish, carefully erase any messy construction lines, leaving a tidy eye outline ready for details.
Adding the Iris and Pupil
Now comes the real magic—it’s time to figure out where the iris goes and how big the pupil should be!
Outlining the iris helps set the mood for the whole eye, and placing the pupil just right can make your doodle look wide awake or totally sleepy.
Get ready, because with a few confident lines and some careful measuring, your eyes will really start showing some personality (no pressure, right?).
Outlining Iris Placement
Iris magic begins when it’s time to carve out the spotlight of the eye, and this step is where the doodle really starts to come alive.
First up, a shallow curve gets sketched to split the iris from the white sclera—think of it as parking a pizza slice within the eye, making sure it fills about half the space side to side for perfect iris symmetry.
Next, artists outline the reflection by copying the shape of their imaginary light, like the sun or a bright lamp, jazzing up that lifelike sparkle.
Edges of the iris get a bit of color blending, blurred so it melts into the white but doesn’t lose the highlight’s oomph.
With careful outlining and placement, the doodle eye suddenly looks alert, curious, and bursting with personality.
Shaping and Sizing Pupil
With the iris outlined and sparkling with that snazzy highlight, focus slides right into the next part: shaping and sizing the pupil. This little circle in the middle of the iris controls the amount of drama (and light!) your doodle eyes show.
Pupil size is not just guesswork—it totally depends on light conditions. Bright scenes need tiny pupils, shadowy or mysterious moments? Go big!
Next, mark the center using a quick cross. Don’t forget to pop in a subtle reflection inside the pupil for that shiny, “wow” look. Here’s how to nail it:
- Sketch a cross at the center to guide your pupil.
- Adjust the circle’s size based on how much “light” you want.
- Add a small reflective spot inside for extra sparkle!
Creating Lively Eyelids and Eyelashes
Now it’s time to make those eyes really pop with some lively eyelids and a dash of eyelash flair!
Start by shaping the eyelids with smooth, arched lines, and then get creative with where and how you place each eyelash—think of them as fancy “j” shapes that can point in different directions for extra drama.
Mixing up the lash lengths and styles adds tons of personality, so don’t be afraid to go wild and give your doodle eyes their own signature look.
Shaping Natural Eyelid Curves
Eyelids are like the curtain call for eyes—they set the stage and give personality to any doodle. With the right eyelid expressions, an eye can look surprised, sleepy, or totally mischievous!
First things first: those curves. The upper eyelid needs a gentle swoop that matches the overall eye proportions. Don’t make it too flat or too pointy—think smooth and natural. The lower eyelid is subtler, like the quiet backup dancer for your upper lid, offering just enough shape for dimension.
To help you master these lively shapes, remember:
- Sketch a soft, upward curve for the upper lid.
- Add a lighter, shallower curve underneath for the lower lid.
- Try small, curved creases above the lid to hint at movement and personality.
Drawing eyes never looked so fun!
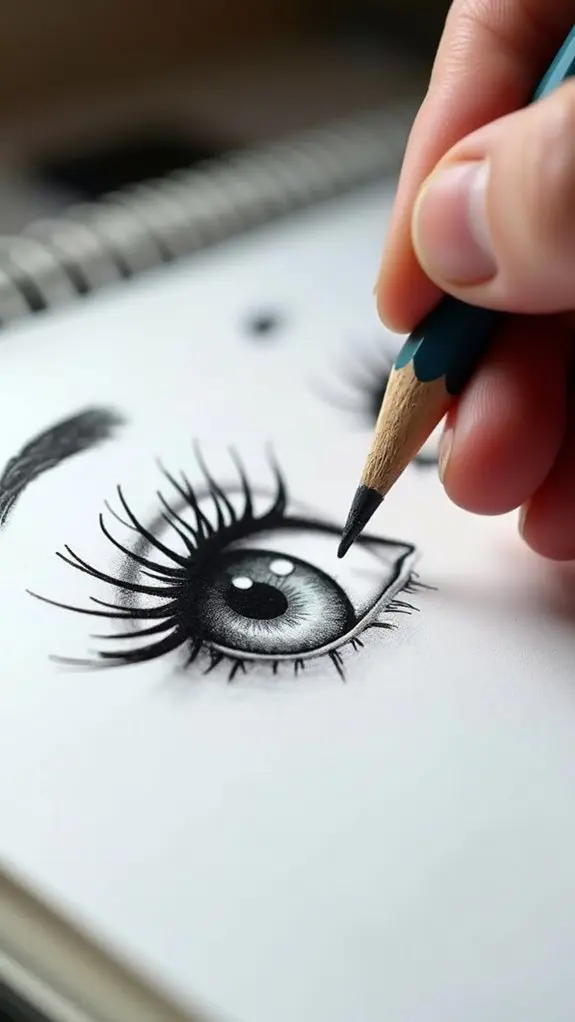
Eyelash Placement Techniques
Plenty of people think eyelashes are just tiny lines, but actually, they’re the unsung heroes that make doodle eyes pop!
When it comes to eyelash placement techniques, starting with three main lashes on each lid is key. Picture each lash as a little “j”—this adds extra flavor, and trust, it’s way cooler than boring straight lines.
Choosing different eyelash styles and playing with lash textures takes your drawing to the next level. Use light, quick strokes so your lashes look lively, not stiff. Thicker, bolder lashes towards the eye’s outer corners make your doodle eyes stand out like stars.
Don’t forget the 3D vibe—let a few lashes overlap or dip toward the iris for realism. Stagger extras for that wild, organic look!
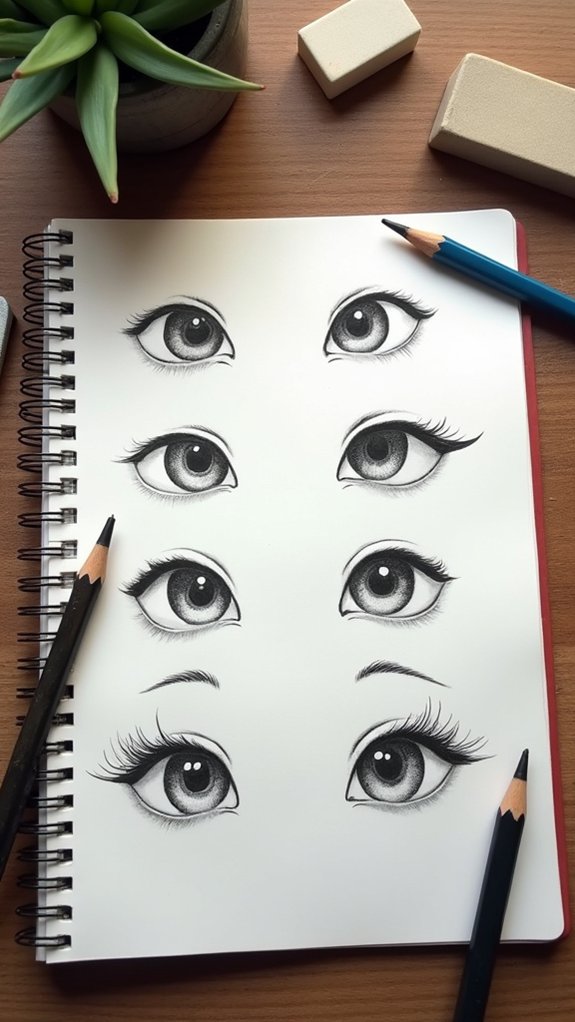
Achieving Lash Variations
Doodle eye magic often begins with the wild wonder of eyelash variety. Eyelash styles can make or break your drawing’s personality, so it’s time to get wild—but not messy!
Start with three bold lashes on each eyelid; play around with direction and length to create that awesome, unpredictable look. Think of each lash as a “j” shape, arched just right for dimension.
Now let’s take lash thickness seriously (but not too seriously) by making each lash about the same width, though turning their angles and lengths up a notch. Want your eyes to pop? Shade beneath your lashes, and suddenly—bam!—your eyes have depth.
Try these steps:
- Vary lash direction and length.
- Keep consistent lash thickness.
- Shade for natural overlap and contour.
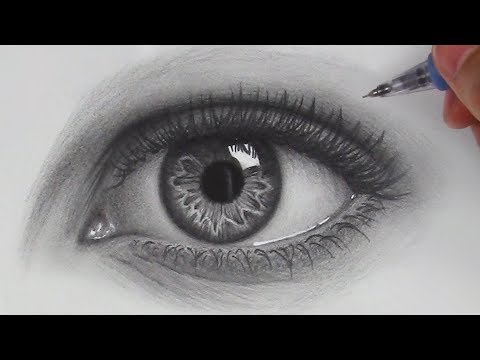
Enhancing Doodle Eyes With Shading and Details
Get ready to take those doodle eyes up a notch—shading and details can turn a basic sketch into something seriously eye-catching (pun totally intended). Start by playing with shading techniques: press harder for darker shadows, go lighter for soft highlights. Shade around the iris and eyelids, then grab a blending stump or tissue to smooth everything out. To really make your doodle eyes pop, add eye reflections with a white gel pen or correction fluid for that realistic, shiny look. Don’t be afraid to try different outline thicknesses for extra pizzazz! Toss in a few tiny lashes or even sparkles in the pupil, and those eyes will practically leap off the page.
| Emoji | Feeling Evoked |
|---|---|
| ✨ | Awe and excitement |
| 😮 | Amazement |
| 😍 | Admiration |
| 😆 | Joy and amusement |
| 😲 | Surprise |
Personalizing With Patterns and Colors
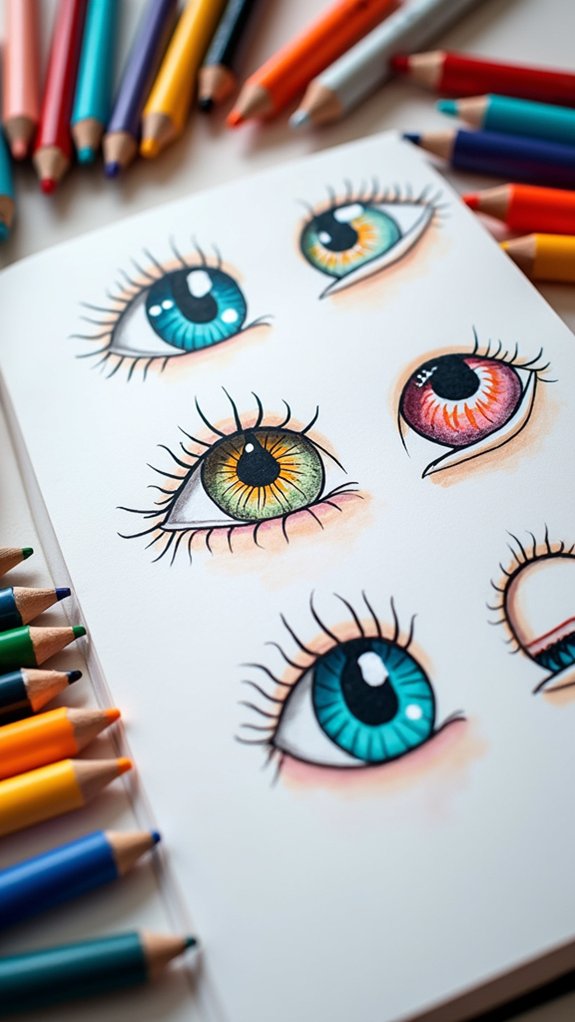
When it comes to making doodle eyes truly unique, patterns and colors are where the magic happens. Don’t just stick with plain circles! Adding stripes, polka dots, or cool swirls—now that’s pattern inspiration.
Think about color psychology, too: bright reds can make eyes look super bold, while calm blues might feel peaceful or mysterious.
Here are three ways to personalize your doodle eyes:
- Try different patterns inside the iris—floral for nature vibes or sharp geometric shapes for a modern twist.
- Experiment with wild color combos; contrasting colors make eyes pop and totally change the mood.
- Jazz it up with extra details: colorful eyelids, fun lashes, or even silly tears for personality!
Frequently Asked Questions
How Do You Doodle Eyes for Beginners?
For beginners exploring doodle techniques, starting with simple eye shapes like ovals is recommended. Adding circles for the iris, dots for pupils, and playful highlights helps create expressive eyes. Experimentation enhances uniqueness and supports creative growth.
How to Draw Eyes Step by Step for Beginners?
Drawing eyes step by step for beginners involves starting with basic eye shapes, sketching lightly, and gradually adding details. Exploring various doodle styles can help develop unique expressions, while practicing shading and highlights enhances depth and realism.
How to Make the Easy Eyes?
When interested in making easy eyes, one can apply doodle techniques by sketching a simple oval, adding a circle for the pupil, and enhancing with playful lines. This approach encourages a creative eye while simplifying the process.
How to Draw Eyes Easy Peasy?
When exploring how to draw eyes easy peasy, one can use basic shapes and creative expressions. Employing simple doodle techniques, such as adding curved lashes and small highlights, helps beginners achieve lively, engaging eye illustrations effortlessly.
Conclusion
So, that’s how simple doodle eyes can come to life, one fun step at a time. With a pencil, some imagination, and maybe a dramatic eyebrow or two, anyone can turn blank paper into a gallery of silly, serious, or downright wild eyeballs. Whether someone shades with bold lines or colors outside the lines on purpose, their doodle eyes will always have personality. So grab those markers—who knows what kind of eye-spy creatures might appear next?
Leave a Reply