
Drawing 15 simple doodle flowers is super easy and honestly pretty addicting—think classic sun-ray petals, cheery daisies, and those cute spiraled roses you see on birthday cards. Try quick dandelion puffs, bold black-eyed Susans, or bunches of hydrangea blobs for extra flair. Leafy vines, berry branches, flower buds on stems, and abstract circles spice up plain pages, especially when you mix shapes or make the petals a little wobbly—nobody’s judging! There are plenty more creative twists up ahead.
Key Takeaways
- Start with classic flower doodles like simple daisies, spiral roses, and sun-style blooms using basic shapes and loose lines.
- Draw quick clustered flowers such as hydrangea blossoms or mini rose bouquets by layering circles and adding simple leaves and stems.
- Use stem and leaf variations like berry vines, decorative leaf patterns, and flower bud stems for added visual interest and creativity.
- Doodle dandelions, daffodils, and black-eyed Susans using easy geometric shapes, bold centers, and a few quick petals.
- Customize your doodles by mixing different flower and leaf elements, varying petal shapes, and experimenting with unique arrangements.
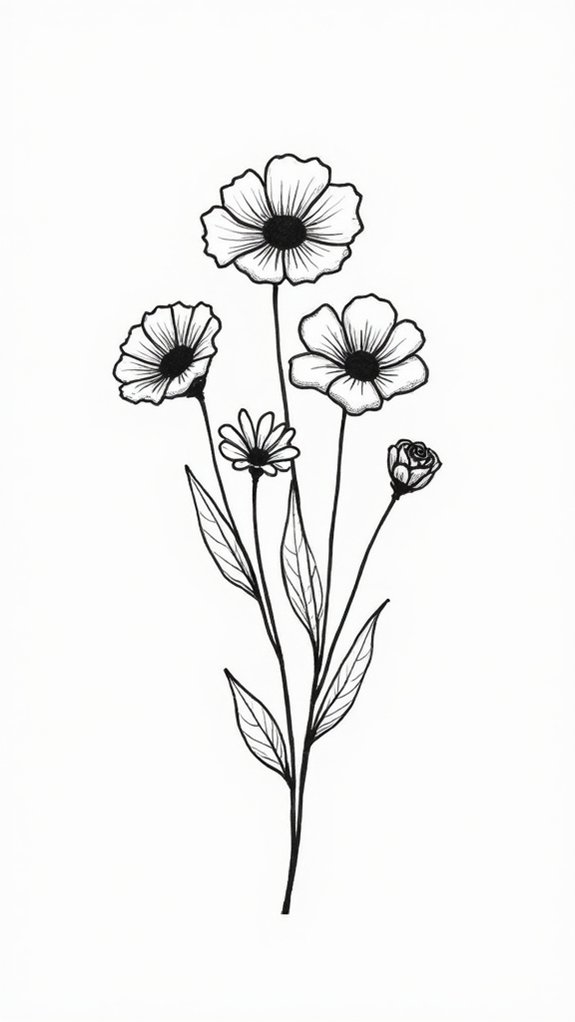
Simple Flower Doodle

There’s something magical about turning a plain piece of paper into a blooming masterpiece with just a pen and some imagination.
When it comes to Easy Flower Doodles, the classic simple flower always steals the show. Seriously, anyone—yes, even your little brother—can nail it.
First, start with a dot or a small circle for the core. Next, swing those oval-like flower petals around that center, kind of like a sun with chubby rays. Don’t worry about perfection; doodle tutorials always say “embrace the wobble.”
For the stem, pull a quick line straight down, then slap on a couple of leaves, maybe like teardrop shapes. If you want bonus points, sprinkle in some wavy lines inside the petals. Instant happy vibes on your notebook!
Easy Dandelion Drawing
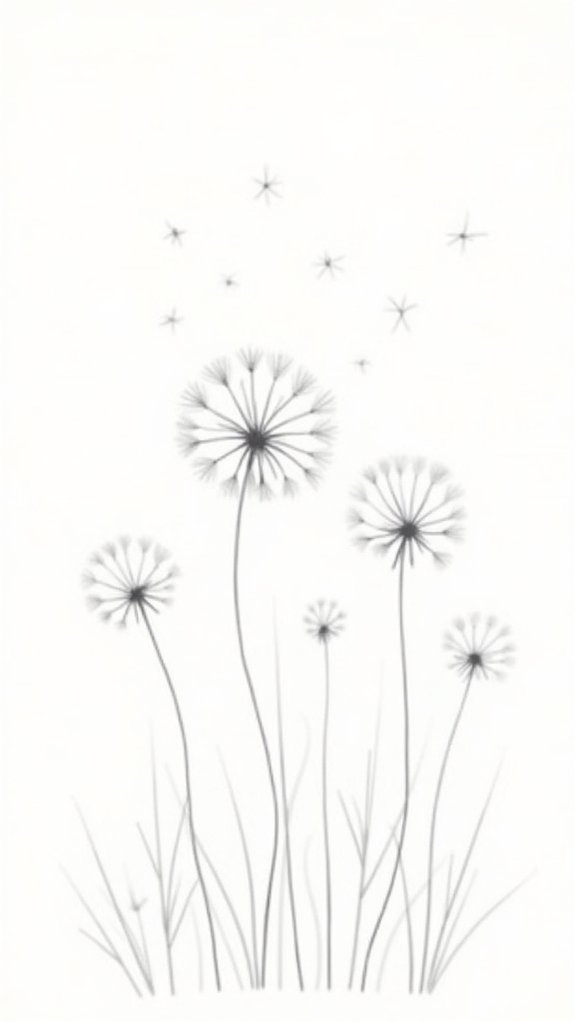
A single dandelion doodle can steal the spotlight on any page, looking all wild and fluffy like it’s just waiting for someone to blow its seeds away.
When someone wants to draw this flower, it’s all about starting with simple shapes and adding a bit of personality. This doodle is so easy to draw that it almost feels like cheating, but it turns out adorable every time.
Here’s how to get that classic dandelion look:
- Draw two U shapes—one big and one small—to make the base.
- Inside the big U, add three straight lines; inside the small U, add two.
- At the ends of each line, doodle little circles for the seeds.
- Connect the stems with a curved line.
Voilà! An instant dandelion bursting with charm.
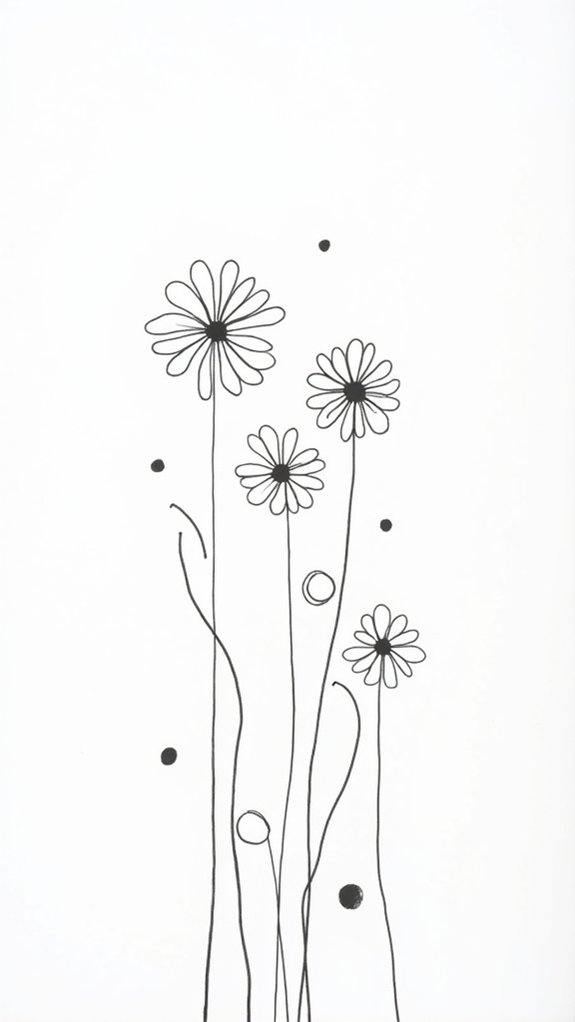
Quick Daisy Sketch

When it comes to a quick daisy sketch, getting those basic shapes down is like building the skeleton for a silly flower monster.
Once the center and petals are mapped out, adding a few sketchy lines and playful details can make the whole flower pop off the page faster than you can say “petal power.”
If speed is your goal, remember to keep your lines loose and your mistakes even looser—daisies are forgiving, and so is your sketchbook.
Basic Shapes for Daisies
Nothing beats the satisfaction of whipping up a quick daisy sketch that actually looks like a flower and not a flying pancake.
With just a few simple moves, anyone can learn how to draw a simple daisy that’s perfect for beginner flower tutorials or when you want to draw small, cute blossoms in your notebook.
The trick is to nail those basic shapes before getting into all the fancy details. Here’s one way to keep it easy:
- Draw a half circle, flat side down, for the top of your daisy’s head.
- Add another half circle, angled up, to finish the flower’s center shape.
- Surround the center with thin, oval-shaped petals spaced evenly.
- Draw two gently curved stems, and pop on some pointed leaves for flair.
Easy, right?
Adding Petal Details
Kick those basic petals up a notch by adding some quick details that really make your daisy doodle stand out. When it comes to flower doodlings, those little extra touches make all the difference!
After outlining your petals, try adding petal details by drawing one or two curved lines starting at the base of each petal, pointing towards the tip. These lines give your daisy a cool, textured vibe, almost like it’s fresh from a sunny garden, not just your notebook!
Go ahead and draw two or three dot clusters near the flower’s center for a hint of real-life texture. It’s surprisingly simple but super effective.
Finish up by going over everything with a fine-tip pen, making your handywork really pop off the page.
Fast Sketching Tips
Grab a pencil and get ready, because sketching a quick daisy is almost like giving your creativity a little workout.
When it comes to fast sketching tips, the trick is to keep things super simple and super loose—no need to stress if your petals aren’t all perfectly twins!
For anyone learning how to draw and hoping to draw a bunch of these happy flowers in no time, check out this easy process:
- Draw a small circle for the center.
- Add long, oval petals, radiating out—don’t worry if sizes vary!
- Sketch a curved line for the stem, then attach simple teardrop shapes for leaves.
- To add dimension, use dots or short lines on petals, making each daisy pop.
Go fast, have fun, and let your doodles bloom wildly!
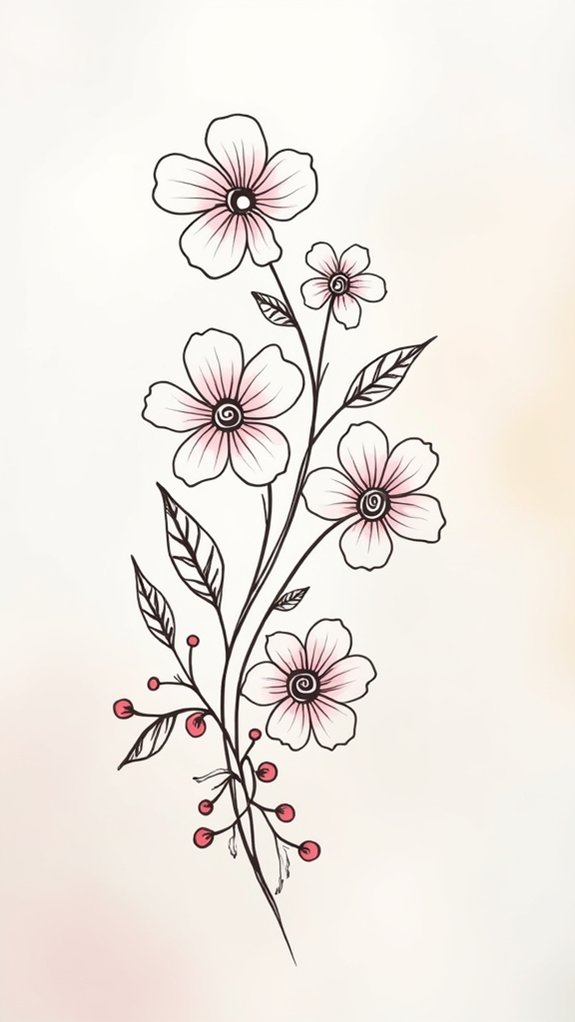
Spiral Rose With Stem
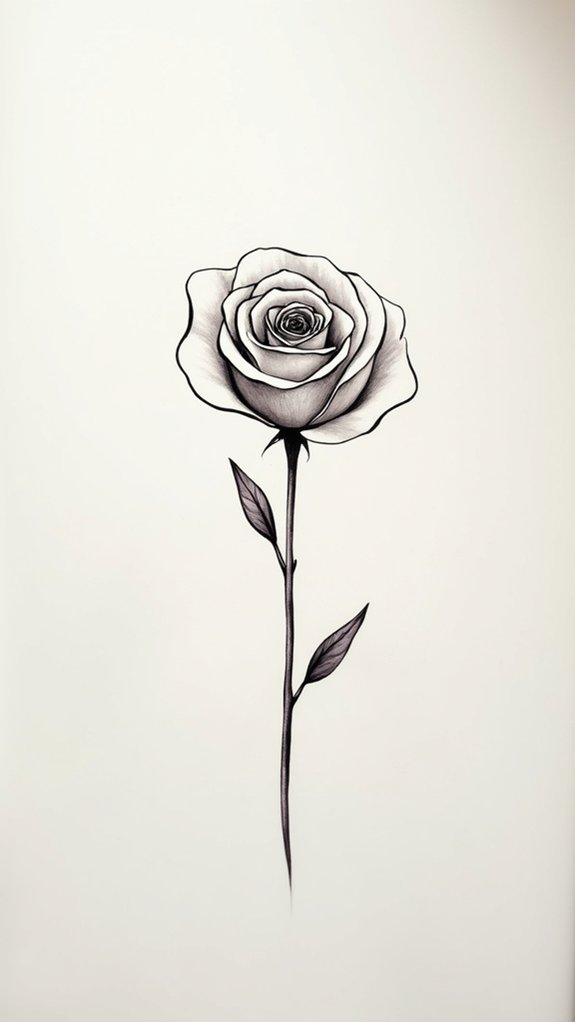
Roses, with their twisty petals and elegant stems, can actually be pretty easy—and a lot of fun—to draw when you break them down step by step.
To start a spiral rose, sketch a tiny spiral in the middle, then keep spiraling outward, making the shape bigger to build up the flower’s center. Don’t stress if it’s not perfect—roses aren’t either!
Next, add angled, teardrop-shaped petals around that spiral, letting them overlap for a natural, layered look. Give some petals jagged edges, almost like a serrated knife went wild, to create that classic rose texture.
Draw a stem with a slightly curved line (wobbles add charm!), and finally, add leaves along the stem, shaped like pointy ovals, with simple veins zigzagging through.
Mini Rose Bouquet
Drawing a mini rose bouquet is like creating a tiny masterpiece, but it’s way easier than it looks.
With a step-by-step bouquet guide, anyone can sketch rose blooms and swirl in some spiral petals, then jazz things up with leaves that make the whole bunch pop.
Toss in a few extra dots or baby flowers, and suddenly your doodle looks so good it might just deserve its own frame—or at least a spot on the fridge.
Step-By-Step Bouquet Guide
A swirl of creativity comes alive with the mini rose bouquet—possibly the quickest way to turn a blank page into a mini masterpiece.
Creating simple doodle flowers doesn’t have to be tricky; with a step by step approach, anyone can craft charming floral doodles in no time at all. All it takes is a few circles, some spiraling lines, and a touch of imagination.
Here’s how to build your bouquet from scratch:
- Draw a circle, then add two more so all three touch, making a triangle shape—this forms your bouquet base.
- Inside each circle, sketch a neat spiral for those unmistakable rose petals.
- Toss in a few dots and lines inside each rose for extra “wow.”
- Use short, curved lines to tie the blooms together with slender stems.
Enhancing Arrangements With Leaves
Even the freshest bouquet of doodle roses can look a bit lonely without a few leafy friends to back them up.
When it comes to favorite flower doodles, adding leaves isn’t just a finishing touch—it’s what takes your floral doodle from “just okay” to “oh wow!” Drawing flowers gets more fun when you sketch teardrop-shaped leaves sprouting around your mini rose bouquet.
These leaves, hugging the swirly blooms, really enhance arrangements and make everything feel lively. Don’t forget to connect those leaves with curvy little stems so your roses aren’t floating in outer space!
If you want extra pizzazz, outline everything with a fine-tip pen, maybe sprinkle some stylish dots nearby—bam, your bouquet now looks like it belongs in a mini master artist’s journal.
Tulip in Five Lines
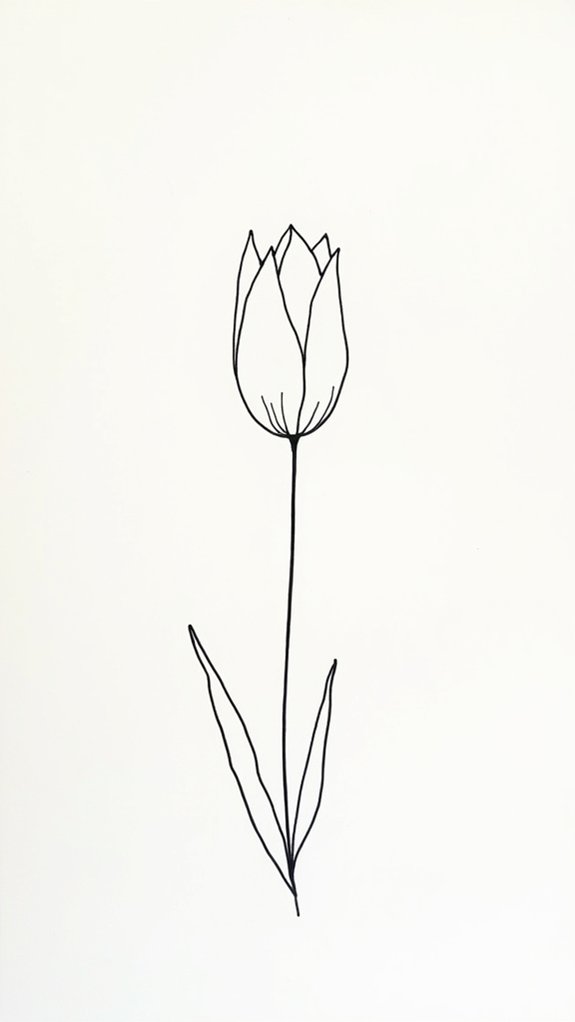
Magic happens when someone realizes they can sketch a tulip in just five lines—it feels kind of like discovering a secret shortcut in a video game.
The tulip is known for its simple elegance, and drawing it couldn’t be easier. First, start with the main structure: draw an oval at the top of your paper to be the flower’s head. Then, add some flair and motion—a single curved line stretching downward forms the stem.
Here’s a quick visual breakdown:
- Draw an oval for the tulip’s bloom.
- Sketch two curved lines at the top to make the petals.
- Add a single curved line for the stem, with another close by for thickness.
- For leaves, draw two elongated teardrop shapes on each side of the stem.
Cute Daffodil Doodle
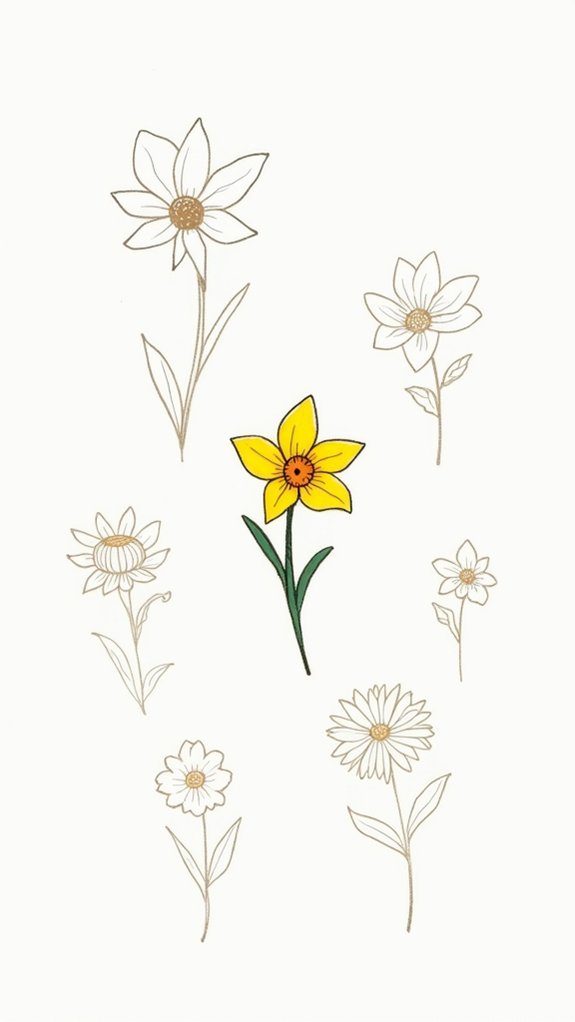
Drawing a cute daffodil doodle is easier than you might think, and it only takes a few quick steps to make one pop off your page.
By following a simple process—cup, petals, stem, and a splash of bright color—anyone can create this iconic spring flower, and it’s fun to give the petals a little twist or two for extra flair.
These daffodils look awesome in planners, journal spreads, or even scattered across a homework assignment to brighten things up (flower power for the win!).
Step-by-Step Daffodil Drawing
Drawing a daffodil might sound tricky, but this step flower doodle is actually super easy and fun to tackle.
If you’re itching to add some Flower Drawings to your sketchbook, you’re in the right spot. Check out these steps to craft your own cute daffodil:
- Start with a small oval—this is the center or corona of your flower.
- Surround the oval with six rounded, slightly overlapping petals to make it look full and lively.
- To finish the basics, draw the line straight down for a stem, and add two long, curved leaves.
- Bring it to life: sketch a few lines on the petals for texture, and then color it bright yellow or white!
Now your daffodil’s ready to shine!
Creative Uses for Doodles
Toss a cute daffodil doodle onto just about any page, and suddenly the whole vibe gets way more cheerful.
For anyone looking to make the best bullet journal ever, these sunny flowers are a brilliant way to draw flowers fast and liven up your spreads. Use them to decorate to-do lists, calendars, or motivational pages.
The great thing about bullet journal doodles is they don’t have to be perfect—daffodils especially just need some curved petals and a bold, yellow center.
Cluster a whole bunch for a bouquet or let one daffodil shine on its own. Grab your markers, color them in bright shades, and watch your layout come alive.
Doodling daffodils works as both a creative outlet and a guaranteed mood booster!
Hydrangea Blossom Clusters
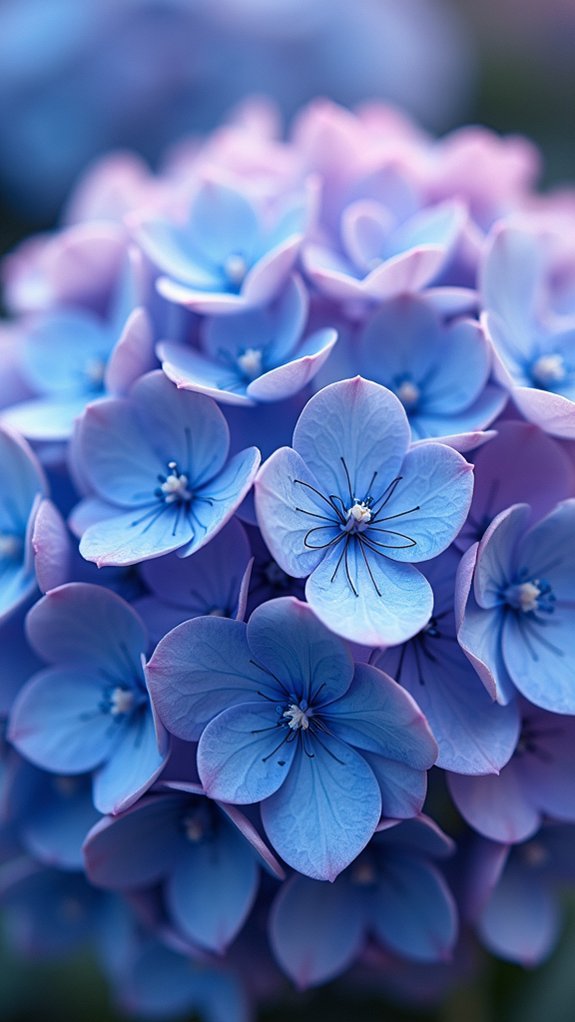
Flower power reaches a whole new level with hydrangea blossom clusters, bursting onto the page like an explosion of marshmallow pom-poms.
These beautiful flowers are so much fun to doodle, and honestly, they pack a serious wow-factor without much effort! To start, just remember to draw lines that swoop around, grouping a bunch of small circles close together.
Find the rhythm, and soon you’ll have a puffy bouquet that looks totally pro. Want a step-by-step visual?
- Draw overlapping small circles to form the main cluster.
- Lightly draw lines connecting circles, creating soft, curvy shapes.
- Add teardrop-shaped leaves at the bottom of the blossom.
- Experiment with colors—try pinks, blues, or even unique hues like lavender!
Seriously, hydrangeas make any page explode with color and cheer.
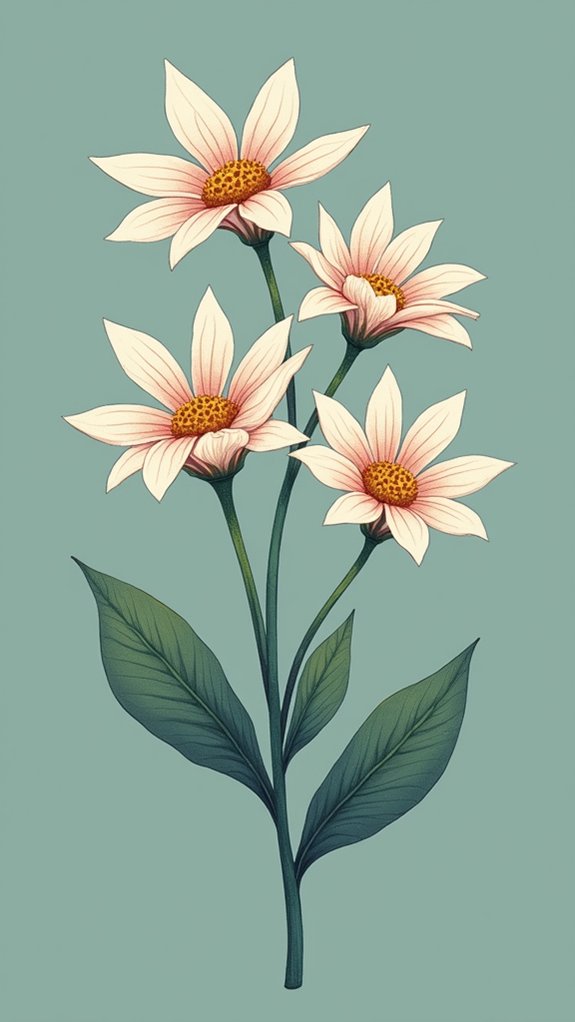
Black-eyed Susan Sketch
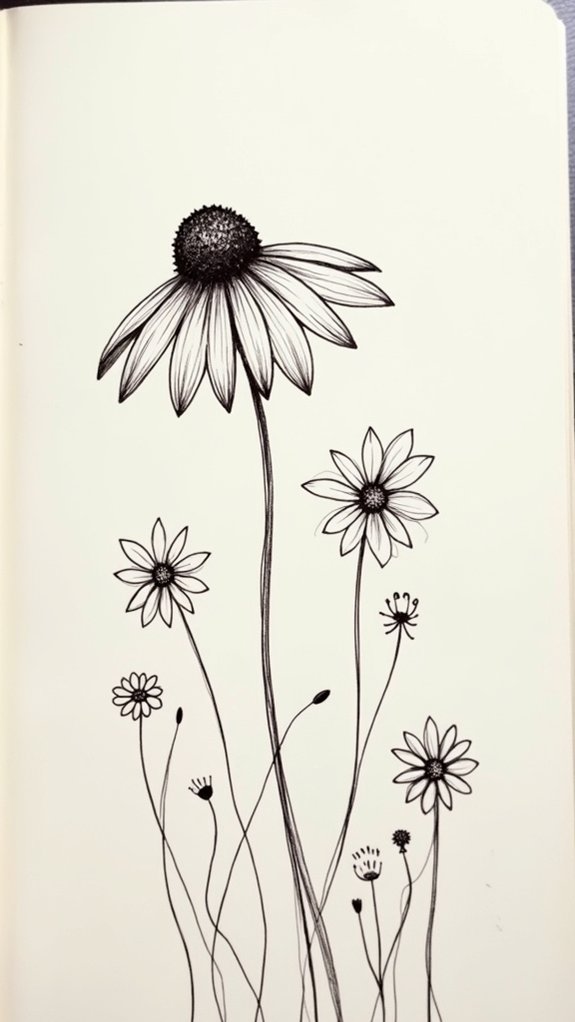
If hydrangeas are the burst of confetti at a party, then Black-eyed Susans are the cheerful guests who never stop smiling. Drawing a Black-eyed Susan is an exciting way to add brightness and positivity to your doodle pages.
In easy steps, start with a bold, dark circle for the center, then draw long, oval petals that fan out like sunbeams. Add a straight stem and maybe a couple of wavy leaves—simple, right?
People who love drawing often use Black-eyed Susans to create a spread full of encouragement and good vibes, since these flowers stand for motivation.
Don’t be afraid to play with colors—classic yellow is always a hit, but oranges, pinks, or purples deliver an unexpected twist that really pops!
Berry Bush Branches
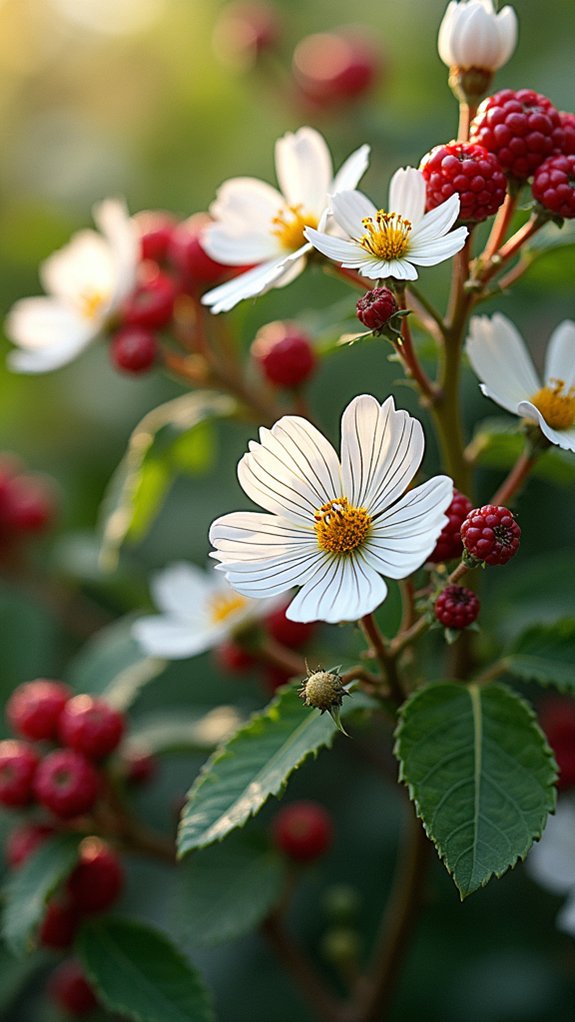
Berry bush branches are fun to sketch because you get to mix structure with a burst of berries and leaves.
First comes the tricky part: drawing the branch and making it look just wild enough, then placing the berries in clusters that aren’t all the same size, so it doesn’t look like berry robots took over.
And if you add some messy leaves poking out, the whole thing pops with energy—almost like you could pluck a berry right off the page (but please don’t try to eat your notebook).
Drawing Berry Bush Structure
Imagine a bush bursting with energy—drawing its structure is where all the fun begins! Before adding any berries, you need a solid base, and this step might even spark ideas for flower doodles or help you practice for drawing wreaths.
For those thinking about a small commission or just wanting to doodle, here’s the full disclosure: it’s simpler than it looks, and definitely more fun than math homework.
Here’s how you draw a berry bush structure:
- Draw a vertical line for the main stem—think of it as your bush’s backbone.
- Branch out with angled lines, varying lengths for a lively, natural vibe.
- Add round shapes at branch ends; these are placeholders for berries.
- Pop in some small leaves for extra texture and dimension.
Adding Realistic Berries
Although the bush skeleton might look a little lonely at first, things get way more exciting when it’s time to add berries. Imagine each branch cheering you on as you add a simple circle to the top—suddenly, your Flowers to Draw list has the coolest berries! Drawing tutorials often say to start with small circles or ovals, mix up their sizes, and get artsy with them. For a pop of realism, lightly shade one side of each berry and give the other a tiny highlight to show off some light reflection. Don’t stress—messy circles make things look even more natural.
Here’s a quick table to break down your steps:
| Step | Tip or Example |
|---|---|
| Draw branches | Use varied lengths and angles |
| Add circles to the top | Vary size for realism |
| Shade one side | Use pencil or marker for depth |
| Draw tiny highlights | Leave a spot blank or use light color |
Enhancing With Leaf Details
Jump right in and bring those berry bush branches to life by adding some awesome leaf details! When drawing doodle flowers, don’t just stop at berries—unique leaves make the whole thing pop. A plain branch is okay, but with some leafy flair, it goes from “meh” to “wow” super fast.
Here’s how to make those leaves stand out:
- Sketch leaf outlines with teardrop forms—narrow one end, wide on the other.
- Attach the leaves to your berry branches, mixing up the direction for a fresh, natural vibe.
- Inside each leaf, add small vein lines, letting them branch out from the middle.
- Vary your leaf size a bit, and space them casually—nature loves a little chaos.
Now your berry bush branches are basically botanical rockstars!
Leaf and Berry Vine
A leaf and berry vine brings instant style to any page, making it look like a magical plant has decided to grow right across your notebook.
To start, just sketch a smooth, curvy line for the main vine. Next, add little branches popping out from both sides—no need for perfect symmetry!
Go wild with teardrop-shaped leaves; make sure the pointy tips hug their branch, like they’re holding on for dear life. Between leaves, draw round berries that look good enough to eat (but please don’t).
This leafy combo adds pops of color and loads of texture, perfect for dressing up bullet journaling pages or making a wreath doodle.
Fast, fun, and so satisfying—it’s almost like your pen is going on a garden adventure!
Elegant Leafy Stem
Sweep your pen across the page and watch as a simple, slightly curved line transforms into something seriously beautiful—a leafy stem that has an instant “wow” factor.
This elegant leafy stem is a go-to simple doodle, whether you’re jazzing up notes or building a bouquet of your favorite flowers. Just a few lines to add, and suddenly, you’re feeling fancy!
Here’s what it looks like:
- Start with a gently curved line for the stem—nothing too straight or stiff.
- Sketch teardrop-shaped leaves, attaching their pointy ends right onto the stem.
- Make each leaf smaller as you move up, and boom—depth and dimension!
- Add a short vein line inside every leaf for that realistic, almost botanical vibe.
It’s quick, easy, and endlessly elegant.
Abstract Circle Stem
Once the page is dotted with an elegant leafy stem, switching things up with a totally different vibe adds serious fun.
Enter the abstract circle stem! This doodle is all about playing with the circle shape, starting with a small one, then layering bigger and bigger circles on top of each other. If the circles are evenly spaced, the whole thing becomes seriously visually appealing—like a bubble parade with a main character complex.
Each circle gets connected with a smooth stem line, making it look super cohesive, almost like they’re hanging onto a vine at a fancy doodle party. Want more depth? Add wavy lines inside each circle for extra flair.
The coolest part? The abstract circle stem is totally customizable. Change sizes, add more or fewer circles—make it your own!
Stem With Flower Buds
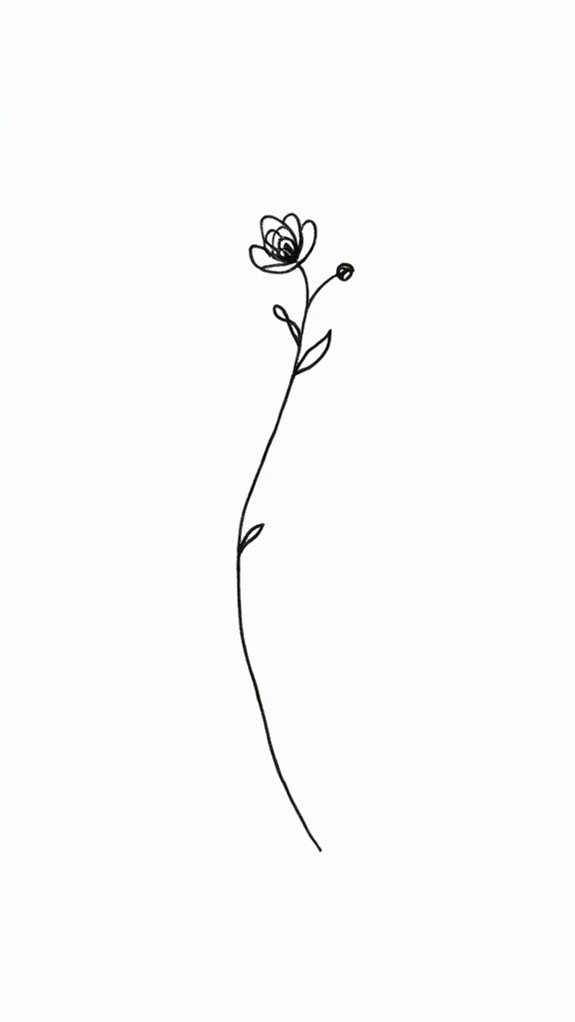
Flower buds, tiny but bursting with personality, instantly make any doodle pop with charm. When working on a stem with flower buds, the simple doodle becomes almost magical on the page—especially in bullet journals where that sprinkle of floral energy can brighten up any mood.
This is a favorite in easy tutorials because it’s so quick and customizable. Imagine this little botanical scene:
- Draw a straight vertical line to create the main stem’s backbone.
- Add short branches, letting them reach out and angle up from both sides.
- On each branch tip, doodle small teardrop shapes—these are your adorable flower buds!
- Vary the size and position of the buds for a more playful, natural look.
Anyone can master this simple doodle, turning even boring notes into mini gardens.
Decorative Leaves Pattern
After adding clusters of lively flower buds, it’s only natural to get curious about leveling up with some leafy flair. That’s where a decorative leaves pattern jumps in to take your doodle game up a notch!
Start by sketching a gentle, wavy stem, like a little green rollercoaster. Attach pointed teardrop-shaped leaves snugly along the stem, making sure they connect at the base.
Play with varying sizes of leaves—some small and shy, others big and bold—to give your pattern a cool, layered effect. Don’t forget to add vein details inside each leaf, because real leaves need their awesome “leafy lines.”
Try combining different arrangements; you might just invent a masterpiece worthy of any doodle collection. Nature’s got competition now!
Frequently Asked Questions
What Is the Easiest Flower to Draw?
When considering the easiest flower to draw, many recommend daisies due to their straightforward shapes. Easy flower sketches offer fun doodle ideas, provide quick drawing tips, and introduce artists to floral design basics in a simple way.
How to Draw Simple Doodle Flowers?
When exploring how to draw simple doodle flowers, flower doodle techniques like using basic shapes, quick sketch tips, and creative flower variations can be applied. Enhancing doodle details with lines, layers, and textured edges adds interest and charm.
How to Draw a Flower in 5 Minutes?
Answering how to draw a flower in 5 minutes involves using flower sketching techniques that emphasize quick doodle tips, minimalist flower design, and time saving drawing methods, focusing on simple shapes, clean outlines, and minimal detailing for efficiency.
How to Draw a Little Flower Easily?
The current question invites exploration of flower drawing techniques suited for beginners. Using quick sketch ideas and simple shapes, one can create charming designs. Incorporating floral design tips and doodle art inspiration results in playful, expressive flower illustrations.
Conclusion
Doodling flowers isn’t just easy—it’s actually pretty fun and relaxing, too. Anyone can grab a pen and start sketching, even if their last masterpiece was a stick figure in kindergarten. With these quick flower doodles, anyone can fill their notebook margins, jazz up a birthday card, or create a mini bouquet right on paper. So, why not try a few? Remember: every squiggly petal and wobbly stem just adds to the charm (and maybe brings a smile, too).
Leave a Reply