
Trying out new doodle ideas is a blast, especially when you’re just starting! Beginners can try drawing spiral op-art illusions, floral and clover doodles, wiggly rainbow waves, or fun Keith Haring-inspired shapes. Mountains, drips, wagon wheels, and even cow print blobs make for cool designs that don’t need any special skills—just some curiosity and a bit of time. Each doodle idea opens up a new way to relax or jazz up your notes, so let’s see what comes next!
Key Takeaways
- Start with simple spiral or wave doodles to easily create eye-catching designs with just a pen and paper.
- Try drawing flower or rose center doodles using circles and layered petal shapes for cheerful, artistic results.
- Experiment with organic patterns like clover fields or playful cow print blobs for quick, fun doodles.
- Use abstract, spontaneous lines and shapes—such as in Keith Haring-inspired doodles—to practice creativity without rules.
- Practice basic geometric forms, like mountains or wagon wheels, to improve control and add depth to your sketches.
Spiral Op-Art

Spiral Op-Art’s exciting illusions are like a funhouse for your eyes, and getting started is way easier than it looks. First, make sure you have a blank page and a pencil—simple things do the trick!
Put a dot in the center. That’s your starting point. From this dot, draw wavy lines racing out to the edges, almost like sunbeams that overslept and woke up curly.
Between each wavy line, fill the space with upside-down “u” shapes, working from the dot outward. Keep stacking those “u” shapes, and—seriously—each round makes the effect even better, kind of like magic tricks but with just a pencil.
When you’re done, the spiral will look like it’s slipping and spinning right off the paper!
Clover Field Op-Art
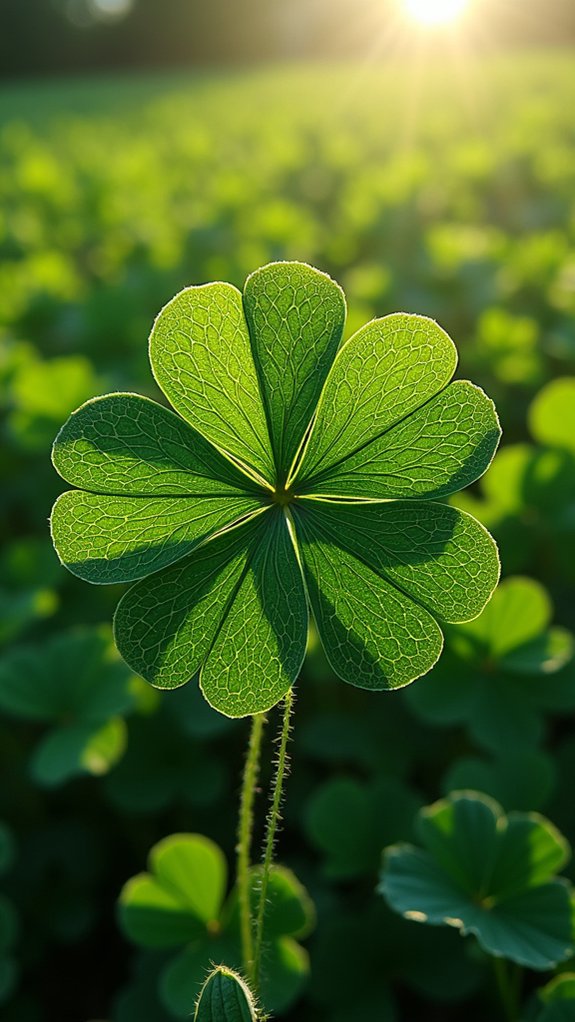
Clover Field Op-Art is a super fun way to let your creativity loose—just picture a page full of funky clover shapes, swirling with energy!
First, it’s all about the easy step-by-step process, but what really brings these doodles to life are the different ways you can fill and expand the pattern, almost like giving each clover its own personality (some might even insist on being the star of the page).
Whether you want to pack every inch with wild shapes or invent your own twisty variations, there’s no limit to how busy or bold your clover field can be!
Step-by-Step Drawing Process
A bunch of artists—no matter how new they are—know that jumping right in with some easy shapes can make doodling way less scary.
To start the Clover Field Op-Art, artists just sketch three or four teardrop shapes, connected at their points, and magically, you’ve got the look of clover petals!
Next, inside each petal, pop in a smaller teardrop—these little doodles add instant depth, sort of like the clover is winking at you.
Artists are sure to check their page and keep adding layers, drawing more teardrop shapes around the first ones. For a lively field, create more overlapping clover shapes.
Finally, fill any leftover space with smaller teardrops, turning empty spots into pretty patterns, and achieving a tightly packed, awesome effect.
Creative Filling Techniques
Plenty of beginner doodlers get stuck wondering how to make a bunch of simple shapes look like something actually cool—and that’s where creative filling techniques come in to save the day.
With the Clover Field Op-Art doodle, beginner doodling strategies revolve around using teardrop shapes, which are easy and instantly satisfying. First, doodlers sketch three or four teardrops connecting at the top, building those classic clover-like petals.
A clever filling patterns tip is to draw a smaller teardrop inside each petal—hello, instant depth! Filling in gaps with more teardrops creates a look that’s super full and lush, perfect for making simple art stand out.
Expanding Pattern Variations
Sometimes, one simple doodle idea just isn’t enough—especially when a page is begging to be filled with something eye-catching and wild. The Clover Field Op-Art is all about expanding pattern variations that play with pattern symmetry, teardrop variations, and visual balance. You start with a few teardrop shapes linked at the tips, forming a clover or flower. Then, for extra flavor, toss in smaller teardrops inside the petals. Don’t stop there—let those clovers multiply across the page, making sure they’re evenly spaced for maximum impact. Fill the white gaps with extra teardrops, changing up their size and direction to keep things fresh. This turns a blank page into a wild field of patterns!
| Symmetry Tricks | Teardrop Variations | Visual Balance |
|---|---|---|
| Mirror shapes | Big, small, twisted | Even spacing |
| Rotate petals | Overlapping forms | Pattern clusters |
| Center points | Thick, thin lines | White space |
| Repeat forms | Different directions | Filled corners |
Abstract Keith Haring Style Doodles
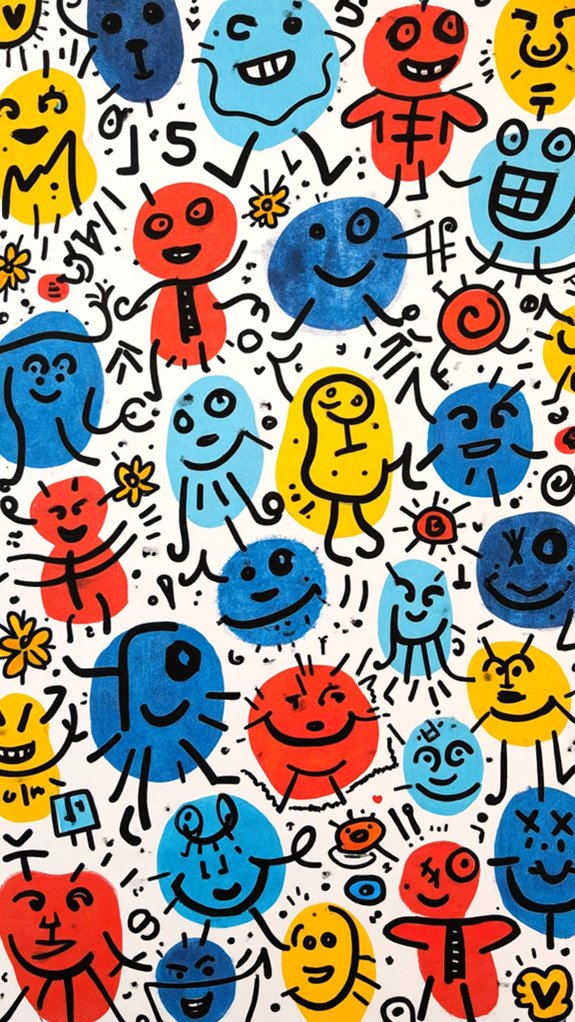
If you’ve ever wanted your doodles to stand out and practically dance on the page, Keith Haring style is the way to go.
With this wild and fun approach, doodle spontaneity techniques are key—just let your pen move without overthinking! Start with abstract shape exploration, drawing random circles, triangles, and squiggles everywhere. Nothing needs to be perfect; in fact, the unexpected chaos is part of the charm.
Next, weave a long, wiggly squiggly line through your chaos, winding and looping around, but never touching or crossing the other shapes.
Now, pump up the excitement with vibrant color combinations—think neon blues, reds, and yellows! Bold outlines bring everything together, making your artwork totally pop.
Go ahead, channel your inner street artist!
Flower Doodles
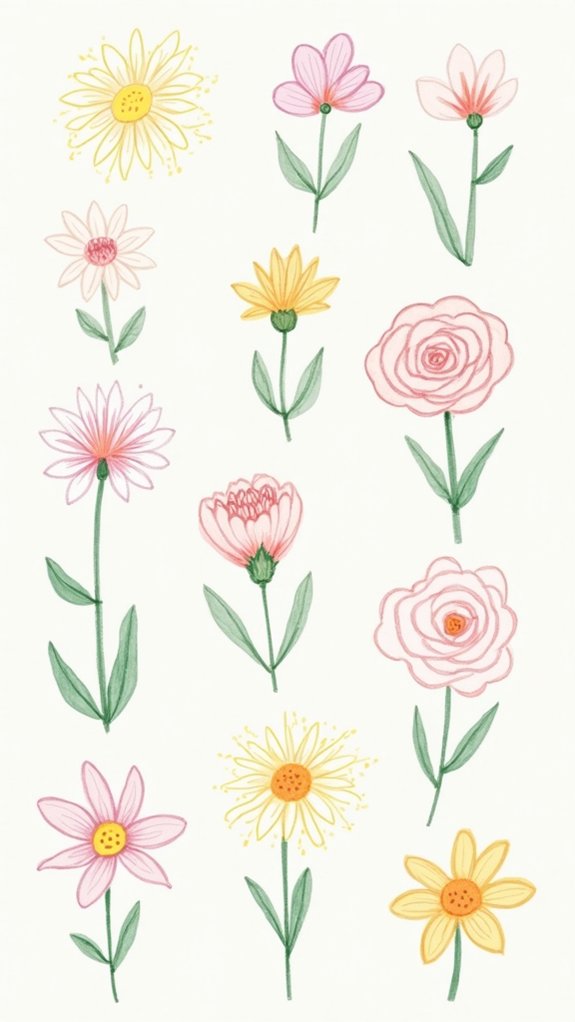
Looking for something a little brighter than wild and wiggly lines? Try flower doodles! They’re a cheerful way to learn new doodle techniques and play around with creative flower shapes.
Start by drawing a simple circle—that’s your flower’s cheerful center. Then, add overlapping petals, making each layer a little bigger for a super cool look.
Want your doodles to stand out? Outline 5 or 6 petals with a chunky marker, then use a thin pen to draw lines or swirls inside each petal. Don’t be shy: mix up petal variations, such as rounded, pointy, or even loopy shapes!
Add little circles or even spiral swirls in the center for extra flair. Clusters of flowers, leaves, and wiggly stems can make your page pop!
How to Draw Mountains
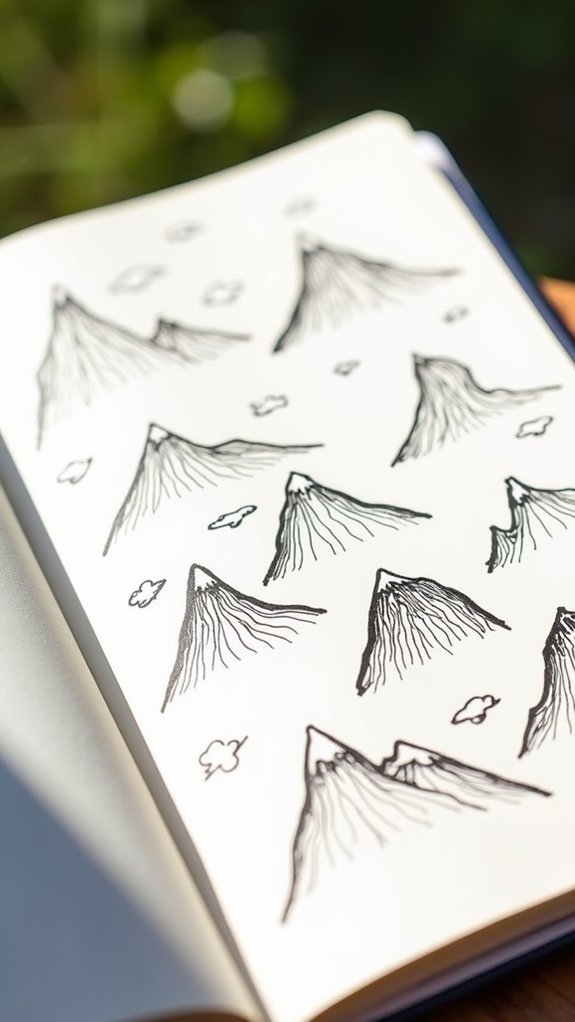
Mountains are a doodler’s dream—big, bold, and surprisingly easy to draw! To start, all it takes is a thicker marker to outline wavy triangles—these will be your mountain peaks. Try mixing up the height and width for serious peak variations. For a quick sense of depth, run a wavy line down each mountain, splitting it in half. Here’s where mountain textures come in: attack one side with shadows! Use closely spaced lines for darker shading and space them farther apart on the lighter side for awesome gradient effects. This simple shading technique makes everything pop. Want some quick tips? Check out the table below!
| Step | Pro Tip |
|---|---|
| Outline wavy triangles | Vary their sizes! |
| Add wavy dividing lines | Use gentle curves |
| Shade one mountain side | Lines close together |
| Shade the other side | Keep lines farther apart |
| Experiment with peaks | Try different textures! |
How to Draw a Rose
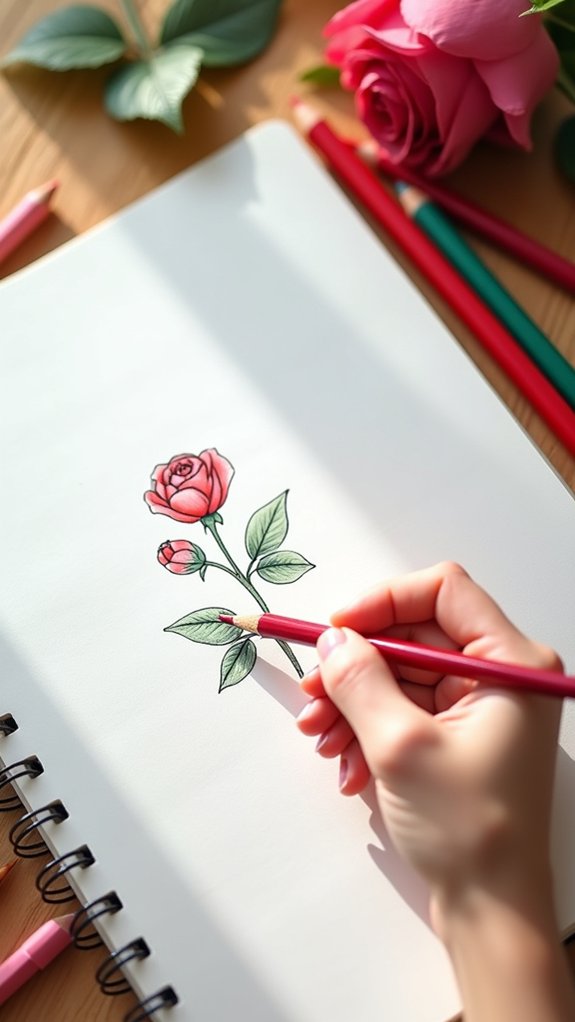
Drawing a rose might sound tricky, but it all starts with a small circle in the center that acts like the heart of the flower.
From there, anyone can layer petals outward, overlapping them little by little so the rose begins to take shape—kind of like building a delicious, swirly ice cream cone, but less sticky.
With each new layer, the doodle grows fuller and fancier, and pretty soon, it actually looks like a rose rather than a squiggly mystery blob!
Building the Rose Center
Sometimes, drawing a rose can seem intimidating—like, “How does anyone even make all those swirly petals look right?” But there’s a secret: it all starts with a simple little circle sitting right in the middle of the page. This basic circle is the rose’s center, the heart of your masterpiece!
Next up, getting that rose symmetry technique just right is easier than it sounds. Start stacking tiny, slightly curved petals around the center—think of it as giving your rose a cozy, flowery blanket. Use petal layering tips, like letting the petals overlap at different angles, and pay attention to size. You want depth and that classic rose vibe!
For extra flair, try flower color choices in your mind—reds, pinks, even wild purples—to imagine your rose’s personality.
Layering Petals Outward
Once that rose center is looking just right, it’s time for the real fun—layering those fancy petals outwards like some kind of flower magician.
The trick lies in building up petal shapes, one after another, starting with small, rounded ones that sort of hug the center circle. Each petal can overlap the last, and making them a bit different in size will help keep your flower aesthetics looking natural and not fake, like some cardboard wedding bouquet.
As you move away from the middle, your layering techniques kick in—draw even bigger petals, letting them overlap just a bit for that lush, realistic look. Add squiggly lines for the veins—voilà, instant petal magic!
Feeling fancy? Try shading or coloring to really bring that rose to life!
Drips
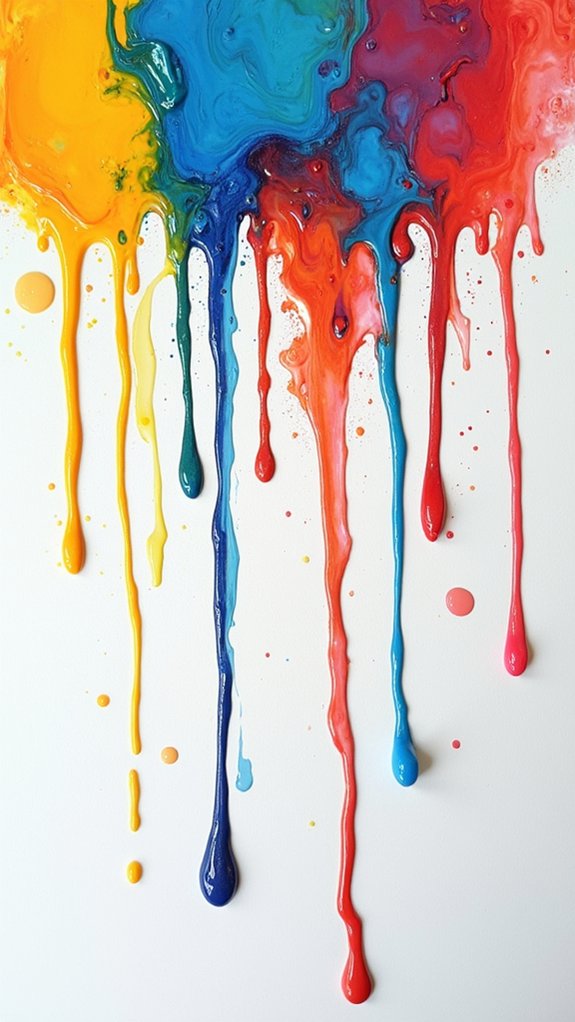
A bunch of drips sliding down a page can totally transform a boring sketch into something wild and eye-catching. Drip patterns are a classic way to fill up space while letting your imagination run wild.
Start at the top of your page with curvy lines that look like gooey, melting shapes. Make some thick, some thin—play around! Want extra wow? Use a thinner marker to draw tiny drips inside the bigger ones for texture variation.
Grab your favorite markers and experiment—color blending inside each drip makes things pop with playful vibes. This technique is quick, fun, and perfect for anyone who likes to doodle without pressure.
- Express chaotic fun with every drip
- Feel total freedom—no rules!
- Immerse yourself in endless color blending surprises
- Discover unique texture variation with layering
Rainbow Waves

When someone wants to inject a burst of WOW into their sketchbook, rainbow waves are the answer—seriously, they turn any page into a party!
First, draw a bunch of horizontal wavy lines across the paper, letting each wave vary in height. This makes the design pop with cool wave variations.
Now for the fun part: color combinations! Fill each section with vibrant rainbow shades—go wild with solid fills, stripes, or even toss in some polka dots for extra flare.
Remember to flip a few rainbows upside-down for a quirky twist (and bonus points for depth).
Want more flair? Try pattern integration by adding tiny stars or lightning bolts inside the colored waves.
It’s totally beginner-friendly, so grab your brightest markers and let creativity ripple!
Wagon Wheels
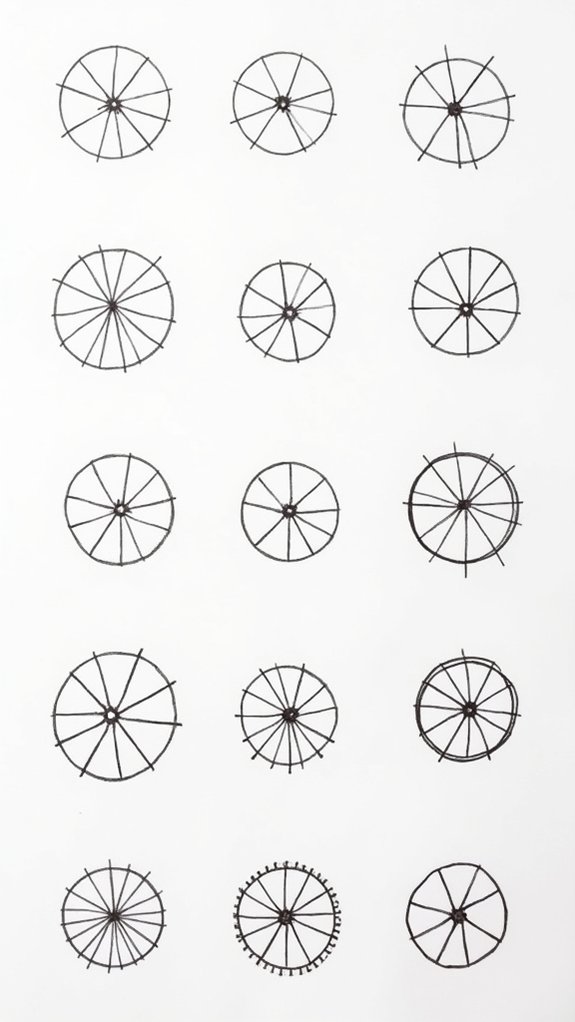
After rocking out with rainbow waves, it’s time to let some old-school flair roll onto the page—say hello to wagon wheels!
These circular patterns might sound simple, but they totally pop with awesome wheel symmetry and bold spoke placement. Start by drawing a big circle for the wheel’s rim, then mark a dot in the middle—your hub for the spokes. Stretch those straight lines from the center to the edge, and boom, you’ve got a classic wagon wheel!
Double up with more circles and spokes to create a cool, repeating design. Feeling extra? Shade or color between the spokes for added drama.
- Experience pure satisfaction from a perfectly symmetrical wheel
- Get pumped watching your page fill with energy and motion
- Feel the nostalgia of vintage vibes
- Savor the reward of mastering spoke placement
Cow Print Blobs
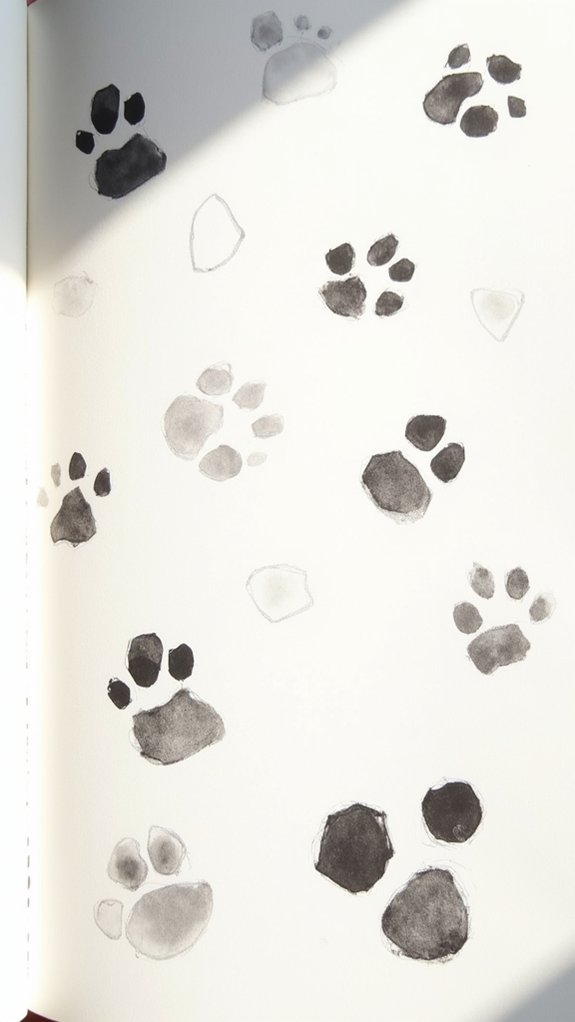
Cow print blobs bring some serious funk to any doodle session—think playful cow spots wandering across your page, just waiting to shake things up.
To get started, just draw random, wobbly blobs all over your paper. No need for perfection; cow print is all about that wild, unpredictable charm. Inside each blob, add smaller blobby spots to mimic real cowhide.
Here’s where you can get creative with design variations—overlap blobs, squish them together, or change up their size for extra pop! To make your doodle stand out, color the background or use different shades for the spots.
Artistic applications are endless: turn these blobs into funky backgrounds for cards, jazz up your stationery, or decorate your planner. The more playful, the better!
Frequently Asked Questions
How Do You Start Doodling for Beginners?
To begin, one might explore basic doodle techniques by practicing simple shapes and lines. Engaging with drawing prompts and testing different sketching styles can help beginners gain confidence, improve their creativity, and form foundational artistic habits.
What Should a 12 Year Old Draw When Bored?
When considering what a 12-year-old should draw when bored, fun doodle themes, simple drawing prompts, and creative doodle challenges like drawing animals, food, or imaginative patterns can keep them engaged while developing confidence and artistic skills.
How to Make an Easy Doodle?
To make an easy doodle, one can use simple doodle techniques such as drawing basic shapes and lines. Creative doodle prompts and fun doodle patterns help inspire ideas, while experimenting with color and texture enhances the doodle’s appeal.
What to Draw 100 Ideas?
When considering what to draw, individuals may explore 100 possibilities using diverse doodle themes and drawing techniques. Creative prompts featuring nature, objects, patterns, and cartoon elements encourage experimentation, skill development, and expand artistic confidence through structured practice.
Conclusion
So, there you have it—a crash course in ten doodle ideas that are way more fun than just scribbling on the edge of your math homework (admit it, you do it too). Whether you want to draw bizarre blobs, wavy rainbows, or optical illusions that make your eyes spin, these doodles are a great way to boost your skills. Grab a pen, let loose, and remember—if you mess up, it’s still art. Mistakes just make it interesting!
Leave a Reply