
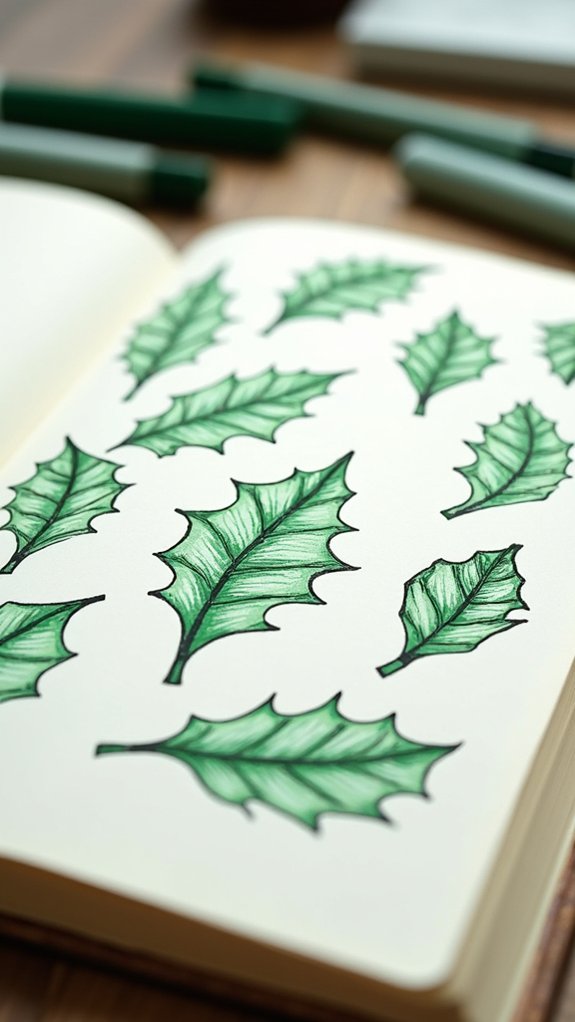
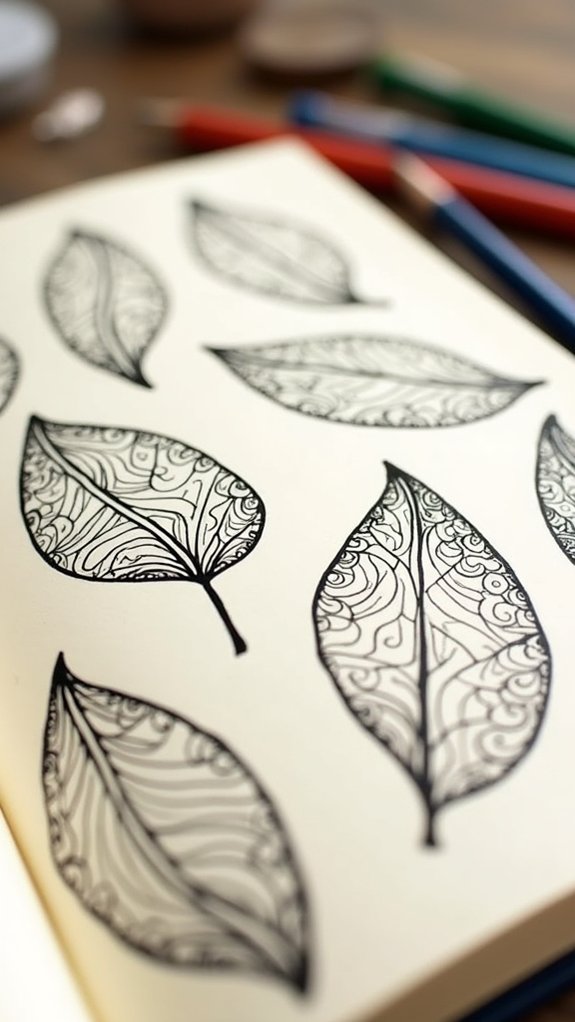
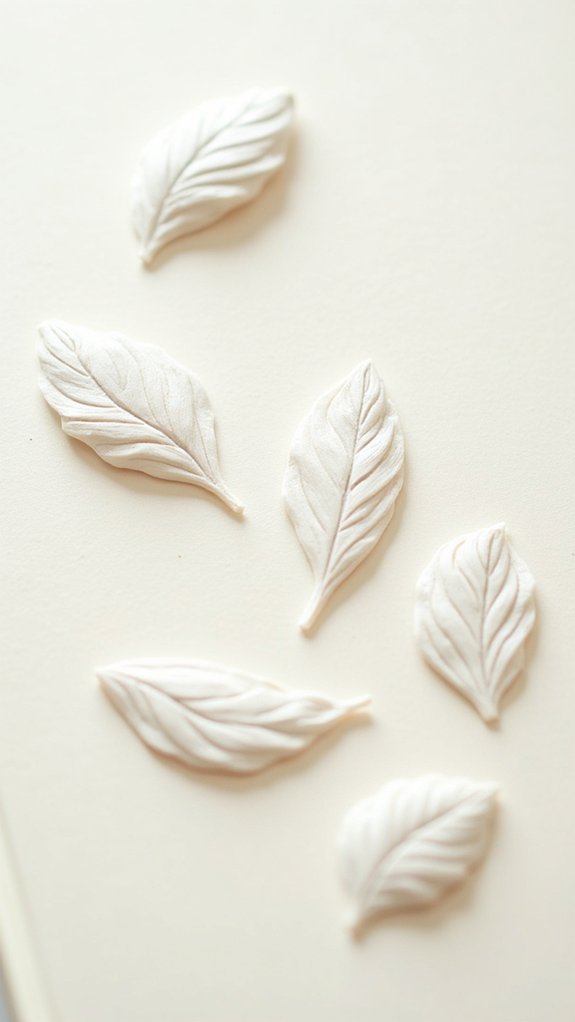
Anyone can jazz up their journal with 10 easy leaf doodles, and honestly, they’re way more fun than staring at a blank page. Try a classic C curve leaf—like a lazy rainbow—or a chunky oval that looks like a sleepy pea pod. Notched and wavy-edged leaves bring wild flair, while cloud-shaped and upside-down heart leaves are oddly adorable. Mix in slim diagonal leaves and branches bursting with wobbly, mismatched leaves for variety. Get ready, because the next ideas are even sketchier!
Key Takeaways
- Try simple shapes like the C curve leaf, chunky oval, and upside-down heart for quick, easy leaf doodles.
- Add notches, wavy edges, or irregular outlines to mimic natural leaves and boost visual interest.
- Mix symmetrical leaves with playful, asymmetrical “cloud” shapes or lively branched designs.
- Use varying line thickness and imperfect lines for a more organic, hand-drawn feel.
- Practice combining different leaf shapes in clusters or along stems for creative journaling layouts.
Basic C Curve Leaf

Leaves are kind of like nature’s stickers, and the basic C curve leaf is the superstar of simple doodles! Just grab a piece of paper and start by drawing a smooth curve that arches up, almost like a stretched-out letter C.
Bring the curve back down, so the tip meets the bottom, and you’ve got that classic leaf shape, ready to steal the spotlight! You can play around—make it long and skinny or short and chubby—just by changing the curve’s length and depth.
Don’t forget to add a stem at the bottom. Draw a few veins inside for those “wow, is that real?” vibes. Suddenly, your paper is filled with leafy awesomeness, turning boring notes into a little forest adventure!
Notched Edge Leaf
Even the most ordinary notebook page can level up when a notched edge leaf joins the party. This leaf is a show-off, never boring, and always ready to help us jazz up a doodle spread.
The notched edge leaf stands out with its snazzy, crisp notches along the sides, making the design both bold and creative. To draw it, start with a plain leaf, then add those sharp dips like tiny bites along the edges.
You can:
- Experiment with the number and size of notches for unique looks
- Add veins or shading to help us create a more realistic vibe
- Cluster several together for a dramatic effect
- Play with different leaf shapes to keep things interesting
It’s the little twist your journal doodles need.
Multiple Notch Leaf

When drawing a multiple notch leaf, making the notches on each side uneven and a little wild keeps things interesting—no need to aim for perfect symmetry!
Adding some wiggly leaf veins and tweaking the basic shape here and there not only bumps up the realism but also helps your leaf stand out from the crowd.
Mix these tricks together, and suddenly your notebook is home to the coolest, most unpredictable leaves on the page.
Drawing Asymmetrical Notches
Imagine this: you want to make your journal pop, not with boring, copy-paste leaves, but with doodles that actually look like they grew wild in nature. The secret? Drawing asymmetrical notches!
No tree hands out perfect, symmetrical leaves, so why should your doodles? To start, sketch an oval—just give it a lil’ pointy tip. Then, lean in and make those edges interesting by adding notches on each side.
Don’t worry about perfection; in fact, lopsided looks cooler. Mix notch sizes and depths, let your creativity go a little wild.
Here’s what you need to remember:
- Sketch a pointed oval first
- Draw uneven, random notches along both sides
- Vary notch shapes for authenticity
- Outline with a fineliner for extra pop
Adding Realistic Leaf Veins
Now that the leaf shape looks wild and quirky with its uneven notches, it’s time to give it that next-level wow factor—realistic veins.
To learn how to draw these, start with one bold move: draw a thick central vein, letting it wind up the middle and match the curve of your leaf. Trust your instincts—nature’s not a perfectionist!
Next, add smaller lateral veins branching off at each notch, angling them towards the pointy, jagged edges. Remember, the central vein should always be the thickest—think of it like the “main street” of your leaf.
Use a fineliner pen and make some veins shorter, some longer, with uneven, wobbly lines. Mix things up and play with vein placement for funky, natural effects!
Varying Leaf Shapes
Leaf variety is where things get wild—especially with the multiple notch leaf. This quirky leaf shape is a game changer for bullet journal doodles, bringing real energy to any page.
Multiple notches, uneven and edgy, give each leaf a one-of-a-kind, unpredictable vibe—way cooler than any boring old oval leaf. To nail it, the key is randomness: make your notches different widths and depths, shifting the leaf’s look every time.
Don’t stress about them matching—they’re supposed to be irregular, like leaves in the wild!
- Start with a simple central stem line for structure.
- Outline the leaf, adding jagged notches on each side.
- Vary notch size and placement, keeping it organic.
- Use thicker lines to amp up the natural, textured effect.
Try it out—your journal will thank you!
Chunky Oval Leaf
Drawing a chunky oval leaf is a bit like making a big, friendly potato with a pointy tip—start with an oval that’s wide in the middle and taper it just a little at one end.
Once the outline is ready, adding a vein down the center (beginning about halfway down and stretching it to the tip) makes the whole thing pop with lifelike detail.
Playing around with line thickness when sketching the main shape and the vein can boost the “wow” factor and keep your leaf from looking too flat or boring.
Drawing the Oval Shape
An oval might seem like a simple shape, but in the world of doodles, it’s basically the secret handshake for drawing juicy, chunky leaves. To master this look, anyone can follow a step by step approach that makes the whole process a lot less intimidating.
The elongated oval is your starting point—just don’t panic about perfection! Let the lines flow and embrace a bit of wobble, because leaves in nature aren’t totally identical either.
- Start by sketching a long oval, letting the ends taper softly, like a leaf’s tip and base.
- Try making one side a little curvier than the other, for a fun, lopsided effect.
- Practice drawing ovals in various sizes, clustering them for energy.
- Go over your lines for bolder, chunkier results.
Adding Vein Details
Zooming in on those chunky oval leaves, vein details crank up the wow factor and make doodles look way more lively.
When someone draws a thick central vein running straight through the center, that instantly gives the leaf a strong backbone (like a superhero’s cape, but for plants).
To add a lot of hype, smaller, curvy veins should branch out from the central line, reaching almost to the edges—this mimics real leaf patterns and makes everything pop.
Varying line thickness brings extra dimension; keep the main vein chunky, and let the side veins stay slimmer.
Also, don’t worry about perfect lines—leaves in nature are imperfect, so add a lot of little bumps, wiggles, and tiny quirks for an authentic, lively feel.
Upside-Down Heart Leaf
A splash of whimsy leaps onto the page with the upside-down heart leaf, a doodle that’s basically a heart playing a little prank by hanging upside down.
This leaf shape is all about turning something sweet into something a little bit longer and a lot more fun. The trick is to start with a classic heart, but then flip it so the pointy end is on top—almost like it’s dangling off its stem by its toes.
Symmetry matters, but being a little wonky just adds to the personality.
- Sketch an upside-down heart outline; keep the shape a little bit longer for more drama.
- Attach a stem to the pointed tip for that authentic leafy touch.
- Experiment with different sizes or curves for extra charm.
- Boost depth with veins or gentle shading.
Slender Teardrop Leaf
Slender teardrop leaves bring an elegant chill to any doodle page—imagine a drop of water stretching out, then swooping into a leaf’s cool disguise. If you ever feel the need to draw something that’s quick and looks fancy, this leaf shape is perfect.
Start by sketching a pointed oval—that’s the droplet vibe. Curve one side slightly, aiming for a sharp tip and a chubby, rounded base. Throw in a central vein running from tip to base—it totally cranks up the realism and gives your leaf some spine.
Want to mix it up? Make one edge wiggly, or doodle a whole group of these leaves together for drama. Don’t worry if your lines get wobbly—imperfections make these leaves look even cooler and more natural!
Cloud-Shaped Leaf
Now it’s time for the cloud-shaped leaf, which honestly looks like a little puffy cartoon cloud with a flat bottom and a rounded, humpy top.
Drawing the outline feels a bit like sketching a marshmallow on a stick, and once you’ve nailed that, you can jazz it up by adding some wavy, uneven veins that snake across the leaf.
Get ready for a bit of fun—those veins give your leaf a burst of whimsy and make each one look totally unique!
Drawing a Cloud Outline
Imagine sketching a leaf that looks so puffy and whimsical, it could float right off the page! That’s exactly the vibe you’re going to draw with a cloud-shaped leaf outline.
Start by lightly drawing a horizontal line to set the base. On top, add a fluffy, cloud-like curve, making sure your leaf’s width is greater at the bottom than its height—that keeps it looking like a leaf, not a pancake! As you refine the shape, let the curves ripple naturally for an organic, breezy effect.
- Draw a soft, wavy top and a flatter bottom line to form the leaf’s cloud-like silhouette.
- Keep the base wider than the height for realism.
- Add gentle curves along the edge for a natural vibe.
- Ink the outline, playing with line thickness for extra pop!
Adding Vein Details
Time to bring that cloud-shaped leaf to life with some awesome vein details!
Once you’ve nailed the fluffy outline, veins are where things get interesting. Start simple—draw a single, central vein running along the middle. This acts like the backbone of your leaf, no gym membership required.
Next, use different line directions to add smaller, asymmetrical veins branching toward the edges. The key? Mimic how real leaves do their thing—nature is totally random, so don’t stress about perfection!
Make thicker lines for main veins close to the center and let thinner veins stretch outward. For extra style points, curve those lines a little to follow the leaf’s vibe.
Grab a fineliner and use different pressure to create depth, making your doodle really pop!
Slim Diagonal Leaf
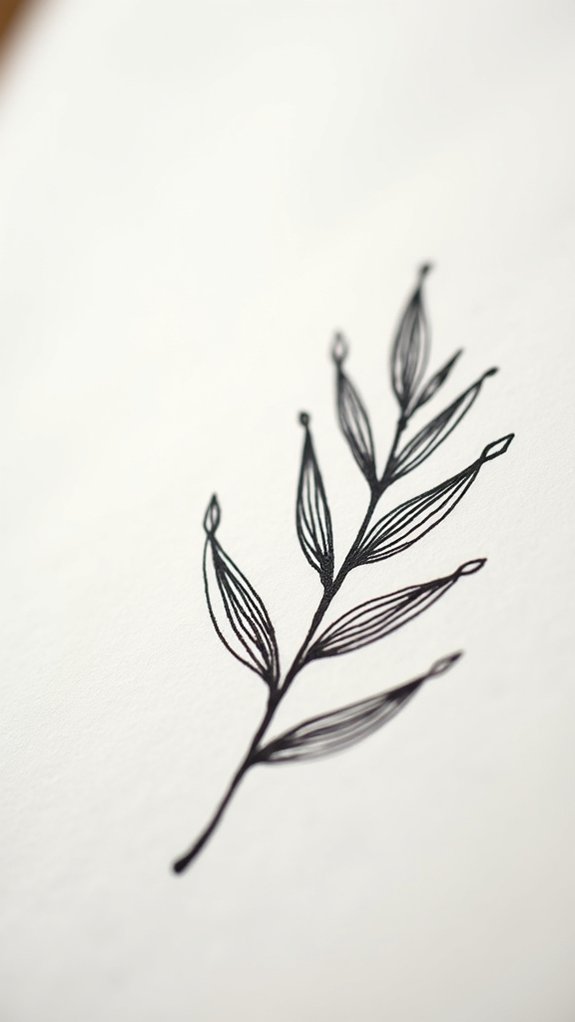
A simple oval shape can turn into something way cooler—like a slim diagonal leaf that almost looks ready to blow away on a gust of wind.
Drawing one is all about getting that angled, sleek look. You start with a stretched-out oval, but tilt it diagonally so it looks less “math class” and more “nature in motion.”
Add a central vein zooming from the bottom to the pointy tip, then decorate it with little side veins shooting off. Don’t worry about making it perfect—none of the leaves outside your window are perfect either.
Actually, a few uneven lines make it even more real. Here’s how to nail that slim diagonal leaf:
- Sketch a long oval, tilted diagonally
- Draw a strong central vein
- Add small, curved side veins
- Mix up line thickness for extra flair
Wavy-Edged Leaf
Waves steal the spotlight with wavy-edged leaves, bringing a splash of movement and energy to any journal page.
Drawing a wavy-edged leaf starts off like a mini roller coaster—a wavy line forms the crown, setting a lively tone. Next, the leaf body takes shape with a wide base, slimming toward the stem, just like real leaves you might find outside after a rainstorm.
To make these doodles pop, running a few asymmetrical curves along the sides works wonders, adding a fun, realistic twist. Veins drawn from the base to the tip highlight the natural curves, making the whole leaf look detailed and alive.
Add washi tape for borders or highlights, and suddenly, plain pages feel fresh, fun, and totally original!
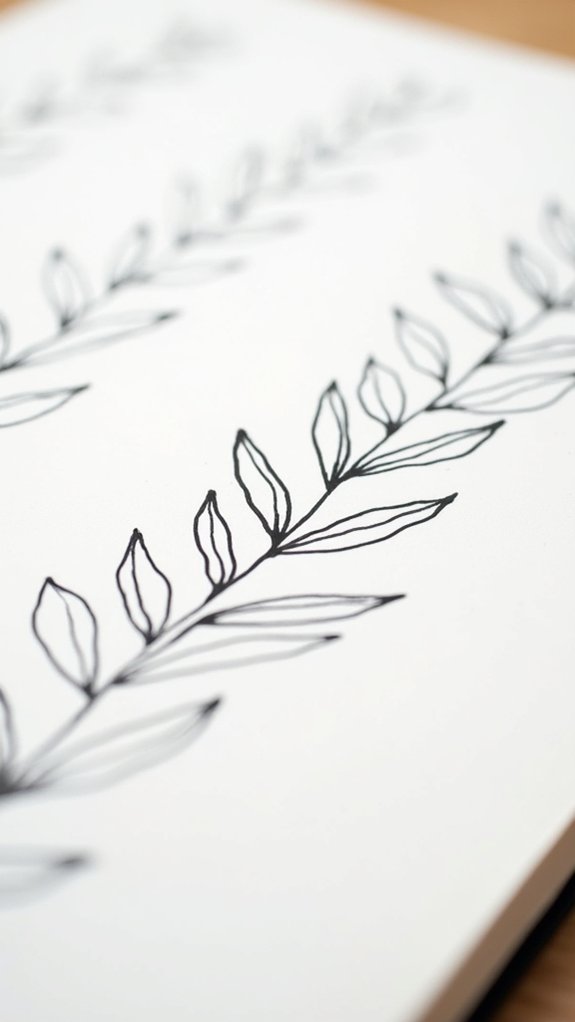
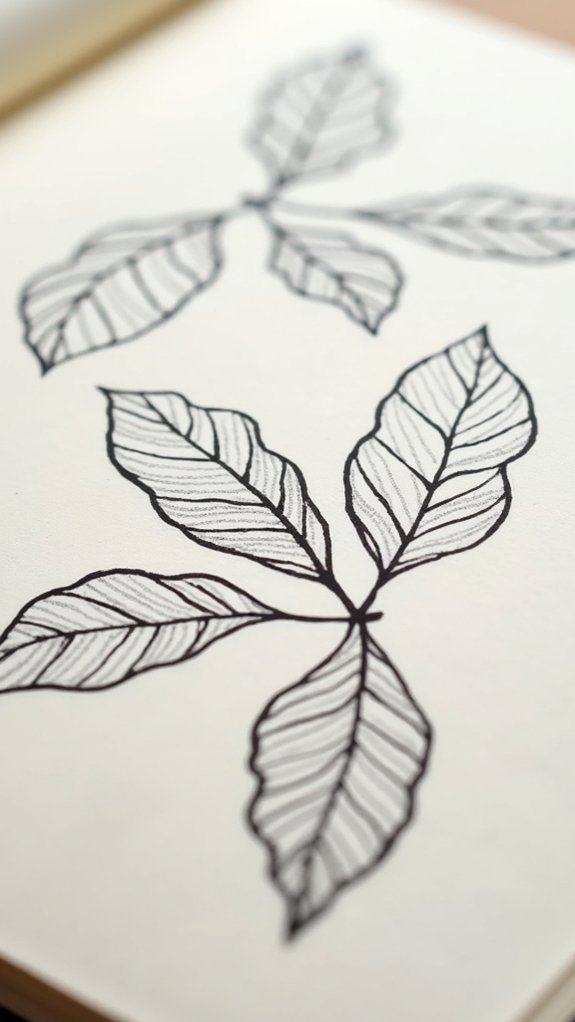
Branch With Asymmetrical Leaves
Just when the page feels alive with all that wavy-edged energy, doodling branches with asymmetrical leaves takes things to a wild new level.
This time, the leaves aren’t all marching in a neat row. Nope—these are quirky rebels! Place the main stem at an angle, then let the smaller branches shoot out freely. Don’t worry if it looks chaotic at first—nature isn’t perfect either!
Mix chunky and skinny leaves, and let your lines wobble a bit for extra character. You might even want to come back later to fill in more gaps or add details.
- Stagger leaves in random directions: some stand tall, others droop down
- Use both wide and thin leaf shapes
- Sketch asymmetrical leaf veins
- Add more leaves to cover empty spots
Go wild!
Frequently Asked Questions
What Kind of Pens or Pencils Work Best for Leaf Doodles?
Selecting pens or pencils with fine, consistent lines enhances Doodle Techniques for leaf designs. Micron pens, gel pens, or sharp graphite pencils are commonly preferred, as they allow for clean outlines, intricate details, and gentle shading in doodling.
How Can I Add Color to My Leaf Doodles?
When considering how to add color to leaf doodles, various Color Techniques are available. Options include colored pencils for soft shading, watercolor for blended effects, or markers for vibrant hues. Each method offers distinct visual outcomes and styles.
Can I Use These Leaf Doodles for Planner Decoration?
The current question explores the suitability of leaf illustrations as planner decorations. Utilizing various Doodle Techniques, individuals can enhance planner pages by incorporating these doodles for visual interest, organization, and personalized thematic elements throughout their scheduling layouts.
Are There Digital Tools for Drawing Leaf Doodles?
Digital techniques offer various tools for drawing leaf doodles, including software like Procreate, Adobe Illustrator, and free apps such as Sketchbook. These platforms provide brushes, layers, and templates that help users create intricate or simple digital leaf designs.
How Do I Fix Mistakes in My Doodle Leaves?
When addressing Mistake Management in doodling, individuals may gently erase pencil marks, cover errors with opaque pens, or creatively incorporate mistakes into their designs, transforming imperfections into unique features that enhance the overall artistic piece.
Conclusion
So, there you have it—ten super simple doodle leaves that can totally upgrade any journal page! Whether you’re sketching quick notes, decorating your planner, or maybe just trying to beat doodle boredom, these leafy ideas are fun, fast, and way easier than they look. Try them all, remix them, and maybe invent your own weird leaf shapes—no one’s judging! Just grab your pen, let your imagination leaf out (get it?), and see where your doodles grow next!
Leave a Reply