
Creating a doodle mural is actually a fun adventure, even for beginners! Start by grabbing your favorite markers, colored pencils, and a giant sheet of paper (or a smooth wall if you’re feeling bold). Pick a bright spot with a flat surface, then sketch big, bold outlines—don’t worry if it’s not perfect! Use reference photos for tricky shapes and add goofy, playful doodles all around. Splash on some color, layer in details, and watch your blank space burst to life. Ready for the next creative twist?
Key Takeaways
- Gather essential supplies like markers, pens, colored pencils, large paper or canvas, and create a mood board for inspiration and color choices.
- Choose a smooth, well-lit, and visible wall, plan your mural layout with sketches, and pick a theme with a matching color palette.
- Sketch bold, clear outlines of your chosen design using reference images, focusing on major shapes and overall visibility.
- Add playful elements such as whimsical doodles, different characters, and fun shapes to bring personality and interest to the mural.
- Apply colors thoughtfully, add texture and details, refine outlines, and step back regularly to ensure balance and completeness.
Gathering Materials and Inspiration

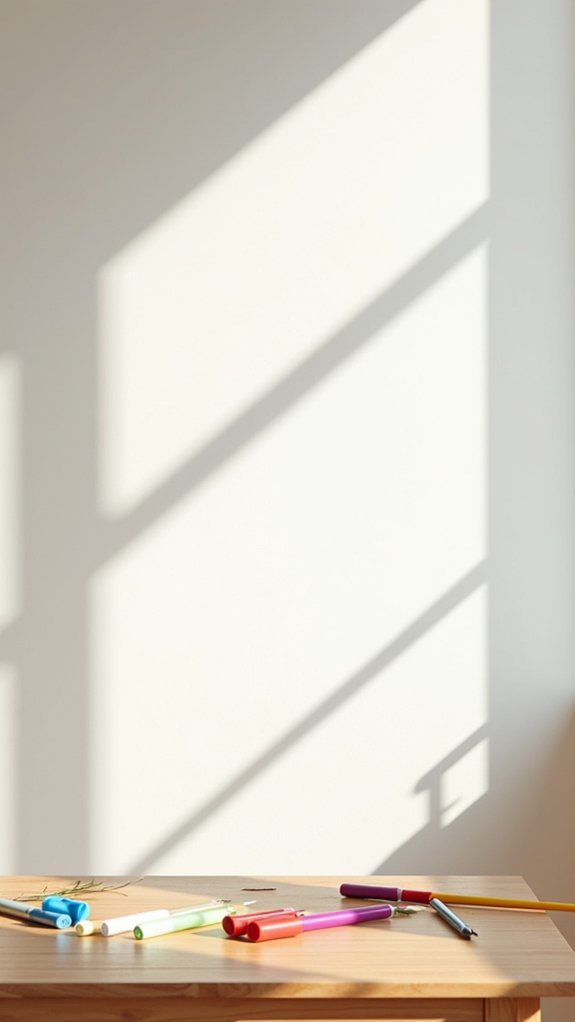
Before anyone can start transforming a boring wall into a wild, eye-catching doodle mural, there’s one essential step they can’t skip—gathering all the right supplies and sparking a storm of inspiration.
The adventure kicks off with a treasure hunt for markers, pens, colored pencils, giant sheets of paper, or maybe even a canvas bigger than your little cousin’s imagination.
While gearing up, it’s smart to scroll through places like Pinterest or peek at art communities to check out killer doodle themes and bold color palettes.
Throw all your coolest ideas and favorite colors on a mood board (don’t forget embarrassing sketches).
Oh, and grab rulers, erasers, and stencils, too—nobody wants their epic doodle universe ruined by a wobbly spaceship!
Choosing the Perfect Wall
Choosing the right wall can make or break your doodle mural adventure, so don’t just pick any old surface and hope for the best.
You’ll want to check if the wall is smooth, has good lighting, and is easy to get to—no one wants to fight with bumpy bricks in a dark, cramped corner!
Just imagine struggling to finish your design while balancing on a wobbly chair; trust me, a well-chosen wall saves a lot of headaches (and maybe even a few bruises).
Evaluating Wall Surface Quality
Wall selection can feel a bit like picking the ultimate canvas—some are perfect, while others are just asking for trouble.
First up: wall texture evaluation. A super bumpy wall may sound cool, but it can make your doodle look more like a lumpy potato than a masterpiece. If the wall feels rougher than your grandma’s cat’s tongue, consider smoothing it out or adding primer.
Next, moisture assessment is key—no one wants their doodle washed away because the wall sweats more than a marathon runner. Check for cracks, peeling paint, or mystery wet spots.
Glossy paint? That’s a wild card, so test it before you go wild with your markers.
Finally, a good wipe-down removes any grease or dust that might ruin your doodle dreams.
Assessing Lighting and Visibility
Ever wonder why some murals pop while others just kind of hide in the shadows? The secret’s all about lighting techniques and mural visibility! When picking a wall, it’s smart to watch how natural light hits the spot during the day. Too much harsh sunlight can make those awesome doodle colors fade, turning your masterpiece into a ghost mural. Avoid walls where shadows, awkward lamps, or sneaky furniture hide all your work. And hey, double-check that your wall color doesn’t make your doodles look like camouflage! Try this table for easy checks:
| Check Point | Why It Matters | Pro Tip |
|---|---|---|
| Natural light | Makes mural vibrant | Observe wall at noon |
| Harsh sunlight | Can fade colors | Pick a shaded area |
| Surface color | Impacts doodle visibility | Test paint swatches |
| Area obstructions | Block mural view | Rearrange furniture |
| Wall texture | Affects drawing smoothness | Choose smooth, flat walls |
Considering Wall Accessibility
It’s not just about how the mural looks in the light—finding the best spot to actually *draw* is a big deal, too.
When picking the right wall, wall placement and accessibility factors matter just as much as the final masterpiece. A good mural wall needs to be easy to reach (nobody wants to hang upside-down like a bat just to doodle) and visible to everyone passing by.
Before starting, check that the surface isn’t super rough—a smooth wall means easier drawing and cleaner lines. Make sure there isn’t any bulky furniture or weird fixtures that might block your doodle zone.
And hey, a spot with lots of foot traffic keeps things lively—people might even join in and add their own flair!
Planning Your Mural Design

Before picking up a single marker, anyone planning a doodle mural needs to let their imagination run wild and start with a solid plan. First, the adventure begins with theme selection—imagine a mural full of wild animals, or maybe a city of dancing robots! Whatever the theme, it helps guide your layout visualization. Some artists make a mind map or a rough sketch to see where each doodle will go. Picking colors that actually match (seriously—no neon pink next to swamp green unless it’s intentional!) helps the mural pop. Remember, the wall’s size matters, too, so don’t plan an epic castle that only fits half the door. Getting inspired by other murals or nature always helps. Here’s a quick planning table:
| Step | Tip |
|---|---|
| Theme Selection | Pick something you love: animals, space, music, etc. |
| Layout Visualization | Sketch a simple map of ideas before drawing |
| Color Palette | Choose 3-5 main colors that match your theme |
| Space Awareness | Measure the wall so your doodles fit just right |
| Inspiration Search | Look online or outside for fun mural ideas |
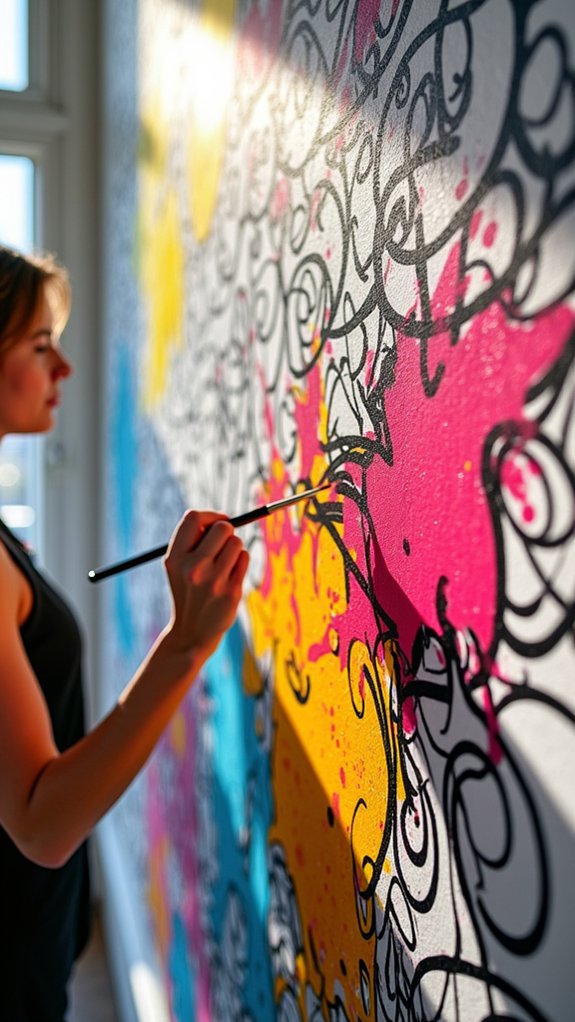
Sketching Basic Outlines
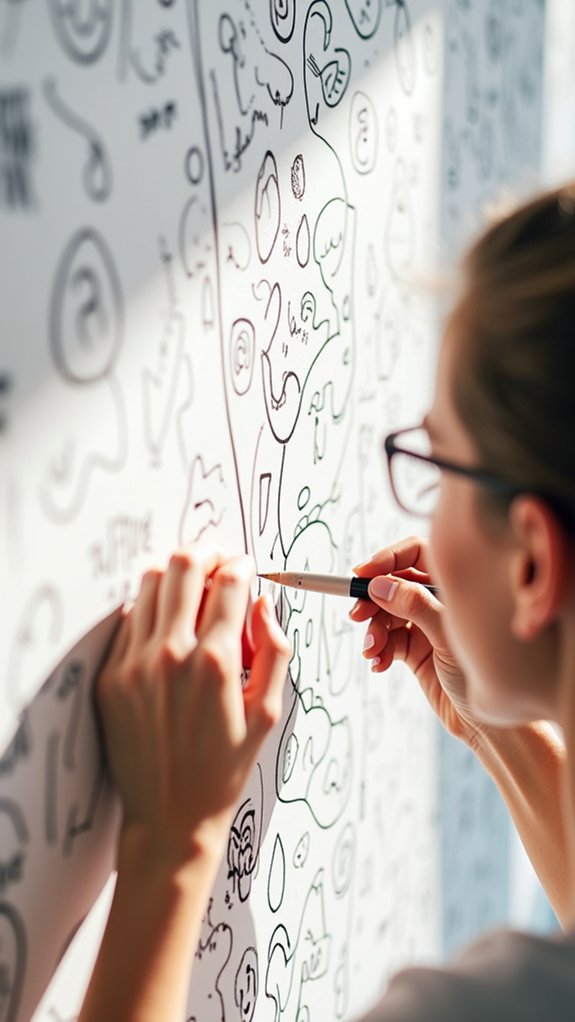
Before the real fun begins, it helps to grab a cool reference image to guide your mural, making it way easier to spot the main shapes you’ll need.
At this point, it’s all about sketching those big basic outlines with energy—don’t stress if your lines look squiggly or messy, as long as you can see them clearly.
Keeping the outlines nice and visible at this stage is like having a built-in GPS for your hand, so you don’t accidentally turn your cat into a very surprised potato.
Gathering Reference Imagery
A strong starting point for any doodle mural is a great reference image—think of it like picking the coolest frog out of the pond to draw. Reference image selection is super important because it sets the foundation for everything that comes next.
Look for a clear picture, maybe a funky frog or your favorite animal, and pop it into your drawing app, like Procreate. Now comes the fun part: using sketching techniques, trace around the main outlines of your subject. Don’t stress about every line being perfect; messy is totally fine at this stage.
Lower the opacity on your reference layer so you can really see your own lines. Zoom in and zoom out—frog eyes are small, but you don’t want to miss them!
Defining Major Shapes
Outlines are like a secret map for your mural—they help guide every crazy line and squiggle that comes after. When someone starts defining major shapes for their doodle mural, they’ll want to pick a super inspiring reference image first. Using a digital sketching app—hello, Procreate!—they can sketch rough outlines, making sure not to stress about being tidy. The goal here is to make each shape stand out so it all makes sense later. Adjusting the reference image’s opacity lets the outline “pop” over the wall space, helping with outline clarity. As each shape is mapped, refining those lines (but not perfecting yet!) brings the mural closer to life. Here’s a quick table showing the process:
| Step | What To Do |
|---|---|
| Pick Reference Image | Find inspiration |
| Open Sketch App | Load your image |
| Draw Major Shapes | Rough outlines first |
| Adjust Opacity | Layer image for better clarity |
| Refine Major Shapes | Clean up, but keep it rough |
Ensuring Outline Clarity
Every great doodle mural starts with one essential move: sketching clear, bold outlines around each major shape from the reference image. Really, this step is like putting down the frame for a wild, colorful puzzle—you’ll totally thank yourself later!
Strong outline techniques make sure your lines stand out, helping you see where each shape begins and ends. One clever sketching strategy is to use layers in your drawing app. Keep your reference image on one layer, your outlines on another. Lower the opacity of the reference image so your outlines totally pop—like, impossible-to-miss pop.
Don’t be afraid to go back and tweak your outlines as you sketch. The clearer your initial outlines, the easier it is to create something that’s both super fun and sharp-looking.
Using Reference Images for Accuracy
Messy doodles are fun, but when it comes to creating a mural that pops, reference images are total game-changers. They help artists nail those tricky proportions and wild perspectives, keeping the mural from looking like a spaghetti mess. With smart reference techniques and careful image selection, even beginners can totally level up their wall art. For starters, tracing key outlines builds a solid foundation—like setting up the corners of a puzzle. Overlaying sketches onto wall photos helps spot where things might end up a little wonky. Don’t forget, tweaking the opacity on your reference images can make it easier to compare them with your drawings without losing sight of those all-important details!
| Technique | Why It Helps | Tip |
|---|---|---|
| Tracing outlines | Guarantees proportions | Use light pencil for easy fixes |
| Overlay on photo | Fits design to space | Snap a clear, well-lit wall pic first |
| Opacity adjustment | Sharpens visibility | Lower image opacity as you sketch |
| Frequent checking | Maintains consistency | Keep reference handy, peek often |
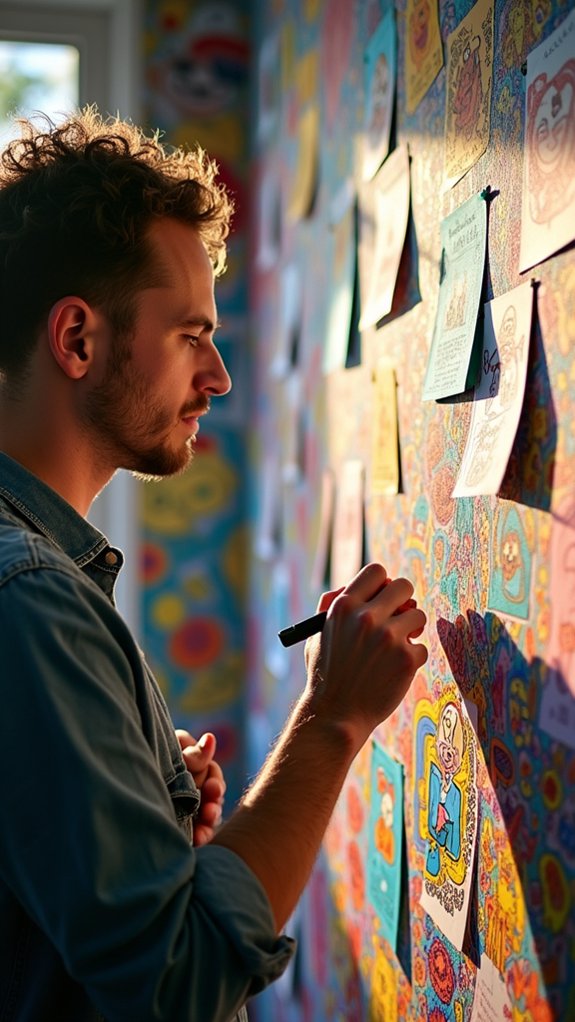
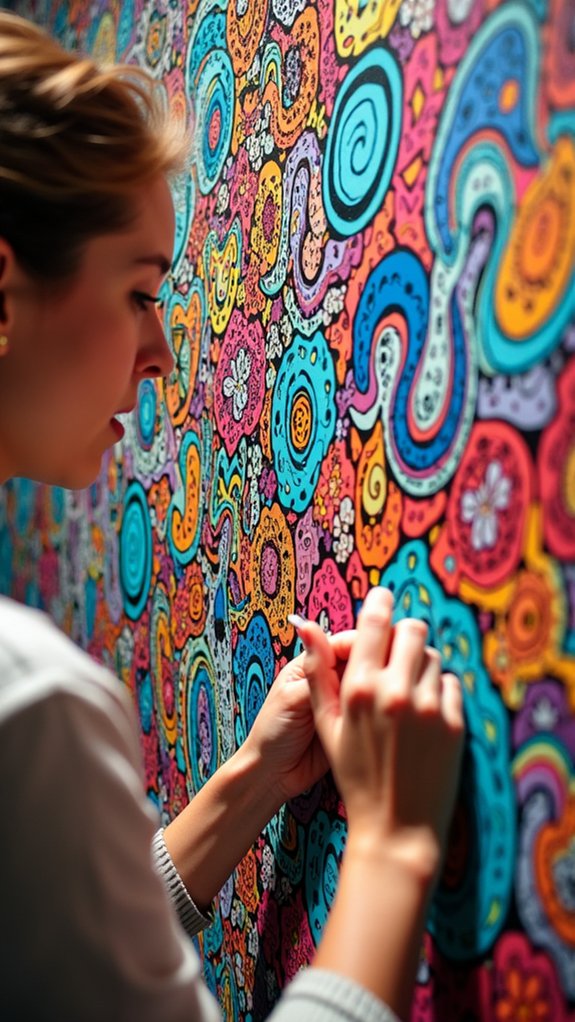
Adding Playful Doodle Elements
Now that reference images have helped get the mural’s foundation just right, it’s time to let the creativity go wild with playful doodle elements. This is where things get really fun—think silly faces, quirky animals, and whimsical shapes all bouncing across the wall.
Remember, a doodle mural should feel alive and full of personality! To make your mural pop and keep it super interesting, try these non-boring ideas:
- Draw playful characters of different sizes and directions—maybe a cat doing a handstand or a bird in a hat!
- Mix in whimsical shapes like squiggles, zigzags, and loopy circles for extra flair.
- Add speech bubbles or thought clouds for some storytelling magic.
- Layer doodles so some peek from behind others, creating a cool depth effect.
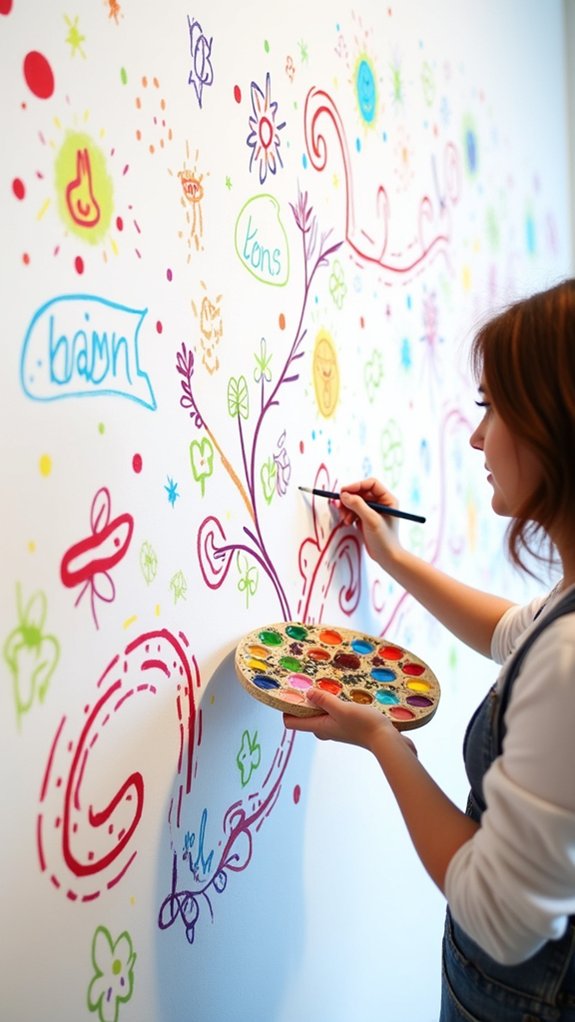
Applying Color and Texture
When it comes to turning those wild doodles into a vibrant mural, color and texture are where the magic kicks in.
Color theory isn’t just some fancy art term—it’s your best friend for making your mural pop! Choosing a cool color palette (or even mixing complementary colors) can totally tie everything together.
But why stop there? Bring in texture techniques for some real wow-factor. Grab markers, splatter paint, or experiment with digital brushes if you’re on a tablet. Mixing up how things feel and look in your doodles adds instant interest.
Try a base color, then layer on lighter or darker shades for cool effects. Smooth, see-through layers make pro-level blends, and a little highlight or shadow? Instant 3D vibes—no magic wand required!
Layering for Depth and Visual Interest
Peel back the layers—literally—and things start to get really cool with any doodle mural.
Layering lets artists stack different parts of the design, kind of like a digital lasagna. It’s all about making the mural pop and feel alive!
To really ace this part, try these tricks:
- Layer organization: Keep similar ideas or shapes grouped, so nothing gets lost in the art chaos.
- Opacity adjustment: Play with how see-through each layer is—fade some doodles, let others stand out. Instant depth!
- Add effects: Shadows and highlights give any doodle serious wow-factor, like adding a secret glow behind the scenes.
- Zoom in on layers: Peek up close for fine details that make viewers stop and stare, even if they have to squint.
Refining Details and Finishing Touches
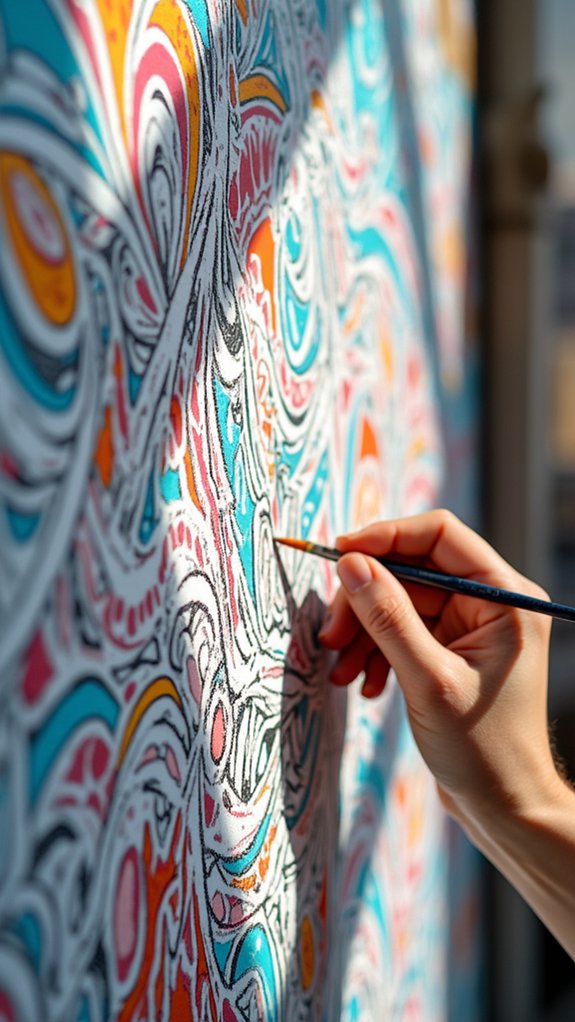
Even the wildest doodle mural needs a little polish before it gets superstar status. This is where detail enhancement swoops in to save the day.
Artists can zoom in like detectives, scanning every corner for spots that need a sprinkle of magic or a fix. Adjusting layer opacity helps tricky lines stand out and lets creators focus on the smallest details—no squinting required!
Sometimes, if things get too wild, simplifying the chaos makes the design clearer and cooler. Finishing techniques seal the deal: sprinkling textures, popping in color, or giving certain shapes a bit more zing.
Every so often, stepping back like a proud chef checking their masterpiece helps balance out everything. Don’t rush—let those final touches really shine!
Frequently Asked Questions
How to Make Murals for Beginners?
For beginners, mural creation starts by gathering mural materials such as paints and brushes, then choosing design inspiration. They sketch initial concepts, refine details, and experiment with shapes and patterns, focusing on clear layering techniques to develop cohesive artwork.
How to Make Doodle Art Easy?
When seeking to make doodle art easy, one should start by gathering doodle inspiration and practicing basic sketch techniques. Simple shapes and repeated patterns help refine skills, while digital drawing apps offer accessible tools for experimenting with playful designs.
What Is the Doodle Method for Murals?
The doodle method for murals emphasizes spontaneous creativity, drawing doodle inspiration from playful shapes and patterns. It differs from other mural styles by encouraging freehand work, repetition, and collaborative expression, creating vibrant, accessible artworks that energize large spaces.
What Are the 4 Techniques That Can Be Used to Create a Mural?
The current question explores common mural techniques and mural styles. Four effective methods include initial sketching for composition, digital layering for depth, applying patterned shapes and lines, and using photo references to align and refine mural designs.
Conclusion
So, there it is—the secret recipe for creating an awesome doodle mural! Anyone can give it a try, armed with just some markers, a bit of inspiration, and maybe a brave wall. Mistakes? No big deal—every smudge or squiggle just adds to the story. So go wild, get creative, and remember: even the silliest doodle can turn into something epic. Just have fun, trust the process, and let your wall become your canvas!
Leave a Reply