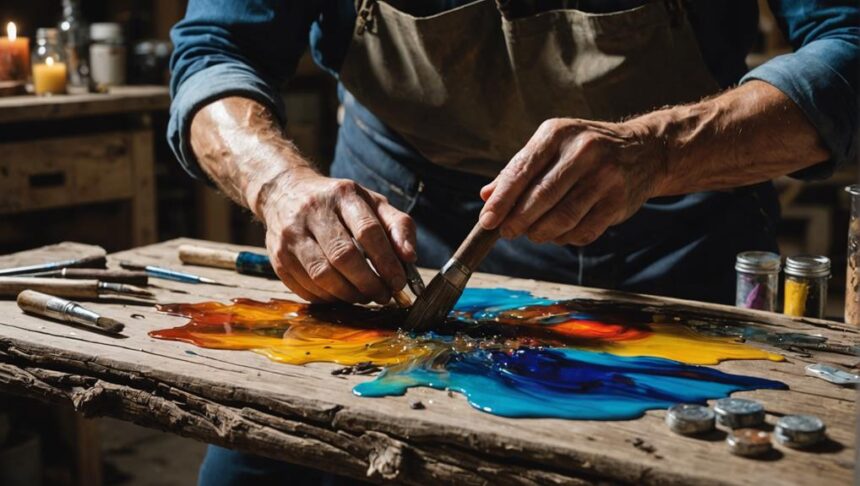
Creating stunning driftwood resin art is super fun and simple! First, gather your supplies: driftwood with cool shapes, vibrant acrylic paints, and high-quality epoxy resin. Next, prepare the driftwood by cleaning, scrubbing, soaking in water and vinegar, and drying completely to avoid mold. Sand it smooth and flat for mounting. Then, mix the resin based on instructions, pour a thin layer over the driftwood, and spread it evenly. Use a heat gun to pop any bubbles, and let it cure for 24 hours in a dust-free area. Sand the edges and apply more resin for a glossy finish. Ready to uncover more?
Key Takeaways
- Select and prepare driftwood: Clean and dry driftwood thoroughly, ensuring it's free of dirt, debris, and pests.
- Sand and shape: Sand the driftwood smoothly and flatten the back for wall hanging if necessary.
- Mix and apply resin: Mix epoxy resin as per instructions and pour a thin, even layer over the driftwood.
- Eliminate bubbles: Use a heat gun to remove bubbles from the resin for a flawless finish.
Gathering Supplies
To begin your driftwood resin art project, gather a selection of driftwood pieces with unique shapes and textures that align with your artistic vision. Driftwood comes in many different types, from smooth and polished to rugged and weathered. Each piece tells its own story, shaped by water and time. Choose pieces that inspire you and fit the vibe you're going for in your artwork. Imagine a piece of driftwood looking like a dragon's claw or a gentle wave—cool, right?
Next, think about selecting colors. Colors can make your art pop! You can use acrylic paints to add vibrant hues or subtle shades to your driftwood. Think about the mood you want to create. Maybe blues and greens for a calming ocean theme, or reds and yellows for a fiery sunset look. Mixing and matching colors can showcase the natural beauty of the wood while adding your unique twist.
While gathering your supplies, don't forget high-quality epoxy resin. This will be the magic that turns your driftwood into a stunning piece of art. Remember, the right supplies will set the stage for your masterpiece!
Preparing the Driftwood
Proper preparation of driftwood is essential to guarantee the success and longevity of your resin art project. This step is a game-changer, giving your piece that professional, polished look that wows everyone.
First, you need to clean the driftwood. Driftwood often comes with dirt, debris, or salt residue. These can mess up the resin adhesion, making your piece look unpolished. Use these cleaning techniques to get started:
- Rinse the driftwood in fresh water to remove loose dirt and salt.
- Scrub it gently with a soft brush to get rid of stubborn debris.
- Soak the wood in a mixture of water and vinegar to kill any pests.
- Rinse again thoroughly to remove any remaining residues.
After cleaning, surface preparation is next. Sand the driftwood using fine-grit sandpaper. This step smooths out rough areas, making it easier for the resin to stick.
Don't forget to cut the back flat if you want your piece to hang on a wall without wobbling. If your driftwood is large, consider dividing it into sections. This allows you to create multiple, varied art pieces, boosting your creativity.
Now you have a solid foundation for your resin art masterpiece!
Applying and Curing Resin
When applying resin to your prepared driftwood, meticulous attention to detail is essential for achieving a flawless finish.
Start by mixing your epoxy resin according to the manufacturer's recommended ratio of resin to hardener. This step is critical for proper curing and avoiding pesky bubbles that can ruin your art.
Next, pour a thin layer of resin over the driftwood. Let it spread out evenly. If you see bubbles, don't panic! Use a heat gun to pop them. For extra flair, layer different colors of resin. Tilt the driftwood to create cool, unique patterns. It's like a science experiment meets art class!
Now comes the waiting game. The curing process is fundamental. Place your piece in a dust-free environment and let it cure for about 24 hours. Always check the manufacturer's guidelines for exact times.
Once the resin is fully cured, sand the edges to smooth them out. If you want that extra glossy finish, apply another layer of resin. You can even seal it with a clear coat for UV protection.
And voila! You've got a stunning piece of driftwood resin art. Time to show it off!
Frequently Asked Questions
How to Make Driftwood Art for Beginners?
To create driftwood art for beginners, start by sourcing unique driftwood pieces. Prepare the wood by cleaning and sanding, then apply epoxy resin mixed with acrylic paints. Experiment with creative techniques for layering and pouring to achieve desired effects.
How to Make a Driftwood Starburst?
To create a driftwood starburst, first select and clean varied driftwood pieces. Arrange them in circular driftwood patterns, securing with adhesive. Pour colored epoxy resin to fill gaps, achieving a cohesive, glossy starburst design.
How Do You Seal Driftwood Art?
To seal driftwood art effectively, utilize driftwood preservation techniques by applying a clear epoxy resin. This sealing resin option provides a glossy finish and protects against moisture and UV damage, ensuring long-lasting durability and aesthetic appeal.
What Is the Best Glue for Driftwood Art?
The best glue for driftwood art depends on adhesive types and bonding techniques. Epoxy resin is ideal for strong, waterproof bonds, while PVA glue offers a less toxic, clear-drying option for indoor projects.
Conclusion
Creating stunning driftwood resin art involves three simple yet essential steps: gathering the right supplies, preparing the driftwood, and applying and curing the resin.
Mastery of these steps can transform natural driftwood into enchanting art pieces, melding nature and craftsmanship.
The process, while straightforward, demands attention to detail and patience, ultimately yielding unique and visually striking results that showcase the harmonious blend of organic elements and modern artistic techniques.


Leave a Reply