The Dutch Pour technique in acrylic painting is all about creating enchanting, fluid abstract art by mastering paint flow and color interaction. Imagine this: you start with a well-prepared canvas, maybe even painted edges for that polished look. Next, you pour on a base coat, ensuring it's smooth and even. Then comes the fun part: layering various acrylic colors mixed with a pour medium. Use a blow dryer or even your breath to control the paint's movement, creating stunning, unexpected patterns. Not only is it visually enchanting, but it's also a fantastic way to express emotions and unwind. Interested in the magic behind this? There's so much more to explore!
Key Takeaways
- Canvas Preparation: Choose a smooth-surfaced canvas and ensure edges are painted for a professional finish.
- Base Paint: Apply a cohesive base layer, allowing complete drying for smooth color flow during pouring.
- Color Transparency: Utilize transparent paints and layering techniques to create depth and vibrant color interactions.
- Blending Techniques: Use tools like blow dryers and finger swiping to control paint movement and enhance vibrancy.
Canvas Preparation
Proper canvas preparation is fundamental to achieving a polished and visually engaging Dutch pour acrylic painting.
First, it's important to choose the right canvas type—stretched or panel. Stretched canvases are commonly used, but panels offer a sturdier surface, reducing the risk of sagging. Once you've selected your canvas, consider the surface texture. A smoother surface allows for more fluid paint movement, which is ideal for Dutch pour techniques.
Before diving into painting, pay attention to the sides and edges. Painting these areas guarantees there are no distracting white edges, giving your artwork a professional finish.
Next, think about applying a custom background color. This step not only sets the mood but also adds depth and visual interest. Depending on your desired effect, you can play with different levels of transparency.
After painting the edges, allow enough drying time. Rushing this process might compromise the final look. Confirming complete coverage of the canvas with base paint is essential for smooth color flow during the pour.
Properly prepared, your canvas will be ready to showcase the dynamic and enchanting results of the Dutch pour technique.
Base Paint Application
Let's kick things off by focusing on the edges of your canvas—covering these will give your painting a polished, professional look and make sure no white spots peek through.
Next, think about your base color; mixing varying levels of transparency helps create a cohesive background that lets your main colors pop.
Canvas Edge Coverage
Making certain the sides and edges of the canvas are thoroughly painted is a critical step in preparing for a successful Dutch Pour technique. The importance of edge painting cannot be overstated; it guarantees that no unwanted white spots appear on your finished piece.
Employing effective canvas edge techniques not only enhances the aesthetic appeal but also contributes to the uniformity of the artwork. Starting with a custom background color helps to integrate the base paint with the subsequent layers, creating a cohesive and visually appealing result.
It's vital to provide adequate coverage across the entire surface, including the edges, as this promotes a smooth flow of colors during the pouring process. To achieve this, tilting the canvas can be particularly useful, allowing the paint to spread evenly and cover any tricky spots along the edges.
Allowing the edge paint to dry before proceeding with the pour is another key step. This drying period helps maintain a clean and professional look, guaranteeing that the final artwork is polished and free from unintended smudges or drips.
Therefore, meticulous attention to edge coverage lays the foundation for a stunning Dutch Pour masterpiece.
Color Transparency Importance
Understanding the role of color transparency in the base paint application is vital for achieving depth and luminosity in the Dutch Pour technique. When you know how different transparency levels affect your artwork, you can master the layering effects that make each piece unique and vibrant.
Imagine this: you start with a white base and then layer transparent colors over it. The light passes through these layers, creating a rich and dynamic background that instantly enhances your color perception and brings your painting to life.
Choosing the right colors is important, too. Complementary and analogous colors need to be balanced carefully. Too much transparency can make your colors look muddied and less vibrant. But when done correctly, those transparent layers can create a beautiful vine-like structure that glows with luminosity.
The pouring medium you use can also affect how transparent your paints are. It's like a secret ingredient that influences the final outcome, impacting how the colors interact during the pour.
Achieving Smooth Base
Achieving a smooth base in the Dutch Pour technique is essential for creating a polished and cohesive final artwork. A smooth base guarantees that the vibrant colors you add later will blend seamlessly and stand out beautifully. To get that perfect foundation, focus on the base paint consistency and the drying time importance.
First, make sure your base paint has the right consistency, not too thick or too thin. Here's a simple guide to make your base flawless:
- Edge Coverage: Fully cover the edges and sides of the canvas to avoid any white spaces peeking through.
- Custom Background: Apply a custom background color with varying transparency levels to add depth and richness.
- Blow Dryer Magic: Use a blow dryer to move and level the base paint, guaranteeing an even surface.
- Canvas Tilt: Gently tilt the canvas while applying the base paint for smooth, consistent flow and coverage.
Lastly, remember the drying time importance! Let the base layer dry completely before adding more paint. This prevents unwanted mixing or muddiness, letting your masterpiece shine.
Following these steps guarantees a perfect start, setting the stage for a stunning Dutch Pour creation.
Choosing Colors
When selecting colors for a Dutch Pour, it's essential to take into account both their transparency and how they interact with each other.
Complementary colors can create vibrant contrasts, while analogous colors offer a soothing, harmonious effect.
Testing these combinations on a small scale first will help guarantee your final artwork achieves the desired visual outcome.
Understanding Color Transparency
Grasping the distinctions between transparent and opaque acrylic paints is essential for creating depth and vibrancy in the Dutch pour technique.
Transparent paints allow the underlying layers to show through, enhancing color layering and transparency effects. In contrast, opaque paints offer solid coverage, which can be useful for defining certain areas or creating a bold base.
When selecting colors for your Dutch pour, consider the following:
- Layering Transparent Colors: Using multiple transparent layers can create a luminous, almost glowing effect that adds depth and intrigue.
- Mixing Transparencies: Combining transparent and opaque paints can result in a richer, more dynamic composition.
- Strategic Base Colors: An opaque base can provide a solid foundation, allowing transparent layers to interact more vividly on top.
- Color Interactions: Pay attention to how transparent colors mix and layer over each other to avoid muddiness and guarantee harmony.
Complementary Vs. Analogous Colors
Building on the understanding of color transparency, selecting between complementary and analogous colors is pivotal for achieving the desired visual impact in a Dutch pour painting.
Complementary colors, like blue and orange, sit opposite each other on the color wheel. When used together, they create a vibrant contrast that can make your painting pop, adding a dynamic energy. Imagine the bold excitement of a sunset or the striking appearance of a peacock's feathers—these combinations can be show-stoppers!
On the other hand, analogous colors, such as blue, green, and turquoise, are neighbors on the color wheel. These colors blend seamlessly, creating a harmonious and serene effect. Think of a tranquil ocean scene or a lush forest; the colors naturally flow into one another, providing a soothing visual experience.
When you're choosing your palette for a Dutch pour, remember that the transparency of your paints will affect the final look. Complementary colors maintain their vibrancy when layered, while analogous colors meld together for a more cohesive, subdued appearance.
Experimenting with these combinations based on your desired color symbolism can lead to unique, personalized artworks that truly resonate. Whether aiming for bold contrast or serene harmony, your choice of colors will greatly impact the visual impact of your creation.
Color Interaction
Mastering color interaction is essential for creating visually striking and harmonious effects in the Dutch Pour technique. Understanding how colors blend and interact can lead to breathtaking results in your artwork. Color psychology and color symbolism play a significant role in this process. By choosing colors that evoke specific emotions or meanings, you can create a more impactful piece. For instance, blue often symbolizes calmness, while red can convey passion or energy.
Here are some key points to take into account:
- Complementary Colors: Using colors opposite each other on the color wheel can enhance vibrancy and make your painting pop. Think of the dynamic contrast between blue and orange.
- Analogous Colors: These colors sit next to each other on the color wheel and create a harmonious, cohesive look. For example, using shades of blue and green can evoke a serene, natural feel.
- Layering Techniques: Thoughtfully layering colors before pouring can influence depth and complexity. Experimenting with different shades and transparencies can yield unexpected and beautiful results.
- Simple Palette: Maintaining a simple palette helps prevent muddiness and guarantee a polished finish. It's amazing how a few well-chosen colors can create a stunning masterpiece.
Embrace these principles to raise your Dutch Pour paintings!
Paint Transparency
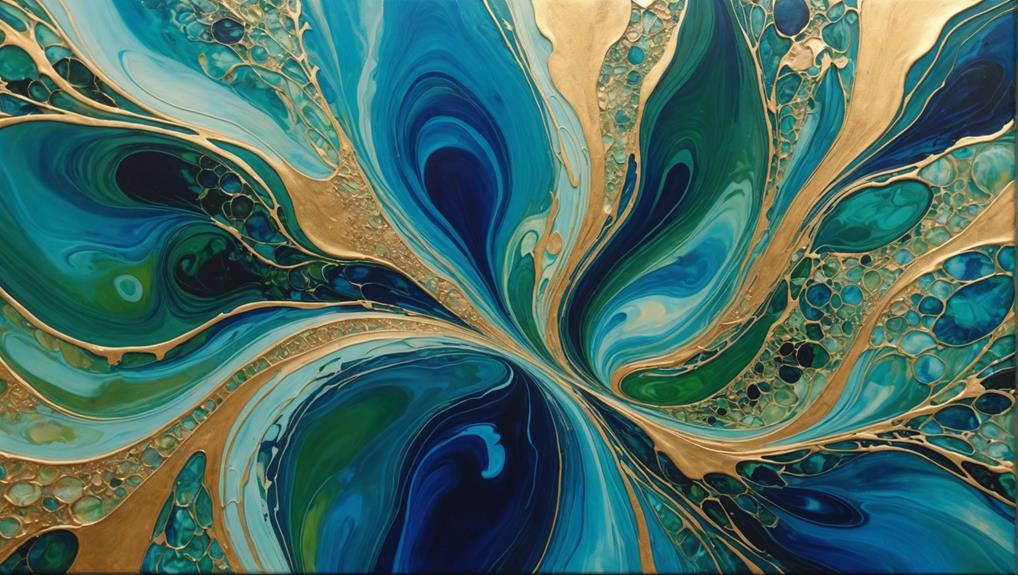
Understanding paint transparency is essential in acrylic pouring, as it profoundly influences the interaction and layering of colors on the canvas.
When you explore the world of Dutch Pour techniques, you'll quickly realize how vital transparency is for achieving that depth and richness in your artwork. Transparent paints allow the underlying colors to peek through, creating a stunning color depth that can make your piece come alive. Imagine looking into a clear pond and seeing all the layers beneath—that's the kind of effect you can get with the right transparency.
Using layering techniques, you can mix both transparent and opaque paints to control the final look. Opaque paints can act like a cloak, masking the layers beneath, while transparent ones can let light and color pass through, adding complexity and vibrancy. Getting this balance right often involves mixing your paints with a pouring medium, which can tweak both flow and opacity to your liking.
Experimenting with different levels of transparency can be like opening a treasure chest of artistic possibilities. By playing around with these aspects, you can discover unique effects and styles that really make your Dutch Pour paintings stand out.
Complementary Colors
Leveraging the interplay between transparent and opaque paints, incorporating complementary colors into your Dutch Pour technique can result in striking and dynamic visual contrasts.
Complementary colors, such as blue and orange, are positioned opposite each other on the color wheel. When paired, they create vibrant color contrasts that make each hue appear more vivid and dynamic.
Here's how you can use complementary color theory to raise your Dutch Pour artwork:
- Enhance Visual Impact: Combining complementary colors makes your painting pop, drawing viewers' attention and holding their gaze.
- Manage Transparency Levels: Carefully control the transparency of your paints. This avoids muddy results and guarantees the clear, crisp separation of colors.
- Create Interesting Interactions: Blending complementary colors during the pour can lead to fascinating gradients and interactions that add depth and complexity.
- Experiment with Shades: Use various shades of complementary colors to develop unique and personalized color palettes, making your artwork truly one-of-a-kind.
Analogous Colors
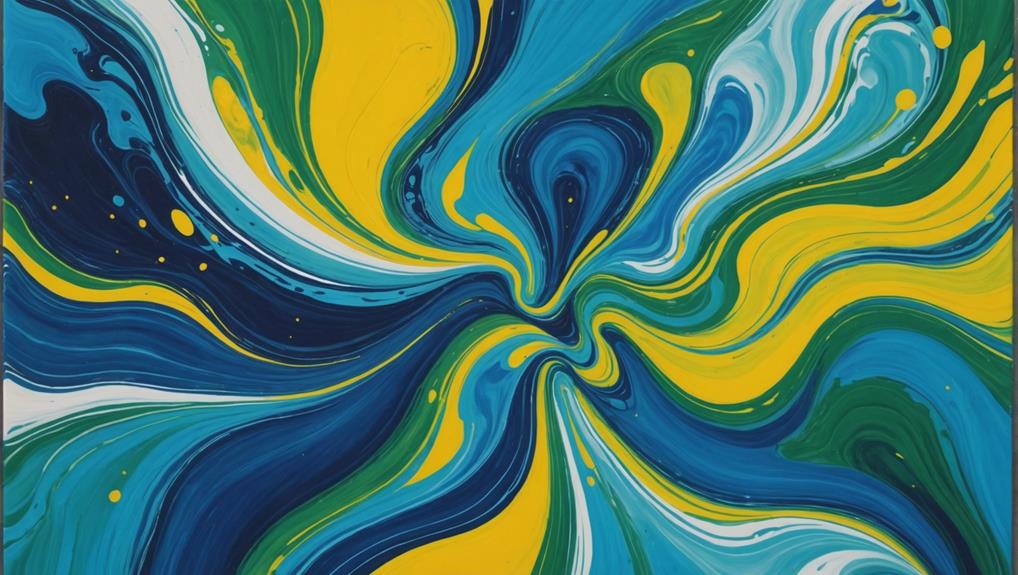
When working with analogous colors in the Dutch Pour technique, the goal is to achieve harmonious color blending and balanced shifts.
These colors, sitting next to each other on the color wheel, naturally flow together, creating smooth and visually appealing gradients.
Harmonious Color Blending
Blending analogous colors in the Dutch Pour technique creates a visually harmonious and fluid effect, enhancing the overall unity of the painting. By leveraging color psychology, artists can craft pieces that evoke specific emotions and moods, leading to a more engaging and aesthetically pleasing artwork.
Analogous colors are found next to each other on the color wheel, such as blues and greens or reds and oranges. These colors naturally blend well together, ensuring visual harmony without the risk of creating muddy or dull areas.
To achieve this harmonious blending, consider the following:
- Smooth Shifts: Select shades that share a common hue, allowing for seamless and flowing shifts between colors.
- Layering: Use varying transparency levels to layer colors, adding depth and dimension while letting underlying hues subtly influence the final look.
- Vibrancy Maintenance: Analogous colors naturally complement each other, maintaining vibrancy and preventing unwanted muddiness during the pouring process.
- Emotional Impact: Experiment with different combinations to evoke specific emotions, enriching the creative journey and resulting in unique, expressive artworks.
Balanced Color Transitions
Achieving balanced color shifts with analogous colors in the Dutch Pour technique guarantees a cohesive and visually pleasing composition. When you use colors that are next to each other on the color wheel, you create a sense of visual harmony that's inherently soothing. This method taps into the principles of color psychology, ensuring that your artwork evokes a calming and unified feeling.
To maintain vibrancy and avoid muddiness, it's essential to be mindful of the transparency levels of your paints. By experimenting with various shades and tints, you can achieve a rich depth that enhances the overall visual flow of your piece. Additionally, incorporating complementary colors sparingly can create focal points, adding bursts of energy without disrupting the overall harmony.
Here's a quick reference to evoke the emotional impact of balanced color changes:
| Color Group | Emotional Effect | Visual Harmony Level |
|---|---|---|
| Blues and Greens | Calm and Serene | High |
| Reds and Oranges | Warm and Inviting | Moderate |
| Yellows and Greens | Fresh and Energizing | High |
| Purples and Blues | Mysterious and Deep | High |
Mastering these changes can enhance your Dutch Pour paintings, creating a soothing and cohesive color palette that captivates viewers.
Blending Techniques
To master blending techniques in the Dutch Pour, artists must focus on careful color layering to enhance vibrancy and prevent muddiness. Successful color mixing and the use of appropriate blending tools are vital in this process.
Emphasizing complementary colors can create striking contrasts, while finger swiping can help soften edges and create more cohesive blends.
Here are four key tips to improve your blending techniques:
- Color Mixing: Use a limited palette to avoid overwhelming the canvas and guarantee harmonious blends.
- Blending Tools: Utilize tools such as blow dryers or straws for controlled and confident paint movement.
- Finger Swiping: Gently swipe with your fingers to blend colors smoothly, following the paint's natural flow.
- Transparency Levels: Experiment with different paint transparencies to achieve unique effects and depth.
A quick and confident blowing motion is essential to move paint effectively while maintaining control over the flow direction.
By following these strategies, artists can create dynamic and vibrant acrylic pours that showcase their creative vision.
Layering Strategy
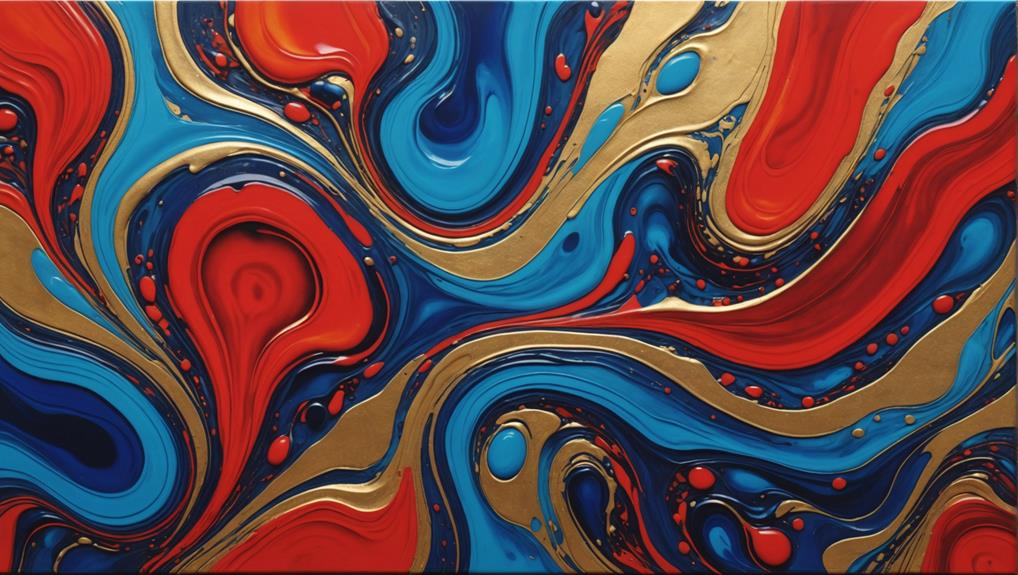
In mastering the Dutch Pour technique, having a solid layering strategy is essential for achieving those stunning, fluid effects.
Start by laying down a base layer of paint, then carefully consider the transparency and opacity of your colors to create depth and complexity.
Using complementary colors and experimenting with the order and thickness of your layers can make your artwork pop with vibrant contrast and dynamic balance.
Color Layering Tips
Effective color layering in the Dutch Pour technique begins with a strategic application of a white base layer to enhance the vibrancy of subsequent hues. This step is essential because it creates a luminous backdrop, allowing your chosen colors to pop.
Understanding color psychology is vital when selecting your palette. Complementary colors can evoke specific emotions and guarantee your artwork resonates with viewers. However, be cautious—layering mistakes, such as pairing too many colors, can muddy your final piece, diluting its impact.
Here are some tips to guide you:
- Select a Limited Palette: Stick to a few complementary colors to maintain vibrancy and avoid a chaotic outcome.
- Layer Thoughtfully: Apply thicker paints first; let thinner, more transparent paints flow over them to create depth.
- Utilize a Blow Dryer: This tool helps move paint effectively, creating seamless shifts and dynamic effects.
- Experiment with Transparency: Different levels of paint transparency can add significant visual interest and depth.
Transparency and Opacity
Mastering the interplay between transparency and opacity in acrylic paints is vital for creating enchanting depth and richness in Dutch Pour artwork.
Imagine layering a transparent green over a solid, opaque blue. This technique can produce a stunning color contrast, making your painting pop with vibrant energy. Understanding the transparency levels of each paint color is essential, as it impacts how light passes through and interacts with the layers beneath.
When you layer transparent colors over opaque ones, you add depth and dimension to your work, enhancing its overall vibrancy. These layering techniques allow you to experiment with different combinations, achieving diverse effects that can make your artwork truly unique.
But be careful! You need to take into account the interaction of complementary colors to avoid muddy results. For example, layering a transparent red over a green can lead to a dull, brownish mess if not done thoughtfully.
Effective layering also requires a keen eye on paint flow and movement. The order and thickness of each layer greatly influence the final appearance, so plan your steps meticulously.
Complementary Colors Use
Building on the principles of transparency and opacity, strategically layering complementary colors in a Dutch Pour technique can enhance the vibrancy and depth of your acrylic paintings. Understanding color theory is essential here, as knowing which colors sit opposite each other on the color wheel can create dynamic contrasts and make each hue pop.
To make your artwork stand out, follow these simple steps:
- Start with a Base Layer: Pour a transparent color first, allowing it to flow and set the stage for the next layers.
- Introduce the Complementary Color: Add a complementary color on top, making sure to pour it in a way that encourages interaction but avoids muddiness.
- Vary Transparency: Use both transparent and opaque paints to add depth. The different transparency levels will interact uniquely, creating rich visual effects.
- Experiment with Order: Play around with the sequence of layering. Sometimes pouring the complementary color first can create more subtle blends, while reversing the order might result in bolder contrasts.
Blowing Motion
A quick and confident blowing motion is essential in the Dutch Pour technique to effectively move the paint without causing muddiness in the colors. Mastering the right blowing techniques and maintaining airflow control can be the difference between a masterpiece and a muddy mess.
When using a blow dryer, keep it close to the paint to guide the flow, and start at the top, working in sections. This helps you maintain control and prevents the paint from becoming chaotic.
Imagine you're trying to blow a feather across a table—you need just the right amount of gentle, directed airflow. Too much, and the feather flies off; too little, and it doesn't move at all. The same goes for your paint. Excessive blowing can jumble up your color layers, leading to that dreaded muddy look. Instead, focus on soft, deliberate movements.
One more tip: follow the flow of the existing lines as you blow. This helps enhance the overall composition and gives your painting a cohesive, harmonious look.
Finger Swiping
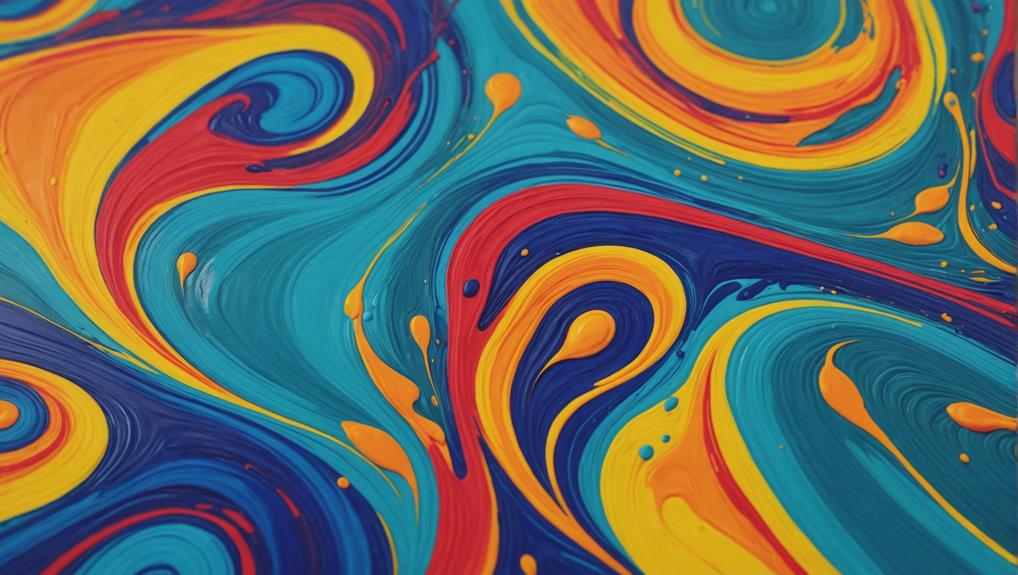
Finger swiping in the Dutch Pour technique allows artists to intricately manipulate paint, creating organic shapes and improving the artwork's seamless flow. This finger technique invites a more hands-on approach to paint manipulation, allowing artists to follow the natural curves and lines already present in their work.
It's crucial to use a light touch so the underlying layers aren't disturbed too much, which can lead to muddiness. Incorporating finger swiping can raise your painting, adding depth and dimension that captivates viewers.
Here are some tips to keep in mind:
- Follow the Flow: Always swipe in the direction of the existing paint lines to maintain harmony.
- Light Touch: Use a gentle touch to avoid disrupting the paint layers beneath.
- Experimentation: Try different finger movements and directions to create unique textures and patterns.
- Finishing Touch: Use swiping as a final step to enhance visual interest and bring your piece to life.
Finger swiping also allows for a level of spontaneity and creativity, ensuring each piece is unique. By mastering these finger techniques, artists can achieve a more cohesive and dynamic composition, enhancing the overall beauty of their Dutch Pour masterpieces.
Flow Control
After mastering the art of finger swiping, understanding flow control is the next critical step in perfecting the Dutch Pour technique. Flow dynamics play a huge role in this process, and to get it right, you'll need to use a blow dryer close to the paint. This allows you to manipulate the movement and create those stunning shapes and patterns that Dutch Pour is known for.
You'll want to blow in a quick, confident motion, starting from the top and working in sections. This helps you maintain control and prevents the colors from becoming muddy. Watching how the colors interact as you blow-dry is intriguing, especially when you experiment with layering. Different transparency levels and paint behavior can produce surprisingly varied results.
Incorporating finger swiping as a finishing touch guarantees your artwork looks seamless. Follow the flow of the existing lines to guide your swipes, enhancing cohesion.
Regular practice is key; the more you work on your flow control, the better you'll become. Soon enough, you'll find yourself creating more dynamic and visually appealing pieces, mastering the technique variations that make Dutch Pour so fascinating.
Emotional Benefits
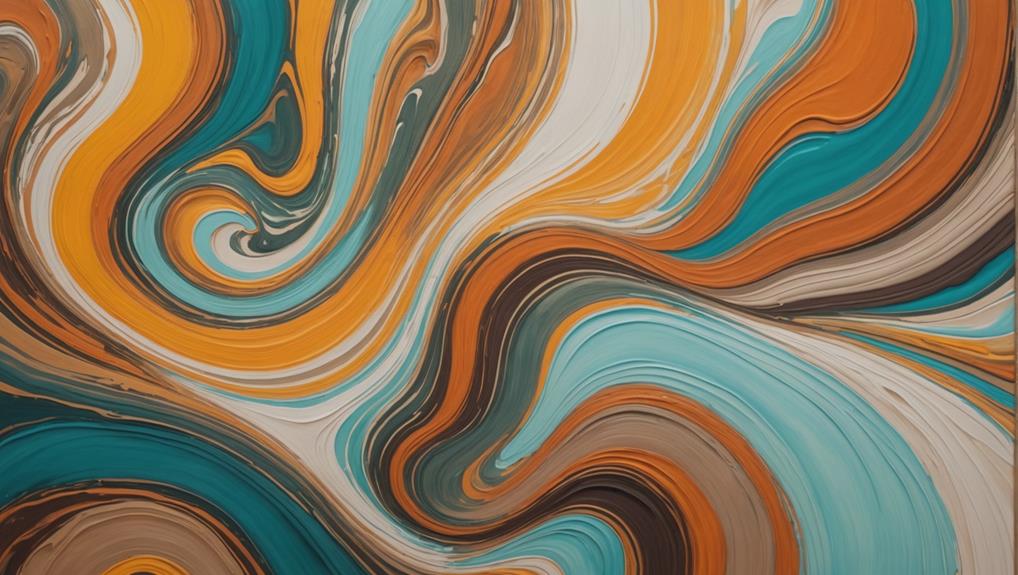
Engaging in the Dutch Pour technique of acrylic painting offers numerous emotional benefits, acting as a powerful medium for self-expression and stress relief.
The flowing forms and vibrant colors in this technique allow artists to channel their emotions, leading to a profound sense of emotional release. This process can be incredibly therapeutic, as it encourages mindfulness and a focus on the present moment, reducing stress and anxiety.
The Dutch Pour technique also promotes personal discovery. As artists explore the unpredictable nature of the paint, they often uncover new insights about themselves and their creative capabilities. This journey can be both enlightening and empowering, fostering a deeper connection with one's inner self.
Here are a few ways the Dutch Pour technique can evoke emotional benefits:
- Emotional Release: Pouring and manipulating paint can help release pent-up emotions, providing a tangible outlet for feelings.
- Stress Reduction: Focusing on the art can be a form of meditation, reducing stress and promoting a sense of calm.
- Personal Discovery: The journey of experimentation can lead to self-discovery and personal growth.
- Joy and Satisfaction: Witnessing the unique creations that emerge can boost self-esteem and provide a sense of accomplishment.
Engaging in this creative process can enhance overall mood, providing peace and fulfillment.
Creative Expression
The emotional benefits of the Dutch Pour technique naturally extend into the domain of creative expression, where the fluidity and unpredictability of the medium allow artists to visually manifest their innermost thoughts and feelings.
This technique provides unparalleled artistic freedom, enabling painters to experiment with vibrant and complementary colors that can evoke a wide range of emotions. The dynamic interplay of colors not only enhances the visual appeal of the artwork but also creates a strong emotional resonance with the viewer.
By manipulating transparency levels in the paint, artists can add depth and dimension to their pieces, encouraging a personal exploration of their creative instincts. The process of layering colors in a Dutch Pour often leads to unexpected and delightful outcomes, fostering a sense of joy and accomplishment.
This spontaneity further amplifies the sense of artistic freedom, as each pour can yield a unique and unrepeatable masterpiece.
Engaging with the Dutch Pour technique can also promote mental well-being, offering a therapeutic outlet for self-expression. The act of creating such fluid and expressive artwork allows artists to explore and convey their inner emotions, resulting in pieces that not only captivate but also resonate deeply with both the creator and the audience.
Learning Resources
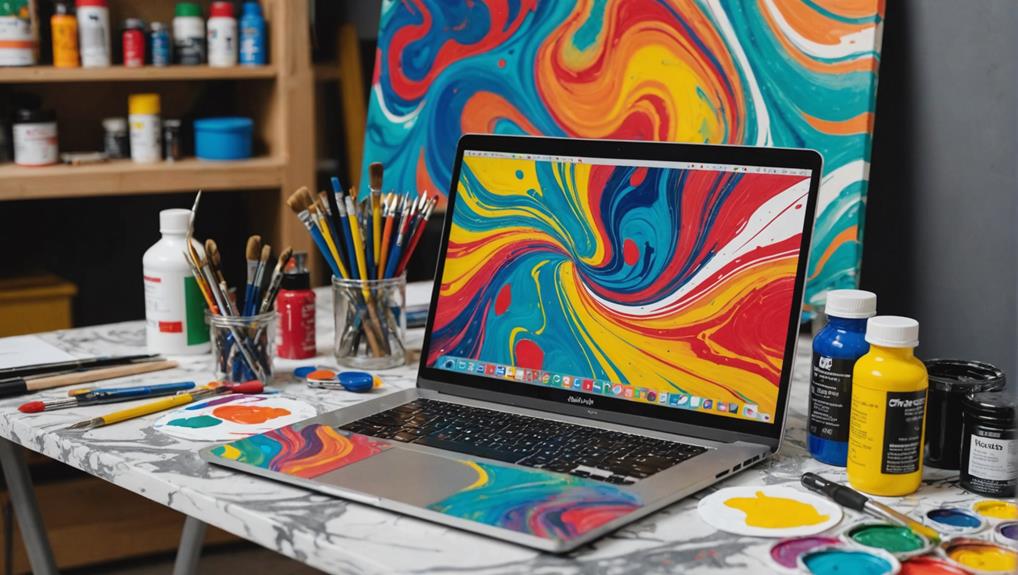
To master the Dutch Pour technique in acrylic painting, artists can leverage a wealth of learning resources available both online and offline. Exploring these resources can greatly enhance an artist's skill set and creative expression.
- Tutorial Playlists: These playlists offer step-by-step guidance, ideal for both beginners and advanced artists. Watching these can help you understand the nuances of the Dutch Pour technique, from mixing paints to achieving the perfect blow.
- Online Communities: Engaging with online communities and forums where artists share tips and experiences can be incredibly beneficial. These platforms foster a collaborative learning environment, allowing you to learn from others' successes and mistakes.
- Paint Behavior and Pouring Mediums: Understanding how different paints and pouring mediums interact is vital. Resources focusing on this topic can help you achieve more consistent and desired results in your pours.
- Instructional Videos and Art Channels: Subscribing to art channels that regularly post content about acrylic pouring guarantees you stay updated on new techniques and creative ideas. Instructional videos can demonstrate specific blowing and finger swiping techniques, which are essential for mastering the Dutch Pour.
Frequently Asked Questions
What Is the Dutch Pour Technique?
The Dutch Pour technique is a fluid acrylic painting method utilizing a blow dryer to manipulate paint. It emphasizes color blending and paint consistency, with a light base layer enhancing dynamic, flowing designs and vibrant color layering.
How Do You Seal a Dutch Pour Painting?
To seal a Dutch Pour painting, utilize clear acrylic sealer or varnish spray, applying light, even coats. Confirm each layer dries thoroughly to avoid imperfections. This sealing method provides paint protection and enhances color vibrancy.
How Much Water Do You Put in Dutch Pour Acrylic Paint?
When determining how much water to add to acrylic paint, aim for a water consistency that achieves a paint viscosity similar to heavy cream. Typically, a 1:1 ratio of water to paint is recommended, adjusting as needed.
What Paint Is Best for Dutch Pour?
The best acrylics for Dutch Pour techniques are fluid acrylics, as their ideal viscosity aids in seamless color mixing and flow. Incorporating a pouring medium further enhances the paint's fluidity and can create visually striking cells.
Conclusion
The Dutch pour technique in acrylic painting offers a unique and dynamic approach to artistic expression.
By mastering canvas preparation, base paint application, color selection, and understanding paint transparency and flow control, artists can create stunning, fluid compositions.
The emotional benefits and opportunities for creative expression are substantial, making this technique a valuable addition to any artist's repertoire.
Learning resources are readily available, facilitating the acquisition of skills necessary to excel in this vibrant and expressive art form.

Leave a Reply