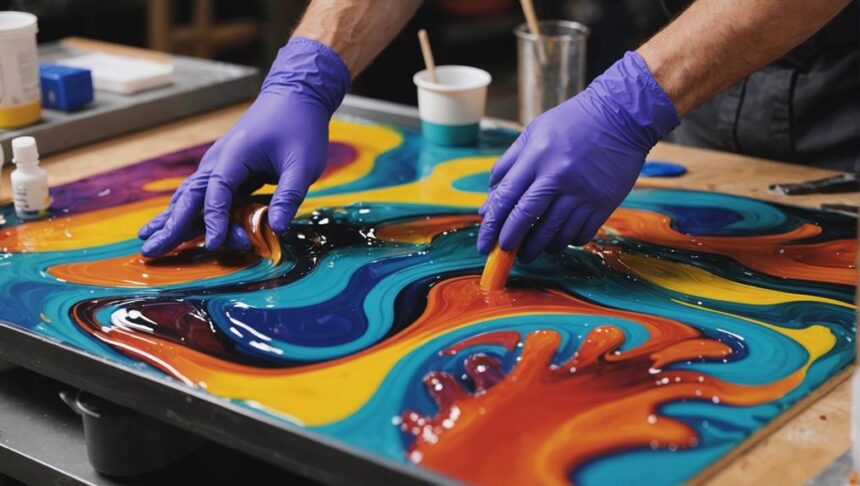
Starting epoxy resin art can be loads of fun! First, gather your essentials: quality resin and hardener, measuring cups, silicone molds, and safety gear like gloves and goggles. Then, set up a well-ventilated workspace with a clean, level surface; silicone mats can make cleanup a breeze. Finally, the magic starts with mixing! Combine resin and hardener at a 1:1 ratio, stir for at least 7 minutes, and add pigments or glitter to jazz it up. Pour carefully into molds, then zap any bubbles with a heat gun. Hang tight—there's more cool stuff to explore!
Key Takeaways
- Gather quality epoxy resin, hardener, and safety gear like nitrile gloves and goggles.
- Prepare a well-ventilated workspace with silicone mats and ensure it's level.
- Measure resin and hardener accurately, following a 1:1 ratio for proper curing.
- Stir the resin mixture for at least 7 minutes to ensure thorough blending.
Gathering Your Materials
Gathering the necessary materials is a critical first step in starting your epoxy resin art journey. First, you'll need quality epoxy resin and hardener, which are your main ingredients. Think of them as the flour and sugar in a cake recipe. Measuring cups are essential too; you don't want to eyeball these measurements. Silicone molds shape your projects, and they come in all sorts of fun shapes, from hearts to stars.
Safety precautions are super important. You'll need nitrile gloves, goggles, and a ventilated mask. Resin can be a bit tricky and you don't want to breathe in any fumes or get sticky resin on your hands.
Now, let's make it pretty! Decorative elements like pigments, glitters, and dried flowers can turn your project from 'meh' to 'wow!' Just make sure whatever you add is compatible with epoxy resin. Acrylic paints work great for color mixing.
Organize everything before you start. Trust me, you don't want to be scrambling for a glove or glitter while your resin is setting. Having everything in its place helps you focus on the fun part—creating your masterpiece!
Preparing the Workspace
Preparing your workspace meticulously is essential for guaranteeing a safe and efficient epoxy resin art experience. Workspace safety and organization are key aspects to keep in mind.
Begin by making certain your area is well-ventilated—open windows or use fans to minimize exposure to the fumes that come from mixing and curing resin. It's also a good idea to wear nitrile gloves to protect your hands and goggles to keep your eyes safe from splashes.
Keeping your workspace clean and organized will make your project run smoothly. Use silicone mats to avoid making a mess and to make cleanup a breeze. Storing your tools and materials neatly will save you time and effort.
Here are some handy tips for setting up your workspace:
- Ventilation: Open windows or use fans to keep the air circulating and minimize fumes.
- Protective Gear: Wear nitrile gloves and goggles to keep your hands and eyes safe.
- Organized Surface: Use silicone mats and keep your tools and materials arranged neatly.
Mixing and Pouring Resin
To secure a successful epoxy resin project, accurate measurement and thorough mixing of the resin and hardener are essential steps. Typically, you'll need to follow a 1:1 resin ratio, meaning equal parts of resin and hardener. This exact balance is vital; otherwise, the resin might not cure properly. Stir the mixture for at least 7 minutes. Yes, it might feel like forever, but this guarantees the two parts blend thoroughly and minimizes bubble formation.
Once mixed, you can add your choice of pigments or decorative elements like glitter. This is the fun part where you get to add color and sparkle to your creation.
Now, it's time to pour! Use a steady hand and maybe even pour down the side of the mold. This technique is super helpful for bubble prevention.
After pouring, you'll likely see some bubbles. Don't panic! Use a heat gun or a small blowtorch to gently heat the surface. This helps bubbles rise and pop, giving your piece a smooth finish.
Frequently Asked Questions
How Do You Start Epoxy Art?
To start epoxy art, gather essential epoxy supplies, including resin and hardener. Familiarize yourself with the mixing ratio, guarantee a clean workspace, and experiment with color mixing by adding pigments or glitters before pouring into molds.
How to Do Resin Step by Step?
To perform resin art step by step, start by preparing your workspace and taking safety precautions. Measure and mix the resin and hardener, incorporate desired color mixing, pour carefully, and allow the resin to cure fully.
What Is the Easiest Resin for Beginners?
The best epoxy for beginners is often one with a simple 1:1 mixing ratio, such as Pro Marine Supplies epoxy resin. Key beginner tips include choosing resins with low odor, minimal bubbles, and extended working times for ideal results.
What Is Resin Art for Beginners?
Resin art for beginners involves mastering resin basics, including precise measuring and mixing, and employing creative techniques like layering and pouring. Safety measures and utilizing tutorials can greatly aid in developing skills and exploring artistic possibilities.
Conclusion
To summarize, the process of creating epoxy resin art involves three fundamental steps:
gathering the necessary materials,
preparing an appropriate workspace,
and meticulously mixing and pouring the resin.
Mastery of these steps is essential for producing high-quality artwork.
Beginning artists are encouraged to practice these techniques to refine their skills and achieve the best results.
The journey from novice to adept artist is greatly facilitated by adherence to these foundational practices.


Leave a Reply