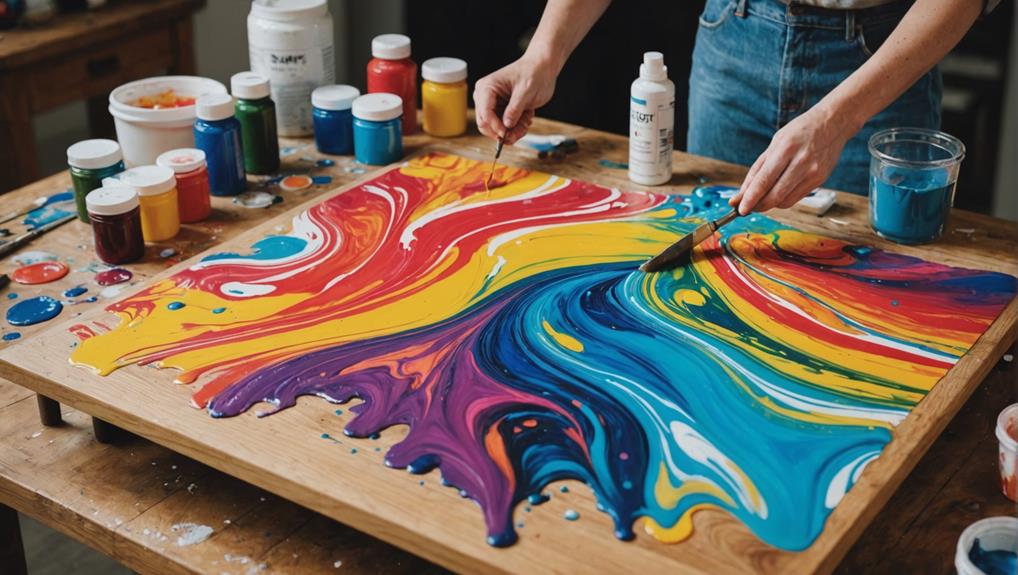
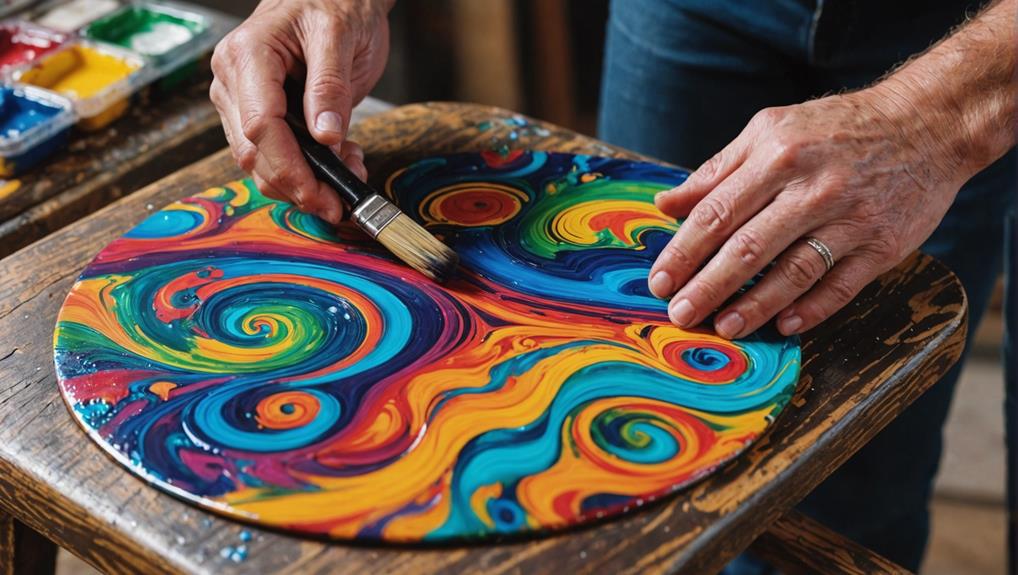
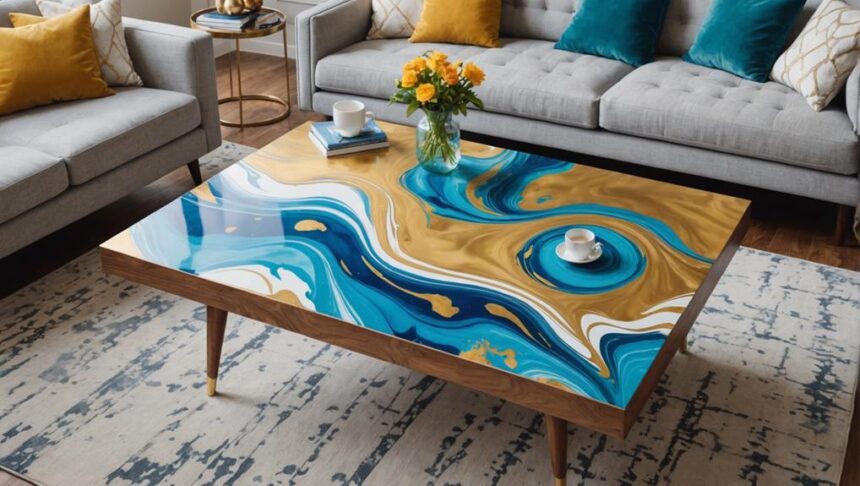
Fluid art on furniture is a mind-blowing way to turn drab pieces into dazzling centerpieces! Imagine splashing vibrant, swirling colors onto a tired old table to give it a fresh lease on life. Begin with acrylic pouring basics—mix your paint and pouring medium, and then choose your colors wisely to create eye-catching patterns. Prep your furniture by cleaning and sanding it, then try different pouring methods like flip cup or swipe. Don't forget to add a few drops of silicone for those cool cell effects, and use a heat gun for dynamic textures. Want to totally enhance your upcycling game? There's so much more to discover!
Key Takeaways
- Clean and sand the furniture surface to ensure proper paint adhesion and longevity.
- Use a limited palette of 3-5 colors for harmonious and visually appealing designs.
- Incorporate silicone oil for creating unique cells and textural complexity in the artwork.
- Apply a clear sealant after drying to protect and preserve the fluid art finish.
Acrylic Pouring Basics
Acrylic pouring, a mesmerizing fluid art technique, involves blending acrylic paints with pouring mediums to create dynamic, swirling patterns on various surfaces, including furniture.
To achieve vibrant results, understanding color theory is essential. Color theory helps in selecting hues that harmonize, contrast, or create striking effects. Imagine turning an old table into a stunning showpiece with a mix of bold reds and calming blues, all swirling together in an enchanting dance.
The secret to successful acrylic pouring lies in mastering paint viscosity. Viscosity refers to the paint's thickness, which you can control by adjusting the ratio of pouring medium, acrylic paint, and water. A common mix is two parts pouring medium to one part acrylic paint, with a touch of water to reach the perfect flow. Too thick, and the paint won't spread; too thin, and it can lose its vibrancy.
Different techniques like flip cup, dirty pour, and swipe allow for endless creativity. You can also add silicone to create fascinating cells and textures.
Essential Supplies
To bring your acrylic pouring projects to life on furniture, it is fundamental to gather the right supplies to guarantee both the process and the results are successful. Ensuring you have the correct materials not only enhances the quality of your artwork but also promotes safety and efficiency throughout the process.
Here are the essential supplies you'll need:
- Fluid Acrylic Paints and Pouring Medium: These are the backbone of your project. The pouring medium helps achieve the perfect consistency for fluid art, ensuring smooth application and vibrant colors.
- Protective Gear: Safety precautions are vital. Gloves and an apron protect your skin and clothes from spills and stains. Remember, safety first to enjoy a hassle-free creative experience.
- Color Mixing Tools: Cups for mixing colors, stir sticks for blending, and a heat gun for creating patterns and reducing bubbles are indispensable. These tools help you manage the paint and achieve the desired effects in your artwork.
Additionally, consider using gaffer tape to mask off areas and a clear sealant post-pouring to protect and enhance the final glossy finish. Equipped with these supplies, your fluid art on furniture will be both stunning and durable.
Surface Preparation
Before you start pouring those mesmerizing acrylic swirls, it's essential to get your furniture ready, so the paint looks its best.
First, give the surface a good cleaning with soap and water to remove any dust or grease.
Then, lightly sand it to make the paint stick better.
For slick surfaces, a coat of primer can work wonders, ensuring your artwork shines bright and lasts longer.
Cleaning and Sanding
Proper surface preparation is essential for ensuring ideal paint adhesion and a smooth finish on your furniture.
Let's explore some effective cleaning techniques and sanding methods to get your furniture ready for a stunning fluid art makeover.
First, thoroughly clean the furniture surface using a mild detergent and water. This removes any dirt, grease, or residue that could mess with how well the paint sticks.
Make sure to dry the surface completely before moving on to sanding.
Next, grab some fine-grit sandpaper, around 220 grit, and lightly sand the surface. This creates a rough texture that helps the paint adhere better.
If your furniture has a glossy finish, you'll need to start with a coarser sandpaper, around 120 grit, to dull that shine first. Then, finish with the finer grit to smooth things out.
Here's a quick rundown to help you remember:
- Clean the Surface: Use a mild detergent and water to remove dirt and grease.
- Coarse Sanding: For glossy finishes, start with 120 grit sandpaper.
- Fine Sanding: Finish with 220 grit sandpaper for a smooth yet textured surface.
Priming the Surface
After thoroughly cleaning and sanding the furniture, the next step is to apply a primer to secure ideal paint adhesion and durability. This process is vital because it sets the stage for the fluid art to shine. There are different primer types, such as oil-based, latex, and shellac primers, each with distinct advantages. Choosing the right primer depends on the furniture material and the desired finish.
Oil-based primers are excellent for wood and metal surfaces, providing a strong base, while latex primers are more versatile and dry faster. Shellac primers are perfect for covering stains and offering a smooth surface.
| Primer Type | Best For |
|---|---|
| Oil-Based | Wood and Metal |
| Latex | Versatile Use |
| Shellac | Stain Coverage |
| Adhesion | Slick Surfaces |
When applying the primer, use adhesion techniques to guarantee it bonds well. For slick or glossy surfaces, an adhesion primer is essential. These primers help the paint grip the surface, preventing peeling and ensuring longevity. Always let the primer dry completely before moving on to the acrylic pour. This patience pays off, making your fluid art not just beautiful but durable too.
Choosing Colors
Selecting the right colors for fluid art on furniture is crucial to achieving a harmonious and visually appealing piece that complements the surrounding decor. When choosing your palette, consider the principles of color psychology and seasonal palettes.
Colors evoke emotions and set the mood; for instance, blues and greens are calming, while reds and oranges can energize a space. Additionally, seasonal palettes can help your piece resonate with the time of year, such as warm tones for autumn or cool shades for winter.
To guarantee a cohesive look, follow these guidelines:
- Limit Your Palette: Stick to 3-5 colors to avoid overwhelming designs. This maintains clarity and harmony in the final piece, ensuring it doesn't clash with existing decor.
- Experiment with Contrasts: Use contrasting colors to create dramatic effects. This can enhance visual interest and make the furniture stand out without being too chaotic.
- Incorporate Metallics: Adding metallic colors like gold or silver can add a shimmering effect, elevating the overall aesthetic of the piece.
Always test your color combinations on smaller surfaces or swatches before proceeding with the main project. This helps gauge how the colors interact when poured, ensuring the final result is exactly what you envisioned.
Pouring Methods

Mastering various pouring methods is vital for creating fluid art on furniture that is both enchanting and distinctive. The flip cup method, for example, allows for a fascinating interplay of colors by pouring multiple hues into a cup and flipping it onto the surface. This technique creates mesmerizing patterns as the paint flows freely. The dirty pour technique, on the other hand, blends different colors in a single cup without separation, resulting in a seamless and organic look when poured onto the furniture.
Gravity effects play a significant role in these methods. By tilting the surface or the cup, you can guide the paint to flow in desired directions, adding dynamic movement and complexity to the design. The swipe technique is another popular method where a tool, like a spatula, is used to drag across the poured paint, forming intriguing patterns and cells.
Layering colors is vital to achieving depth and dimension in fluid art. Each layer influences the visibility and interaction of the colors, enhancing the overall aesthetic.
| Pouring Method | Description | Effect |
|---|---|---|
| Flip Cup | Multiple colors in a cup, flipped onto surface | Unique, flowing patterns |
| Dirty Pour | Colors combined in a single cup | Blended, organic look |
| Swipe Technique | Tool dragged across paint | Creates patterns and cells |
Adding Texture
When it comes to adding texture to your fluid art on furniture, there are some really cool techniques you can try.
For instance, mixing silicone into your pouring medium can create amazing cell patterns, giving your piece a unique, textured look.
Additionally, using a heat gun can help manipulate the paint, leading to intricate effects like lacing or wave patterns that add depth and interest to your design.
Silicone for Cell Effects
Incorporating silicone oil into your acrylic pouring mixture can greatly enhance the textural complexity of fluid art on furniture by creating distinctive cell effects. By adding just a few drops of silicone oil, the paint separates, forming unique, round shapes as it dries. This adds a rich texture and visual interest to your pieces.
Different silicone types, like dimethicone or silicone spray, can influence the size and texture of the cells.
Here are some tips for achieving the best cell formation:
- Choose the Right Silicone: Experiment with different silicone types to see which one works best for your project. Dimethicone often provides smaller, more detailed cells, while silicone spray can create larger, more varied textures.
- Adjust the Ratio: A typical guideline is adding 1-2 drops of silicone per ounce of pouring medium or paint. Too much can overwhelm the colors and affect the flow, so start small and adjust as necessary.
- Mix Gently: Avoid over-mixing the silicone into the paint. A gentle stir helps distribute the oil without breaking down the cell structure you aim to create.
Heat Gun Techniques
Using a heat gun in fluid art on furniture introduces unique textural elements by manipulating the movement and flow of wet acrylic paint. This technique can create stunning patterns by blowing warm air over the paint, causing it to dance and swirl in unexpected ways.
By adjusting the distance and angle of the heat gun, you can control the size and intensity of the textures. For instance, holding the gun closer results in more dramatic effects, while a greater distance produces softer ripples.
Experimenting with different heat settings adds another layer of creativity. Lower settings might give you gentle waves, while higher settings can create sharp peaks and valleys, adding incredible dimension and interest to your piece. It's like having a magic wand that reshapes your artwork in real-time!
One essential tip: keep that heat gun moving! If you leave it in one spot too long, you risk scorching the paint, leading to undesirable discoloration or even damage.
Plus, the heat gun is also fantastic for popping any pesky air bubbles trapped in the paint, ensuring a smoother finish.
Finishing Steps

To guarantee the longevity and aesthetic appeal of your fluid art on furniture, it is essential to follow meticulous finishing steps.
Allowing adequate drying time is fundamental. After completing your acrylic pour, let the piece dry for 24-48 hours to make sure the paint sets properly. Rushing this step can lead to smudges and imperfections.
Next, focus on sealing techniques. Applying a clear sealant, like polyurethane or epoxy resin, protects your artwork while enhancing the vibrancy of the colors. When sealing, make sure you cover the entire surface evenly to avoid any uncoated spots that could cause damage over time.
Finally, a polished piece isn't just about the paint. Adding hardware, such as knobs or legs, can transform your artwork into functional furniture. This step not only adds a professional touch but also makes the piece more practical for everyday use.
To sum up, follow these critical finishing steps:
- Drying Time: Let the piece dry for 24-48 hours.
- Sealing Techniques: Apply a clear sealant to protect and enhance.
- Final Touches: Add hardware for a polished, functional finish.
Creative Uses
Fluid art offers a myriad of creative uses for transforming ordinary furniture into exceptional statement pieces. Imagine taking an old table or a worn-out chair and, with a splash of color, turning it into a unique work of art. The creative techniques of fluid art, like the flip cup or dirty pour, allow you to create mesmerizing patterns that can make any piece of furniture stand out.
One exciting aspect of upcycling with fluid art is how it breathes new life into discarded items. Not only is this environmentally friendly, but it also saves you money. With some paint and a bit of creativity, you can turn a drab cabinet into a stunning focal point in your home. Design inspiration can come from anywhere—nature, abstract art, or even your favorite colors.
Adding metallic colors to your fluid art designs can give your furniture an elegant shimmer, making it look luxurious. Plus, fluid art isn't just for indoor pieces; you can also transform outdoor furniture, making your patio or garden just as stylish as your living room.
This versatility means you can express your creativity in any space, making every item both functional and beautiful.
Frequently Asked Questions
Can You Do Fluid Art on Wood?
Yes, fluid art can be executed on wood. Techniques comparison highlights the importance of surface preparation, including cleaning, sanding, and priming. Utilizing a pouring medium and clear sealant guarantees ideal adhesion and a vibrant, durable finish.
What Can You Do Fluid Art On?
Fluid art can be applied to a variety of surfaces, including canvas, wood, metal, and plastic. Utilizing diverse canvas techniques and experimenting with color combinations can result in striking designs for both indoor and outdoor decor.
Conclusion
Fluid art on furniture offers a sustainable and creative way to upcycle old pieces, transforming them into unique and vibrant works of art.
Mastery of acrylic pouring techniques, appropriate color selection, and careful surface preparation are essential for achieving desired results.
By adding texture and finishing touches, one can enhance the aesthetic appeal of furniture.
This innovative approach not only revitalizes household items but also contributes to environmental conservation by reducing waste.


Leave a Reply