Looking for fun crafts to kill boredom? Try making leaf imprint jewelry dishes, floral tote bags, or rose petal bath salts! Other quick projects include rainbow doormats, colorful Jenga games, and stylish colorblock vases. Paint some floral candles or create a simple scenery painting. These crafts don’t need fancy supplies or art skills—just grab basic materials and let your creativity flow. Each project below offers a perfect escape from everyday stress.
Key Takeaways
- Nature-inspired crafts like Leaf Imprint Jewelry Dishes and Pressed Flower Lanterns offer simple ways to bring outdoor beauty inside.
- Most projects, such as Rainbow Bangles and Colorful Jenga, can be completed in under an hour with basic supplies.
- Customizable items like Floral Stencil Tote Bags and Rainbow Doormats allow for personal expression while remaining beginner-friendly.
- Handmade gifts including Rose Petal Bath Salts provide cost-effective, meaningful alternatives to store-bought presents.
- Decorative home projects like Colorblock Vases transform ordinary items into stylish decor using minimal supplies.
Leaf Imprint Jewelry Dish
Several crafts bring the beauty of nature indoors, but the Leaf Imprint Jewelry Dish might just be the easiest and most elegant of them all! This simple craft transforms ordinary air dry clay into a stunning decorative piece using nothing but cuttings from houseplants or trees. How cool is that?
The DIY process couldn’t be simpler—roll out clay, press leaves to create detailed impressions, shape into a dish, and let dry!
Nature’s artistry meets functional design with just a clay ball, a rolling pin, and the leaves from your garden.
Crafters can leave their creation in its natural state for a rustic vibe or paint it for extra pizzazz. Perfect for holding jewelry, keys, or other small treasures, these dishes make fantastic home decor pieces.
The best part? Sprouting Wild Ones offers a complete tutorial that even craft newbies can follow with ease!
Floral Stencil Tote Bag
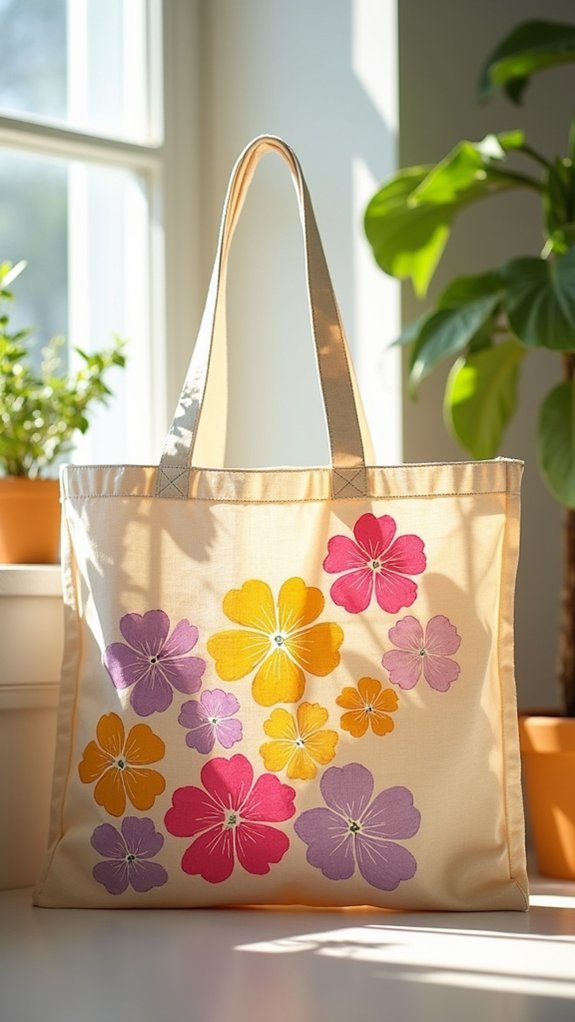
Creating a floral stencil tote bag requires just a few simple materials that most crafters already have on hand: a plain tote bag, floral stencils, acrylic paint, and a paintbrush.
Crafters can easily personalize their bags by adding names or initials with alphabet stencils, making each creation uniquely their own.
These customized tote bags make awesome gifts for friends or family, and the best part is that even beginners can create something that looks totally professional!
DIY Personalization Options
Tote bags transform from boring to brilliant with a few simple personalization techniques. Adding alphabet stencils to your floral design makes a DIY project that’s super simple yet completely unique.
Crafters can spell out names, initials, or meaningful phrases that give the bag special significance to its owner or recipient.
- Create a family beach bag with each person’s initial in a different color
- Design a “Book Lover” tote with favorite literary quotes stenciled among flowers
- Craft matching bridesmaid bags with their names and wedding date
- Make a teacher gift with “World’s Best Teacher” surrounded by colorful blooms
This personalization approach works for crafters of all skill levels, making it perfect for beginners who want impressive results without complicated techniques.
Simple Materials Needed
Simplicity defines the materials list for a gorgeous floral stencil tote bag project. Crafters only need three essential items: a plain tote bag (preferably in a solid color), floral stencils in preferred designs, and acrylic craft paint in chosen colors. This easy crafts for adults project doesn’t require expensive equipment or complicated supplies!
For better results, a few additional items can be helpful. Painter’s tape keeps stencils firmly in place, preventing smudges and mistakes. A foam brush or sponge applies paint evenly without leaving streaky brush marks.
These simple tutorial basics make the DIY projects accessible for beginners and experienced crafters alike. Want to personalize your creation? Grab some alphabet stencils too! The beauty of this project lies in its simplicity—ordinary materials transform into something extraordinary with minimal fuss.
Rose Petal Bath Salts
The sweet fragrance of rose petals transforms ordinary bath time into a spa-like escape with homemade bath salts. Creating DIY rose petal bath salts combines the joy of fun crafts with practical self-care.
The process couldn’t be simpler—mix dried rose petals with Epsom salt, add a few drops of essential oil, and voilà! This DIY home project yields a luxurious product that both soothes the body and delights the senses.
- Promotes relaxation after a long, stressful day at school
- Offers skin-loving benefits from the natural detoxifying properties
- Creates perfect personalized gifts for friends and family
- Encourages creativity through customization with different scents and ingredients
When stored in airtight containers, these fragrant bath salts maintain their delightful scent for months.
Even beginners can master this craft in minutes!
Rainbow Doormat
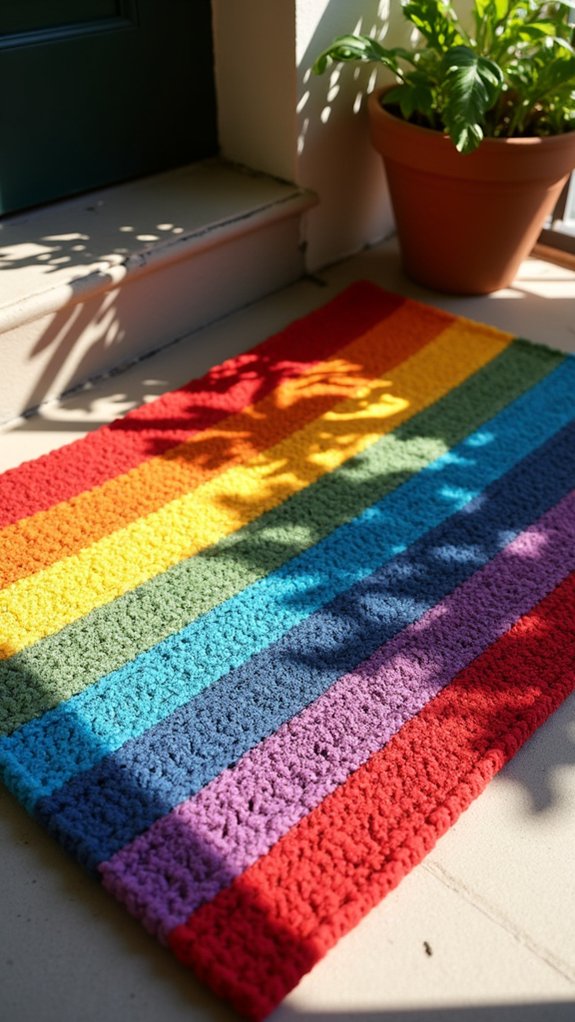
After creating some fragrant bath salts, let’s switch gears and brighten up your entryway with a super colorful project!
The Rainbow Doormat transforms an ordinary coir mat into an explosion of vibrant colors that’ll make everyone smile as they approach your door.
This fun outdoor craft combines creativity with practicality, giving your home a personality boost while still functioning as a place to wipe muddy shoes.
Materials Needed
Creating your colorful Rainbow Doormat begins with gathering the right materials for a successful project. This quick and easy craft transforms a plain doormat into a vibrant welcome piece for your home! Unlike paper crafts, this project requires outdoor-friendly supplies so your creation stands up to foot traffic and weather.
- Natural coir doormat – the perfect base that’s super durable (way better than trying to use paper, which would just fall apart!)
- Outdoor acrylic craft paint in rainbow colors – these stick to the mat and won’t wash away in the rain
- Paintbrush or foam brush – for smooth, even application of your amazing colors
- Painters tape – helps create those crisp, clean lines that make your doormat look professional
Step-By-Step Painting Guide
Now that all materials are gathered, it’s time to bring that plain doormat to life with a burst of rainbow colors! This easy tutorial breaks down the painting process into simple, manageable steps. Grab your brushes and let’s get creative!
| Step | Action | Time | Tip |
|---|---|---|---|
| 1 | Sketch design | 10 min | Use chalk for easy erasing |
| 2 | Apply base colors | 30 min | Paint from top to bottom |
| 3 | Add details | 20 min | Layer colors for depth |
| 4 | Seal finished mat | 15 min | Apply two thin coats |
The step by step process guarantees even beginners can create a stunning doormat. Remember to let each color dry completely before adding the next—this prevents smudging and keeps your rainbow crisp. Your neighbors will never believe you made this yourself!
Drying and Placement
With your artistic vision now splashed across the doormat, patience becomes your best friend during the essential drying phase.
The Rainbow Doormat needs a full 24 hours to dry completely, ensuring those vibrant colors set properly before facing the elements.
Find a flat, clean surface away from curious pets or little hands while the paint cures.
Once dry, your colorful home decor creation is ready to make a statement at your entryway!
Position it in a spot where it’ll catch the eye but still serve its purpose of collecting dirt from shoes.
- A cheerful welcome that brightens even the rainiest days
- A personal touch that shows visitors your creative spirit
- A functional piece of art that serves a practical purpose
- A daily reminder that small bursts of color can transform ordinary objects
Colorful Jenga Game
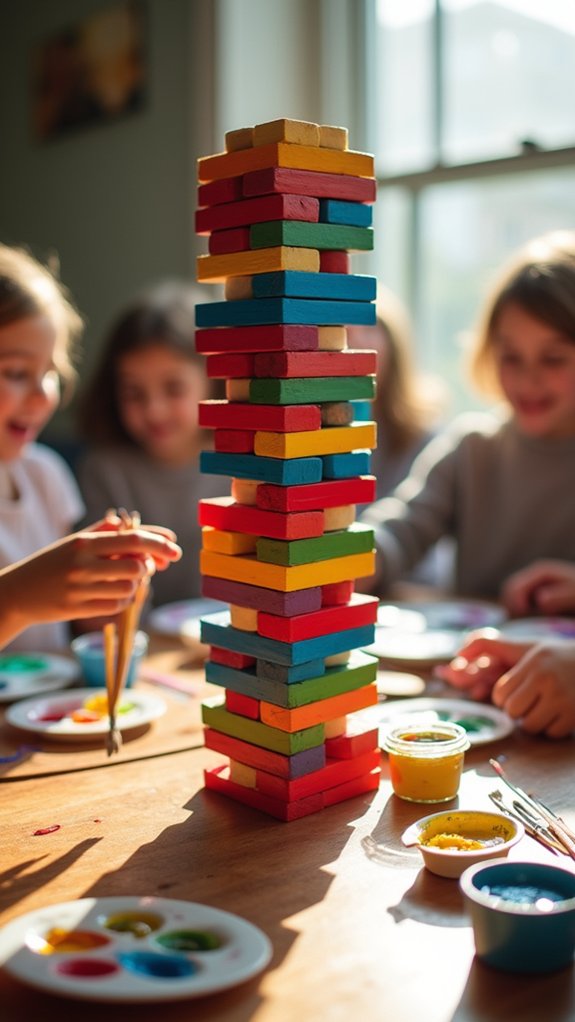
Transforming the traditional Jenga game into a burst of color takes merely thirty minutes but delivers hours of vibrant fun. This simple yet delightful crafts for kids project requires just a few foam paintbrushes and acrylic paints in whatever colors bring joy to your game table.
The fun craft involves painting each wooden block with bright hues, creating a visually stunning version of the classic game that everyone knows and loves.
The colorful Jenga game isn’t just entertaining to play—it’s a blast to make! Families can gather around, select their favorite colors, and personalize their set.
For those needing guidance, Lovely Indeed offers an extensive tutorial with easy-to-follow steps. This creative twist on a familiar favorite encourages artistic expression while promising exciting, rainbow-filled game nights!
Paper Flower Gift Topper
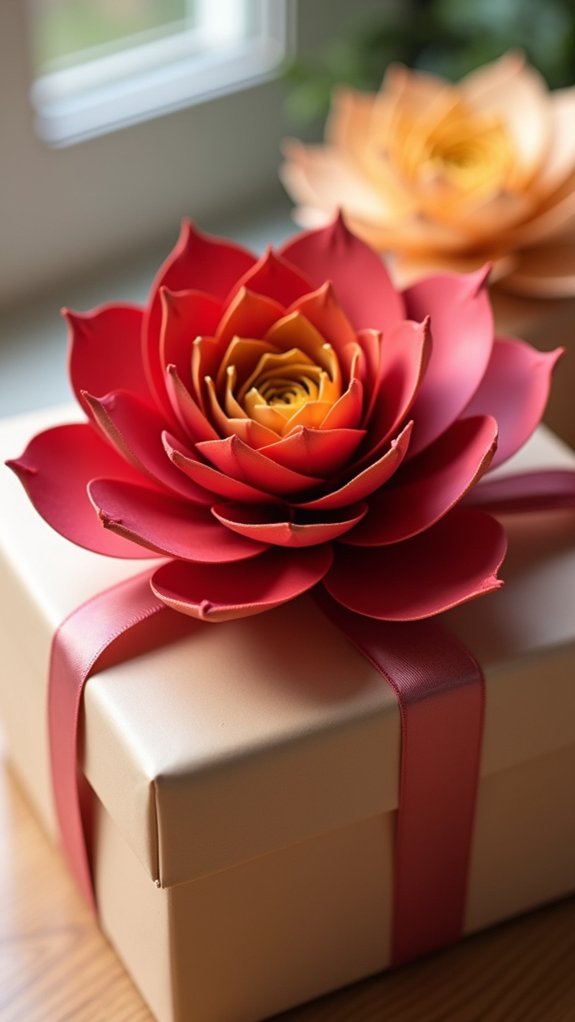
Enhance your gift-giving game with paper flower toppers that transform ordinary presents into works of art! These easy craft ideas require just colored paper and scissors, making them perfect for last-minute gift decorations.
Paper flowers add a personal touch that shows extra care and creativity, and kids will love helping to create these beautiful toppers for birthday or holiday presents.
Handmade paper blooms elevate your gift with thoughtfulness that both children and recipients adore.
- Creates lasting memories since handmade decorations carry more emotional significance than store-bought bows
- Teaches patience and fine motor skills while crafting something beautiful
- Reduces waste by using recyclable materials instead of plastic ribbons
- Builds confidence in artistic abilities when recipients admire your handiwork
The tutorials from The House That Lars Built walk crafters through simple folding techniques that even beginners can master.
Try different paper colors to match any occasion!
Mid-Century Modern Side Table
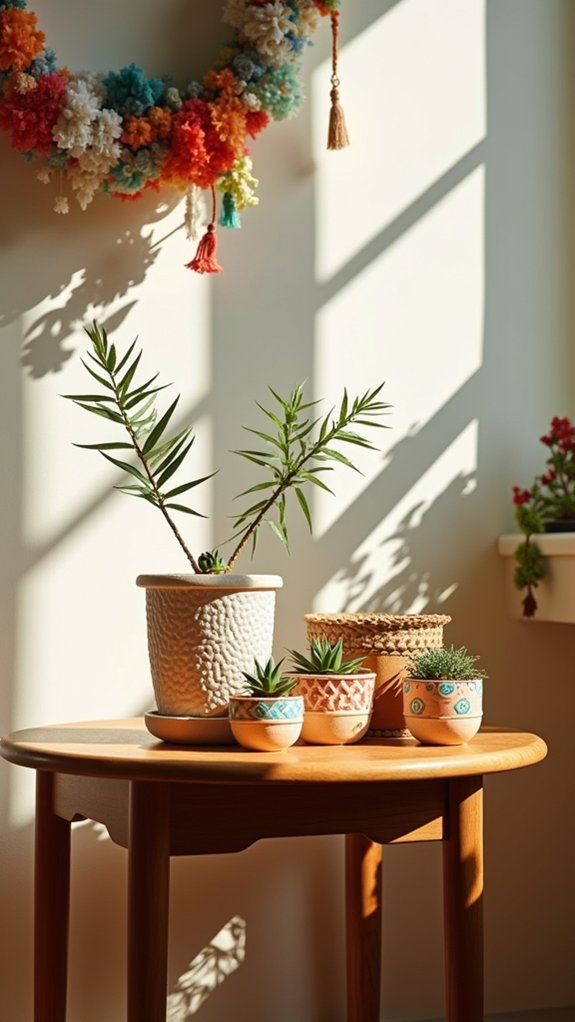
Every home decorator dreams of stylish furniture that doesn’t break the bank! This amazing DIY craft transforms a simple cake pan into a sleek side table with hidden storage—perfect for any room in your home. The best part? It costs less than $15 to make!
| Project Details | What You’ll Need | Time Required |
|---|---|---|
| Difficulty: Easy | Cake pan | Few hours |
| Cost: Under $15 | Wood | Afternoon project |
| Style: Versatile | Basic tools | Quick to complete |
In just a few hours, crafters can create this functional piece that looks straight out of a designer catalog! The Sugar and Cloth website offers step-by-step instructions that even beginners can follow. This project proves that home decor doesn’t need to be expensive to be stylish—just add creativity and a little elbow grease!
Rainbow Bangles
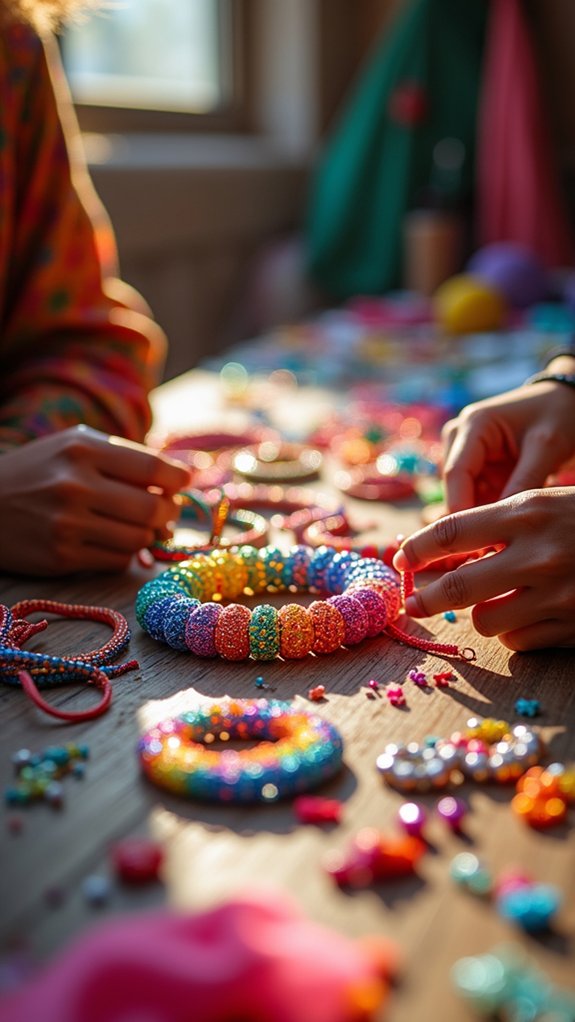
Rainbow bangles transform plain wooden bracelets into eye-catching wrist accessories that burst with personality and color.
Kids can express their creativity by painting these bangles with bright, cheerful patterns using simple foam brushes and acrylic paints.
The addition of stencils opens up endless design possibilities, allowing crafters to create unique jewelry pieces that match their style or serve as heartfelt gifts for friends.
Colorful Wrist Adornments
Bright, colorful wrist bangles offer a delightful way to express personal style while having a blast creating them. These easy crafts transform plain wooden bangles into vibrant accessories through the magic of acrylic paint and stencils.
Taking just an hour to complete, they’re perfect for crafters of all ages and skill levels. Kids and adults alike can enjoy this quick project that delivers stunning results!
- Express yourself through patterns that reflect your personality
- Connect with friends and family during fun craft sessions
- Boost confidence by wearing your own handmade accessories
- Spread joy by gifting these colorful creations to others
The beauty of rainbow bangles is their versatility – wear them stacked for a bold statement or individually for a subtle pop of color.
No fancy equipment needed, just imagination and a willingness to get crafty!
Stenciling Wooden Jewelry
Transform plain wooden circles into wearable art with the simple magic of stenciling! Rainbow bangles are super easy to create and totally eye-catching. Grab some wooden bangles, vibrant acrylic paints, and fun stencils to get started on this awesome craft project.
First, secure your stencil firmly to prevent paint from sneaking underneath. Then, using foam brushes, apply bright paint colors one at a time, letting each dry before adding the next. The wooden surface takes paint beautifully, allowing your creativity to shine through!
When your masterpiece is complete, don’t forget to seal it with clear acrylic spray. This protects your design and makes your bangle last longer.
These colorful accessories make perfect gifts or can jazz up your own style with a personal touch!
Pressed Flower Lanterns
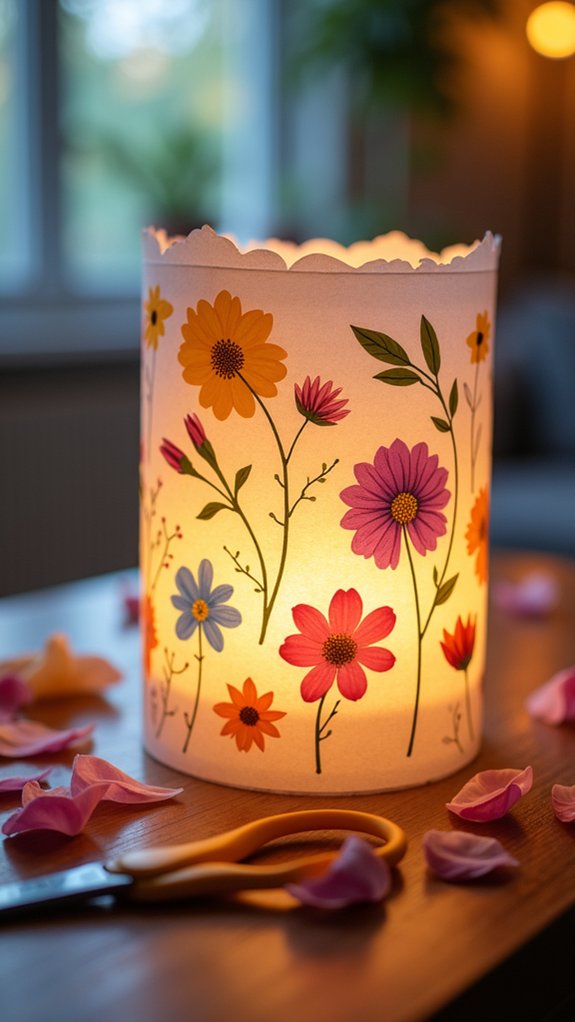
Delicate and ethereal, pressed flower lanterns offer crafters a magical way to capture nature’s beauty in illuminated form. This creative project transforms ordinary glass containers into stunning light vessels that glow with botanical charm.
Nature’s ephemeral beauty captured forever, glowing softly through delicate petals and leaves.
Crafters can use fresh flowers they’ve pressed themselves or pre-dried blooms, arranging them artfully on glass surfaces before sealing with Mod Podge. The perfect craft for gatherings or solo crafting sessions, these lanterns bring warmth and personality to any space.
- Makes thoughtful handmade gifts that preserve memories
- Creates cozy, natural lighting for special occasions
- Connects crafters with nature through seasonal materials
- Provides a meditative creative process accessible to all skill levels
When illuminated with tea lights or LED candles, these handmade treasures cast enchanting shadows and colors, transforming ordinary evenings into magical moments.
Cubby Cabinet
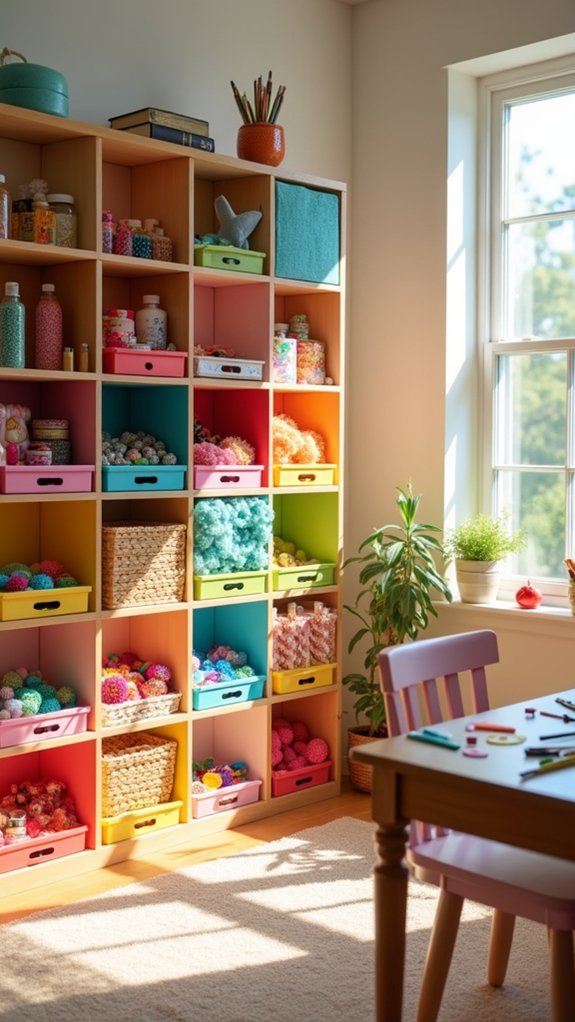
Vintage charm meets modern organization in the DIY Cubby Cabinet, a project that captures the essence of old-world apothecary furniture while solving today’s storage dilemmas.
With its multiple compartments and rustic appeal, this great craft transforms ordinary spaces into showcases of personality and function.
The best part? Crafters can complete this perfect activity for less than $15!
Step-by-step tutorials available at A Piece of Rainbow make things super simple, even for beginners tackling their first woodworking project.
Whether it’s displaying seasonal treasures, corralling office supplies, or organizing craft materials, these cabinets adapt to any room’s needs.
The satisfaction of creating a unique piece that combines beauty and practicality is unmatched!
Kids and adults alike will love customizing their Cubby Cabinet to reflect their personal style.
Bumble Bee Bookmark
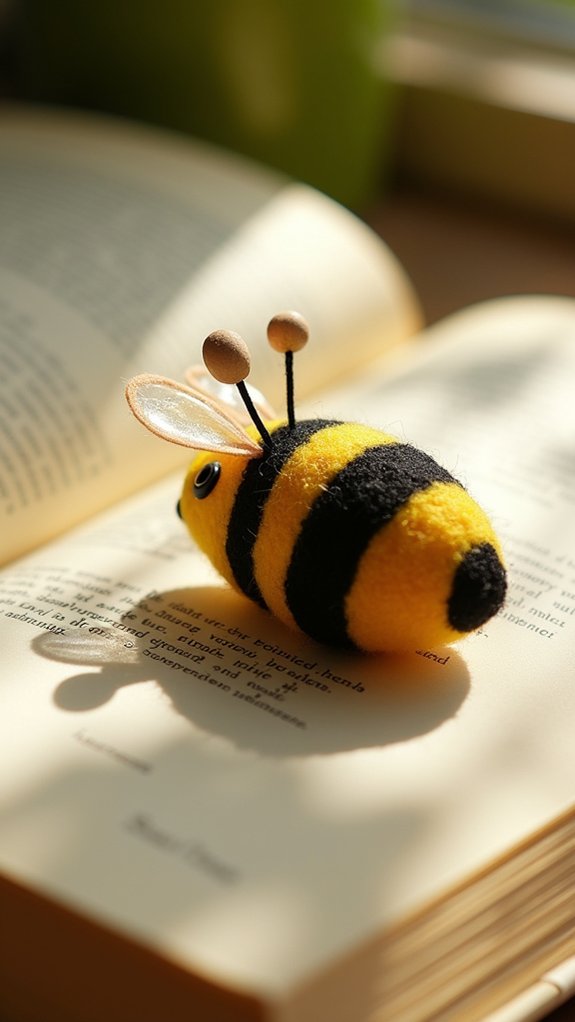
From storing treasures in cubbies to marking pages with buzzing friends, crafters of all ages will fall in love with the Bumble Bee Bookmark! This simple craft transforms ordinary felt scraps into adorable page-savers, making reading even more fun.
The easy-to-follow design requires just basic materials—felt, scissors, and glue—creating an accessible project for everyone from beginners to experienced crafters.
Simple supplies meet endless creativity—craft these bee bookmarks with just felt, scissors, and glue for instant crafting joy.
- Creates a practical use for leftover felt scraps, promoting eco-friendly crafting
- Builds fine motor skills while encouraging creative expression
- Transforms ordinary reading time into a personalized experience
- Boosts crafting confidence through quick completion and visible results
The cheerful bumble bee design adds a whimsical touch to any book, making this craft not just useful but delightfully decorative too!
Colorblock Vase
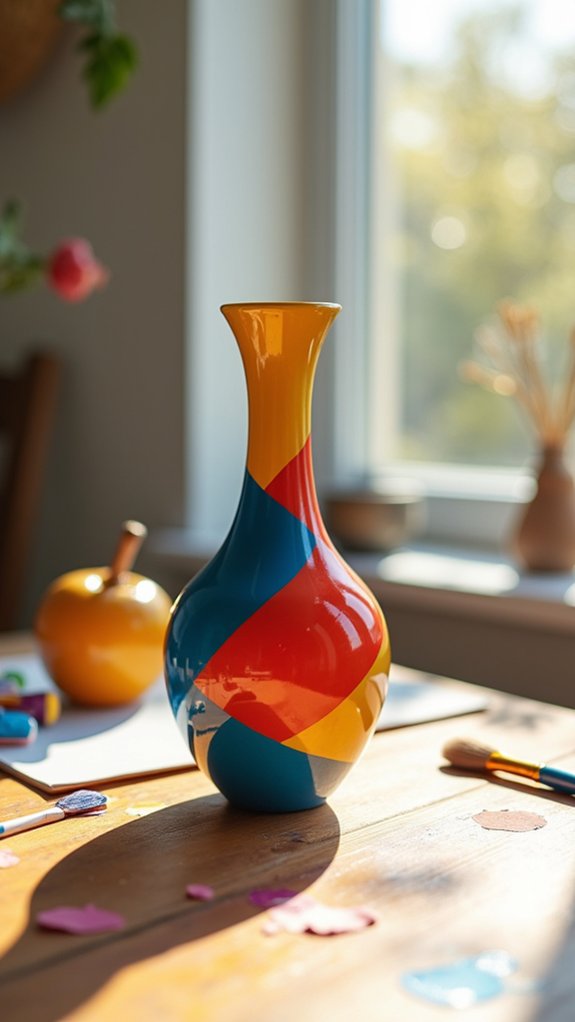
The Colorblock Vase project transforms ordinary containers into eye-catching home decor with just a few simple materials.
Painter’s tape creates crisp boundaries between colors, while spray paint adds vibrant personality to plain glass or ceramic surfaces.
With countless color combinations available—from bold neons to elegant pastels—crafters can customize these vases to match any room’s aesthetic or create the perfect handmade gift.
Materials and Setup
Creating a colorblock vase requires just a few simple materials that transform an ordinary container into a vibrant home accent. Crafters need to gather a plain glass or ceramic vase, spray paint in their favorite colors, and painter’s tape for those crisp, clean edges.
Before diving into this fun project, it’s super important to clean the vase thoroughly—any dust or fingerprints will make the paint look messy!
- Prep your workspace by covering it with newspaper or a drop cloth to catch paint overspray
- Choose colors that complement your home decor for a personalized touch
- Select quality painter’s tape to guarantee no paint bleeds under the edges
- Work in a well-ventilated area since spray paint fumes can make you dizzy!
Tape Technique Tips
Achieving those perfect, crisp lines on your colorblock vase depends almost entirely on mastering a few essential tape techniques!
First, make sure your glass vase is super clean and dry before applying any painter’s tape. Press the tape down firmly with your fingers, running your nail along each edge to create a tight seal – this prevents that annoying paint bleed!
When sectioning off your vase, try overlapping tape pieces slightly at corners for extra protection.
After applying your acrylic spray paint in thin, even coats (patience is key!), let each color dry completely before tackling the next section.
The most exciting part? Peeling the tape off at a 45-degree angle to reveal those amazing clean lines! Go slowly – this is the moment where your colorblock design truly comes to life!
Color Combination Ideas
When selecting colors for your colorblock vase, why not think beyond basic combinations to truly express your personal style?
Color combinations can transform an ordinary glass container into something that pops with personality! This super easy project lets anyone make something beautiful in less than an hour, regardless of artistic experience.
- Contrast bold primary colors (red, blue, yellow) with clean white spaces for a modern, energetic look
- Blend soft pastels (mint, blush, lavender) for a dreamy, romantic aesthetic perfect for spring decorating
- Try metallic paints (gold, copper, silver) against black for sophisticated, glamorous vibes
- Create ombré effects using different shades of one color family for a trendy, Instagram-worthy display
Mix and match these ideas to create vases that reflect your home’s unique character!
Floral Candles
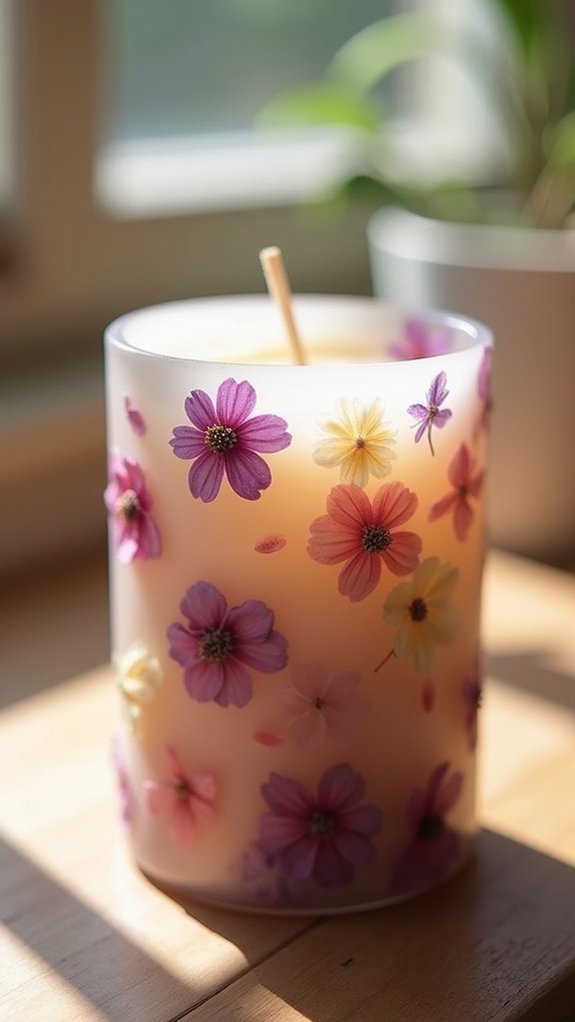
Floral candles transform ordinary taper candles into works of art that brighten any room with their delicate, hand-painted designs. Using craft paint and simple techniques, crafters can create stunning decorative pieces that double as handmade gifts for loved ones. This fun project requires minimal supplies but delivers maximum impact!
| Materials | Difficulty | Time Needed |
|---|---|---|
| Taper candles | Beginner | 30 minutes |
| Paint markers | Intermediate | 1 hour |
| Craft paint | Advanced | 2+ hours |
The beauty of floral candles lies in their versatility. They’re perfect for dinner parties, weddings, or just adding a cozy touch to your home. Even middle schoolers can master this craft with a little practice! The finished candles create a magical atmosphere when lit, with shadows that dance playfully around the room.
Easy Landscape Painting
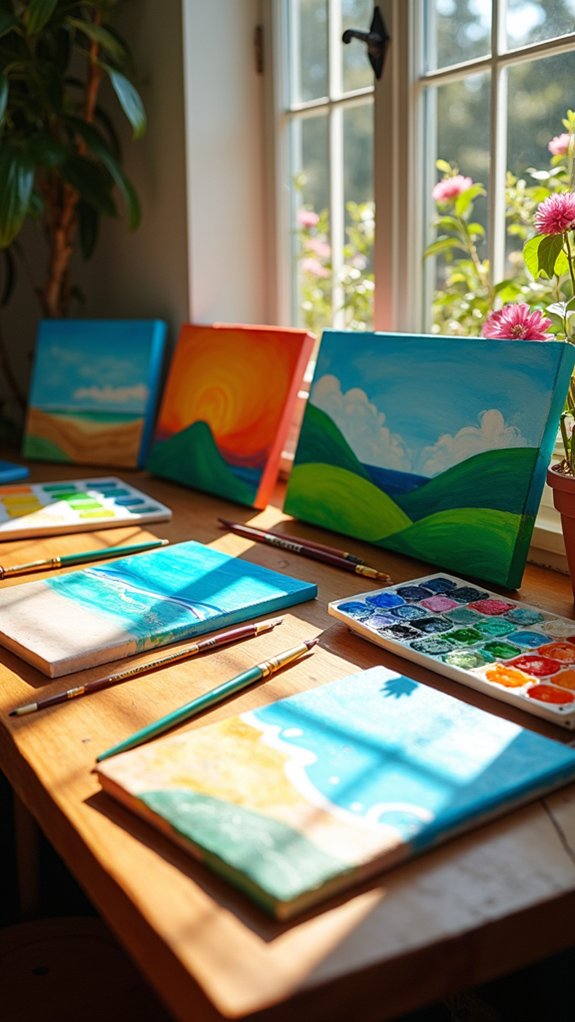
Easy scenery paintings often capture the beauty of nature with just a few simple strokes and colors. Beginners can immerse themselves in this relaxing craft using acrylic paints, which dry quickly and allow for easy fixes if mistakes happen.
Video tutorials make learning a breeze, showing how to blend dreamy skies or create majestic mountains with simple techniques. Thrifted frames can transform these homemade masterpieces into gallery-worthy displays!
- Painting vistas helps calm the mind after a stressful day
- Creating art boosts self-confidence when you see what you can make
- Each vista tells a personal story of places real or imagined
- Expressing creativity through painting connects you with nature even indoors
This beginner-friendly project needs minimal supplies but delivers maximum joy and satisfaction!
DIY Lavender Soap
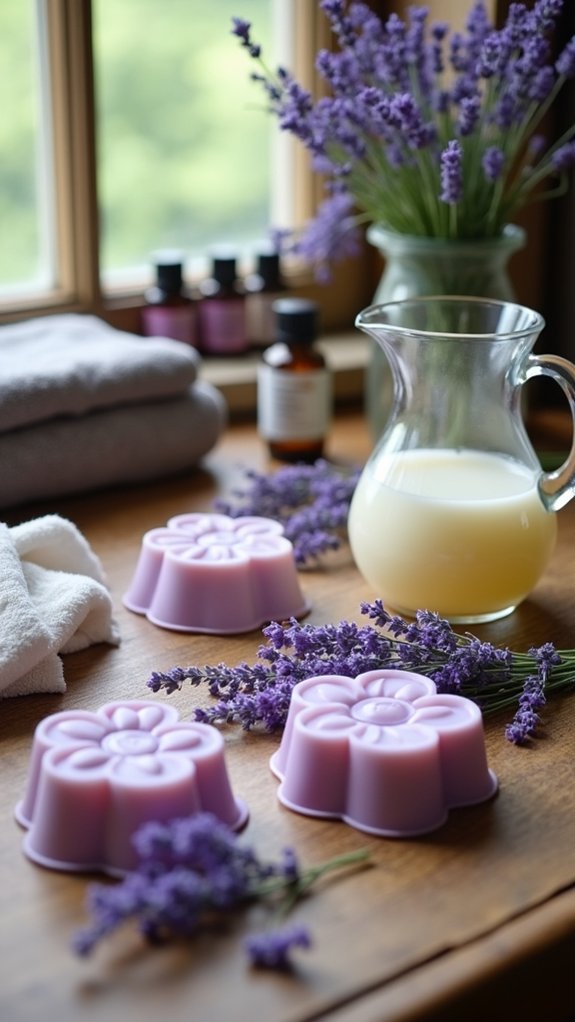
Crafting homemade lavender soap transforms ordinary bathroom routines into luxurious experiences without requiring advanced skills.
Transform your daily rituals into spa moments with homemade lavender soap—luxury made simple, no expertise needed.
This quick make uses a gentle goats milk base that’s perfect for beginners—just melt it in the microwave, stir in dried lavender flowers, and pour into molds! The entire process takes only 30 minutes, making it an ideal project for crafters short on time but enthusiastic to make something beautiful.
The finished soaps serve dual purposes: pampering yourself with spa-quality products or creating thoughtful, handmade gifts for loved ones.
Kids and adults alike enjoy customizing their diy lavender soap creations with different essential oils, colorants, and fun mold shapes.
Who knew something so fancy could be so simple to create? These sweet-smelling bars prove that impressive handmade items don’t always require complicated techniques!
Frequently Asked Questions
What Are Some Good Craft Ideas for Adults?
Adult crafting trends include diamond painting, macrame plant hangers, and Jesmonite trays. DIY home decor projects like paper hearts and fabric crafts offer relaxing craft hobbies for personal enjoyment and home enhancement.
What Are Craft Ideas for ADHD Adults?
For adults with ADHD, mindful crafting options include repetitive patterns like knitting, sensory activities with textured materials, structured DIY projects requiring minimal setup, and fidget art incorporating vibrant colors.
What Are Some Easy Crafts to Make?
Simple paper crafts like origami and paper flowers offer creative satisfaction. Easy DIY projects include painted rocks and mason jar candles. Quick home decor possibilities feature string art and fabric wall hangings.
What Is the Hottest Craft Right Now for Adults?
The hottest crafts for adults currently include diamond painting, resin art, and macrame projects. Many adults are exploring painting techniques while creating personalized home decor through versatile textile and sculptural mediums.
Conclusion
Crafting isn’t just about making pretty things—it’s about having fun while you create! These fifteen easy projects prove that anyone can be artistic without spending tons of money or time. From colorful doormats to homemade soaps, each activity offers a chance to express yourself and maybe even discover a new hobby. So grab some supplies, turn on your favorite music, and let your creativity run wild. Who knows what amazing things you’ll make next!

Leave a Reply