Ever started a fluid art piece only to end up with colors that look like a muddy mess? Fret not! The key to fixing this is understanding the color wheel. Avoid mixing complementary colors like red and green, which can lead to dull, muddy shades. Instead, use analogous colors that sit next to each other on the wheel for harmonious blends. Try layering thin barrier coats of white, black, or gray to keep colors separated and vibrant. And remember, experimenting with gray doesn’t mean your work will be drab—it actually makes other colors pop! Let’s turn that sludgy art into a masterpiece.
Key Takeaways
- Utilize a color wheel to avoid mixing complementary colors, which can result in muddy hues.
- Apply barrier coats of white, black, or gray between colors to maintain distinct hues.
- Control color mixing during application, using techniques like the flip cup method for better separation.
- Experiment with gray shades to act as neutral mediators, preventing unwanted muddying.
Understanding Color Theory
Understanding color theory is fundamental for fluid artists aiming to achieve vibrant and harmonious compositions. By delving into the intricacies of color symbolism and its emotional impact, artists can raise their work from ordinary to extraordinary.
Color symbolism refers to the meanings and feelings that different colors evoke. For instance, red often symbolizes passion or danger, while blue can evoke calmness or sadness. These emotional impacts are significant in fluid art, where the flow and blending of colors can create powerful visual stories.
When artists understand the emotional resonance of colors, they can intentionally select hues that enhance their creative vision. This awareness helps avoid the pitfall of muddy colors, which can occur when complementary colors like red and green mix unintentionally, resulting in a dull gray-brown. By applying color theory, artists can anticipate these interactions and choose color combinations that maintain vibrancy.
Additionally, mastering color theory involves understanding hue, saturation, and value. Hue refers to the color itself, saturation describes its intensity, and value indicates its lightness or darkness. Keeping these properties in mind enables artists to create balanced palettes, ensuring their fluid art pieces are both striking and harmonious.
Using the Color Wheel
Understanding how to use the color wheel can make a big difference in your fluid art, helping you avoid those frustrating muddy colors.
By looking at the relationships between opposite colors, you can see why mixing red and green might not be the best idea if you want to keep your work vibrant.
Instead, choosing colors that are next to each other on the wheel can create a beautiful harmony, making your artwork pop with life and energy.
Opposite Color Relationships
Opposite color relationships on the color wheel, such as red and green, play a critical role in fluid art by influencing how colors interact and potentially neutralize each other.
Color psychology indicates that complementary colors can create a sense of chromatic harmony when used thoughtfully. However, mixing these opposites often leads to muted tones, commonly known as ‘mud,’ which can dull the vibrancy of your artwork.
Imagine you’ve just poured a stunning red next to a vibrant green, expecting a pop of excitement. Instead, you get a murky, brownish mess. This is because, when mixed, red and green neutralize each other. Understanding these relationships helps you avoid such disappointments.
To maintain the brilliance of your colors, use the color wheel as a guide. It helps you visualize which colors complement each other without blending into mud.
Pay attention to color properties like temperature and saturation. Warm colors (reds, oranges) and cool colors (blues, greens) can coexist beautifully if you know where to draw the line—literally!
Visualizing Color Interactions
Visualizing color interactions through the use of the color wheel allows artists to strategically mix and juxtapose hues to achieve desired aesthetic outcomes. The color wheel is an indispensable tool in understanding color perception and color symbolism, enabling artists to predict how different hues will interact on the canvas.
For instance, complementary colors—those directly opposite each other on the wheel like red and green—can cancel each other out and lead to muddy tones if mixed carelessly. To avoid such pitfalls, artists can use the color wheel to identify analogous colors, which sit next to each other and naturally harmonize. This approach helps in maintaining vibrant and clean results in fluid art.
Additionally, the color wheel aids in selecting barrier colors, such as white or black, to separate conflicting hues and maintain their integrity. Understanding the position of colors on the wheel allows for strategic color mixing, enhancing the clarity and vibrancy of the artwork.
Recognizing the symbolic meanings of colors also adds depth to the artwork, as different hues can evoke various emotions and responses. Therefore, mastering the color wheel is vital for any fluid artist working to avoid muddiness and achieve visually appealing results.
Achieving Color Harmony
Achieving color harmony in fluid art begins with leveraging the color wheel to make informed decisions about which colors will complement each other on the canvas, thereby avoiding the muddiness that can result from improper mixing. The color wheel is an essential tool that helps artists understand color relationships.
For instance, mixing complementary colors like red and green can lead to dull, gray-brown shades—definitely not what you want in your vibrant artwork!
To avoid this, pay close attention to how colors interact. Think of color symbolism and the emotional impact you want to convey. Do you want your piece to evoke calmness or excitement? These choices can guide your color selections.
Using barrier coats like white or black can help keep your colors crisp and separate, ensuring that your hues stay vibrant. Even experimenting with gray as an intermediary can work wonders, allowing for smooth changes without turning into a muddy mess.
Avoiding Color Mud
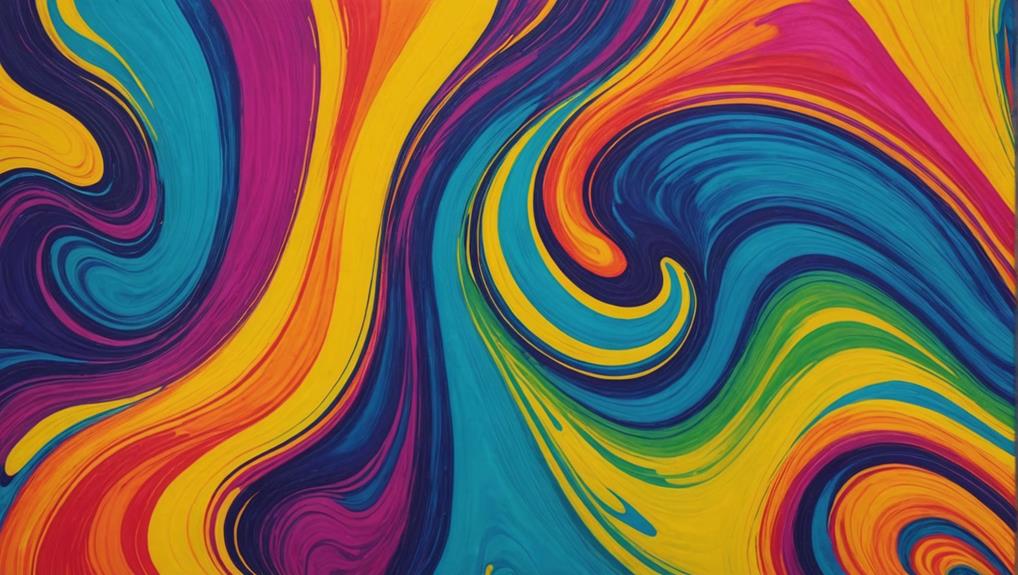
To keep your colors bright and clear in fluid art, it’s essential to use barrier techniques like adding a layer of white or black paint between colors that might mix poorly.
By controlling how and when colors interact, you can prevent unwanted blending and maintain the vibrancy of your artwork.
Understanding the relationships between colors, and experimenting with methods like controlled spinning, can help you avoid the dreaded muddy hues.
Use Barrier Techniques
Employing barrier techniques in fluid art is an essential strategy for preventing muddy colors and maintaining the vibrancy and clarity of individual hues. Imagine working so hard on your art piece, only to see those beautiful, bright colors turn into an unappealing, muddy mess. Not fun, right? This is where barrier benefits come into play. By using a layer of white, black, or even gray paint between colors that might not get along, you can keep your hues distinct and popping.
Layering techniques are super important here. The idea is to add a barrier coat between colors that might mix into muddy tones. For example, a swipe of white paint can act as a wall between a bright yellow and a deep blue, preventing them from blending into an unattractive greenish-brown.
Here’s a quick table to illustrate some popular barrier techniques:
| Barrier Color | Benefit |
|---|---|
| White | Maintains brightness |
| Black | Adds depth and contrast |
| Gray | Neutralizes without dulling |
These simple steps can make a huge difference, keeping your fluid art vibrant and visually striking. So next time you pour, remember to think about those barriers!
Control Color Mixing
Building upon the importance of barrier techniques, controlling color mixing is key to avoiding the dreaded muddy hues in fluid art.
Color psychology plays a huge role here, as certain colors can evoke specific emotions and moods. To maintain the vibrancy and artistic expression in your artwork, it’s essential to manage how colors interact on your canvas.
One effective method is to use the color wheel to your advantage. By knowing which colors are opposites, like red and green, you can avoid mixing them directly, as they often produce dull, muddy tones. Instead, try experimenting with neutral barriers such as white, black, or even gray. These barriers help keep your colors distinct and lively.
You can also control the mixing process by allowing colors to blend in a controlled environment before applying them to your canvas. This way, you can see if any muddiness occurs and adjust accordingly.
Additionally, employing a light spinning technique during application helps achieve even coverage while preserving the separation of colors.
Understand Color Interactions
Understanding the interactions between colors is essential for avoiding muddy outcomes in fluid art. Envision this: you’ve got a beautiful canvas and you’re all set to pour your vibrant paints, but if you’re not careful with your color choices, you might end up with a dull, muddy mess. This happens because opposite colors on the color wheel, like red and green, can cancel each other out. It’s like a color disaster waiting to happen!
Mixing complementary colors often leads to a gray-brown hue—what we call ‘mud’ in the art world. This mud lacks the vibrancy and clarity that make fluid art so striking. To avoid this, think about using barrier coats, such as white or black, to keep your colors from blending too much. It’s like putting up walls to prevent a colorful clash.
Also, control is key. Be mindful during your application to minimize color churn. Imagine stirring a pot of soup too much—you don’t want all the ingredients to turn into an unappetizing mush. Experimenting with gray as a barrier can also give you more control over your color interactions, adding a sophisticated touch to your art.
Barrier Coat Techniques
Barrier coat techniques play an essential role in fluid art by preventing the unwanted mixing of colors and maintaining the vibrancy of the artwork.
The barrier coat benefits are numerous, starting with its ability to create distinct layers that keep colors separate. This simple application can transform your art, making colors pop more vividly.
To apply a barrier coat, typically, artists use a thin layer of white or black paint. Sometimes, a gray barrier coat can also be effective, providing a neutral base that maintains color integrity.
The key to a successful barrier coat application lies in allowing the coat to dry completely before adding more colors. This step is vital because it prevents blending, which can lead to muddiness.
Controlled Color Churn
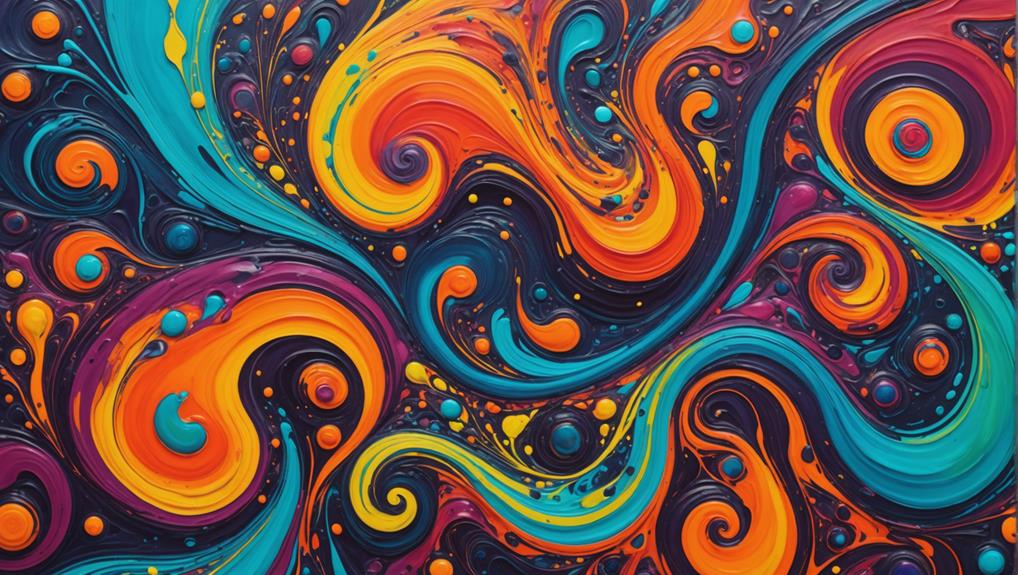
Effectively controlling color churn is vital for fluid artists aiming to prevent muddy colors and preserve the vibrancy of their work. One key technique is to manage the way colors mix during application. By carefully planning your color layering and being mindful of paint viscosity, you can maintain the integrity of each shade.
For instance, using the flip cup method offers a controlled way to release colors, minimizing the risk of them blending too much and turning muddy. This method allows you to stack colors in a cup and then flip it onto the canvas, letting gravity do the work for you. It’s almost like a paint volcano—exciting but without the mess!
Another trick is to employ light spinning techniques. By gently spinning the canvas, you can achieve even coverage while keeping the colors separate. This reduces the chance of unwanted mixing. It’s like giving your painting a gentle twirl on a dance floor.
Understanding the properties of the paint, such as transparency and tinting strength, also plays a significant role. Knowing which colors are likely to overpower others can help you make smarter choices about your layering and mixing techniques.
Experimenting With Grays
Incorporating various shades of gray in fluid art can serve as a neutral mediator, effectively preventing colors from blending into undesirable muddy hues. Imagine you’re painting and suddenly your vibrant blues and reds start merging into a not-so-pleasant brown. That’s where experimenting with gray undertones comes in handy!
By mixing primary colors with their complementary counterparts, like red with green, you can create intriguing gray shades. These shades act as a stabilizing layer, helping to keep your colors from turning into a murky mess. Picture gray as the peacekeeper in your artwork – it keeps your colors vibrant and distinct.
Gray doesn’t just prevent muddiness; it also enhances the depth and contrast of your piece. When you strategically place gray shades, you allow other colors to pop, making your art more dynamic. Think of warm gray undertones bringing out the cozy vibes in your reds and oranges, while cool gray undertones create a calm, serene background for your blues and greens.
Using gray as a barrier coat is like giving your art an extra layer of protection. It maintains the integrity of your colors, ensuring they stay brilliant and beautiful.
Demonstrating Muddy Pours
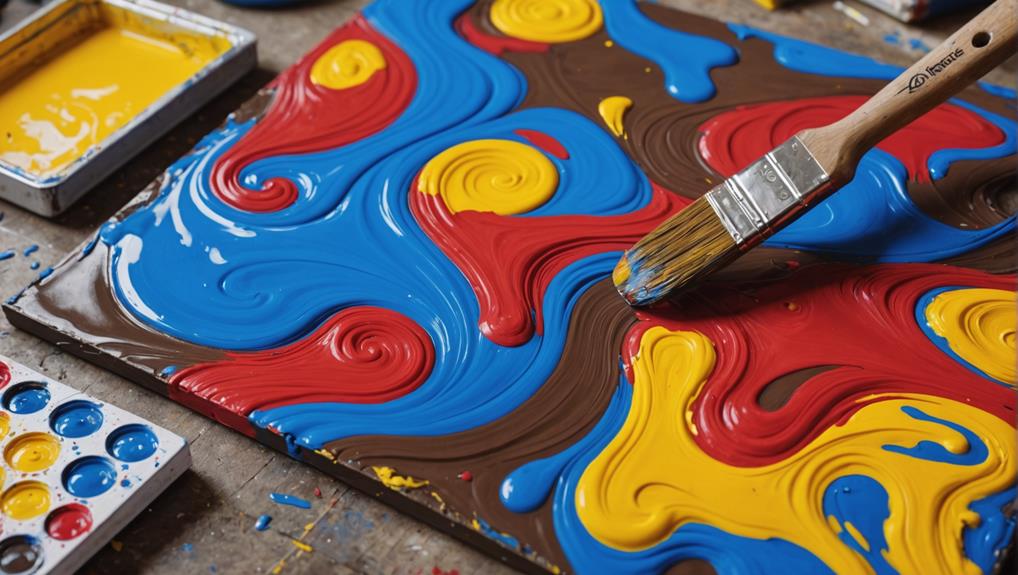
Demonstrating muddy pours can be an enlightening exercise in understanding the impact of color management on the final outcome of fluid art. By creating two separate canvases—one allowing colors to mix freely and another using barrier techniques to maintain vibrant hues—artists can visualize the significance of effective color mixing strategies.
Muddy pour techniques often involve using the flip cup method on both canvases. This method provides a clear contrast between different color management approaches. Here are three key steps to evaluate:
- Creating the Muddy Canvas: Allow colors to mix without constraints, resulting in muted and earthy tones. This showcases the effects of poorly managed color mixing strategies.
- Using Light Spinning Techniques: Spin the canvas lightly to achieve even coverage. While both techniques use spinning, the vibrancy of the colors will greatly differ post-application, highlighting the importance of controlled mixing.
- Applying Heat Gun: Use a heat gun to enhance oil movement and create cells. This step further differentiates the final appearance, demonstrating how muddy pour techniques can lead to less vibrant outcomes compared to clean pours.
Visual side-by-side comparisons emphasize the stark differences in color quality, underscoring the critical role of color management in fluid art.
Clean Pour Techniques
Mastering clean pour techniques is essential for achieving vibrant and visually striking fluid art.
When it comes to clean pouring, one of the best tricks is to use barrier coats like white or black between colors that might clash. This helps prevent them from mixing into muddy hues. Another fun tip is to experiment with gray as a barrier. It keeps colors separate while adding a cool vibe to your artwork.
Proper color layering is key. Use methods like the flip cup technique and light spinning to control how colors flow and interact. This way, you avoid unwanted color blending that leads to dull, muddy patches. Think of it like making a sandwich—each layer should be distinct and tasty!
Interestingly, strategic use of heat guns can also play a role. By gently applying heat, you can create defined cells and enhance oil movement, making your colors pop even more.
Visual Comparisons
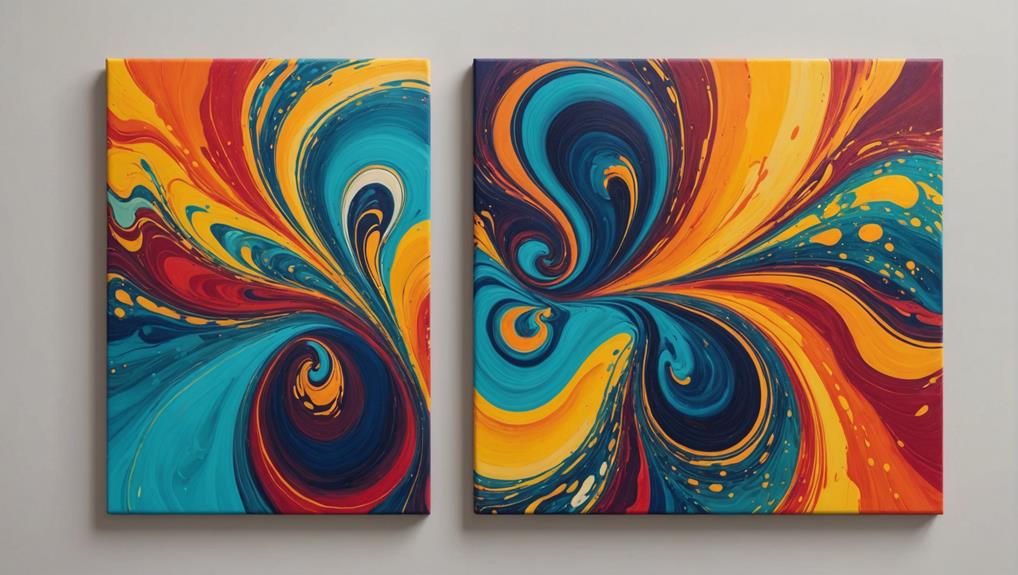
How does a side-by-side visual comparison between a muddy pour and a clean pour illustrate the significance of effective color management techniques in fluid art?
Imagine two canvases side by side. One is a muddy pour, where all the colors have mixed together into a dull, gray-brown mess. The other is a clean pour, with each color distinct and vibrant. The difference is like night and day, and it shows just how important good color management techniques are in fluid art.
In the muddy pour, the colors lose their individuality and create an unappealing mush. This dullness can ruin the emotional impact of your artwork, making it feel flat and lifeless.
In contrast, the clean pour showcases bright, vivid colors that can evoke strong emotions and express powerful color symbolism.
Here are three key points to take into account:
- Barrier Coats: Using white or black barrier coats prevents unwanted mixing, preserving color integrity.
- Vibrancy and Contrast: Effective color management keeps colors distinct, making the artwork more visually appealing.
- Emotional Impact: Clean pours can evoke stronger emotional responses due to their vibrant and defined colors.
Frequently Asked Questions
Why Do My Oil Paintings Look Muddy?
Muddy colors in oil paintings often result from improper color mixing and poor oil painting techniques. Using the color wheel to understand color relationships and employing barrier coats can help maintain vibrant hues and prevent unwanted muddiness.
Why Do My Acrylic Pours Look Muddy?
The muddiness in your acrylic pours likely results from improper paint mixing and a lack of adherence to color theory principles. Understanding the interactions between complementary colors and employing controlled techniques can help maintain vibrant outcomes.
How to Avoid Muddy Colors When Painting?
To avoid muddy colors when painting, utilize careful color mixing and layering techniques. Use a color wheel to prevent blending complementary colors and incorporate neutral barrier coats. Regularly monitor and adjust interactions to maintain a clean palette.
What Colors Make Mud?
Muddy colors often result from color mixing involving complementary colors, such as red and green, or the combination of primary colors in equal parts. These mixtures lead to gray-brown hues, lacking vibrancy and clarity.
Conclusion
Understanding and applying color theory, utilizing the color wheel, and employing techniques to avoid color mud are essential for achieving vibrant results in fluid art.
Mastery of barrier coats, controlled color churn, and experimenting with grays can prevent muddy outcomes.
Demonstrating muddy pours and comparing them with clean pour techniques enhances learning.
These methods collectively guarantee clarity in color application, ultimately elevating the quality of fluid art creations.

Leave a Reply