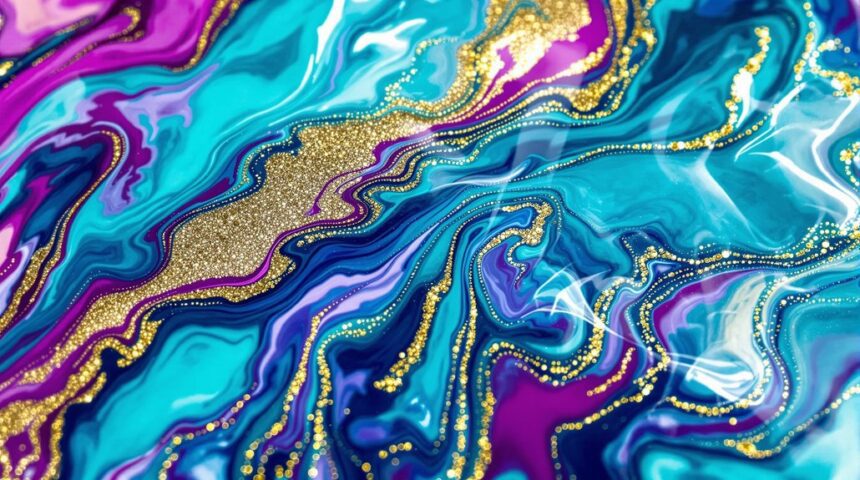
To master alcohol ink art in three easy steps, start by gathering your supplies: grab some high-quality alcohol inks, isopropyl alcohol, and something like Yupo paper or a ceramic tile to paint on. Next, it’s playtime! Explore fun techniques like the Drop/Pour or Push and Glide. You can even use a hairdryer or straw to blow the inks around for crazy effects! Finally, seal your masterpiece with a protective coat like Krylon Kamar Varnish to keep it vibrant. So get ready to create something amazing, because the world of alcohol ink art has even more tricks in store for you!
Key Takeaways
- Begin with high-quality alcohol inks and non-porous surfaces for optimal blending and vibrant colors.
- Experiment with techniques like drop/pour and blending with isopropyl alcohol for smooth transitions and unique patterns.
- Use air sources and blending tools to create abstract shapes and detailed effects.
- Seal your artwork with varnish or resin to protect and maintain vibrancy.
- Clean tools immediately with isopropyl alcohol and store supplies properly for maintenance.
Gather Your Supplies
To get started with alcohol ink art, you’ll need to gather a few key supplies. First, grab some high-quality alcohol inks. Brands like Ranger by Tim Holtz are famous for their vibrant colors and blending capabilities. You’re not just picking any colors; you want the ones that pop!
Next, you’ll need isopropyl alcohol, ideally 99%. It’s your magic potion for diluting inks, cleaning up, and fixing those inevitable oops moments.
Now, let’s talk surfaces. You need non-porous surfaces because they’re perfect for this kind of art. Yupo Paper is a great choice for newbies, but you can also try ceramic tiles, glass, or even acrylic sheets. The smoothness of these surfaces makes blending super fun!
Don’t forget your tools. Droppers are perfect for precise ink application, and blending tools like cotton swabs or felt applicators will help you create amazing effects.
You’ll also need an air source, like a hair dryer or a straw, to dance those inks across the surface. Finally, slip on some disposable gloves. You don’t want your hands looking like you’ve just battled a rainbow!
Get ready for a colorful adventure!
Explore Techniques
Diving into the world of alcohol ink techniques opens up endless possibilities for creativity. You can start by trying the Drop/Pour Technique. Drop the ink directly onto your surface and tilt it to watch vibrant, flowing patterns appear. It’s like watching magic happen as you control the inks with just a tilt.
Feeling adventurous? Use alcohol inks with isopropyl alcohol to blend to create smooth shifts. You can apply it with a dropper or a spray bottle for dynamic effects.
Next, try the Push and Glide Technique. Grab a brush, and gently spread the ink, creating soft edges and gradients. It’s perfect for those moments when you want your art to whisper instead of shout.
Want more control? Blending tools like cotton swabs or felt applicators are your best friends. They help soften harsh lines and create detailed effects.
If you’re in the mood for something wild, use canned air or even a straw to blow the ink around. This technique enhances movement and creates unique, abstract shapes and textures.
With these different techniques, alcohol ink art is an exciting adventure waiting for you to explore.
Seal and Protect
You’ve explored various techniques, and now it’s time to secure your alcohol ink art stands the test of time.
Sealing and protecting your artwork is vital, but don’t worry—it’s a piece of cake! Here’s how you can make certain your masterpiece remains vibrant and intact:
- Seal with Krylon Kamar Varnish: Apply three coats in a well-ventilated area. Be patient and let each coat dry completely before adding the next. This protects your design and keeps it looking fresh.
- Use UV Spray for Extra Protection: A light coat of Krylon UV Resistant Clear spray will help protect against light exposure, preventing your colors from fading over time.
- Consider a Water-Based Varnish: These are perfect for alcohol inks as they won’t reactivate the colors. Apply this after letting your artwork dry for 24-40 hours.
- Try a Resin Finish for Gloss: If you’re feeling fancy, topping your art with resin can give it a durable, glossy finish. Remember to varnish first, though, so the resin doesn’t mess with your inks.
Frequently Asked Questions
What Can You Do With Alcohol Ink for Beginners?
You can explore color mixing on non-porous substrates, select unique color palettes, and experiment with tool techniques. Try beginner projects, practice layering methods, and discover application styles. Focus on design ideas, texture creation, and avoid common mistakes.
Do I Need to Seal Alcohol Ink Before Resin?
Yes, you need to seal alcohol ink before resin. Confirm resin compatibility by focusing on surface preparation to maintain ink longevity and color vibrancy. Use proper application methods, finishing techniques, and follow safety precautions for successful project ideas.
How to Use Alcohol Inks on Paper for Beginners?
Start by selecting a non-porous substrate and use color mixing techniques with your inks. Experiment with tool techniques for layering effects. Remember drying time and safety precautions. Avoid beginner mistakes by exploring project ideas and learning maintenance tips.
Can You Use Alcohol Ink Without a Blending Solution?
You can use alcohol ink without blending solutions. Explore alcohol ink techniques by trying different color combinations and surface choices. Experiment with application methods, drying times, and layering effects. Follow safety precautions and troubleshoot to enhance your project ideas.
Conclusion
You’re all set to plunge into the colorful world of alcohol ink art! With your supplies ready, you’re the boss of your artistic adventure. Try different techniques, and remember, there are no mistakes, only happy accidents—just like Bob Ross said! Once your masterpiece is done, don’t forget to seal it up to keep those vibrant colors popping. So grab your inks, let loose your creativity, and have a blast making art that’s as unique as you are!


Leave a Reply