Getting started with resin art is super exciting, and it's easier than you might think! First, gather all your materials like a resin kit, gloves, and cool stuff to decorate with. Next, prepare your workspace – think clean and ventilated. Then, carefully mix the resin with the hardener; think of it as making slime but cooler. Now, add colors and any fancy decorations you want. Pour the resin smoothly, like honey on your pancakes. Get rid of those pesky bubbles with a heat gun or toothpick. Finally, let it cure to perfection and add those finishing touches. Keep going, and soon you'll be a resin master!
Key Takeaways
- Gather essential materials: epoxy resin kit, measuring cups, mixing sticks, silicone molds, gloves, and decorative elements.
- Prepare a well-ventilated, level workspace, covering surfaces to protect from spills and dust.
- Mix resin and hardener in a 1:1 ratio, stirring slowly for 3-7 minutes to avoid bubbles.
- Add color pigments and decorative elements, ensuring compatibility with the resin.
Gather Your Materials
To begin your resin art journey, it is essential to gather all necessary materials to guarantee a smooth and successful creation process.
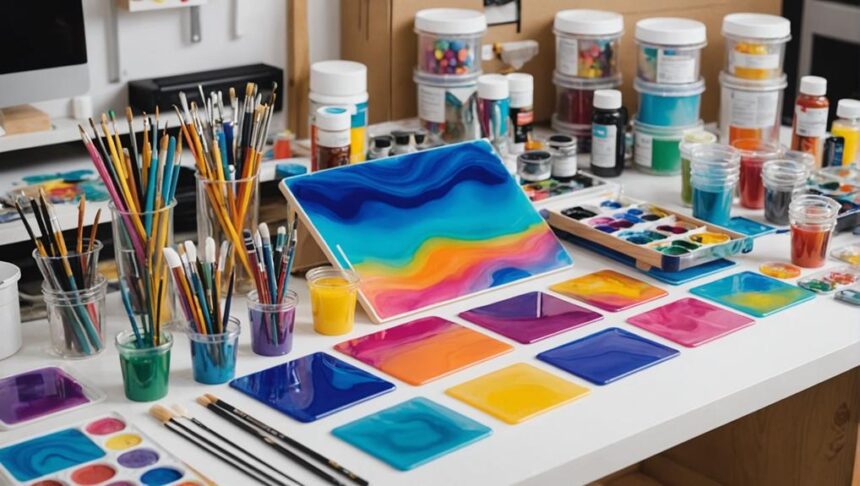
First, get a high-quality epoxy resin kit. Make certain it comes with both resin and hardener, and check that it's suitable for art projects with a clear finish. This will be the core of your masterpiece.
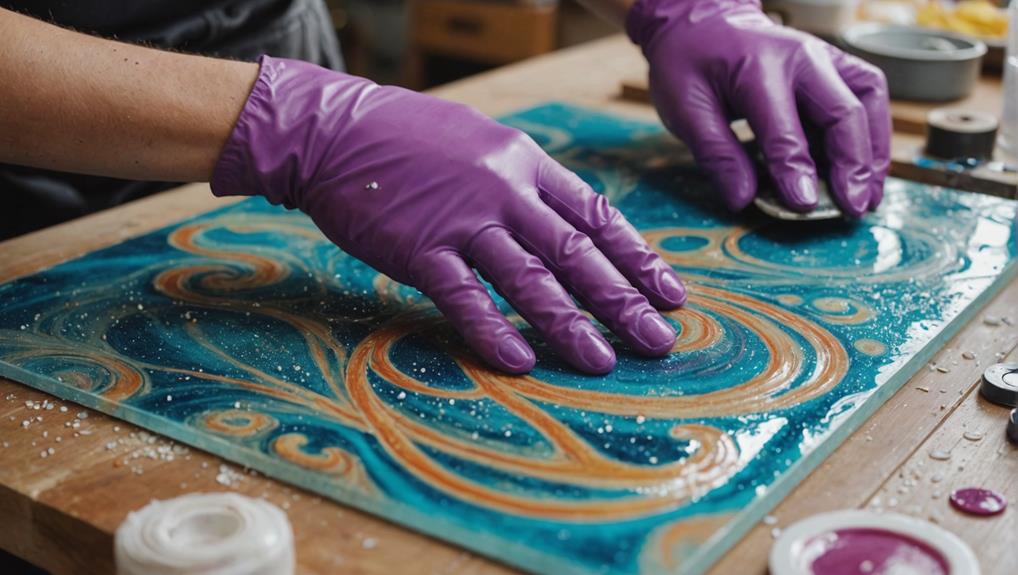
Next, gather essential supplies like measuring cups, mixing sticks, silicone molds, and disposable gloves. These items will keep your workspace organized and, more importantly, assure resin safety. No one wants sticky fingers or a messy table, right?
Now, for some art inspiration, consider adding decorative elements to your resin art. Dried flowers, glitter, and color pigments can make your creations unique and personal. Imagine a beautiful coaster with shimmering glitter or a keychain with colorful dried flowers. The possibilities are endless!
Additionally, having a heat gun and torch on hand is a good idea. These tools help remove bubbles and achieve a smooth finish, making your art look professional.
Prepare Your Workspace
Creating an effective workspace is essential to ensuring the quality and safety of your resin art project.
To start, make sure your area is well-ventilated. Open windows or use a fan to keep fumes from resin and hardener at bay. This is one of the most important safety precautions you can take.
Next, cover your surfaces with a plastic drop sheet. Resin can be messy, and this will make cleanup much easier. Imagine trying to scratch hardened resin off your favorite table—not fun!
Now, gather all necessary supplies, including resin, hardener, mixing containers, gloves, and decorative elements. Having everything within reach will streamline your process and keep you focused on your art.
Set up a level surface to work on. This keeps the resin from shifting or spilling during pouring. Trust me, you don't want to see your masterpiece sliding off the table!
Finally, clean your workspace thoroughly to get rid of dust and debris. Contaminants can ruin the clarity of your resin, and nobody wants that.
Mix the Resin
When you start mixing resin, accuracy is key.
Measure the resin and hardener in the exact ratio recommended by the manufacturer, usually 1:1, using a disposable plastic measuring cup.
Stir slowly and thoroughly for 3-7 minutes, making sure to scrape the sides and bottom to blend it completely and avoid any sticky surprises later.
Accurate Measuring Techniques
Accurate measuring is paramount in resin art, as it directly impacts the quality and durability of your final piece. To guarantee your artwork turns out beautifully, you'll need the right measurement tools and an understanding of mixing ratios. Most epoxy resins require a 1:1 ratio of resin to hardener, but this can vary by brand, so always check the instructions on your specific product.
Using a disposable measuring cup is a great way to achieve precise measurements. Make certain the cup is clearly marked, so you can fill it to the correct line for both resin and hardener. For an extra layer of accuracy, especially for larger projects, consider using a digital scale to weigh your components. This can help you avoid any mishaps that might occur from measuring by volume alone.
It's often a good idea to measure in small batches at first, maybe even doing a test run to guarantee you have the right mix. This way, you minimize errors and waste.
Thorough Mixing Process
To achieve a uniform and bubble-free mixture, it is vital to stir the epoxy resin and hardener gently and thoroughly for the recommended duration. Mixing techniques are significant here! You need to mix the resin and hardener in a 1:1 ratio, as per most epoxy brands, for about 3 to 7 minutes.
Be sure to scrape the sides and bottom of the mixing container so no pesky unmixed resin or hardener is left behind. This guarantees a solid, bubble-free outcome.
Bubble management is equally important. Stirring too fast might feel like a good idea, but it actually creates more bubbles. Instead, give it a gentle mix. Once you've stirred for the required time, let the mixture sit for a few minutes. This allows trapped bubbles to rise to the surface, making it easy to pop them.
And hey, always measure your resin and hardener using disposable cups. This keeps things accurate, and accuracy is key to avoiding incomplete curing.
Avoiding Common Mistakes
Preventing common mistakes in mixing resin is essential for achieving a flawless and professional finish in your resin art projects. Imagine spending hours on color selection and surface preparation, only to have your artwork ruined by bubbles or improper curing. To avoid these pitfalls, follow these tips.
Mixing epoxy resin and hardener thoroughly is vital. Always adhere to the manufacturer's instructions, typically a 1:1 ratio for most brands. Stir slowly and steadily for at least 3-7 minutes. This prevents air bubbles, which can mess up your art. Avoid motorized mixers; they may seem convenient but introduce too many bubbles, making your resin cloudy.
Use clean, dry measuring tools to avoid contamination. Any dirt or moisture can affect the curing process. After mixing, if bubbles remain, use a heat gun or torch to pop them quickly.
Here's a quick reference table to guide you:
| Common Mistake | Emotional Impact |
|---|---|
| Incorrect Mixing | Frustration |
| Air Bubbles | Disappointment |
| Contaminated Tools | Annoyance |
| Motorized Mixing | Regret |
| Neglecting Heat Gun | Panic |
Master these steps, and you'll be on your way to creating stunning resin art every time.
Add Color and Elements
Achieving vibrant and long-lasting colors in resin art requires the use of high-quality color pigments and dyes specifically designed for epoxy resin. Understanding color theory can help you create stunning visuals. Experiment with different amounts of colorant to find the right intensity. Want a soft hue? Use a little. Prefer bold shades? Add more!
Decorative techniques can enhance your artwork. Try incorporating elements like dried flowers, glitter, or even small photos into the resin before it cures to create unique, embedded designs. This adds texture and depth, making your piece truly one-of-a-kind.
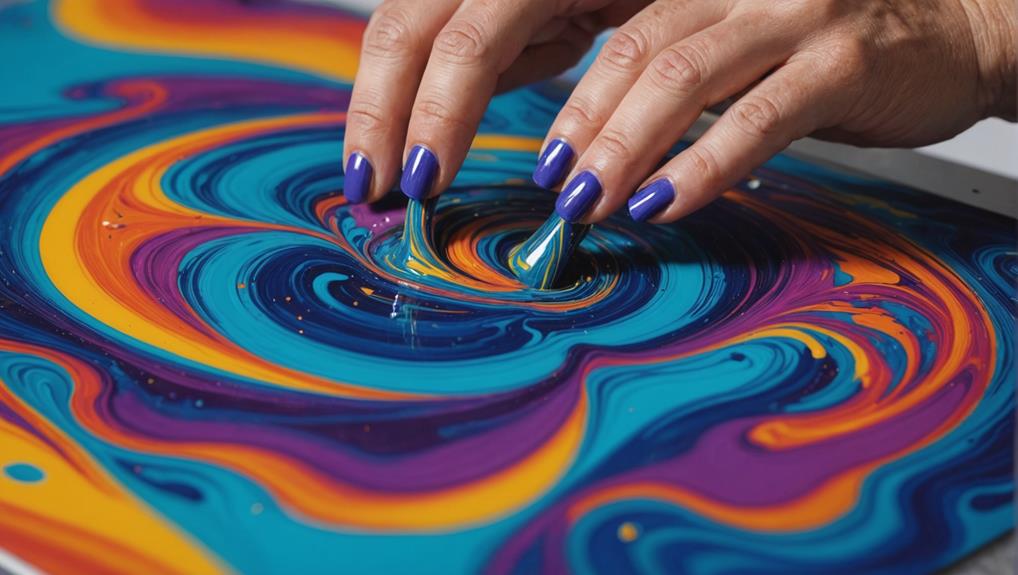
For a marbled effect, the 'dirty pour' technique is a game-changer. Mix multiple colors in one cup, and watch how they interact as the resin flows. The results are spontaneous and striking! Just imagine the surprise of seeing unexpected swirls and patterns appear before your eyes.
Always check that any additives like metallic pigments or alcohol inks are compatible with epoxy resin. This is essential to avoid any unwanted reactions that could ruin your masterpiece.
Pour the Resin

Before pouring the resin, make certain your workspace is clean, level, and well-ventilated to minimize contamination and guarantee an even application. This step is vital to avoid any unwanted particles sticking to your masterpiece.
Now, let's explore the fun part!
First, measure the epoxy resin and hardener in the correct 1:1 ratio as specified by the product instructions. Different resin types might have slightly different mixing rules, so always check the label. Mix thoroughly for about 3-7 minutes. Imagine you're making a smoothie—no one likes chunks, right?
Once mixed, gently pour the resin into your prepared molds or onto your surface. Start from the center and let it naturally flow outward. This helps in even distribution and reduces air pockets. Trust me, you don't want pesky bubbles ruining your art.
Safety precautions are super important here. Wear gloves and work in a well-ventilated area. Resin fumes aren't great for your health.
Remove Bubbles
Removing bubbles from your resin art is essential for a flawless finish.
Start by gently stirring your resin to avoid introducing new bubbles.
Then, use a heat gun to bring any trapped air to the surface.
For stubborn bubbles, a toothpick can help you pop them before the resin sets.
Use Heat Gun
Using a heat gun is an essential step in resin art to effectively remove bubbles from the surface, guaranteeing a smooth and flawless finish. By mastering heat gun techniques, you can achieve professional-looking results with ease. When dealing with bubble removal, here's how you can do it right:
- Set Temperature Low: Confirm the heat gun is on a low setting. High heat can damage the resin, making it cure improperly.
- Maintain Distance: Hold the heat gun about 6-12 inches away from the resin. This prevents overheating and keeps your artwork intact.
- Sweeping Motion: Move the heat gun in a slow, sweeping motion. This evenly distributes the heat and efficiently pops bubbles.
Imagine you're gently waving a magic wand over your artwork, coaxing out those pesky bubbles. Move the heat gun smoothly and steadily, focusing on areas where bubbles are visible.
But be careful! Don't linger in one spot too long, or you might end up with a resin disaster. By following these tips, you'll have a bubble-free, beautiful piece of art in no time!
Stir Resin Gently
After effectively using a heat gun to eliminate surface bubbles, the next step is to make certain that bubbles are minimized during the initial mixing of the resin by stirring it gently and methodically. Understanding resin properties is key here.
When you stir your resin, mix it gently for at least 3-7 minutes. This helps avoid introducing too many bubbles into the mixture, ensuring a smooth final product.
Use a flat stir stick or paddle. Scrape the sides and bottom of your mixing container thoroughly to achieve a uniform blend of resin and hardener. This technique ensures that every bit of resin is mixed properly, reducing the chance of pesky bubbles.
After mixing, let the resin sit for a few minutes. This pause allows any trapped bubbles to rise to the surface before you pour it into molds or onto surfaces. Sometimes, heating the resin slightly with a heat gun while stirring can come in handy, as it reduces viscosity, making bubble removal easier.
And remember, avoid motorized mixers! Those can create so many bubbles, you'd think you were making a bubble bath, not resin art. Stick to gentle stirring techniques, and your resin project will thank you.
Toothpick for Small Bubbles
To effectively eliminate small bubbles that appear in your resin artwork, a toothpick can be utilized to gently poke and release trapped air without disturbing the overall surface. This simple yet effective toothpick technique guarantees that your resin project remains smooth and bubble-free.
Here's how you can make the most out of this method:
- Precise Targeting: The pointed tip of the toothpick allows you to accurately target and pop tiny bubbles without affecting the surrounding resin.
- Timing Is Key: Use the toothpick shortly after pouring the resin, as bubbles tend to rise to the surface during the initial curing phase.
- Mix Well: Properly mix your resin to minimize bubble formation before pouring, thereby reducing the need for extensive bubble removal.
Cure and Finish

Guaranteeing a successful cure and finish for your resin art requires strict adherence to the manufacturer's guidelines and environmental conditions. Curing techniques play a vital role in achieving the desired outcome. Ascertain the temperature remains consistent between 70°F and 80°F (21°C to 27°C). This helps prevent issues like cloudiness or incomplete curing. Cover your work with a dust-free protective cover to keep debris away and your art clean.
Typically, epoxy resin cures within 10 to 24 hours, but full hardness takes about 72 hours. After curing, it's time for the finishing touches. Sand any rough edges or imperfections with fine-grit sandpaper. Once you've sanded, polish the piece if you want it to shine. Always follow the specific instructions from your resin manufacturer, as different brands may have varying requirements.
Here's a quick guide:
| Step | Action |
|---|---|
| 1 | Maintain temperature at 70°F-80°F |
| 2 | Cover with a dust-free cover |
| 3 | Wait 10-24 hours for initial cure |
| 4 | Sand and polish after curing |
Frequently Asked Questions
How to Start Resin Art Step by Step?
To start resin art, prepare a clean workspace and essential supplies. Accurately measure and mix resin and hardener, then engage in color blending. Pour the resin, create designs, allow curing, and follow safety precautions throughout the process.
What Is the Easiest Resin for Beginners?
The easiest resin for beginners is a low-odor, user-friendly epoxy resin such as ArtResin. Beginner kits with epoxy options typically include essential supplies, ensuring newcomers can easily measure, mix, and create without overwhelming complexity.
What Is the Basic Knowledge of Resin Art?
The basic knowledge of resin art includes understanding resin safety practices, mastering mixing techniques for epoxy resin and hardener, and selecting suitable decorative elements. Proper ventilation, protective gear, and precise measurements are essential for successful and safe projects.
How Do I Start Using Resin?
To start using resin, prioritize resin safety by wearing gloves and ensuring ventilation. Gather essential supplies, follow proper mixing ratios, and experiment with color mixing to achieve desired artistic effects while allowing adequate curing time.
Conclusion
Resin art can be a rewarding and creative endeavor.
By following the outlined steps—gathering materials, preparing the workspace, mixing the resin, adding color and elements, pouring the resin, removing bubbles, and allowing the piece to cure—one can achieve impressive results.
Mastery of these fundamental techniques will lead to greater artistic expression and proficiency in resin art.
This structured approach guarantees a solid foundation for continued exploration in this versatile medium.


Leave a Reply