Creating stunning art with epoxy resin is an exciting, rewarding process that can turn ordinary surfaces into dazzling masterpieces. Start by mixing equal parts resin and hardener in a well-ventilated space, wearing gloves and goggles for safety. Add color with alcohol inks or mica powders, stir gently to avoid bubbles, and pour your mix onto a clean surface. Use a heat gun to pop any pesky bubbles, then let your artwork cure at room temperature. Keep the area dust-free until it’s fully set. With a few simple steps and some creativity, your art becomes something magical—there’s plenty more to explore!
Key Takeaways
- Mix epoxy resin and hardener in equal parts for proper curing and clarity.
- Use high-quality pigments or mica powders to add vibrant, long-lasting color to your resin.
- Employ the ‘dirty pour’ technique to create unique, marbled effects in your artwork.
- Remove air bubbles with a heat gun or torch for a flawless finish.
Understanding Epoxy Resin
Epoxy resin, a versatile and durable medium, is widely used in art due to its ability to create a glossy and enduring finish. The story of epoxy resin is fascinating and dates back to the 1930s, when it was first developed for industrial applications. Nowadays, artists love it for its amazing resin properties, such as its ability to form a hard, clear surface that can protect and enhance artwork.
Epoxy resin is a two-part mixture made of resin and hardener. When these two parts are combined, they undergo a chemical reaction known as curing. This reaction transforms the liquid mixture into a solid, glass-like finish. The ideal curing temperature is between 70-75°F (21-24°C), and good ventilation is vital to avoid inhaling fumes.
High-quality epoxy resin is known for its clarity and durability, making it perfect for artistic creations. However, artists should steer clear of deep pours and UV resin to prevent their artwork from deteriorating over time. Mixing the resin and hardener in the correct ratio is essential, so always follow the manufacturer’s instructions.
Plus, you can add pigments, alcohol inks, or mica powders to create vibrant, unique effects!
Essential Supplies
When creating epoxy resin art, what essential supplies should you have on hand to guarantee a successful project?
First and foremost, you’ll need a high-quality two-part epoxy resin. This includes both the resin and hardener, which together create a durable, glossy finish.
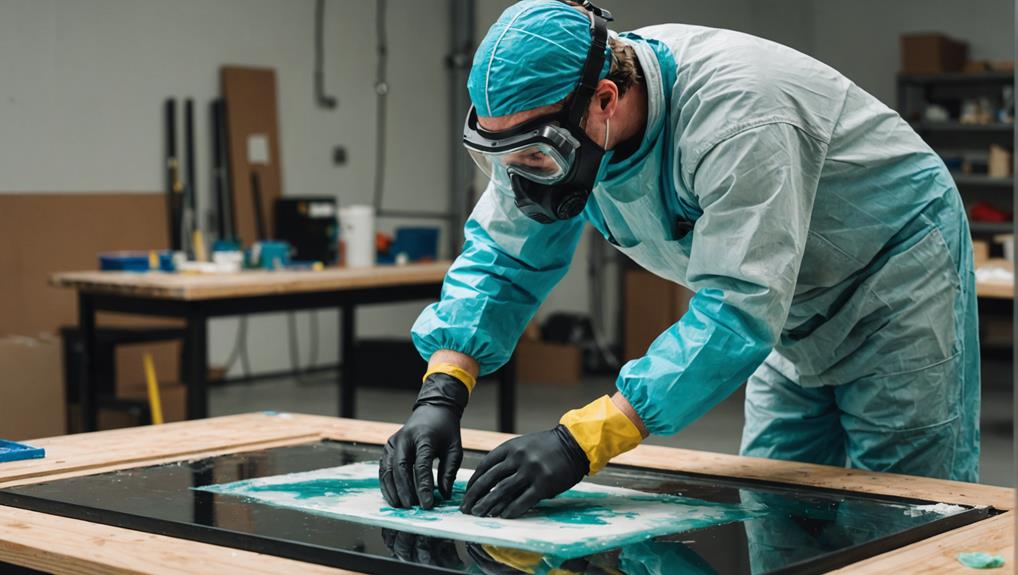
Safety is imperative, so make sure to have protective gear like nitrile gloves, goggles, and a respirator. Resin types can be tricky, and some are more toxic than others during curing.
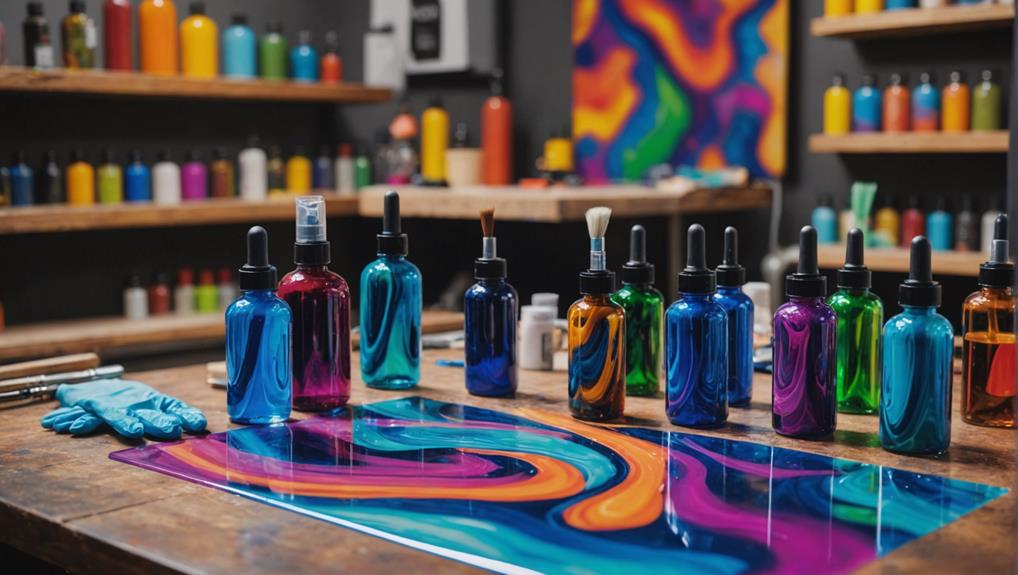
Next up, let’s talk color selection! To make your art pop, you’ll need colorants. Alcohol inks, mica powders, and pigments designed for epoxy can give your project vibrant colors and unique effects.
But remember, a clean, level surface is key for a smooth pour. Use plastic sheeting to protect your workspace from spills.
Don’t forget the basics: mixing cups and stir sticks. These are essential for accurately measuring and combining the resin and hardener. Getting the ratio just right is critical for the resin to cure properly and look its best.
Choosing Resin Types
Selecting the appropriate resin type is essential for ensuring the quality and longevity of your art projects. Not all resin types are created equal, and choosing the right one can make or break your masterpiece.
For most art endeavors, a two-part high-quality epoxy resin is your best bet. This resin type offers a smooth, glossy finish and exceptional durability, ensuring your creations stand the test of time.
You might be tempted to use UV resin, but steer clear for art projects. It just doesn’t provide the same clarity and longevity as epoxy resin. Imagine your beautiful piece turning yellow or brittle over time—heartbreaking, right?
For smaller projects, a Jewelry/Small Project Kit is a fantastic option, especially for beginners. It includes all the essentials and is designed to be user-friendly.
On the other hand, polyester resin might seem appealing because it cures very hard, but it has a strong odor and is better suited for projects needing sanding, not for artistic applications.
Always follow the manufacturer’s mixing ratio guidelines closely. Accurate measurements of resin and hardener are vital for achieving the perfect cure and the best results.
Workspace Preparation
Before starting your epoxy resin art project, it’s vital to set up your workspace properly.
Keeping the area clean and organized helps prevent dust and debris from messing up your artwork.
Plus, taking essential safety measures like wearing gloves and working in a well-ventilated space keeps you safe from harmful fumes and skin contact.
Clean and Organized Area
A clean and organized workspace is essential for ensuring the quality and safety of your epoxy resin art projects. Imagine trying to create a masterpiece while tripping over clutter and battling dust bunnies—no thanks! Workspace organization and clutter management are key to making sure your resin art turns out stunning and flawless.
First, clear your area of any unnecessary items. A clutter-free workspace helps prevent dust and debris from sneaking into your resin, which could ruin your project. Cover your surfaces with drop cloths or plastic sheets to catch any messy spills. This saves you from a sticky nightmare later and makes cleanup a breeze.
Next, make sure you have good ventilation. Open windows or use fans to keep the air flowing. Resin fumes are no joke, and working in an airy space, ideally between 70-75°F (21-24°C), keeps you safe and helps the resin cure properly.
Essential Safety Measures
Guaranteeing safety in your workspace is paramount when working with epoxy resin, requiring a combination of proper ventilation, protective gear, and organized tools. A well-ventilated area is essential; open windows or use fans to keep the air circulating and reduce the risk of inhaling harmful fumes. Maintaining a temperature between 70-75°F (21-24°C) also guarantees the resin cures properly.
It’s vital to cover your work surfaces with drop cloths or plastic sheeting. This simple step protects against spills and makes cleanup a breeze, sparing you from any sticky situations. Wearing the right safety equipment, such as nitrile gloves, goggles, and a respirator mask, is non-negotiable. These items safeguard your skin, eyes, and respiratory system from harmful exposure.
To keep your workflow smooth and efficient, organize all tools and materials within easy reach. Frog tape is a handy tool to mask edges and prevent resin drips, guaranteeing a neat and professional finish on your artwork.
| Safety Tip | Description |
|---|---|
| Proper Ventilation | Open windows or use fans for air circulation. |
| Protective Clothing | Wear nitrile gloves, goggles, and a respirator mask. |
| Surface Protection | Use drop cloths or plastic sheeting to cover work surfaces. |
| Tool Organization | Keep tools and materials organized and within reach. |
These precautions guarantee a safer and more enjoyable experience when creating your stunning epoxy resin art.
Safety Measures

Working with epoxy resin requires adherence to several essential safety measures to protect your health and guarantee a safe environment.
First and foremost, hazard awareness is vital. Epoxy resin can be pretty hazardous if you’re not careful. Always work in a well-ventilated area, ideally at temperatures between 70-75°F (21-24°C). This helps minimize the inhalation of fumes during the mixing and curing process—no one wants to breathe in those nasty fumes!
Next up, let’s talk protective gear. Make sure to wear nitrile gloves and a ventilated mask. These protect your skin and respiratory system from any potential irritation and toxic exposure.
And remember, keep resin and hardener far away from children and pets. Trust me, you don’t want Fido or little Timmy getting into that stuff.
Cover your workspace with plastic sheets or drop cloths. This not only prevents spills but also makes cleanup a breeze.
Finally, familiarize yourself with the safety data sheets (SDS) of the specific epoxy resin products you’re using. These sheets provide critical information on safe handling, potential hazards, and first aid measures.
Safety first, art second!
Surface Selection
With safety measures firmly in place, the next step involves choosing the right surface for your epoxy resin art. Selecting the appropriate surface is vital for achieving the desired aesthetic and guaranteeing the resin adheres properly. Various options, such as artboards, canvases, tiles, and MDF wood, offer different surface textures and levels of absorbency. It’s essential to evaluate the substrate compatibility to avoid issues during the curing process.
Confirm the chosen substrate is clean, dry, and free of dust. This preparation promotes peak adhesion and prevents imperfections. Porous materials, like wood, benefit from being primed or sealed to avoid excessive resin absorption and to achieve a smooth finish. Flat surfaces are ideal for resin pouring, minimizing spills and facilitating even distribution.
Before initiating significant projects, test the compatibility of your surface material with epoxy resin. This precaution helps avoid adverse reactions or adhesion issues.
- Primed or sealed surfaces prevent resin absorption.
- Flat surfaces guarantee even resin distribution.
- Clean and dry substrates promote peak adhesion.
- Testing substrate compatibility avoids adverse reactions.
Selecting the right surface sets the foundation for stunning epoxy resin art, paving the way for a successful creative endeavor.
Mixing Resin
Accurate measurement and thorough mixing of epoxy resin and hardener are critical steps for achieving ideal curing and performance. When you mix epoxy resin, getting the resin ratios right is super important. Always measure equal parts of resin and hardener, just like the manufacturer says. This guarantees your art piece will set properly and look fantastic.
Next, pour the resin and hardener into a clean mixing container. Now comes the fun part! Using the right mixing techniques, stir slowly for about 3-5 minutes. You don’t want to rush this, or you’ll end up with a bunch of annoying air bubbles. Remember to scrape the sides and bottom of the container to make sure everything is well mixed. Unmixed resin is like a bad joke—it can ruin your whole project!
After mixing, let the resin sit for a few minutes. This little wait allows larger bubbles to rise to the surface, making it easier to pop them with a heat gun or torch. It’s like giving your resin a breather before it’s showtime!
Adding Color
Adding color to your epoxy resin art is where the magic truly begins.
First, choosing the right colorants is essential; high-quality resin pigments or dyes will give you those vibrant, lasting hues.
Next, mastering mixing techniques, like stirring slowly to avoid bubbles, is key to a smooth finish.
Choosing Colorants Wisely
Selecting the right colorants is vital for achieving vibrant and visually appealing epoxy resin art. The choice of colorants can greatly impact your artwork’s final appearance, so understanding colorant compatibility and effective pigment layering is imperative. Here are some key considerations when choosing colorants for your resin art:
Use Epoxy Resin-Specific Pigments: Opt for pigments or dyes specifically designed for resin to guarantee vibrant, long-lasting colors without compromising the clarity of the resin.
Experiment with Alcohol Inks: Alcohol inks can create stunning, marbled effects, but they should be used sparingly to avoid overwhelming the piece.
Explore Mica Powders: These powders add shimmer and depth to your artwork. They come in various colors and can be mixed to create custom shades.
Conduct Small Scale Tests: Always test your colors on a small scale before applying them to larger projects. This verifies compatibility and helps achieve the desired visual effects.
Avoid Acrylic Paints: Acrylic paints may not mix well with resin and can lead to unwanted reactions or cloudy finishes.
Choosing the right colorants not only enhances the beauty of your epoxy resin art but also guarantees that the final piece is durable and visually striking.
Mixing Techniques Mastery
Mastering mixing techniques for epoxy resin is vital to achieving vibrant, consistent, and visually engaging artwork. It all starts with getting the mixing ratios right. Measure equal parts of resin and hardener as per the manufacturer’s instructions—this is important for a successful cure.
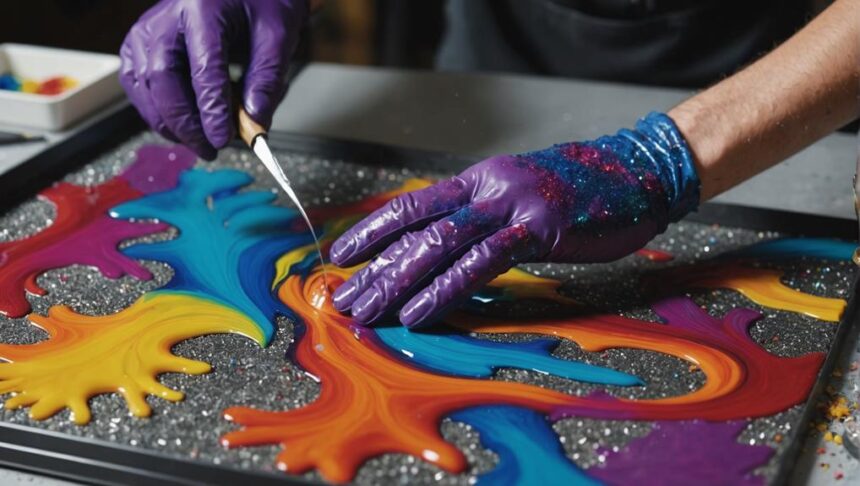
Once you’ve got your base, it’s time to add some color. Use high-quality resin pigments or dyes to guarantee your colors are vibrant and consistent. These special colorants won’t mess with the resin’s clarity. Want a bit of shimmer? Try mica powders, which add depth and sparkle, making your art pop even more.
Stirring is another key step. Mix slowly and thoroughly for at least 3-5 minutes, scraping the sides and bottom of your container. This helps distribute the color evenly and reduces the number of pesky air bubbles. Trust me, you don’t want bubbles crashing your art party.
For a splash of creativity, experiment with color blending techniques like the ‘dirty pour.’ Layer different colored resins in one cup before pouring them out. This method creates stunning, one-of-a-kind patterns that can take your artwork to the next level.
Ready to mix and match? Let’s get those colors swirling!
Achieving Desired Effects
To create visually enchanting epoxy resin art, the strategic use of high-quality pigments and colorants is paramount. This helps you achieve vibrant and stunning visuals. High-quality resin pigments or mica powders are your best friends for vivid colors, as they’re made to mix perfectly with resin.
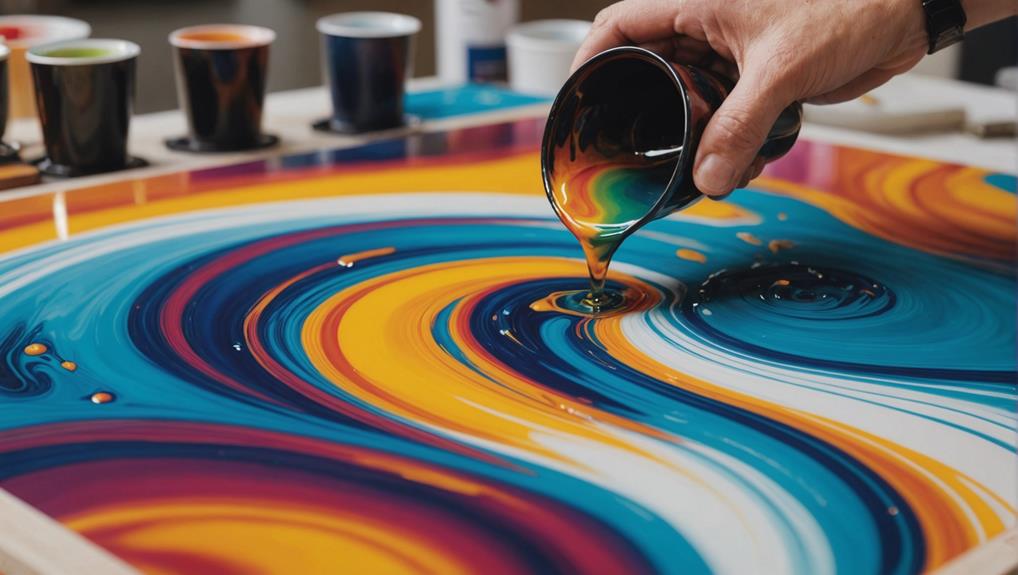
For bold, marbled effects, try using alcohol inks. These inks can create translucent visuals that look like swirling magic. If you want to get really creative, experiment with color layering. One fun way to do this is by using the ‘dirty pour’ technique. You pour different colors into a cup before pouring them onto your surface. The result? Unique, abstract patterns that are one-of-a-kind.
Don’t forget to test your colors on a small scale first. Some pigments might surprise you with how they react with resin or affect curing. To add even more depth, use both transparent and opaque pigments. This mix can make your artwork pop with visual complexity.
Here are some tips to help you get started:
- Use high-quality resin pigments or mica powders
- Experiment with alcohol inks for marbled effects
- Try the ‘dirty pour’ technique for unique patterns
- Test your colorants on a small scale first
Pouring Techniques

Pouring techniques in epoxy resin art greatly influence the final aesthetic and texture of the piece. The ‘dirty pour’ method is a favorite among artists, creating unpredictable and stunning patterns. This technique involves layering multiple colors of resin in a single cup before pouring them together. The result is a beautiful, marbled effect that can be both mesmerizing and unique.
Another effective method is the center pour. By slowly pouring resin from the center of the surface, you guarantee an even distribution. This technique prevents excessive bubbles from forming, which can be a common issue in resin art. It’s essential to pour the resin slowly and steadily to achieve the best results.
| Technique | Description |
|---|---|
| Dirty Pour | Layer multiple colors in a cup, then pour together. |
| Center Pour | Pour resin slowly from the center for even distribution. |
| Layering | Wait until the previous layer is tacky before adding more. |
When using either technique, allow the mixed resin to sit for a few minutes before pouring. This waiting period lets larger bubbles rise to the surface, making them easier to remove. Whether you choose the dirty pour or center pour, mastering these techniques will raise your resin art to new heights.
Removing Air Bubbles
Effectively removing air bubbles is crucial to achieving a flawless finish in epoxy resin art. Bubbles can form during mixing or pouring, but using the right bubble prevention techniques and bubble removal methods can guarantee your artwork looks professional and smooth.
First, mix the resin slowly and carefully. Speedy mixing can trap air, leading to those pesky bubbles. After mixing, allow the resin to sit for a few minutes. This waiting period lets larger bubbles rise to the surface and escape.
Once you’ve poured the resin, use a heat gun or handheld torch. Gently pass it over the surface; the heat will cause bubbles to rise and pop, giving your artwork a polished look. If any bubbles remain, try gently blowing on the surface with a straw. This can help release trapped air without disturbing the resin.
Maintaining a stable workspace temperature between 70-75°F (21-24°C) can also minimize bubble formation. Consistent temperature prevents rapid changes that might otherwise introduce bubbles during curing.
Here’s a quick recap of the bubble removal methods:
- Mix resin slowly and carefully.
- Allow resin to sit before pouring.
- Use a heat gun or handheld torch.
- Blow on the surface with a straw.
Curing Process

The curing process for epoxy resin is a vital stage that demands careful attention to detail and ideal environmental conditions. It usually takes about 24 to 48 hours, depending on the product and the surroundings. To get the best results, the curing temperature should be between 70-75°F (21-24°C). Too cold or too warm, and you might end up with cloudy resin or a surface that never hardens properly. Imagine waiting all that time just for it to stay sticky—yikes!
Humidity effects are another big deal. Lower humidity is better because too much moisture can mess up your masterpiece with annoying surface imperfections. No one wants their beautiful art to look like it’s been out in the rain!
During the initial curing phase, it’s essential to protect the resin from dust and debris. A single speck of dust can ruin the smooth finish you’re aiming for. Keep an eye on the curing process. If your resin is still tacky after the recommended time, it could be due to incorrect mixing ratios or those pesky environmental factors. Getting this right guarantees your art turns out stunning and flawless.
Common Challenges
Steering through the common challenges of working with epoxy resin is vital for achieving a flawless final piece.
One of the most frequent hurdles artists face is bubbling issues. These pesky bubbles can form while mixing or pouring the resin. Using a heat gun or torch can help eliminate them before the resin starts to cure.
Another challenge is ensuring proper curing. Incorrect mixing ratios between resin and hardener can result in incomplete curing, leaving your art sticky or soft. Always follow the manufacturer’s guidelines closely.
Humidity and temperature also play an important role. The ideal conditions for curing epoxy resin range from 70-75°F (21-24°C) with low humidity. Deviating from these conditions can affect curing times and the final finish.
Yellowing of the resin is another concern, especially with poor-quality products. To avoid this, invest in high-quality epoxy resin specifically designed for art projects.
Lastly, watch out for fish eyes, those small craters on the surface. Dust or oils on your substrate often cause them. Ensuring the surface is thoroughly cleaned and primed can help prevent these imperfections.
Navigating these challenges will set you on the path to creating stunning epoxy resin art.
- Bubbling issues
- Curing challenges
- Temperature and humidity
- Yellowing of resin
Finishing Touches
Once the epoxy resin has cured fully, meticulously inspect the piece for any imperfections that may require additional attention. Look for bubbles, drips, or rough edges that might have formed during the curing process. Use fine-grit sandpaper to smooth out any rough spots, then wipe the surface with a soft cloth to get rid of any dust.
Applying protective coatings can enhance both the shine and durability of your artwork. Make certain to choose a varnish or topcoat that is compatible with epoxy resin. These final touches will not only protect your piece but also make it look more polished and professional.
For added detail, you might want to use a heat gun to create interesting effects on the surface. This can help blend colors better or add unique swirls to your design. Finally, think about how you want to display your masterpiece. Whether it’s framing, mounting, or creating a stand, the right display option can make your art truly stand out.
Here’s a quick guide:
| Step | Tools Needed | Purpose |
|---|---|---|
| Inspect | Eyes, Fine-Grit Sandpaper | Identify and smooth imperfections |
| Dust Removal | Soft Cloth | Clean surface |
| Protective Coating | Varnish, Topcoat | Enhance shine and durability |
| Heat Effects | Heat Gun | Add visual interest |
Taking these steps will guarantee your epoxy resin art is stunning and ready for display.
Community Resources
After mastering the finishing touches on your epoxy resin art, exploring community resources can greatly enhance your skills and broaden your creative horizons.
One of the most effective ways to grow as an artist is through engaging with others who share your passion. Community support and resource sharing are crucial components of this journey.
Here are a few valuable resources to reflect on:
- Online Tutorials and Videos: Platforms like YouTube and TikTok are treasure troves of step-by-step guides. Whether you’re a beginner or an experienced artist, there’s always something new to learn.
- Community Forums and Social Media Groups: Join forums and groups where you can share your work, ask questions, and receive feedback. These spaces foster a supportive environment for learning and growth.
- Customer Support from Resin Art Companies: Many companies offer email support and customer service to answer your questions and provide assistance, ensuring you feel supported throughout your creative journey.
- Seasonal Themes and Challenges: Participate in social media challenges like #CRWEEK40 to encourage creativity and share innovative ideas and techniques.
Engaging with these community resources will not only improve your art but also connect you with a network of like-minded individuals.
Frequently Asked Questions
How Do You Use Epoxy Resin for Art?
To use epoxy resin for art, prepare a clean workspace, mix resin and hardener accurately, and apply on the surface. Utilize color mixing and layering techniques for depth, and use a heat gun to eliminate bubbles.
What Is the Difference Between Artresin and Epoxy Resin?
The primary difference between ArtResin and epoxy resin lies in ArtResin’s advantages: it is non-toxic, UV resistant, and self-leveling, tailored for artistic applications, whereas general-purpose epoxy resin applications are broader but may require additional techniques.
How Do You Put a Picture in Epoxy Resin?
To achieve photo embedding in epoxy resin, prepare the image on non-porous material, seal it, and employ resin layering techniques. Pour a thin resin layer, place the image, and cover with more resin, ensuring thorough curing.
How Long Does It Take for Epoxy Resin Crafts to Cure?
The cure time for epoxy resin crafts typically ranges from 24 to 72 hours. The curing process can be influenced by environmental conditions such as temperature and humidity, with ideal results achieved at 70-75°F (21-24°C).
Conclusion
Epoxy resin offers endless possibilities for creating beautiful art. With the right supplies, knowledge of resin types, and a well-prepared workspace, artists can safely and effectively work with this versatile material.
Understanding the curing process and addressing common challenges are essential for achieving stunning results. Finishing touches enhance the final piece, while community resources provide valuable support and inspiration.
Mastering epoxy resin techniques can raise artistic projects to new heights, resulting in unique and impressive creations.


Leave a Reply