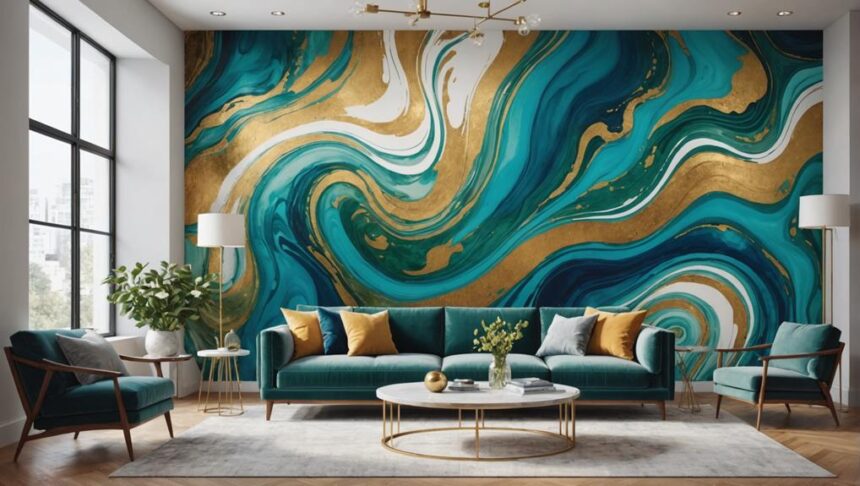
Transforming your home with large-scale fluid art murals is like releasing a colorful storm of creativity onto your walls. Imagine walking into your living room and being greeted by vibrant swirls and mesmerizing textures that draw you in, creating a truly unique atmosphere. Whether you're opting for bold, contrasting colors to make a statement or soothing, harmonious hues for a relaxing vibe, there's a design to match any taste. Using high-quality tools and techniques, and maybe even a little humor to ease the tension of the process, you'll find your walls can tell a completely new story – and there's so much more to discover ahead!
Key Takeaways
- Consider wall dimensions and personal taste to choose a mural that enhances and harmonizes with your space.
- Use digital tools to preview and select color palettes that evoke desired moods and emotions.
- Prepare your wall by cleaning, filling holes, and applying a base coat for optimal paint adhesion.
- Experiment with various fluid art techniques like pouring and swirling to create unique patterns and textures.
Choosing the Right Design
When selecting a design for a large-scale fluid art mural, it is essential to take into account the dimensions of your wall to guarantee the artwork enhances the space effectively. The size and scale of your mural can make a significant difference, creating an immersive experience that can transform any room.
With numerous design styles to choose from, you have the freedom to reflect your personal taste and complement the existing decor. Whether you lean towards nature-inspired landscapes or abstract art, ensuring a cohesive aesthetic throughout your home is vital.
Color palettes play a significant role in setting the mood and tone of your mural. By selecting colors that resonate with you emotionally, you can create a space that feels uniquely yours.
Use digital tools or templates to preview different designs and see how they fit within your specific dimensions. This step helps you envision the final look before committing. Additionally, consider seasonal and trend-based designs to keep your space fresh and contemporary. Aligning with current aesthetics can add a modern touch to your home, making your mural not just a piece of art but a statement of style.
Measuring Your Space
Accurate measurements are vital for guaranteeing your large-scale fluid art mural fits perfectly within the intended space.
Begin by measuring the height and width of the wall where the mural will be placed. This step helps you get the precise wall dimensions needed to avoid any surprises later.
It's also important to use tools like a laser level or measuring tape. These tools help mark the boundaries of the mural area, providing a clear visual reference during the installation process.
Here are some key things to keep in mind:
- Architectural considerations: Look out for windows, doors, or light switches that might impact the mural's design and placement.
- Room scale: Confirm the mural complements the overall room size, creating a harmonious balance in the space.
Preparing Your Wall
After taking precise measurements, the next step is to guarantee your wall is properly prepared to receive the fluid art mural. Wall preparation might seem like a chore, but it's super important to make sure your mural turns out amazing.
Start with a thorough surface assessment. Make sure the wall is clean, dry, and free from peeling paint or wallpaper. This helps the paint stick better and makes your mural last longer.
Next, look for any holes or cracks. You don't want your masterpiece interrupted by a pesky hole! Fill these with spackle and sand them smooth to create an even canvas. If your wall is uneven or textured, consider using a roller to apply a level base coat. This extra step can make a big difference.
Priming the wall is also a good idea. It helps the paint stick and makes the colors pop even more. Just make sure everything, including the primer and spackle, is fully dry before you start painting. Rushing this step can lead to complications, and nobody wants that!
With your wall perfectly prepped, you're all set to create a stunning fluid art mural that transforms your space.
Selecting the Right Tools
Choosing the appropriate tools for your large-scale fluid art mural is essential for achieving the desired textures and effects. The right tool materials can make all the difference in your artistic process. High-quality synthetic brushes and sponges are indispensable for creating a range of textures and effects in your paint application. These tools provide the flexibility needed to handle different paint consistencies, whether thick or runny.
Additionally, having a variety of container sizes for mixing your paints can greatly enhance your workflow.
- Larger containers are ideal for pouring techniques, allowing for broader, sweeping movements.
- Smaller containers are perfect for precision application, enabling you to focus on intricate details.
For your work area, consider using drop cloths or large primed canvases. These materials not only protect your space but also provide a suitable surface for fluid art techniques.
Using the Grid Method
To master the Grid Method, start by mapping your wall with a series of evenly spaced squares. This will help you scale your artwork proportionally from a smaller image to a larger mural without losing any detail.
Ensuring each grid on the wall matches the original artwork's dimensions is essential for accuracy, allowing you to sketch with precision.
This structured approach not only keeps your creative vision intact but also simplifies the process, making it easier to bring your large-scale fluid art mural to life.
Mapping Your Wall
Creating a scaled grid on both your reference image and wall is a foundational step in guaranteeing accurate placement and proportions when transferring artwork using the Grid Method. This technique is essential for achieving the desired wall aesthetics and staying true to your chosen mural themes.
To get started, select a grid size that matches the dimensions of your wall. This not only makes it easier to map out your design but also helps in sketching more precisely. Confirm that your wall is flat, as any uneven surfaces can mess up the accuracy of the transferred image. Imagine you're working on a mural that could be anywhere from 2 to 20 meters long—keeping everything proportional is key!
Here are a few tips to help you get it right:
- Flat Surfaces Only: Uneven walls can distort your image.
- Inner Circles: Use these within the grid to mark key points.
Scaling Artwork Proportionally
Mastering the Grid Method is essential for scaling artwork proportionally, ensuring every element of the mural retains its intended dimensions and aesthetic integrity. This technique involves dividing both your reference image and the wall into equal sections, making it easier to manage the art size and maintain accuracy.
Think of it this way: if you have a giant puzzle, breaking it into smaller, manageable pieces helps you focus on details without losing sight of the big picture. By carefully planning and measuring each grid square, you can replicate intricate designs across large surfaces.
An important part of this proportion technique is ensuring the grid size matches the wall dimensions, which helps in transferring details precisely. For added accuracy, inner circles can be drawn within these grid squares to serve as reference points during sketching. This extra step helps avoid misalignments that can throw off the entire mural.
However, remember that a flat wall is vital; uneven surfaces can distort the grid, affecting the final appearance. So, while the Grid Method might require patience and precision, it ultimately enables you to transform your home with stunning large-scale fluid art murals, keeping every detail in perfect proportion.
Ensuring Accuracy and Precision
A meticulous approach in applying the Grid Method is vital for guaranteeing accuracy and precision when transferring detailed designs onto large wall surfaces. This technique involves dividing your artwork into a grid of equal squares, which helps in scaling and replicating the design accurately.
To start, wall preparation is fundamental. Verify the wall is flat to enable precise alignment, as uneven surfaces can complicate the accuracy of the transferred design.
For ideal results, the grid size must correspond proportionately to the wall's dimensions, maintaining the correct aspect ratio to avoid distortion. Grid adjustments can be made by marking inner circles within the grid squares. These serve as reference points, making it easier to replicate intricate details.
- Proportional grid sizes: Maintain the correct aspect ratio to avoid distortion.
- Flat wall surface: Guarantees precise alignment and accurate design transfer.
The Grid Method is particularly effective for detailed designs, allowing for careful mapping and minimizing the risk of errors during the mural application process.
With these steps, your large-scale fluid art mural will transform your home with stunning, precise artwork.
Freehand Techniques
Freehand techniques in large-scale fluid art murals offer artists the freedom to express spontaneous creativity and incorporate personal style into their work. This method is perfect for those who thrive on freehand expression, as it allows for organic designs without the need for strict precision. By embracing spontaneous creativity, artists can infuse their murals with a unique and personal touch, making each piece truly one-of-a-kind.
One of the significant advantages of using freehand techniques is the flexibility it provides. Artists can seamlessly switch between different methods, adapting their approach based on their comfort level and the specific requirements of the project. This adaptability is vital in large-scale murals, where the ability to improvise can often lead to more dynamic and engaging artwork.
To guarantee success, many artists practice on smaller surfaces first. This helps build confidence and refine their skills before tackling larger walls.
Proper planning and visualization are also essential when employing freehand techniques. By having a clear vision of the final mural, artists can make certain that their work aligns with their intended design, maximizing the impact of their art.
Freehand techniques, consequently, offer a perfect blend of freedom and control for fluid art muralists.
Projector Method
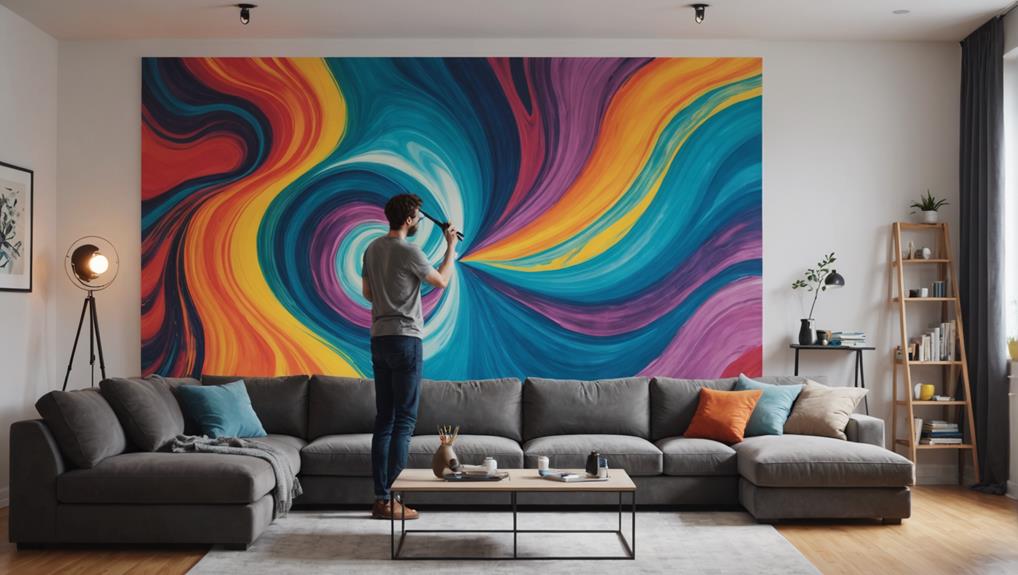
While freehand techniques celebrate spontaneous creativity, the Projector Method offers a structured approach for artists aiming for precision and accuracy in large-scale fluid art murals. This method involves projecting a digital image onto a wall, which allows for precise tracing. It's particularly useful for guaranteeing that intricate designs and typography are accurately positioned, creating a seamless shift from digital concept to physical mural.
To get started, a proper projector setup is essential. Confirm you have a reliable power source and suitable lighting conditions to maintain image clarity. Short throw projectors are highly recommended if you're working in tight spaces, as they can project larger images from a shorter distance, making them ideal for smaller rooms.
Here are some key points to take into account:
- Flat Surface: Confirm the wall is flat and free of obstructions for the best tracing results.
- Image Clarity: Adjust the projector settings to achieve the sharpest image possible.
Pounce Technique
The pounce technique is a fantastic way to create detailed outlines for your mural, using perforated paper and a pounce wheel to transfer your design onto the wall.
This method guarantees that even the most intricate patterns are accurately replicated, making it a go-to for artists who want precision without the stress of freehand drawing.
Plus, you can customize the pounce paper to fit your mural's dimensions perfectly, ensuring your masterpiece aligns just right with the wall space.
Detailed Outline Creation
Utilizing the pounce technique, artists can achieve precise and detailed outlines for large-scale fluid art murals, guaranteeing accuracy and efficiency in the initial stages of mural creation. This technique begins with the use of a pounce wheel, which creates small holes along the lines of a design on perforated paper. This perforated paper acts as a guide, allowing the artist to transfer intricate patterns onto a wall with ease.
The process of creating these detailed outlines involves several key steps, each contributing to the overall accuracy and quality of the mural:
- The pounce wheel is used to trace the design onto the perforated paper.
- Chalk or powdered charcoal is then dusted through the perforations to leave an outline on the wall.
This method is particularly advantageous for complex designs, as it eliminates the need for meticulous measuring on-site.
By preparing the wall surface properly and guaranteeing it is clean and smooth, artists can enhance the adhesion of the transferred design and guarantee the mural's longevity.
This structured approach allows for creative flexibility during the painting process, making it ideal for artists who appreciate both precision and adaptability.
Effective Transfer Method
Building on the structured approach of creating detailed outlines, the pounce technique offers a highly effective method for transferring intricate designs onto mural surfaces. This technique involves using perforated paper to create outlines of your artwork, guaranteeing precision when moving your design from paper to wall.
To get started, you'll need a pounce wheel, a nifty tool that helps you make small holes along your design's outline. Once your paper is perforated, you align it on the mural surface. Now, here's where the magic happens: dust chalk or powdered pigment over the holes. As you do this, the pigment seeps through, marking the wall with your design's outline.
This method is particularly useful for large-scale murals, helping you keep your designs accurate and to scale. It's like having a giant stencil that guarantees every detail is right where it should be, letting you focus on painting without worrying about freehand sketching.
Moreover, the pounce technique works on various surfaces, as long as they're smooth and well-prepared. It's a game-changer for anyone looking to transform their home with stunning, precise mural art. So, grab your pounce wheel and powdered pigment, and watch your mural dreams come to life!
Doodle Grid Method
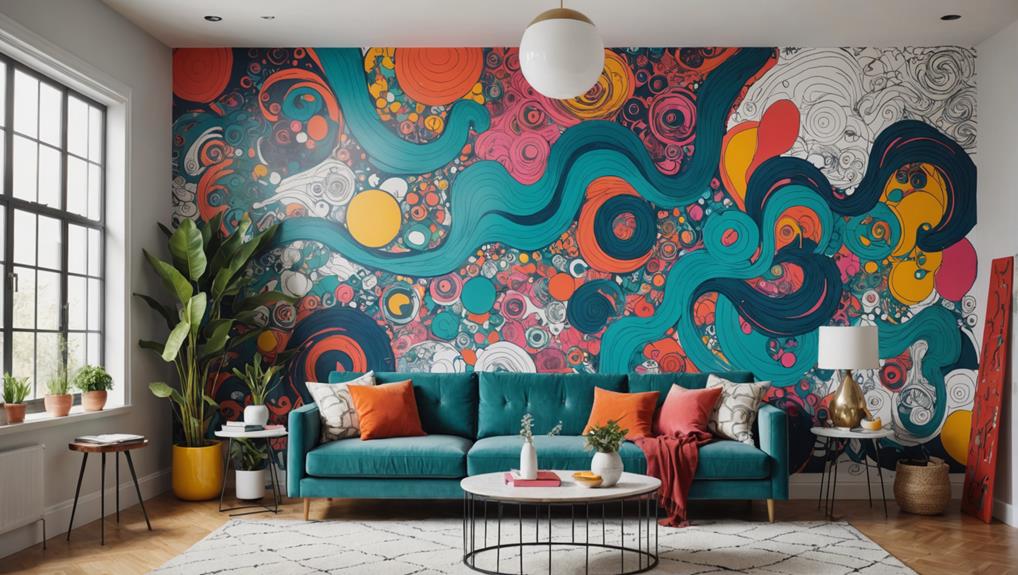
A highly effective technique for scaling artwork to large surfaces, the Doodle Grid Method involves overlaying a proportional grid on both the wall and a smaller mock-up of the design. This method guarantees that every detail from the original piece can be accurately replicated on a much larger scale.
One of the great things about the Doodle Grid Method is its flexibility in accommodating various grid variations, making it suitable for different artistic styles. Whether you're into geometric designs or more fluid, organic shapes, this approach allows for precise scaling.
- Versatility: The method can handle both geometric and organic designs.
- Precision: Inner circles within the grid help maintain proportions.
To get started, you'll need to create a grid on your wall that matches a grid on your smaller design. The grid size should be proportional to the dimensions of your wall to guarantee accurate replication.
Artists often use inner circles within the grid as reference points, which helps in sketching and maintaining the mural's proportions. This structured approach makes the Doodle Grid Method particularly effective for those who prefer a clear roadmap when bringing their artistic vision to life.
Applying the Paint
To begin painting a large-scale fluid art mural, select high-quality water-based paints to assure vibrant colors and safe indoor application. Start with a base coat that complements your chosen color palette, adding depth and enhancing the mural's visual appeal.
The key to fluid art is in the color mixing and paint consistency. Mix your colors thoroughly to achieve the desired hues and guarantee the paint flows smoothly. The consistency of the paint should be just right—not too thick to prevent movement, but not too thin to avoid running off the wall.
Experiment with techniques like pouring, swirling, and tilting to create unique patterns and textures. These methods let you play with how the paint moves, giving your mural a distinct character. Layering different colors can produce stunning effects, but remember to let each layer dry before adding the next to avoid muddying the colors.
Use various tools like brushes, sponges, and even your hands to add different effects and textures. This not only makes the process versatile but also incredibly fun and engaging.
Embrace the creative journey, and watch as your mural transforms into a mesmerizing piece of art.
Sealing the Mural
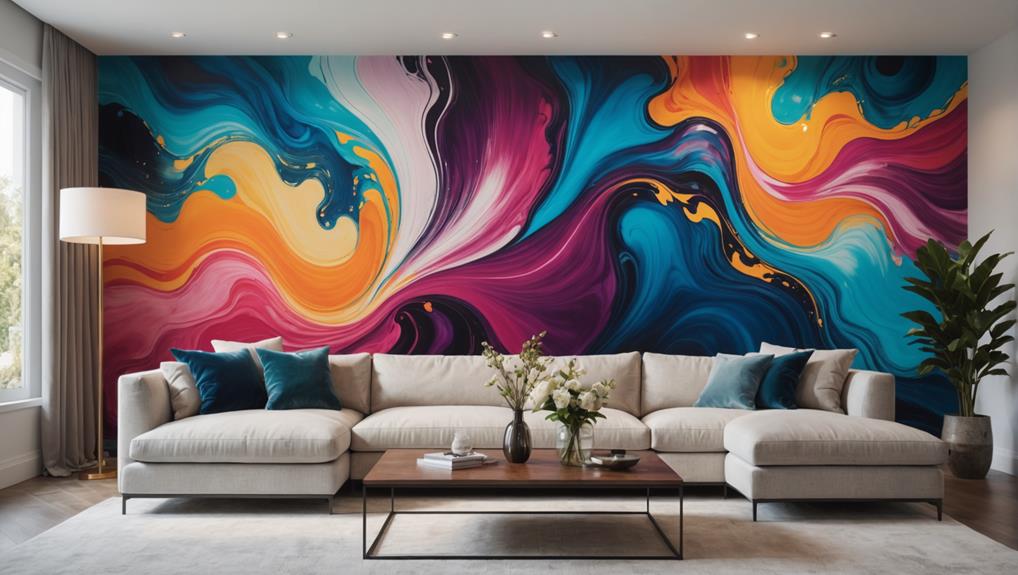
Sealing a mural is an important step in preserving its integrity and guaranteeing its longevity. This vital process protects the artwork from moisture, UV light, and dirt, which can greatly extend its life and maintain its vibrancy.
Choosing the right sealer types is important; clear acrylic sealers or varnishes specifically designed for murals are ideal. These create a protective layer that not only enhances the colors but also provides a glossy finish.
When it comes to application techniques, applying the sealer in thin, even coats is key. You can use a brush or spray to achieve this, but remember to confirm the mural is completely dry before sealing to avoid smudging the artwork.
Here are a few tips to take into account:
- Patch Test: Always conduct a patch test on a small area to verify compatibility and the desired finish before applying the sealer to the entire artwork.
- Thin Coats: Apply thin, even coats to avoid drips and guarantee a smooth finish.
Maintenance Tips
Maintaining large-scale fluid art murals requires regular care to secure their lasting beauty and structural integrity.
One of the simplest cleaning techniques is to regularly dust the mural with a soft, dry cloth. This helps prevent the buildup of dirt and keeps the colors vibrant. In the case of stains or spills, gently wipe the affected area with a damp cloth and mild soap. Avoid harsh chemicals, as these can damage the artwork.
Protective measures are also essential for preserving your mural. Protect the mural from direct sunlight by using UV-filtering window treatments to prevent color fading. If your mural is in a high-traffic area, consider applying a clear protective sealant designed for its medium. This not only enhances durability but also makes future cleaning easier.
It's also important to periodically inspect the mural for any signs of wear or damage. Addressing these issues promptly secures the longevity of the artwork.
Display Ideas
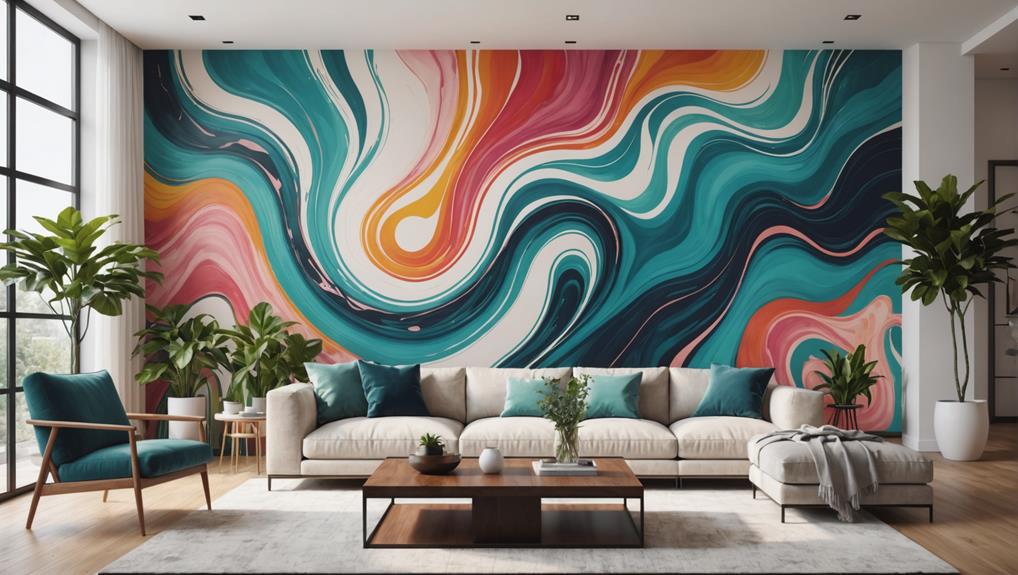
When it comes to showing off your large-scale fluid art murals, there's no shortage of creative display ideas to choose from.
You can use grommets and dowels for a sleek, adjustable hanging solution, or consider cutting larger pieces into smaller sections for a dynamic gallery wall effect.
Don't forget to explore framing options and lighting techniques to really make those vibrant colors pop, ensuring your masterpieces get the attention they deserve.
Framing Options Explained
Exploring various framing options can greatly enhance the presentation and longevity of large-scale fluid art murals. One popular choice is floating frames, which create a modern aesthetic by making the artwork appear as if it's floating within the frame. This option not only adds visual interest but also complements the fluid, dynamic nature of the art itself.
To guarantee the vibrant colors of your mural last, consider using protective coatings. These coatings shield the artwork from dust, moisture, and UV rays, helping to preserve its integrity over time. Additionally, UV filter glass can be used in the framing process to further protect against color fading due to sunlight exposure.
When selecting a framing option, keep the following tips in mind:
- Floating frames: Enhance the artwork's visual appeal and provide a contemporary look.
- Protective coatings: Preserve the mural's colors and protect against environmental damage.
Creative Hanging Solutions
Building on the importance of framing and protection, creative hanging solutions can further boost the visual impact and versatility of large-scale fluid art murals. One popular option is using grommets and dowels, which makes installation a breeze and allows for quick adjustments. Simply attach grommets to the corners of your mural and slide a dowel through them, then hang the dowel on sturdy hooks – easy as pie!
If you want to take things up a notch, consider framing options like wooden frames or canvas stretchers. These not only enhance the presentation but also provide much-needed stability and protection for your artwork.
For those who love flexibility, a retractable wall mount system is perfect. It lets you remove and re-hang your mural without causing any damage to the wall – perfect for those who like to change things up!
Lighting is another game-changer. Incorporate LED strip lights to make the colors and textures of your mural pop, creating a warm and inviting atmosphere.
Frequently Asked Questions
How Much Does a Large Scale Mural Cost?
Mural pricing varies widely, typically ranging from $10 to $50 per square foot. Budget considerations should include complexity, materials, and artist experience, with custom murals potentially exceeding $100 per square foot. Request multiple quotes for precise estimates.
What Are the Four Techniques That Can Be Used to Create a Mural?
The four mural techniques include the Grid Method, Freehand Technique, Projector Method, and Pounce Method. Each technique offers distinct advantages, enhancing the creation of fluid art murals with precision, creativity, accurate positioning, and detailed outlines.
How to Do a Large Scale Painting?
To create a large-scale painting, start with meticulous canvas preparation, including cleaning and priming the surface. Choose suitable paint selection, such as water-based aerosol paints, for their vibrancy and safety. Use methods like gridding or projecting for accuracy.
How Do Artists Paint Large Murals?
Artists paint large murals by first engaging in thorough mural preparation to guarantee the surface is ready for paint. Techniques such as the Grid Method, Freehand Technique, and Projector Method, along with careful color selection, are commonly employed.
Conclusion
Large-scale fluid art murals offer an innovative way to transform home interiors, blending creativity with personal expression.
By carefully selecting designs, accurately measuring spaces, and preparing walls properly, stunning results can be achieved.
Using appropriate tools and techniques, such as the grid method, guarantees precision in application.
Sealing the mural extends its longevity, while regular maintenance preserves its vibrancy.
Displaying these works of art thoughtfully enhances their impact, making them a fascinating focal point in any home.

Leave a Reply