Creating stunning resin art is an amazing way to bring your creative ideas to life! Start with epoxy resin and hardener, mixed in a perfect 1:1 ratio. Make sure to work in a well-ventilated area, and wear gloves and goggles for safety. Use silicone molds for various shapes and add fun elements like glitter, dried flowers, or pigments. Pour slowly to avoid bubbles, then use a heat gun or blowtorch to pop any that do appear. Let your masterpiece cure for at least 24 hours. Ready to jump into the world of resin art? There’s so much more to discover! 🚀🎨
Key Takeaways
- Choose epoxy resin for its clarity, low odor, and quick curing time, ideal for beginners.
- Always use personal protective equipment like nitrile gloves, safety goggles, and a mask.
- Mix resin and hardener in a precise 1:1 ratio and stir slowly to avoid bubbles.
- Pour resin slowly and use a heat gun to eliminate any air bubbles immediately.
What Is Resin Art?
Resin art is a creative discipline that involves the use of epoxy resin, a two-part mixture of resin and hardener, to produce clear, durable surfaces ideal for artistic projects. This fantastic art form has an interesting resin history. Originally, resin was used in industrial applications, but artists soon discovered its potential for creativity.
With resin art, you can incorporate all sorts of materials like dried flowers, glitter, and pigments. Imagine making a coaster with shimmering gold flakes or a piece of jewelry with tiny, colorful beads suspended inside. The artistic techniques are endless, limited only by your imagination. Resin art isn’t just for making pretty things; it’s also practical. Think about functional pieces like tables and countertops that are not only useful but also stunning to look at.
Epoxy resin is beginner-friendly due to its low odor and fast curing time. You don’t have to wait forever to see your masterpiece come to life! Understanding how resin cures is essential; it can change the final look and durability of your work.
Essential Safety Precautions
Guaranteeing safety in resin art projects is paramount to protect both your health and the quality of your creations. Working with resin can be exciting, but it comes with certain health risks.
Always work in a well-ventilated area, ideally outdoors or with open windows, to minimize exposure to harmful fumes from epoxy resin. Trust me, fresh air is your best friend here!
Safety equipment is a must. Wear nitrile gloves to protect your skin from resin contact. Prolonged exposure can lead to skin irritation or, worse, respiratory issues. Don’t skimp on safety goggles either; you don’t want resin splashing into your eyes, especially when mixing or sanding cured pieces.
A 3M mask or respirator is highly recommended when working with large volumes of resin or during sanding. This will filter out harmful particles and vapors, keeping those lungs happy and healthy.
And don’t forget to thoroughly clean your workspace and tools after each use. Not only does this prevent contamination, but it also guarantees a safe crafting environment for your next masterpiece.
Must-Have Supplies
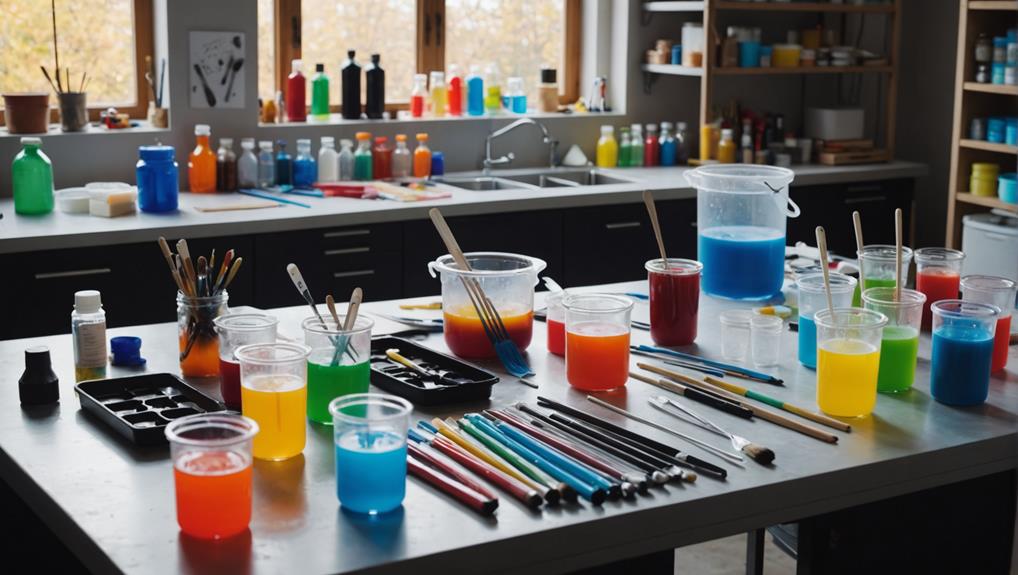
When starting on a resin art project, having the right supplies is essential to achieving stunning results. First, you need epoxy resin and hardener. These two components must be mixed in a 1:1 ratio for the best outcome. It’s kind of like making a cake—you need the right ingredients in the correct amounts!
Next, you’ll need disposable mixing cups and large popsicle sticks. These help you measure and mix the resin accurately. Think of them as your trusty sidekicks in your resin adventure!
Mold selection is super important too. Silicone molds come in all shapes and sizes, letting you create anything from coasters to jewelry. Choose a mold that matches your project vision.
Now, let’s talk about color combinations. Adding pigments, glitter, or even dried flowers can turn your resin art into a masterpiece. Experiment with different colors to see what works best together.
Safety is key, so don’t forget your Personal Protective Equipment (PPE). Nitrile gloves, goggles, and a ventilated mask will keep you safe from any fumes or spills.
With these must-have supplies, you’re all set to create eye-catching resin art!
Best Epoxy Resin Products
Choosing the right epoxy resin products can make all the difference in your art projects.
Some top kits, like Amazing Clear Cast Resin and Pro Marine Supplies, offer clear finishes and are easy to use, even for beginners.
Don’t forget to grab essential tools, like a heat gun for removing bubbles, and quality brands to guarantee your creations turn out flawless every time.
Top Resin Kits
Selecting the right resin kit is essential for achieving professional-quality results in your resin art projects. With so many options available, resin kit comparisons can help you choose the best one for your needs, especially if you’re exploring beginner project ideas.
For those just starting, the Jewelry/Small Project Kit is perfect. This kit includes epoxy resin, hardener, and basic molds, making it easy to embark on small and detailed projects like pendants and earrings. The molds often have pre-made holes for jump rings, making the finishing process a breeze. Imagine making a set of sparkling earrings for your best friend—how cool would that be?
If you’re thinking bigger, the Larger Project Kit is your go-to. It offers more resin and molds, perfect for more ambitious creations like trays or larger art pieces. Plus, many coaster molds come with a storage box mold, so you can keep your finished masterpieces organized and safe.
Don’t forget, a kitchen torch can be a lifesaver when it comes to removing pesky bubbles from larger resin pieces. It’s these little tools and smart kit choices that make all the difference, turning your resin art dreams into reality!
Essential Crafting Tools
A thorough array of essential crafting tools is crucial for creating stunning resin art projects. Whether you’re just starting or refining your crafting techniques, having the right tools can make a world of difference. Let’s explore the must-haves for any resin experiment.
- Epoxy Resin Kits: High-quality epoxy resin kits such as Amazing Clear Cast Resin or Pro Marine Supplies are perfect for beginners. These kits offer a 1:1 mixing ratio, making it easy to get the perfect consistency for your projects.
- Silicone Molds: Silicone molds are important for shaping your resin pieces. Available in various designs, you can find these molds on platforms like Amazon and Etsy, allowing you to experiment with different shapes and sizes in your creations.
- Measuring and Mixing Tools: Accurate measurement is key in resin art. Disposable measuring cups and large popsicle sticks are great for measuring and mixing resin and hardener thoroughly. Accurate mixing guarantees your resin sets correctly and avoids sticky disasters.
Additionally, a heat gun or small blowtorch is crucial for eliminating air bubbles, giving your resin a smooth, professional finish.
Don’t forget personal protective equipment (PPE) like nitrile gloves, goggles, and a respirator mask to promote safety while handling epoxy resin.
Quality Resin Brands
Exploring the best epoxy resin products can greatly enhance the quality and longevity of your resin art creations. With so many options, making informed resin brand comparisons can help you choose the perfect one for your project. Let’s plunge into some top-rated brands based on user reviews.
Pro Marine Supplies Epoxy Resin is a favorite among artists for its crystal-clear finish and easy 1:1 mixing ratio. This makes it perfect for both beginners and experienced crafters. It’s like a best friend who just gets you!
Then there’s Amazing Clear Cast Resin, known for its durability and high-gloss finish. If you’re making something that needs to be tough and scratch-resistant, this is your go-to. Think of it as the bodyguard for your art.
ArtResin is another popular choice, especially for those who worry about yellowing over time. It’s non-toxic, low-odor, and UV resistant, keeping your art looking fresh and vibrant.
For flat surfaces like table tops, EnviroTex Lite is ideal. It offers a high-gloss finish, making your projects shine like a superstar.
Lastly, Epoxy Resin Supply provides various kits tailored to different project sizes, guaranteeing you always have the right amount of supplies. It’s like a perfectly packed picnic basket!
Choosing wisely from these brands guarantees your resin art will dazzle for years.
Preparing Your Workspace

Creating a well-organized and ventilated workspace is essential for both safety and efficiency when working with resin. Proper workspace organization minimizes clutter and distractions, allowing you to focus on your art.
Start by confirming your workspace is well-ventilated. Open windows or use fans to reduce the inhalation of harmful fumes. Here are some key ventilation tips:
- Open Windows: Let fresh air circulate to disperse fumes.
- Use Fans: Position them to direct fumes away from your breathing zone.
- Wear a Mask: For extra protection, especially in enclosed spaces.
Next, set up a clean, level surface for mixing and pouring resin. This prevents spills and confirms accurate measurements. Cover your work area with protective plastic sheets or silicone mats to safeguard surfaces and make cleanup easier.
Keep essential supplies like gloves, goggles, and mixing tools within reach. This maintains efficiency and protects you during the process. Organize your materials and tools in a designated area. A well-organized workspace enhances focus and creativity, helping you produce stunning resin art.
Mixing Resin and Hardener
Mixing resin and hardener is an essential step in creating stunning resin art, and it’s all about accuracy and technique.
First, measure each component precisely, usually in a 1:1 ratio, to guarantee the resin cures properly.
Then, mix slowly and thoroughly, scraping the sides and bottom of your container, to avoid bubbles and guarantee a smooth, even blend.
Accurate Measurement Techniques
Achieving the perfect chemical reaction in resin art requires precise measurement of resin and hardener, typically adhering to a 1:1 ratio by volume or weight as specified by the product instructions.
Using the right measurement tools is essential to guarantee that your resin art turns out just right. Here’s how:
- Measuring Cups: Use disposable measuring cups with clear volume markings. This helps you avoid any guesswork, which is super important when dealing with mixing ratios.
- Digital Scale: For larger projects, weighing the components on a digital scale can make a big difference. Even small variations can mess up the whole project, so accuracy is key.
- Small Batches: Start by measuring in small batches. This way, you get a feel for the curing process and can tweak the amounts as needed for future projects.
When you measure the resin and hardener, make sure to scrape the sides and bottom of the cup while stirring. This guarantees that everything is mixed thoroughly and there are no unmixed portions that could ruin your piece.
Mixing Tips and Tricks
When preparing to mix your resin and hardener, begin by ensuring that you have a clean, dry container to prevent any contamination that could affect the curing process. This might sound like a small detail, but trust me, it makes a huge difference!
Next, measure your resin and hardener in a precise 1:1 ratio. No guessing games here—accuracy is your best friend.
Now, let’s talk mixing techniques. Stir the mixture slowly and thoroughly for about 3 to 5 minutes. This isn’t a sprint; it’s a marathon. Make sure to scrape the sides and bottom of the container. Missing these spots can mean uneven mixing, and nobody wants a sticky, half-cured masterpiece.
Be gentle while mixing. Stirring too vigorously can introduce excess air into the mixture, leading to bubbles that are a pain to remove later.
Speaking of bubble removal, once you’ve stirred your concoction, let it sit for a few minutes. This lets any trapped bubbles rise to the surface, making them easier to pop. Think of it like letting a soda settle before taking a sip—nobody likes a face full of fizz!
Follow these tips, and you’re well on your way to creating stunning resin art.
Pouring Techniques
Carefully controlling your pouring technique is essential for creating stunning resin art with a smooth, bubble-free finish. When pouring resin, always pour slowly and directly down the side of the mold. This reduces bubble formation and guarantees a polished look. For better control, layer the resin by pouring smaller amounts at a time. This method helps you place decorative elements precisely and prevents them from floating to the surface.
To achieve the best results, follow these steps:
- Slow Pouring: Pouring slowly down the mold’s side minimizes bubbles and creates a smooth surface.
- Layering: Pouring in layers allows for better placement of elements and reduces floating.
- Heat Gun Use: Immediately after pouring, use a heat gun or small blowtorch to eliminate bubbles without scorching the resin.
Experimentation is key, and trying various pouring techniques can yield impressive results. For instance, the dirty pour method combines multiple colors in one cup, creating dynamic, visually appealing effects.
After pouring, allow the resin to set undisturbed for at least 8 hours to guarantee complete curing and reduce the risk of distortion. By mastering these techniques, you’ll be well on your way to creating breathtaking resin art pieces.
Adding Inclusions
Adding inclusions to resin art allows for a high degree of creative customization, enhancing the visual and textural appeal of each piece. By using a variety of decorative elements like dried flowers, glitter, alcohol ink, and small charms, you can truly personalize your art. However, it’s important to contemplate certain inclusion techniques and material considerations to achieve the best results.
First, think about the weight and buoyancy of your materials. Light items, like glitter or dried flowers, should be placed on top of the resin. Heavier inclusions, such as small charms, might need to be embedded within layers to keep them from sinking or floating. Make sure everything is clean and dry before adding it to the resin—nobody wants moldy art!
Experimentation is key. Try different types and sizes of inclusions, and play around with layering techniques to create unique textures and visual effects. To keep inclusions from floating to the surface, pour a thin layer of resin first, let it partially cure, then add your inclusions. Finish with another layer of resin to encapsulate them.
Curing Time Tips
Achieving impeccable resin art not only involves selecting and embedding inclusions but also requires meticulous attention to curing time to guarantee a flawless finish. The curing process can make or break your artwork, so understanding the key factors is vital.
First, maintaining a suitable curing temperature is essential. Your workspace should stay between 70°F and 80°F (21°C to 27°C) to confirm the resin hardens properly. Fluctuations in temperature, like direct sunlight or drafts, can lead to imperfections.
Second, be mindful of humidity effects. High humidity can interfere with the curing process, making the resin surface tacky or even causing bubbles. Aim to work in a space with controlled humidity levels to avoid these issues.
Lastly, patience is your best friend. Although resin might feel firm after just a few hours, it usually takes up to 24 hours to cure fully. For thicker layers, it might require up to a week to achieve full hardness and durability.
Here are three essential tips to remember:
- Keep a consistent temperature: Avoid drafts and direct sunlight.
- Monitor humidity levels: High humidity can cause curing problems.
- Allow sufficient curing time: Rushing can result in a tacky or soft finish.
Types of Resin
Selecting the appropriate type of resin is fundamental to achieving the desired outcome in resin art. There are three main types to evaluate: epoxy, polyester, and polyurethane resins. Each has unique characteristics that make them better suited for different resin applications. Understanding these differences through a resin comparison helps in making an informed choice.
Epoxy resin is the most beginner-friendly option. It has a low odor and quick curing time, making it ideal for a wide range of artistic projects. On the other hand, polyester resin has a stronger odor and cures very hard. This makes it perfect for applications needing sanding or extra durability. Polyurethane resin cures super fast but is more sensitive to handling and environmental conditions, which can sometimes mess with your final artwork.
Here’s a quick resin comparison table to help you choose:
| Type of Resin | Key Characteristics |
|---|---|
| Epoxy | Low odor, quick curing, user-friendly |
| Polyester | Strong odor, very hard, durable |
| Polyurethane | Fast curing, sensitive to conditions |
Common Materials Used

Creating stunning resin art involves using a variety of materials to achieve different effects.
Dried flowers and leaves can bring a natural beauty to your pieces, while pigments and dyes provide endless color options.
Adding glitter and metallics can make your artwork sparkle and shine, giving it that extra wow factor.
Dried Flowers for Aesthetics
Incorporating dried flowers into resin art can enhance the visual appeal of the piece, adding natural beauty and vibrant colors. When selecting dried flower types, consider options like daisies, lavender, and baby’s breath. These flowers not only retain their shape but also have excellent color preservation, ensuring your artwork remains vibrant over time.
Before embedding flowers in resin, make sure they are completely dehydrated. Any leftover moisture can cause issues during the curing process, leading to unwanted bubbles or discoloration. Clear epoxy resin works best for showcasing the intricate details and hues of the flowers, letting their beauty shine through against a glossy finish.
Here’s how to make the most of dried flowers in your resin art:
- Choose Sturdy Flowers: Opt for flowers with durable petals to maintain their structure, such as daisies or lavender.
- Pre-arrange Your Composition: Plan your design before pouring the resin to create visually appealing layers and depth.
- Ensure Complete Dehydration: Completely dry your flowers to prevent moisture from interfering with the curing process.
Pigments and Dyes
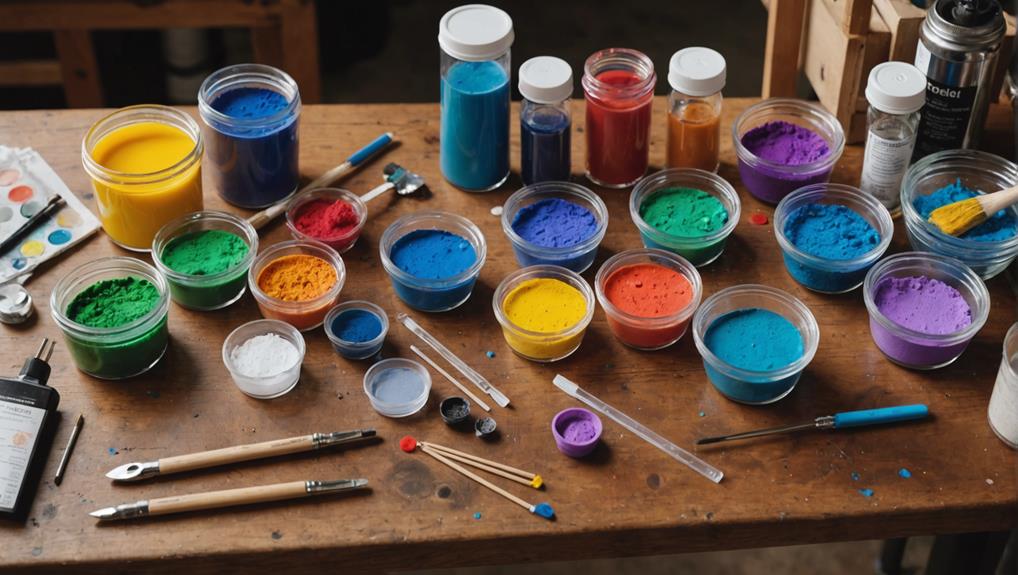
To achieve stunning and vibrant colors in resin art, artists often utilize a variety of pigments and dyes specifically designed for epoxy resin. Common options include acrylic paints, powdered pigments, and liquid dyes. Each of these materials can bring your resin artwork to life with eye-popping colors and effects.
Color theory is essential when working with these pigments. By understanding how colors interact, you can create harmonious or contrasting palettes that make your artwork stand out.
Mixing techniques are equally important. Start with a small amount of pigment and gradually increase until you get the desired opacity. This helps avoid over-saturation, which can affect the resin’s clarity.
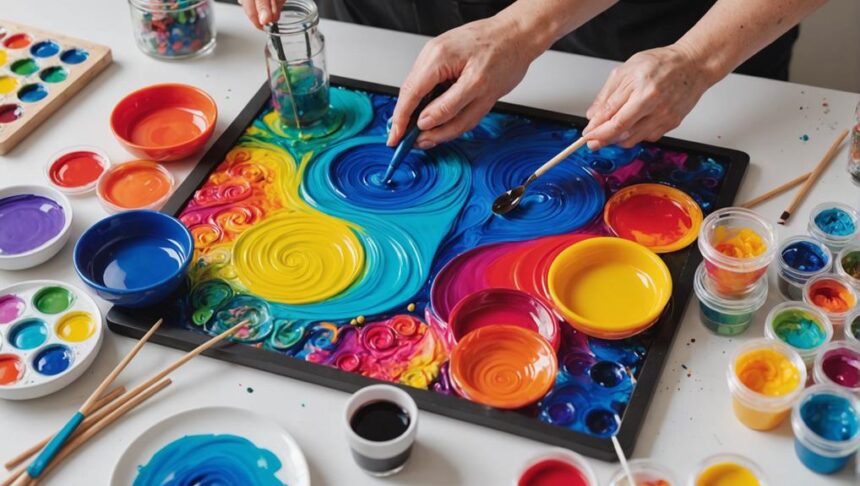
Alcohol inks are a favorite for creating swirling effects and transparency. They allow for unique patterns and color blending, turning your piece into a mesmerizing work of art.
But remember, not all pigments and dyes are created equal. Always check if they are compatible with epoxy resin. Some materials can mess up the curing process or ruin the final finish.
For the best results, mix pigments thoroughly into the resin before pouring. This guarantees even distribution and prevents clumping, which nobody wants in their masterpiece.
Glitter and Metallics
Beyond pigments and dyes, another way to enhance your resin art is through the use of glitter and metallics, which can add depth and a mesmerizing shimmer to your pieces.
Glitter, available in various sizes and types, offers a range of effects. Fine glitter provides a subtle shimmer, while chunky glitter creates bold, eye-catching results. Mixing glitter types can yield striking, unique textures.
Metallic finishes, achieved using powders or flakes, create a reflective, dazzling look that enhances the depth of your artwork. When incorporating these materials, it’s essential to mix them into the resin before pouring. This guarantees even distribution and prevents them from settling at the bottom.
To achieve the best results, consider these tips:
- Mixing Ratio: Use 10-20% of the total resin volume for glitter or metallics to maintain vibrancy without affecting curing.
- Experimentation: Combine different colors and types of glitter or metallics to explore creative possibilities and unique effects.
- Prevent Settling: Always mix thoroughly to keep the glitter and metallics suspended throughout the resin.
Popular Resin Projects
Creating stunning resin art offers a wide range of popular projects, from DIY epoxy resin jewelry to faux terrazzo countertops. One of the most exciting aspects of resin art is experimenting with resin color combinations and exploring unique project ideas. Let’s plunge into some favorites!
DIY epoxy resin jewelry is a fantastic starting point. Using silicone molds, you can craft beautiful necklaces, earrings, and bracelets. Add colorful pigments or small embellishments like dried flowers and glitter. The possibilities are endless, and each piece is uniquely yours!
Glitter coasters are another hit. Mix epoxy resin with different types of glitter, pour them into coaster molds, and let them cure. The result? Vibrant, glossy coasters that add sparkle to any table.
If you’re feeling adventurous, try an epoxy resin coffee table. Combine wood slabs with resin to encapsulate photos or decorative items. It’s like creating a piece of functional art for your living room.
For a bit of a twist, alcohol ink resin coasters offer stunning marbled effects. Mixing alcohol inks with resin creates intricate designs that are both functional and artistic.
Community Resources

Engaging with a variety of online forums and social media groups dedicated to resin art can greatly enhance one’s skills and knowledge through shared experiences and expert advice. These platforms offer a wealth of information and support, making them invaluable resources for beginners.
Here are some key ways to utilize these resources:
- YouTube Tutorials: Watching video tutorials on YouTube can help you visualize different resin art techniques. These videos provide step-by-step instructions, making complex processes easier to understand and replicate.
- Contests and Challenges: Participating in community-hosted contests and challenges on platforms like Facebook and Instagram can be both fun and educational. These events encourage creativity and offer opportunities to showcase your work while receiving valuable feedback from more experienced artists.
- Daily Inspiration: Following resin artists on social media platforms, especially Instagram, can provide daily inspiration and insight into various styles and projects. This constant exposure to different ideas can spark your creativity and keep you motivated.
Additionally, subscribing to newsletters from resin supply companies can keep you updated on new products, techniques, and exclusive tutorials. Engaging with these community resources can transform your resin art journey, providing guidance, inspiration, and a sense of belonging.
Frequently Asked Questions
How to Start Resin Art Step by Step?
To start resin art, research thoroughly, gather essential tools such as epoxy resin, hardener, and silicone molds, and adhere to safety precautions including gloves and masks. Guarantee a well-ventilated workspace and carefully mix and pour the resin.
What Is the Best Artresin for Beginners?
The best resin for beginners is Pro Marine Supplies Epoxy Resin, known for its user-friendly 1:1 mixing ratio and low odor. Safety precautions and color selection are essential elements to take into account for a superior crafting experience.
What Should You Not Put in Resin?
Avoid incorporating toxic materials, incompatible additives, organic items that decay, moisture-trapping substances, and porous or metallic objects in resin. These elements can cause issues such as discoloration, mold growth, uneven curing, and decreased durability.
How to Mix Resin for Beginners?
To mix resin for beginners, select appropriate resin types and follow precise mixing techniques. Combine epoxy resin and hardener in a 1:1 ratio, stirring thoroughly for 7 minutes. Use disposable tools, ensuring even consistency and proper incorporation.
Conclusion
In summary, resin art offers an intriguing and versatile way to express creativity.
By understanding essential safety measures, gathering the right supplies, and exploring various types of resin, beginners can create stunning projects with ease.
Engaging with community resources and continually experimenting will further enhance skills and inspire new ideas.
This guide provides a foundational starting point, encouraging readers to plunge into the world of resin art with enthusiasm and curiosity.


Leave a Reply