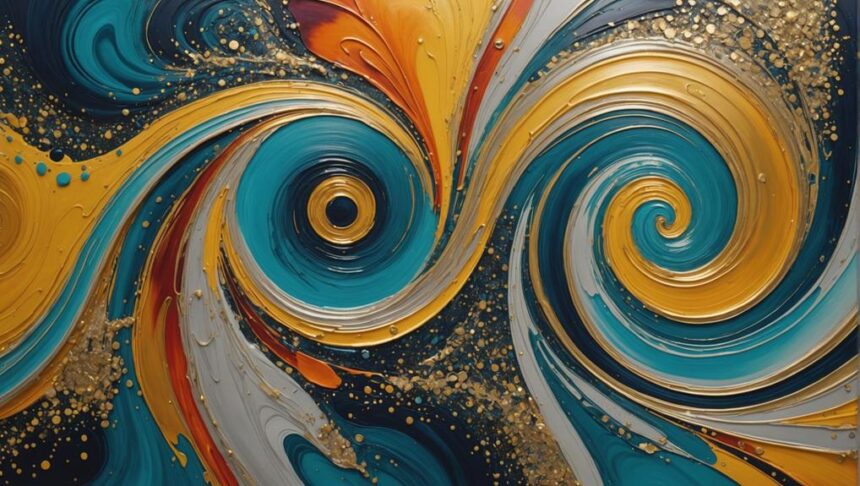
Using metallic and glitter additives in fluid art can turn your paintings into dazzling masterpieces, adding depth, dimension, and a sparkling touch that keeps viewers mesmerized. Imagine the thrill of creating shimmering highlights and dynamic patterns just by mixing in some metallic pigments or glitter. Whether you want to achieve glossy finishes or intriguing cells and lace effects, there are handy techniques like layering and swirling to help you get there. Be careful though, using too much water or the wrong kind of glue can dull your brilliance. Stick around, and you’ll discover tips to keep your art shining bright!
Key Takeaways
- Mixing high-quality metallic paints or powders with pouring mediums enhances depth, dimension, and reflective qualities in fluid art.
- Fine or ultra-fine glitter ensures seamless integration with acrylics, preserving clarity and vibrancy.
- To maintain glitter brilliance, mix it with clear glue rather than white glue.
- Utilize techniques like dripping and layering to create visual contrasts and precise glitter placement.
Benefits of Metallic Additives
Metallic additives markedly enhance the visual appeal of fluid art by adding depth, dimension, and an enchanting reflective quality. When you incorporate these shimmering components, your artwork can truly come to life. The interplay of metallic textures with other colors creates an astonishing visual depth that can captivate any viewer’s eye.
Imagine pouring a metallic gold or silver into your acrylic mix; the result is a dazzling array of unique cells and lacing patterns that seem almost magical. These intricate designs aren’t just pretty to look at—they create a sense of movement that draws the eye across the canvas. It’s like watching a river flow or a galaxy swirl.
Moreover, metallic powders and pigments allow for a variety of finishes, from glossy to satin, depending on your medium and technique. This versatility means your art can have the exact look and feel you envision.
When properly mixed with pouring mediums, these metallic additives retain their vibrant sheen, preventing any dulling over time. This guarantees that your masterpiece remains as dynamic and engaging as the day it was created, keeping its visual depth and metallic textures intact.
Types of Metallic Pigments
Understanding the various types of metallic pigments is key to achieving the desired effects in fluid art. Metallic pigments can be broadly categorized into two main types: interference pigments and traditional metallics.
Interference pigments are unique because they shift colors depending on the angle of light, adding a dynamic and iridescent quality to your artwork. Traditional metallics, such as gold, silver, copper, and bronze, provide a solid, reflective metallic finish that can make your pieces stand out.
The particle size of these pigments also plays an essential role in the final appearance. Finer particles will create a smoother, more polished look, while larger particles can add texture and depth.
When mixing metallic pigments with pouring mediums, it’s important to get the viscosity just right to prevent the pigments from sinking or clumping during the pour. This guarantees a consistent and even distribution of color.
Experimenting with different brands of metallic pigments is critical, as each can vary in brightness and reflectivity. Testing and comparing these pigments before finalizing your project can help you achieve the perfect look.
Choosing the Right Glitter
Selecting the appropriate glitter for fluid art involves considering several key factors to guarantee a successful and visually appealing outcome.
First and foremost, the glitter types you choose play a significant role. Fine or ultra-fine glitter is recommended due to its ability to mix seamlessly with paint, minimizing the risk of clumping and ensuring a smooth application.
When it comes to glitter brands, opting for high-quality options can make a notable difference. Reputable brands often offer a wide range of colors and finishes, including metallic and iridescent glitters, which can add depth and dimension to your artwork.
Furthermore, using clear glue as a mixing medium is advisable, as it preserves the clarity and brilliance of the glitter particles in the final piece.
Experimentation with different pouring mediums, such as Floetrol, can also influence the dispersion and overall appearance of the glitter. Conducting small trials to observe how the glitter behaves when mixed with your chosen medium is essential.
This helps in understanding its separation and distribution tendencies during the pouring process, ultimately leading to more controlled and predictable results in your fluid art projects.
Mixing Metallics With Paint
Incorporating metallic additives into your paint can considerably enhance the visual impact of your fluid art. High-quality metallic paints or powders should be your go-to for vibrant and reflective paint effects. To maintain a consistent viscosity and prevent clumping, mix metallic additives directly into your pouring medium, such as Floetrol. Begin with small amounts of metallics added to your base color to avoid overpowering the design, gradually increasing as needed.
For striking visual contrasts and depth, layer metallic paints on top of other colors during the pour. This technique, along with experimenting with different ratios, can yield shimmering cells and intricate lacing patterns. The table below highlights some popular metallic color combinations and their effects:
| Base Color | Metallic Additive |
|---|---|
| Deep Blue | Silver |
| Crimson Red | Gold |
| Charcoal Black | Bronze |
| Emerald Green | Copper |
| Soft Lavender | Pearl White |
These combinations can transform your artwork, offering reflective paint effects that capture light beautifully. Remember, the key to mastering metallics lies in gradual experimentation, layering, and the thoughtful blending of colors to create unique and mesmerizing pieces.
Glitter and Pouring Mediums
When incorporating glitter into fluid art, the choice of pouring medium plays an essential role in achieving the desired effects.
Mixing glitter with mediums like Floetrol or clear glue can greatly enhance clarity and prevent any unwanted separation during the pour.
Glitter Application Techniques
Utilizing glitter with a suitable pouring medium, such as Floetrol, guarantees ideal paint consistency and a seamless integration of glitter into fluid art compositions. One effective method to achieve this is through glitter layering techniques. By carefully layering glitter, artists can create dazzling effects that enhance the depth and texture of their artwork.
For a controlled glitter application, larger sticks or tools are particularly useful. These tools allow for more precise placement of glitter, enabling the creation of longer, uniform lines that add intricate details to the piece.
Dripping glitter onto the surface before pouring is another technique that helps maintain the integrity of the design. This technique guarantees that the glitter stays in place, rather than dispersing randomly and disrupting the paint layers. Using clear glue instead of water when mixing glitter also aids in achieving better clarity and prevents clumping, ensuring a smooth and even distribution.
Experimenting with different pouring mediums can reveal unique separation behaviors, adding a new dimension to the visual appeal of the artwork. Each medium interacts differently with glitter, offering a range of outcomes that can enhance the overall effect of the fluid art composition.
Pouring Medium Choices
Selecting the appropriate pouring medium is essential for achieving ideal results when integrating glitter into fluid art compositions. Among the various pouring medium types available, Floetrol is a popular choice. Floetrol helps maintain the right consistency, ensuring smooth pours and reducing the risk of excess water, which can negatively impact the final artwork.
When considering pouring medium ratios, it’s imperative to find the right mix. For instance, using a clear glue mixed with water is preferred over white glue, as it maintains the clarity and brilliance of the glitter. This combination also allows for better control over the pouring medium ratios, which is critical for achieving desired effects.
Mixing glitter directly with the pouring medium instead of water can yield fascinating separation behaviors, resulting in unique designs. It is important to experiment with different pouring medium types to discover new techniques and effects. Testing various combinations can lead to ideal results, making the process of creating fluid art both exciting and rewarding.
Ultimately, selecting the right pouring medium and understanding the appropriate ratios can greatly enhance the visual impact of your glitter-infused fluid art, leading to stunning and mesmerizing creations.
Mixing Glitter Mediums
Integrating glitter into pouring mediums requires careful consideration of the materials used to guarantee the final artwork maintains its vibrancy and clarity.
When mixing glitter, the choice of medium is vital. Opting for clear glue instead of white glue preserves the glitter’s shimmering effect. Experimenting with various pouring mediums, such as Floetrol, can help achieve the desired glitter consistency and flow in your fluid art pieces.
Here are some essential tips to assure success in your glitter and pouring techniques:
- Use clear glue: This helps maintain the clarity and sparkle of the glitter.
- Test combinations: Before committing to a large-scale project, test the glitter and medium together to prevent separation and enhance adhesion.
- Employ larger sticks: These can be utilized for controlled distribution of glitter lines, allowing for a more precise application.
Techniques for Glitter Application
In fluid art, achieving ideal glitter application involves specific techniques to enhance the overall aesthetic of the piece. One essential method is mastering glitter layering techniques. Instead of just sprinkling glitter randomly, reflect on layering it strategically. Start by mixing your glitter with a clear glue like Elmer’s rather than water, as this helps maintain its clarity and visual appeal. This mixture can then be added in layers, ensuring an even distribution and a shimmering depth to your artwork.
Controlled application methods are also critical. For instance, using a larger stick can help you create longer, more uniform lines of glitter, giving a structured look to your piece. This approach is particularly useful if you want to highlight specific areas without overwhelming the entire canvas with sparkle.
Another technique to reflect upon is the dripping method. By allowing glitter to drip onto the surface, you can add it without disrupting the painting’s smoothness. This technique is great for achieving a natural, flowing glitter effect.
Testing different application methods, such as mixing with clear glue, can help determine the best approach for your desired glitter distribution. These techniques, when used effectively, can greatly enhance the visual impact of your fluid art.
Creating Shimmering Highlights
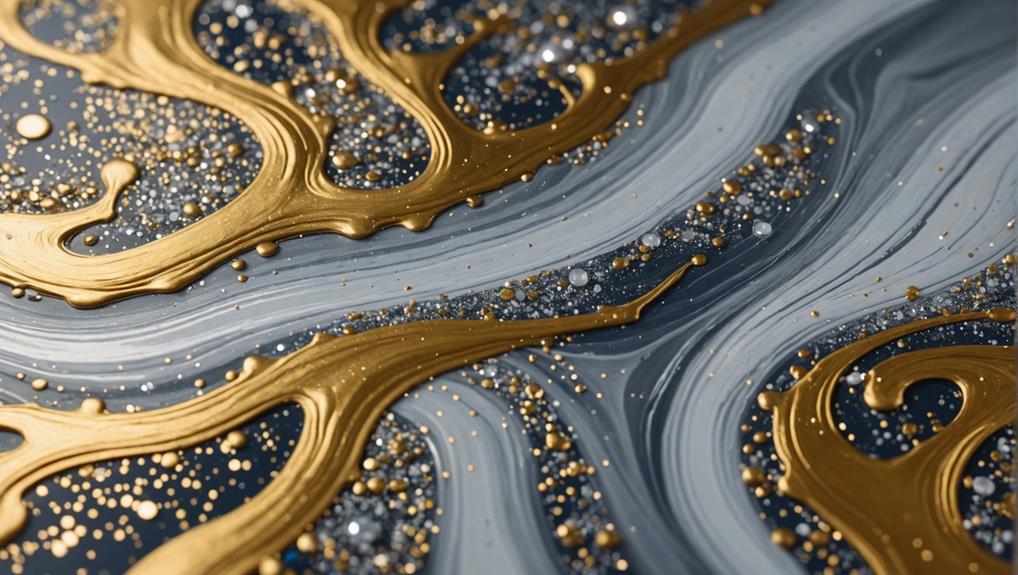
Creating shimmering highlights in fluid art can be incredibly rewarding, and it all starts with the right techniques for mixing glitter and integrating metallic paints.
Mixing glitter with clear glue rather than water guarantees your highlights remain vibrant and clear, while experimenting with different brands of metallic paints can give your artwork a unique sparkle.
For a smooth application, using Floetrol as a pouring medium can help metallic paints flow beautifully, making your shimmering highlights truly stand out.
Glitter Mixing Techniques
Employing clear glue instead of water when mixing glitter preserves its brilliance and enhances the shimmering highlights in fluid art projects.
Understanding glitter properties is essential for achieving the desired sparkle without compromising the integrity of the piece.
Additionally, adhering to glitter safety practices guarantees a hazard-free creative environment.
When it comes to glitter mixing techniques, consider the following tips:
- Use larger sticks: These allow for controlled application, making it easier to create longer, defined lines.
- Test before pouring: Always test how glitter behaves during an acrylic pour to confirm it separates and creates the visual effect you want.
- Dripping technique: This method applies glitter without disrupting the painting’s surface, leading to a cohesive design.
Metallic Paint Integration
To achieve shimmering highlights in fluid art, integrating metallic paints with acrylic pouring mediums can greatly enhance the depth and dimension of your compositions. By blending metallic paints like gold, silver, or copper with a pouring medium such as Floetrol, artists can create striking visual effects that captivate viewers. Remember, the key to maintaining that beautiful shimmer is to avoid over-mixing—this helps preserve the unique luster of the metallic pigments.
When diving into metallic color theory, think about how these shiny hues interact with other colors in your palette. Layering metallic paints with opaque colors can create dramatic contrasts, making the metallic elements pop even more. This exploration of texture can add a whole new level of interest to your piece, making it stand out.
Trying different brands of metallic paints can be a fun experiment. Each brand might offer varying levels of opacity and shimmer, so it’s worth testing a few before settling on your favorite for a larger project. By understanding these nuances, you can better predict how your final artwork will look and feel.
Achieving Sparkling Accents
Incorporating metallic and glitter additives into fluid art requires careful technique to achieve sparkling accents that enhance the overall visual impact. One of the most vital factors to take into account is the glitter placement strategies. Strategically placing glitter in areas where it will contrast with darker colors can create stunning color contrast effects, making the glitter stand out more prominently.
When aiming for the best sparkling accents:
- Use clear glue: Mixing glitter with clear glue instead of white glue helps maintain the glitter’s brilliance and avoids dulling the sparkle.
- Test for separation: Before applying glitter, mix it with your chosen pouring medium, such as Floetrol or clear glue, and test for any separation behavior to ascertain a smooth application.
- Opt for larger sticks: Using larger sticks for applying glitter allows for more controlled and longer lines, enhancing the design without disrupting the artwork’s surface.
These techniques not only add visual interest but also guarantee that the glitter remains an integral part of the artwork without clumping or fading. By mastering these strategies, artists can achieve breathtaking sparkling accents in their fluid art creations.
Using Different Mixing Methods
Mixing metallic and glitter additives in fluid art can be quite the adventure, offering various techniques to explore.
Whether you’re blending glitter into the pouring medium for a smooth spread or carefully measuring metallic paint to maintain consistency, each method brings its own unique flair.
Experimenting with these approaches not only enhances the visual appeal but also opens up a world of creative possibilities, ensuring your artwork sparkles and shines in all the right places.
Glitter Mixing Techniques
Utilizing clear glue as a mixing medium for glitter in acrylic pouring preserves the glitter’s clarity and enhances the overall visual effect of the artwork. The choice of clear glue provides a stable base, preventing the glitter from clouding and ensuring it remains vibrant and eye-catching.
When exploring glitter layering techniques, artists can experiment with various glitter color combinations to achieve stunning effects that add depth and complexity to their pieces.
Incorporating different mixing methods can greatly influence the final outcome of glitter in fluid art. Here are a few techniques to take into account:
- Mixing glitter directly into the paint can create fascinating effects like cells and lacing, adding a dynamic twist to the artwork.
- Using larger sticks for glitter application helps maintain control and precision, allowing for longer, more defined lines without disrupting the surface.
- Testing glitter with different pouring mediums can reveal unique separation behaviors, contributing to diverse design aesthetics.
Metallic Paint Consistency
Achieving the ideal consistency for metallic paints in fluid art frequently requires the use of a pouring medium like Floetrol to guarantee the best flow and sheen. This is because metallic paint properties can be tricky; they often become too thick or clumpy, making it hard to spread evenly across your canvas.
By adding Floetrol, you can make paint viscosity adjustments that help maintain the paint’s shimmer and create beautiful cells during your pours.
Now, if you want your metallic paints to sparkle even more, try mixing them with clear glue instead of white glue. Clear glue enhances the clarity and brightness of the metallics, keeping that dazzling effect you love.
But remember, finding the perfect balance is key. Experiment with different ratios of metallic paint to pouring medium until you get that smooth, flowing consistency without losing any of that metallic brilliance.
And hey, if you’re feeling adventurous, you can even throw some glitter into the mix! Just be sure to test how the glitter behaves with your pouring medium, so it doesn’t separate during your masterpiece-making process.
Happy pouring, and may your art shine bright!
Maintaining Glitter Clarity
To guarantee the clarity of glitter in fluid art, it is advisable to mix the glitter with clear glue to prevent a cloudy appearance. This straightforward method greatly aids in glitter longevity and clarity preservation.
Employing clear glue guarantees that the sparkling particles remain vibrant and do not get obscured by a milky base typically caused by white glue.
In addition to glue choice, utilizing a quality pouring medium like Floetrol can maintain consistent paint viscosity, vital for maintaining the visual integrity of the glitter. Excess water should be avoided as it can dilute the sparkle, diminishing the overall effect.
To keep your glitter suspended evenly throughout the pour, consider testing various application techniques. For instance, using larger sticks can help distribute the glitter more precisely, ensuring it doesn’t clump or sink.
Here are some helpful tips:
- Mix glitter with clear glue: Clear glue prevents a cloudy appearance.
- Use a pouring medium like Floetrol: Maintains consistent paint viscosity.
- Test application techniques: Larger sticks for controlled distribution.
Combining Metallics and Glitters
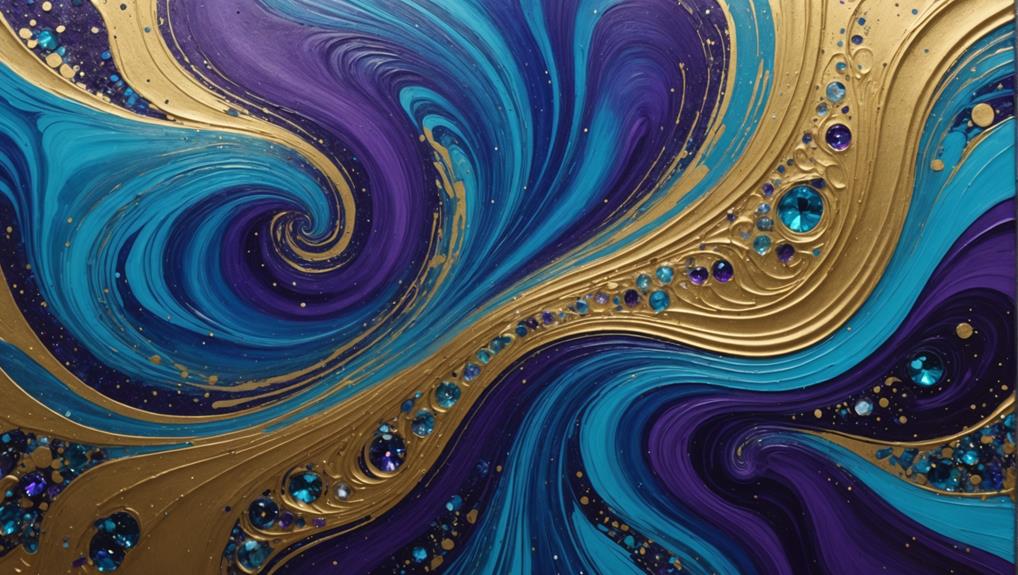
Combining metallics and glitters in fluid art can truly raise your artwork, creating eye-catching effects that captivate viewers.
By carefully mixing metallic paints and strategically distributing glitter using larger sticks or pipettes, you can control the shine and sparkle to enhance your design’s aesthetics.
Experimenting with different glitter distribution techniques and metallic paint brands will help you achieve the perfect balance of shimmer and depth in your pieces.
Glitter Distribution Techniques
In fluid art, effective glitter distribution techniques are essential for creating harmonious designs, particularly when integrating metallic paints. Mastering glitter layering techniques and controlled sparkle application can enhance your artwork to new heights.
To achieve the best results, consider the following methods:
- Mix with Clear Glue: Instead of water, use clear glue to mix your glitter. This maintains its clarity and keeps it from separating during the pour.
- Use Larger Sticks: Employing larger sticks allows for a more controlled and uniform distribution of glitter, enhancing the overall aesthetics of your piece.
- Dripping Technique: This method lets you apply glitter without disrupting the surface, ensuring a smooth and polished finish.
Combining metallic paints with glitter can create a visually striking effect, and even distribution is key to achieving this. By employing these techniques, you can control where and how the glitter appears, adding that extra sparkle to your fluid art.
Metallic Paint Mixing
Achieving a harmonious blend of metallic paints and glitters requires careful consideration of compatibility and mixing techniques. When mixing metallic paint with glitter, it’s vital to guarantee that the glitter works well with your chosen pouring medium. Otherwise, you could end up with clumps instead of a smooth, shiny masterpiece.
Using a clear pouring medium like Floetrol can really make your metallic paint shine, allowing the glitter to shimmer without hiding the base color. It’s like giving your art a backstage pass to a rock concert! Experiment with different ratios of metallic paint to pouring medium to get various viscosities. This can change how the glitter interacts with the paint and affects the final look.
Larger particle glitters can add some serious sparkle and texture, but you need to mix them thoroughly. Imagine baking a cake—you wouldn’t want all the chocolate chips stuck in one corner, right? The same goes for your art.
Layering metallic paints and glitters, pouring each layer carefully, can help create depth and make your artwork pop. It’s a bit like building a lasagna—each layer adds something special. So, take your time and enjoy the process!
Enhancing Design Aesthetics
Enhancing the aesthetic appeal of fluid art involves strategically integrating metallic paints and glitters to create visually dynamic and richly textured pieces. The interplay between metallics and glitters can enhance color contrast and amplify the visual impact of the artwork, making it more enchanting.
To achieve these effects, consider the following tips:
- Mixing Metallics: Always mix metallic paints with a suitable pouring medium to maintain their flow and prevent separation during the pour.
- Glitter Clarity: Combine glitter with clear glue instead of water to maintain vibrant finishes and avoid dullness.
- Experimentation: Use different sizes and colors of glitter to create unique textures and patterns, adding depth and interest to your art.
These strategies not only help in achieving a richer texture but also raise the depth of the design.
By experimenting with various combinations and techniques, artists can reveal endless possibilities, making each piece truly unique.
Whether aiming for subtle elegance or bold brilliance, the fusion of metallic paints and glitters can transform fluid art into a masterpiece.
Avoiding Common Mistakes
Preventing common pitfalls when using metallic and glitter additives in fluid art can greatly enhance the quality and visual impact of your work.
One of the most common pitfalls is mixing glitter with water, which can lead to clumping and a loss of clarity. Instead, a practical tip is to always mix glitter with clear glue. This preserves the sparkle and guarantees a smooth pour.
When incorporating metallic additives, compatibility with your pouring medium is vital to avoid unwanted reactions. It’s wise to experiment with the amount of glitter you add; too much can cause a heavy application that disrupts the flow of your artwork. A moderate, balanced approach is often best.
Avoid adding too much water to your paint. Excess water can dilute metallic effects, diminishing the vibrancy you aim to achieve.
Testing new glitter or metallic products separately before using them in a larger project can save you from unexpected surprises. This way, you understand how they interact with your chosen mediums.
Enhancing Color Palettes
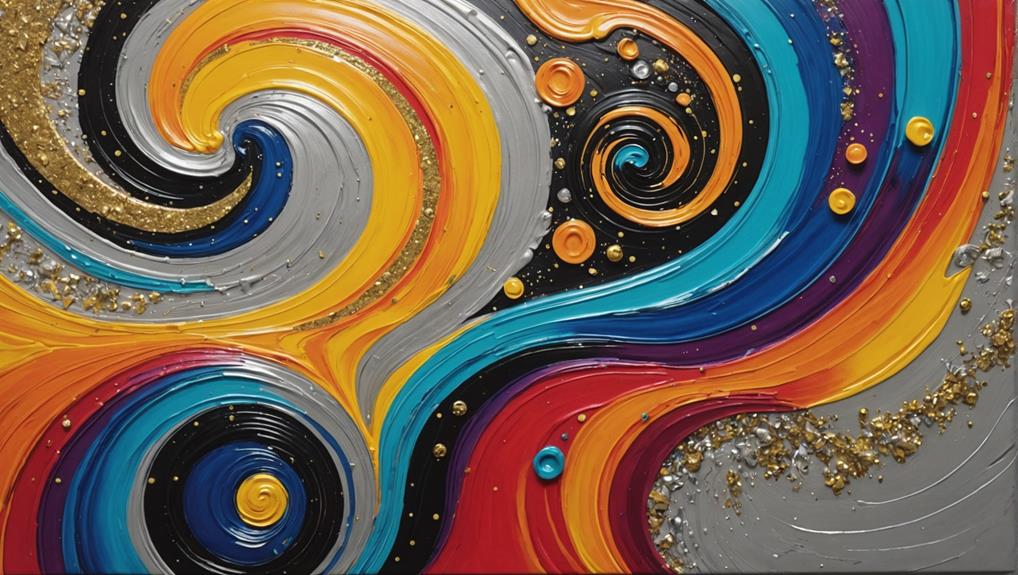
Incorporating metallic and glitter additives into fluid art can transform ordinary color palettes into vibrant, multidimensional masterpieces. By strategically integrating these additives, artists can notably enhance the depth and vibrancy of their works, leveraging principles of color theory and visual contrast to achieve a dynamic visual effect.
Metallics and glitters can breathe life into a color palette, making hues pop and adding a shimmering depth. Here are some ways to enhance your color palette:
- Opaque base colors: Using a solid base, like turquoise, can help metallic and glitter additives stand out, creating a striking contrast.
- Mixing mediums: Properly mixing glitter with mediums like Floetrol or clear glue guarantees clarity and prevents clumping, which can disrupt the design.
- Glitter variety: Experimenting with different sizes and types of glitter can create unique textures and patterns, enriching the artwork’s overall aesthetic.
Understanding and applying these techniques allows artists to explore new dimensions in their work, turning simple color schemes into visually enthralling pieces.
Experimenting With Patterns
Experimenting with patterns in fluid art can reveal a myriad of creative possibilities, particularly when utilizing metallic and glitter additives. The interaction between metallic paints and other colors can produce fascinating lacing effects. This adds depth and dimension to the artwork, making it more visually striking. Testing different pouring techniques, like dripping or swirling, can greatly alter the final pattern, making artistic experimentation essential for achieving desired outcomes.
Using glitter mixed with pouring mediums, instead of water, can lead to better adhesion and distribution. This results in more defined patterns during the pour. Larger sticks for applying glitter can help you have greater control over the distribution. This technique facilitates the creation of uniform and intricate lines and patterns, enhancing the overall composition of the artwork.
| Technique | Effect |
|---|---|
| Dripping | Random, organic pattern variations |
| Swirling | Smooth, flowing lines and curves |
| Lacing | Delicate, lace-like texture |
Incorporating metallic and glitter additives opens up a world of pattern variations. Each technique can lead to a different visual effect, making every piece unique. Consequently, artistic experimentation is not just encouraged but essential for discovering new and exciting patterns in fluid art.
Frequently Asked Questions
Can I Add Glitter to Pouring Paint?
Yes, you can add glitter to pouring paint. Various glitter types can be incorporated using specific pouring techniques, such as mixing with a pouring medium or applying with sticks, to guarantee even distribution and prevent clumping.
Can I Sprinkle Glitter on Wet Paint?
Yes, you can sprinkle glitter on wet paint. Employing glitter application techniques guarantees an even distribution, while understanding wet paint effects helps achieve the desired textured finish without disrupting the surface integrity.
What Can I Add to Acrylic Paint to Make It Shimmer?
To achieve shimmer effects in acrylic paint, incorporate metallic powders or metallic paints. These additives provide a reflective quality that enhances visual appeal. Testing mixtures in advance guarantees the desired shimmer effect without compromising paint integrity.
How to Put Glitter on Canvas Painting?
When applying glitter on a canvas painting, use clear glue or a pouring medium to prevent clumping. Employ glitter application techniques such as controlled distribution with larger tools and consider layering after the initial pour for depth.
Conclusion
The integration of metallic and glitter additives into fluid art presents numerous aesthetic advantages, enhancing visual appeal through shimmering effects and depth.
By selecting appropriate metallic pigments and glitter types, and mastering their combination with paint and pouring mediums, artists can achieve striking results.
Common pitfalls can be avoided through proper technique, enabling the creation of vibrant, dynamic compositions.
This exploration opens new avenues for creativity, allowing for richer color palettes and innovative pattern experimentation in fluid art.

Leave a Reply