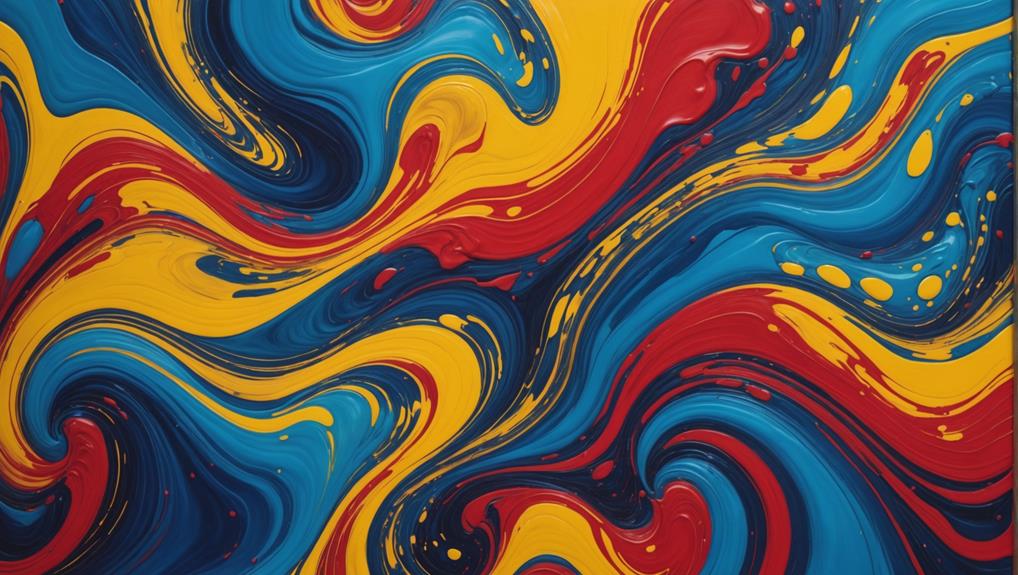
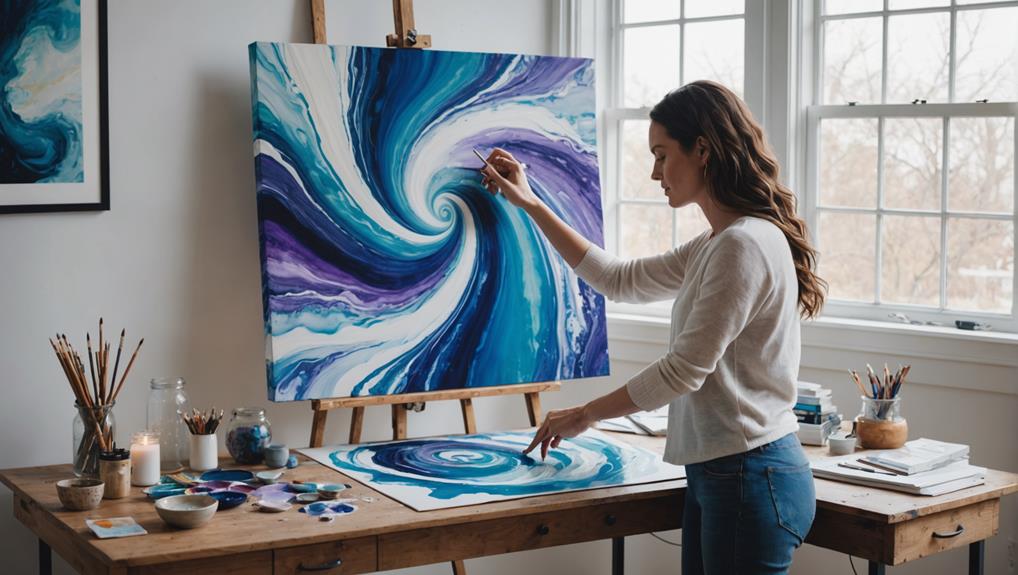
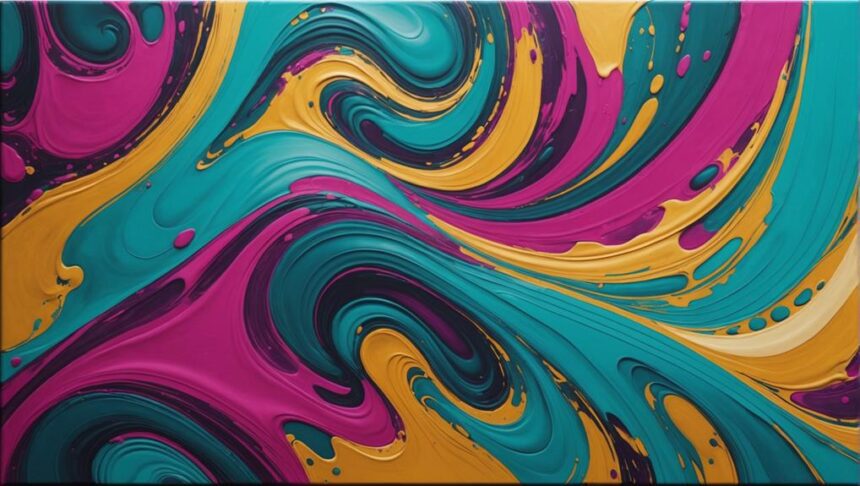
Creating stunning fluid art home pieces begins with selecting vibrant, highly pigmented paints, like those from 'This Little Piggy' and Matisse, and mixing them with Floetrol for a smooth flow. Think about how colors make you feel—turquoise green for calm or carbon black for sophistication. Use white paint strategically to make colors pop, like in the chaos Dutch pour technique. Remember, a travel hair dryer on low heat can help you guide the paints into magnificent swirls. Let each layer dry fully so colors don't mix into a muddy mess. Stick around; there's more magic to reveal in fluid art!
Key Takeaways
- Use highly pigmented paints to ensure vibrant and stunning color outcomes.
- Apply white paint between layers to enhance vibrancy and contrast.
- Balance palettes with neutral tones and bold colors for visual interest.
- Utilize Floetrol as a flow additive to maintain color vibrancy and smooth application.
Essential Materials
Gathering the essential materials is the first step in creating a successful fluid art piece. A 20×16 inch deep edge canvas is perfect for showcasing vibrant colors, giving you plenty of space to let your creativity flow.
When it comes to paint, quality is key. Brands like 'This Little Piggy' and Matisse offer highly pigmented options such as Cappuccino, Carbon Black, Turquoise Green, and Titanium White, which are ideal for creating striking contrasts and complementary blends.
Understanding color psychology can enhance your artwork's impact. For instance, Turquoise Green evokes calmness and tranquility, while Carbon Black adds a touch of sophistication and depth.
To achieve that perfect thick, flowy texture, adding Floetrol as a flow additive is vital. It helps maintain the vibrancy of your colors while ensuring smooth application.
Effective paint storage is another important aspect. Using cups for mixing not only makes the process easier but also allows you to save any leftover paint for future touch-ups, reducing waste.
And don't forget a travel hair dryer; it's a handy tool for manipulating paint flow, giving your piece that professional finish.
Color Selection
When selecting colors for fluid art, it is vital to reflect on how different pigments interact to achieve a harmonious and visually enchanting final piece. Utilizing highly pigmented paints like those from 'This Little Piggy' and Matisse can guarantee vibrant outcomes, even when mixed with flow additives. Employing a balanced color palette, such as neutral tones like Cappuccino combined with bold colors like Turquoise Green and Carbon Black, can generate visual interest and depth.
To enhance color vibrancy and contrast, strategically use white paint, particularly in techniques like the chaos Dutch pour. Be mindful that colors may appear different when wet and observe their evolution during the drying process to make certain the final piece meets your aesthetic vision. Experimenting with layering colors in a specific order can lead to unique and stunning visual effects.
The psychological impact and cultural significance of colors also play a significant role. For example, blue often evokes calmness, while red signifies energy and passion. Understanding these aspects can help convey the desired emotional tone in your artwork.
| Color | Emotion | Cultural Significance |
|---|---|---|
| Blue | Calmness, Serenity | Trust, Loyalty |
| Red | Energy, Passion | Love, Courage |
| Green | Nature, Growth | Renewal, Harmony |
| Yellow | Happiness, Optimism | Joy, Wisdom |
Incorporate these elements thoughtfully to create fluid art that captivates and resonates deeply.
Recommended Tools
Selecting the right tools for fluid art is vital for achieving professional results and maximizing creative potential. To guarantee your artwork stands out, it's important to have the proper equipment and maintain a well-organized workspace. Here are the key tools you'll need:
- Cups for Paint: Various sized cups are indispensable for mixing and pouring paint. They help you achieve the correct ratios and minimize spills, making your workflow smoother. Plus, keeping your cups clean and organized will save time and reduce frustration.
- Travel Hair Dryer: A travel hair dryer set to low heat is perfect for manipulating the flow of paint. This tool allows you to create intricate designs without overheating the paint. Regular maintenance, like cleaning the nozzle, guarantees its longevity and peak performance.
- Flow Additives: Incorporate flow additives such as Floetrol into your paint mix. These additives enhance the paint's consistency, leading to a smoother application and more vibrant colors. Keeping these additives organized and properly sealed will prevent spills and extend their shelf life.
- Minimal Waste Strategy: Aim to minimize leftover paint by reusing it for edge touch-ups. This not only reduces waste but also saves costs, as high-quality pigments can be expensive.
Mixing Techniques
Achieving the perfect consistency and color balance in fluid art requires mastering specific mixing techniques. Using flow additives like Floetrol is crucial to enhance paint viscosity, guaranteeing fluidity without compromising color vibrancy. Start with highly pigmented paints, as these allow for a greater amount of flow additive without diluting the overall color strength. Aim for a thick, flowy texture when mixing pigments; only add minimal water if necessary to retain the intensity and richness of the colors.
Mix your base coat with additional Floetrol to achieve ideal flow, guaranteeing a smooth application on the canvas. This base coat acts as the foundation for creating stunning color harmonies. To minimize waste and maximize your resources, save any leftover paint for touching up edges after the main painting process is complete.
Here is a quick reference table to guide you through the mixing process:
| Step | Action |
|---|---|
| 1 | Use highly pigmented paints |
| 2 | Add Floetrol to enhance fluidity |
| 3 | Aim for a thick, flowy texture |
| 4 | Save leftover paint for touch-ups |
Mastering these mixing techniques guarantees that your fluid art pieces will display stunning color harmonies and perfect paint viscosity, making them truly eye-catching home decor.
Chaos Dutch Pour
The Chaos Dutch Pour technique, a dynamic and enchanting method in fluid art, involves layering vibrant colors over a base coat to create intricate and unpredictable patterns. This approach is not only visually stunning but also deeply rooted in color psychology, allowing artists to express a wide range of emotions and moods through their work.
To create a successful Chaos Dutch Pour piece, consider the following key points:
- White Paint: Use white strategically to enhance color vibrancy. It acts as a perfect backdrop that makes other colors pop without overpowering them.
- Air Bubbles: Eliminate air bubbles with a torch. This small step guarantees a smooth finish and enhances the overall appearance of the artwork.
- Hair Dryer: Manipulate paint flow with a travel hair dryer on a low heat setting. This tool helps create unique designs and adds movement to your composition.
- Paint Texture: Maintain a thick and flowy paint texture. Avoid excessive additives like Floetrol to keep colors vibrant and true to their original form.
Drawing on artistic inspiration, the Chaos Dutch Pour technique allows for boundless creativity, where the flow of paint can mirror the natural chaos and beauty found in the world around us.
Layering Colors
Layering colors in fluid art is like setting up a spectacular show on your canvas.
By pouring colors in a specific order and strategically using white paint, you can create vibrant effects that pop and add depth to your artwork.
Don't forget, the base coat plays an essential role too, as it helps the colors flow and blend seamlessly, making the final piece truly mesmerizing.
Color Layering Order
When planning the color layering order for fluid art, begin with the darkest shades at the bottom to create depth and dimension in the composition. This approach, rooted in color psychology, allows the darker hues to ground the artwork, providing a rich foundation for the lighter colors that follow. By understanding and utilizing effective layering techniques, artists can achieve a more visually compelling piece.
Consider these steps for a well-executed color layering order:
- Start with Dark Shades: Begin by pouring the darkest colors first. This will set a strong base and enhance the overall depth of your artwork.
- Incorporate Lighter Colors: Gradually add lighter colors on top of the darker base. This layering technique guarantees a vibrant and dynamic effect as the colors interact.
- Use White Paint Strategically: White paint can be added between layers to boost vibrancy without overwhelming the piece. It helps to separate and highlight different color layers.
- Observe Color Development: Pay attention to how colors change during the drying process. Colors often become more vivid once dried, influencing the final appearance.
Achieving Vibrant Effects
Achieving vibrant effects in fluid art requires a meticulous approach to layering colors, ensuring each hue is strategically placed to maximize visual impact. The key lies in understanding color theory, which guides how different colors interact and blend.
Begin by pouring your initial color layers in a specific order to create depth and dimension. Each layer should flow seamlessly into the next, maintaining a continuous and harmonious shift.
A base coat, mixed with a higher amount of Floetrol, will enhance the paint's flow while keeping the colors vivid. This is essential for achieving the beautiful blends that fluid art is known for. Adding white paint between color layers can intensify the vibrancy and create striking contrasts, but it's important not to let the white overpower the other hues.
As the paint dries, observe how the colors develop. Often, they appear more vivid and enhanced after drying, which can guide adjustments in future projects.
Paying attention to negative space in your layering process can also create intriguing focal points, encouraging viewers to explore the dynamic aspects of your artwork. Mastering these techniques will certainly boost the visual impact of your fluid art pieces.
Base Coat Strategy
Establishing a robust base coat is essential in fluid art, as it sets the stage for subsequent color layers and enhances the overall vibrancy and flow of the piece. The base coat acts as the canvas's foundation, making it vital to understand base coat importance and the different base coat types you can use.
Start with a mixture of Titanium White and Floetrol to create a smooth, even foundation. This combination enhances the vibrancy of your colors and allows for better paint flow.
When layering colors, follow a strategic order:
- Darker Hues First: Begin with colors like Carbon Black to create depth.
- Lighter Shades Next: Follow with hues like Turquoise Green and Cappuccino to add contrast.
- Pouring Technique: Pour these colors directly onto the base coat, letting them intermix while preserving negative space.
- Blending Tools: Use a travel hair dryer on low heat to gently manipulate the paint, blending colors seamlessly without over-mixing.
Managing Vibrancy

When it comes to managing vibrancy in fluid art, getting the right color ratios is key, and boosting pigment intensity can make your artwork pop.
Highly pigmented paints should be your go-to, while keeping flow additives in check to prevent dulling your colors.
Optimal Color Ratios
To maintain vibrancy in fluid art, it is crucial to use highly pigmented paints that allow for the addition of flow additives like Floetrol without compromising color intensity. Achieving the perfect balance of colors and additives can make your art pop with stunning vibrancy. Here are some tips to help you manage your color ratios effectively:
- Color Psychology: Understanding the emotional impact of colors can help you choose the right mix for your art pieces. Warm colors like red and yellow can evoke energy and excitement, while cool colors like blue and green can create a calming effect.
- Complementary Colors: Using colors opposite each other on the color wheel, like blue and orange, can enhance each other's brightness and make your artwork more visually striking.
- Floetrol Ratio: Mix around 30-50% Floetrol with your acrylic paints. This guarantees a good flow without diluting the color too much, keeping your art vibrant.
- Layering Techniques: Layer your paints strategically. For example, placing white paint between layers can make other colors stand out more, enhancing the overall vibrancy of your piece.
Enhancing Pigment Intensity
Enhancing pigment intensity in fluid art involves selecting highly pigmented paints and optimizing the use of flow additives to maintain vibrant colors.
When you pick paints like 'This Little Piggy' or Matisse, you're getting strong pigments that can handle a bit of Floetrol without losing their punch. Too much Floetrol, though, can make your colors look dull, so use it sparingly.
Think of your paint mix like a rich, creamy milkshake—thick but still flowy. This texture keeps your colors bright and bold when they hit the canvas. Watching your piece dry is also super important because colors often pop more after they're fully set. This helps you decide if you need to tweak anything in future layers.
Layering is another trick to make your art shine. Pour your main colors first, then add a base coat. This way, the colors look deeper and more vibrant, creating effects that are visually striking.
And don't forget, color psychology plays a big role—bright colors can make you feel happy and energized, while darker tones might bring a sense of calm. Knowing your pigment types and how they behave can really enhance your art.
Drying Process
The drying process in fluid art plays a vital role in determining the final visual outcome, influencing both color vibrancy and depth. Proper drying techniques are critical to achieving the stunning effects that define fluid art. When paint dries, colors often become more vivid and rich, making it important to monitor this stage carefully. However, the environmental impact is also a consideration, as factors like humidity and temperature can greatly affect drying times and the final appearance.
Here's what you need to keep in mind during the drying process:
- Layer Drying: Allow each layer of paint to dry thoroughly before adding another. This prevents unwanted blending and guarantees your colors stay true.
- Observation: Watch how your colors change as they dry. Some may darken or shift in hue, giving your piece unexpected depth and character.
- Drying Time: Be patient! Depending on the paint thickness and environmental conditions, drying can take anywhere from a few hours to several days.
- Dust-Free Environment: Keep your artwork in a clean, dust-free area while it dries. Dust particles can settle on the wet paint, potentially ruining the finish.
Community Engagement

Engaging with the art community can make a huge difference in your journey with fluid art.
By growing your follower base and sharing your unique techniques, you not only boost your visibility but also inspire others.
This kind of interaction can lead to greater support, making your creative process even more enjoyable and rewarding.
Growing Follower Base
By actively engaging with your audience through thoughtful interactions and strategic content creation, you can notably boost the visibility of your fluid art and cultivate a robust follower base. Employing effective follower engagement strategies and social media growth tactics can transform your online presence.
Here are four key methods to grow your follower base:
- Engagement Through Interactions: Regularly liking, commenting, and sharing posts from your followers can considerably increase your content's visibility. This not only shows appreciation but also encourages reciprocal engagement, which can attract more followers.
- Set Clear Goals: Establishing a follower target, such as 150,000, provides a tangible aim for your community engagement efforts. This goal can motivate consistent content creation and help you track progress effectively.
- Utilize Multiple Platforms: Leveraging various social media platforms can help you reach different demographics. Younger audiences, who are often intrigued by fluid art, can be particularly engaged through visually-driven platforms like Instagram and TikTok.
- Foster a Supportive Environment: Encourage your followers to share their fluid art experiences and creations. This not only builds a sense of community but also provides valuable feedback and inspiration for your future projects.
Engaging Art Techniques
Many artists find that incorporating diverse art techniques can greatly enhance community engagement and raise the collective creative experience. By experimenting with various methods and sharing the journey, artists can foster a sense of artistic collaboration and technique exploration. Engaging with the art community not only boosts visibility but also creates a supportive environment where everyone can thrive.
Viewer interactions, such as likes and comments, are essential for increasing the visibility of your artwork on social platforms. This can lead to greater engagement and growth within the artistic community. Sharing your creative experiences and techniques encourages others to explore fluid art, and the positive feedback received can uplift your mental well-being.
Experimenting with different color combinations and orientations based on audience preferences can further enhance community engagement. Regular reflection on the painting process and sharing insights can inspire collaborative growth and learning. Here's a quick look at how these elements contribute to community engagement:
| Technique | Benefit |
|---|---|
| Artistic Collaboration | Fosters supportive environment |
| Technique Exploration | Inspires new creative ideas |
| Audience Interaction | Increases visibility and engagement |
| Color Experimentation | Resonates with follower preferences |
| Reflective Sharing | Encourages collaborative growth and learning |
Future Artwork Plans
Future artwork plans include the creation of a minimalist chaos style piece using a consistent color palette of Cappuccino, Carbon Black, Turquoise Green, and Titanium White to maintain thematic coherence. This approach will cater to audience preferences, emphasizing clarity and elegance through controlled yet dynamic fluid movements.
To further improve the artistic journey, the following steps will be undertaken:
- Exploration of Orientations: Experimenting with different hanging styles to understand their impact on visual aesthetics and how they influence viewer engagement.
- Color Combination Experiments: Testing various color combinations to discover unique and dynamic visual expressions that resonate deeply with the audience.
- Reflection on Techniques: Prioritizing a reflective process to identify areas for improvement and uplift the overall quality of future fluid art creations.
- Audience Feedback: Actively engaging with viewer feedback on preferred color schemes and styles to foster a sense of community and guarantee the artwork aligns with audience expectations.
These plans not only aim to push the boundaries of fluid art but also to create pieces that are visually striking and deeply resonant with viewers. By meticulously considering these aspects, the upcoming artworks promise to be both innovative and enchanting.
Therapeutic Benefits

Engaging in fluid art provides a therapeutic outlet, allowing individuals to express emotions and alleviate anxiety through the creative process of mixing and applying paints. The act of blending colors can induce a calming, meditative state, which is incredibly beneficial for mental health and emotional well-being. Imagine the stress relief that comes from watching vibrant hues swirl and merge, creating something uniquely beautiful.
Many people find that fluid art offers a significant emotional release. When daily stressors start to feel overwhelming, the dynamic movements and vivid colors of fluid art can serve as a wonderful distraction, offering both escape and relaxation. It's a bit like taking a mini-vacation without leaving your home.
Moreover, the sense of accomplishment and empowerment that comes from creating a stunning piece of art can greatly boost self-esteem and personal satisfaction. Sharing your creations with a supportive community can also enhance emotional support, fostering a sense of belonging and shared joy.
In essence, fluid art is not just about creating visually stunning pieces; it's about finding a therapeutic outlet that promotes mental wellness and emotional balance. So, why not give it a try and see the benefits for yourself?
Frequently Asked Questions
What Color Combinations Are Best for Fluid Art?
For fluid art, complementary colors like turquoise green and carbon black create striking contrasts, enhancing visual interest. Alternatively, monochromatic schemes utilizing various shades of a single color, such as blue, can produce a cohesive and soothing effect.
How to Make Fluid Art Colors at Home?
To make fluid art colors at home, begin with high-quality pigments and enhance paint consistency using Floetrol. Guarantee vibrant color mixing by maintaining a thick texture before adding water, and prepare each color separately for best results.
How Do You Mix Paint for Flow Art?
To mix paint for flow art, achieve ideal paint viscosity by combining highly pigmented paint with a flow additive like Floetrol. Use precise pouring techniques, ensuring a smooth blend and eliminating air bubbles for a flawless finish.
How to Layer Colors for Acrylic Pouring?
To layer colors for acrylic pouring, start with a base coat and sequentially add colors, placing lighter hues over darker ones. Utilize color psychology and layering techniques to enhance contrast and achieve visually appealing compositions.
Conclusion
In summary, creating stunning fluid art home pieces involves an extensive understanding of essential materials, color selection, and recommended tools.
Mastery of mixing techniques, such as the Chaos Dutch Pour, is essential.
Awareness of the drying process, engagement with the artist community, and planning future artwork are also important components.
Finally, recognizing the therapeutic benefits of fluid art underscores its value beyond aesthetics, offering a holistic artistic practice that enriches both the creator and the observer.


Leave a Reply